Page 385 of 392
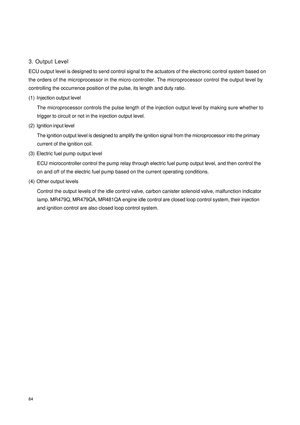
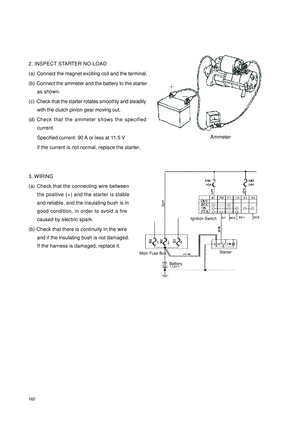
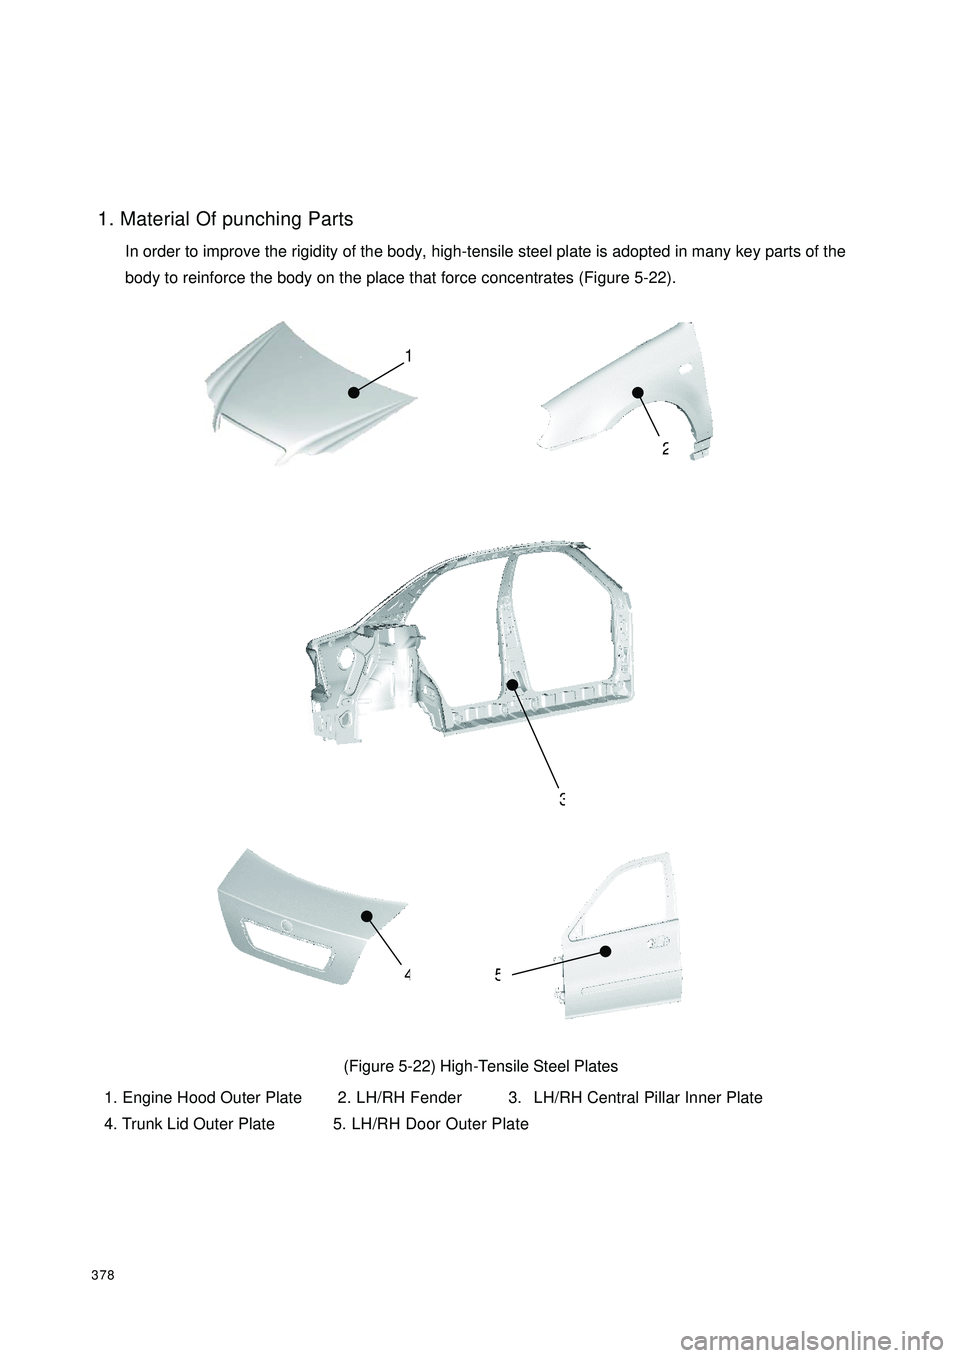
3781. Material Of punching Parts
In order to improve the rigidity of the body, high-tensile steel plate is adopted in many key parts of the
body to reinforce the body on the place that force concentrates (Figure 5-22).
(Figure 5-22) High-Tensile Steel Plates
1. Engine Hood Outer Plate 2. LH/RH Fender 3. LH/RH Central Pillar Inner Plate
4. Trunk Lid Outer Plate5. LH/RH Door Outer Plate21354
Page 386 of 392

379In order to avoid corroding and effectively extend the service life of the punching parts, galvanized steel
sheet with different specifications is widely adopted on the body (Figure 5-23).
(Figure 5-23) Galvanized Steel Plates
1. LH/RH Mudguard Reinforcement 2 Cowl Upper Baffle 3 Radiator Support
4 LH/RH Front Mudguard 5 LH/RH Front Side Member 6 Front Low Cross Member
7 Rear Floor 2nd Cross Member 8 LH/RH Rear Floor Side Rails 9 LH/RH Floor Side Member Inner
Plate 10 Cowl Lower Cross Member 11. Cowl Panel
2. Vibration Reduction And Sound Insulation
1 11 1
1Take measures on the structure of the body
a. Reasonably layout reinforcing ribs to improve the rigidity of parts and to reduce noise by restraining
vibration.
b. Fill the floor joint seam with sealant to strengthen the floor sealing and weaken the noise.
c. Increasing the thickness of the cowl is very effective to insulate sound. The cowl is adopted
sandwich structure, (Figure 5-24) that is, the cowl is welded by two steel plates (Cowl and heat
insulating board), and in the interlayer of the 2 plates lies a heat insulating pad (the material of it is
asphalt piece).87 5
4 4 21
9 10 63
11
Page 387 of 392
380 5-24 1. 2. 3.. 4. Figure 5-24 COWL
1. Cowl 2. Heat Insulating Protecting Board 3. Front Cross Member 4. Heat Insulating Pad
Page 388 of 392

3812 Adopt sound insulating material to reduce the noise in the compartment.
For the heat, vibration and sound insulation of the body, they are a systematic engineering. Besides you
take measures on effectively improving the rigidity of the body and sealing technique, the following
measures can be taken in the body design and manufacturing:
a. Sound insulating material: paste a layer of asphalt board on the floor and FR/RR fenders. Add
insulation pads on the cowl and the floor.
b. Sound absorbing material: adopt formed carpet which is composed of front floor carpet and rear
floor carpet.
The FR/RR floor carpets are integrated with the floor and sound absorbing pad. It is required that the
floor and the pad will not peeled when torn by outside force.
3. Sealing
An elaborate concern is taken from design and manufacturing on the body sealing. Sealing is very important
for the operation performance of dust prevention, water proofing, corrosion prevention, heat protection, heat
preservation, noise reduction, etc. Especially, the floor and cowl are located in the harshest outside environment.
The mud splashing from road, dust and sand, wheel noise, engine noise and hot air will get in the interior
environment by every opening.
After the body assemble welding completes, apply a line of sealant on all joints of the body to avoid water and
vapor permeating into the metal joint and also to ensure the quality for the following painting.(Figure 5-25).
Besides, a layer of stone-strike proofing paint is applied on the bottom of the body. The paint has good sealing
effect. For the sealing of mounting parts on the body, traditional methods are generally adopted, such as
rubber sealing ring, cover, rubber strip, special-shaped sealing strip, etc. But in order to make more minute
and rigorous considerations in design and manufacturing of structural parts and the stability of the dimension
relationship of contacting sealing. For windshield and rear back door glass, a natural-curing high-tensile
sealant is adopted in sealing. It represents the advanced modern techniques in reliability and mounting technology.5-25 1. 2. 3. Figure 5-39 Area Where Chloride Ethylene Plastisol Is Applied
1. Front Mud Guard 2. Rear Side Wall 3. Rear Wheel HouseFront
Page 389 of 392

3824. Surface Treatment Of Body
The consideration of the body surface treatment is very strict, careful and considerate. Although it is not
high-grade car, it is nearly the same with the high-grade car on the surface treatment.
1 11 1
1 Application of Galvanized Steel Plate
In order to prevent the steel plates from rusting, all outside punching parts are made by galvanized steel
plate.
2 22 2
2Phosphatization
Phosphatization is also called pre-treatment of painting. After degreasing cleaning to the body, a layer of
zinc phosphate is applied on the body. The layer thickness is controlled less than 3µm, which can take
effect as the first protecting layer and also is favorable to adhesion of the coating used in the next step.
3 33 3
3Cathode Electrophoresis
Electrophoretic painting shows its high efficiency and quality, safety, economy, etc. in actual application.
Four kinds of electrochemical phenomena (dielectric, electrophoresis, Electrodeposition, electroosmosis)
appear in the course. The feature and the advantage of cathode electrophoresis is multiply better than
anode electrophoresis. None is better than it and the technique management is also extremely strict.
4 44 4
4Intermediate Coating
The intermediate coating is one located between the base coating (primer) and the surface coating. The
function is mainly to improve the flatness of the workpiece surface and the base coating and to create a
good base for top paint. The brilliance and fullness of the painting layer and the decorating effect of the
coating will be greatly improved.
5 55 5
5Final Coating
The final coating on a vehicle is the last coating in multilayer coatings. It will directly influence the
decorating effect, weather resistance and the appearance of the vehicle. Choosing final coating is very
strict. Match, economy and operational easiness should be considered. The performance of all items can
reach the national and company standard. The appearance of the paint film is flat, smooth, plump, etc.
6 66 6
6Protecting coating for storage
When left in an open air for a long term (more than 3 months) or transferred by sea, a layer of water
soluble protecting wax should be applied on the surface of the body .Ultraviolet absorbing material is
added in the protecting coating. Clean it with detergent or fresh water before selling to make the brightness
of the painting reappear.
Page 390 of 392

383Section 5 Painting Technique after Body RepairPartial painting is needed when the vehicle crashes, parts rust, surface bubbles and color changes. The
painting techniques after repair are as follows:I. Base Treatment (Pre-Treatment)1. Peel the layer of painting and the coating on the panel.
2. Remove the edges and corners and polish the steel surface where painting peeled and the paint film at the
edges.
3. Cleaning and degrease. Clear up the dust and dirt and remove the oil, etc with degreaser.II. Base Coating Procedure1. Apply primer. Apple air drying type paint on the metal surface.
2. Air dry or heat dry (infrared drier) the primer.
3. Apply putty. Apply air drying type oil-base putty and Polyester-base putty on the panel surface that needs
repairing.
4. Air dry or heat dry the putty.
5.Manually polish the putty to make it smooth.
6. Manually polish with water to clear up tracks caused by sand paper.
7. Clear up the dust and the greasy dirt, and dry the putty polishing liquid.
8. Clean the greasy dirt on the polishing surface.
9. Use shield cover or paper to keep out the area that need not repairing.III.Intermediate Coating Painting1. Paint the second primer.
2. Air dry or heat dry.
3. Apply putty, and let it dry. Then look for sandhole or sand paper tracks.
4. Manually polish with water.
5. Clean it and let it dry by air. (The times of applying putty and polishing depends on the smoothness of the
surface)IV. Preparation For Applying Final Paint1. Shielding. Shield the area that needs not painting with paper.
2. Clear up the dust and degrease. Clear up the dust and oil on the painting surface.
3. Toning. Mix paints to get the color the same with the final paint.
4. Mixing paints.
Page 391 of 392
384V. Final Paint Applying1.Apply final paint. Apply fast drying final paint for 3 or 4 times and synthetic resin paint for 2 or 3 times.
2. Air dry or heat dry.VI.Polishing1. After painting, you can polish with wax to remove the repairing paint shadow for decoration consideration.
2. Take off the shield. After painting, take off the paper, and clean the paint scattered on the other area.
3. Inspect the quality of appearance.
Page 392 of 392

385Section 6 Service Data For BodyI. Service Data For Body (Table 5-1)TABLE 5-1Service Data For BodyContent Service Data
Resha ping cle aranc e be twe e n e ngine hood inne r and
oute r pla te 3mm±0. 5mm
Clea ra nce betwe en LH/RH fender and hood5mm(0,-1mm)
Clea ra nce betwee n LH/RH he adla mp and hood7mm±0.5mmClea ra nce betwe en front bumpe r a nd fe nde r≤
1mmClea ra nc e be twee n LH/RH he adlamps a nd bumper,
fender 5mm(0.-1mm)
Cle a ra nc e be twe e n fender a nd LH/RH doors 5mm(0,-1mm),
Height error≤
0.5mm
Cle ara nce betwe en hood and bumpe r 7mm±0.5mmCle aranc e be twe en ra dia tor grille a nd hood0.5mmCowl ventila tor cover hole a nd wipe r sha ft a re
homoc entric . Coaxial Degre eNo more than 2mmClearance between door and side wall5mm(0,-1mm)
Clea ra nce betwee n door a nd sill 7mm±0.5mm
Cle aranc e be twe en fue l fill port c ove r a nd side wa ll 3mm±0.5mmClearance between rear bumper and side wall plate 1mm±0.5mmClearance between Rear tail lamp and side wall plate 1mm±0.5mmClea ra nce betwee n windshie ld a nd drip c ha nnel4—5mmGlass is lower than drip channel0.5—1mmCle ara nce betwe en gla ss a nd roof pa nel 4.5—7mm and lower tha n 0.5—1mmTrunk lid folding e dge , spot-we lding inte rval250—300mm He ight of we lding spot is no
more tha n 1mmTrunk lid inner plate fla nging sides a re highe r than
oute r pla te 1—1. 4mmCle ara nce betwe en trunk lid a nd side wa ll plate 5mm(0,-1mm)
Clearance between trunk lid and rear combination
la mp 5mm(0,-1mm)
Clea ra nce betwee n trunk lid a nd bumper 7mm±0.5mmHe ight diffe re nce of pa rts which is bila teral symme try
on the outside bodyNo more than 5mmHeight of trunk lid limit bloc k is proper. He ight of the
se a ling strip when the trunk lid is loc ked12mm