Page 2800 of 3229
Lighting
80
L
Halogen dipped and main beam With the headlamp unit removed :-
1. Unclip the locking lever, press down the
two tabs, and remove the cover.
2. Pull the halogen dipped beam electrical
connector off of the bulb.
3. Unclip the bulb and remove it from the
unit.
4. Pull the halogen main beam electrical
connector off of the bulb.
5. Unclip the bulb and remove it from the
unit.
2
3
1
4
5
E80993
Page 2801 of 3229
81
Lighting
R
Side lamp and indicator bulbs
With the headlamp unit removed :-
1. Remove cover.
2. Twist the side lamp bulb holder and
remove it from the lamp unit.
3. Pull the bulb out of the holder.
4. Twist the indicato r bulb holder, and
remove it from the lamp unit.
5. Press the bulb into the holder, then twist it
and remove from the holder.Front fog lamp
1. Remove the trim from the fog lamp.
2. Undo the three retaining screws, and
remove the lamp unit.
3. Rotate the bulb holder (anti-clockwise)
and remove from the lamp unit.
4. Press the two clips together, and remove
the electrical connection.
E80995
2
3
4
5
1
1
22
2
E80999
2
3
4
Page 2802 of 3229
Lighting
82
L
Removing the rear lamp unit
In order to change a re ar lamp unit bulb, you
must first remove the rear lamp.
To remove the rear lamp :-
1. Undo, and remove the two retaining
screws.
2. Remove the lamp unit and disconnect the
electrical connection.
Rear lamp bulbs
1. Stop/tail lamp.
2. Direction indicator.
3. Reverse lamp.
4. Rear fog lamp.
All of the rear lamp bulbs are removed in the
same way.
• Rotate the bulb holder (anti-clockwise)
and remove from the lamp unit.
• Press the bulb into the holder, rotate it, and
remove from holder.
CAUTION
Do not place the lamp unit face down
on hard or abrasive surfaces. Doing so
may scratch the surface of the lens.
2
1
E80992
2
1
1
E80996
1
3
2
4
Page 2810 of 3229

Wipers and washers
90
L
Blocked jets
If a washer jet becomes blocked, use a thin
strand of wire to unblock the jet by inserting
the wire into the jet. Ensure that the wire is
completely remove d after unblocking.
CHECKING THE WIPER BLADES
The wiping edge of the blades should be
checked, and cleaned pe riodically. Check the
blade rubber for cracks , splits, and roughness.
If any damage, wear, or roughness is detected
the blade should be repl aced immediately to
prevent damage to the glass.
Clean the blade edge by wiping with a soft cloth
or sponge, using warm soapy water.
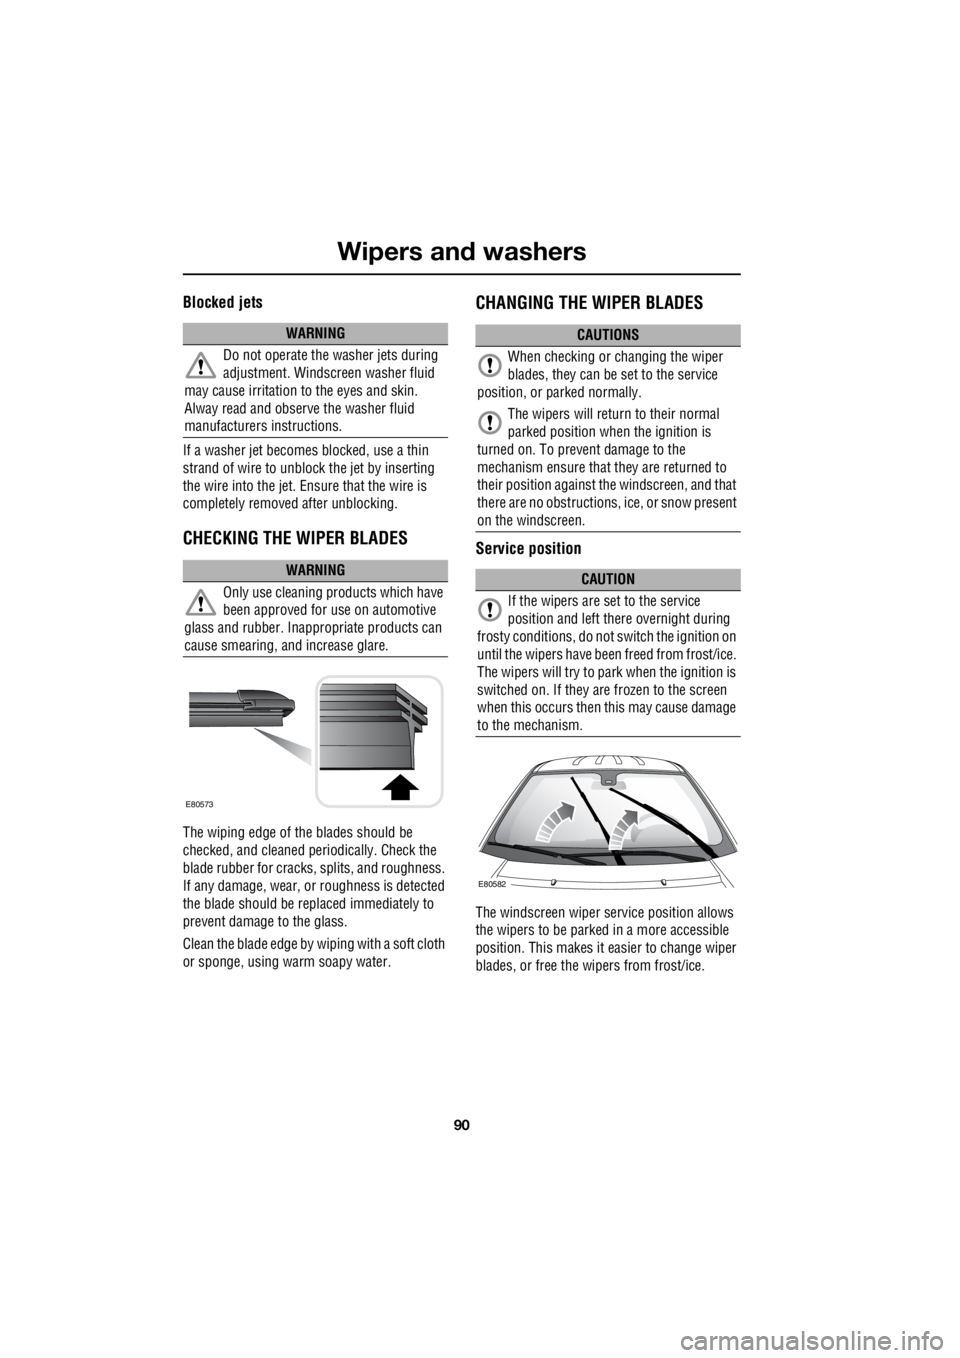
CHANGING THE WIPER BLADES
Service position
The windscreen wiper se rvice position allows
the wipers to be parked in a more accessible
position. This makes it ea sier to change wiper
blades, or free the wipers from frost/ice.
WARNING
Do not operate the washer jets during
adjustment. Windscreen washer fluid
may cause irritation to the eyes and skin.
Alway read and observe the washer fluid
manufacturers instructions.
WARNING
Only use cleaning pr oducts which have
been approved for use on automotive
glass and rubber. Inappr opriate products can
cause smearing, and increase glare.
E80573
CAUTIONS
When checking or changing the wiper
blades, they can be set to the service
position, or parked normally.
The wipers will return to their normal
parked position when the ignition is
turned on. To prevent damage to the
mechanism ensure that they are returned to
their position against th e windscreen, and that
there are no obstructions, ice, or snow present
on the windscreen.
CAUTION
If the wipers are set to the service
position and left there overnight during
frosty conditions, do not switch the ignition on
until the wipers have been freed from frost/ice.
The wipers will try to park when the ignition is
switched on. If they are frozen to the screen
when this occurs then this may cause damage
to the mechanism.
E80582
Page 2813 of 3229

93
Windows and mirrors
R
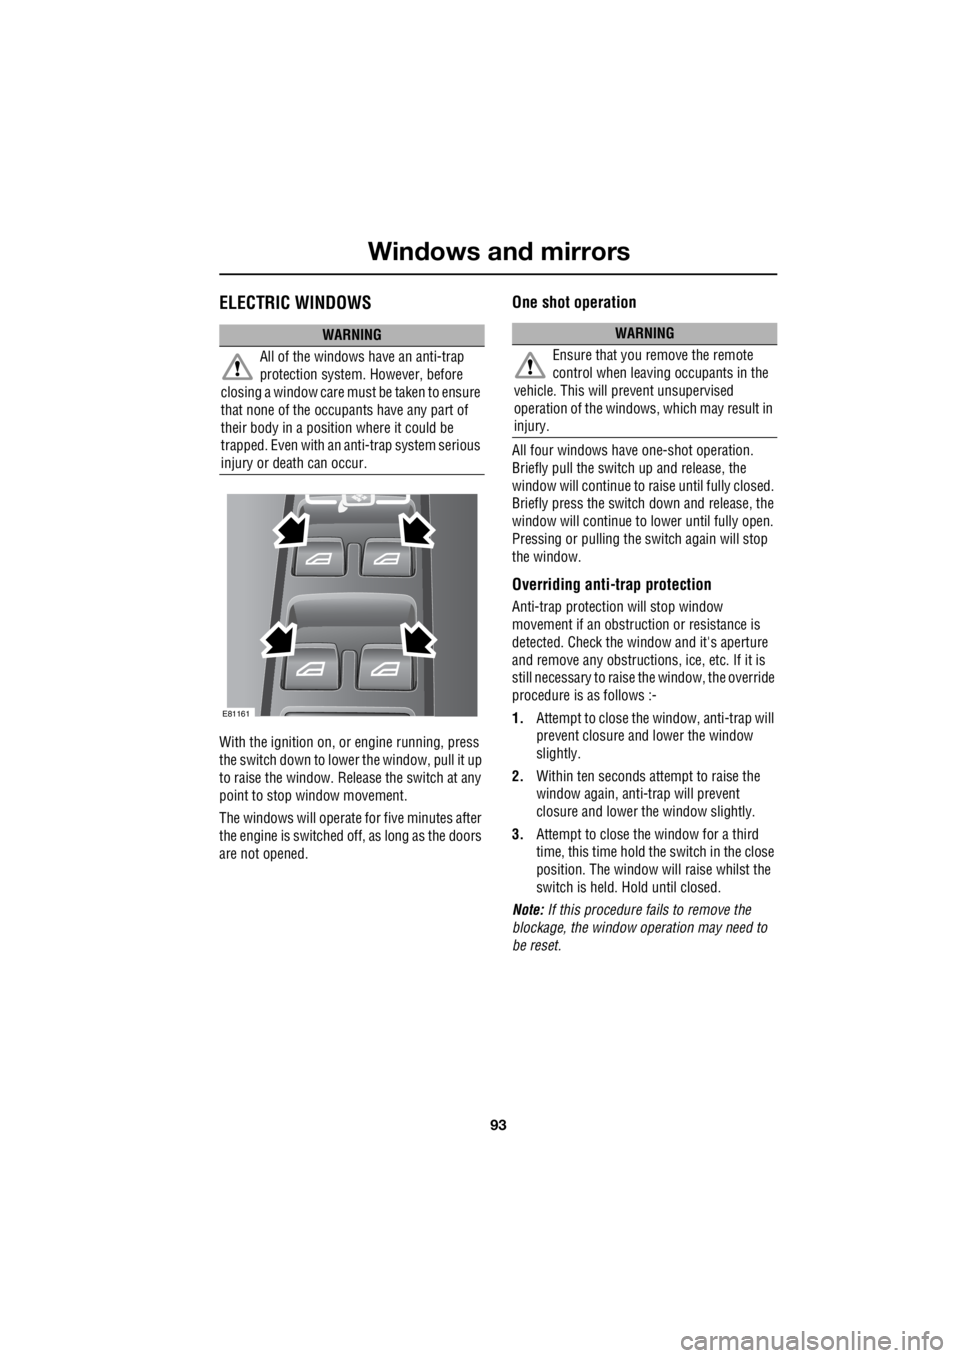
Windows and mirrorsELECTRIC WINDOWS
With the ignition on, or engine running, press
the switch down to lower the window, pull it up
to raise the window. Release the switch at any
point to stop window movement.
The windows will operate for five minutes after
the engine is switched off, as long as the doors
are not opened.
One shot operation
All four windows have one-shot operation.
Briefly pull the switch up and release, the
window will continue to raise until fully closed.
Briefly press the switch down and release, the
window will continue to lower until fully open.
Pressing or pulling the switch again will stop
the window.
Overriding anti-trap protection
Anti-trap protection will stop window
movement if an obstruction or resistance is
detected. Check the window and it's aperture
and remove any obstructions , ice, etc. If it is
still necessary to raise the window, the override
procedure is as follows :-
1. Attempt to close the window, anti-trap will
prevent closure and lower the window
slightly.
2. Within ten seconds attempt to raise the
window again, anti-trap will prevent
closure and lower the window slightly.
3. Attempt to close the window for a third
time, this time hold the switch in the close
position. The window will raise whilst the
switch is held. Hold until closed.
Note: If this procedure fails to remove the
blockage, the window operation may need to
be reset.
WARNING
All of the windows have an anti-trap
protection system. However, before
closing a window care must be taken to ensure
that none of the occupa nts have any part of
their body in a position where it could be
trapped. Even with an anti-trap system serious
injury or death can occur.
E81161
WARNING
Ensure that you remove the remote
control when leaving occupants in the
vehicle. This will prevent unsupervised
operation of the windows, which may result in
injury.
Page 2816 of 3229

Windows and mirrors
96
L
Note: If the mirrors are folded manually, or
knocked into the folded position accidentally,
the mirror head will be loose. To re-engage the
mechanism, fold, then unfold the mirrors using
the switches.
The system is protected by a thermal cut-out
which will temporarily disable the powerfold
feature if the switches are operated repeatedly.
If the cut-out operates when the mirrors are
folded, they can be unfolded manually.
Powerfold will only opera te if the vehicle is
stationary, or travelling at 20 km/h (12 mph) or
less.
Automatic folding The mirrors can be configured by
your land Rover De aler/Authorised
repairer to automa tically fold when
the vehicle is locked, and unfold when it is
unlocked.
Note: If the mirrors were folded using the
switches, they will not unfold when the vehicle
is unlocked.
Mirror dip when reversing
When reverse gear is selected the driver and
passenger door mirrors are automatically
adjusted to provide an improved viewing angle
for reversing.
The exact dipped position can be adjusted
when the mirrors are dipped. The next time
reverse is selected, the newly adjusted position
will be selected.
When the gear selector is moved out of
reverse, the mirrors will return to their previous
position.
INTERIOR MIRROR
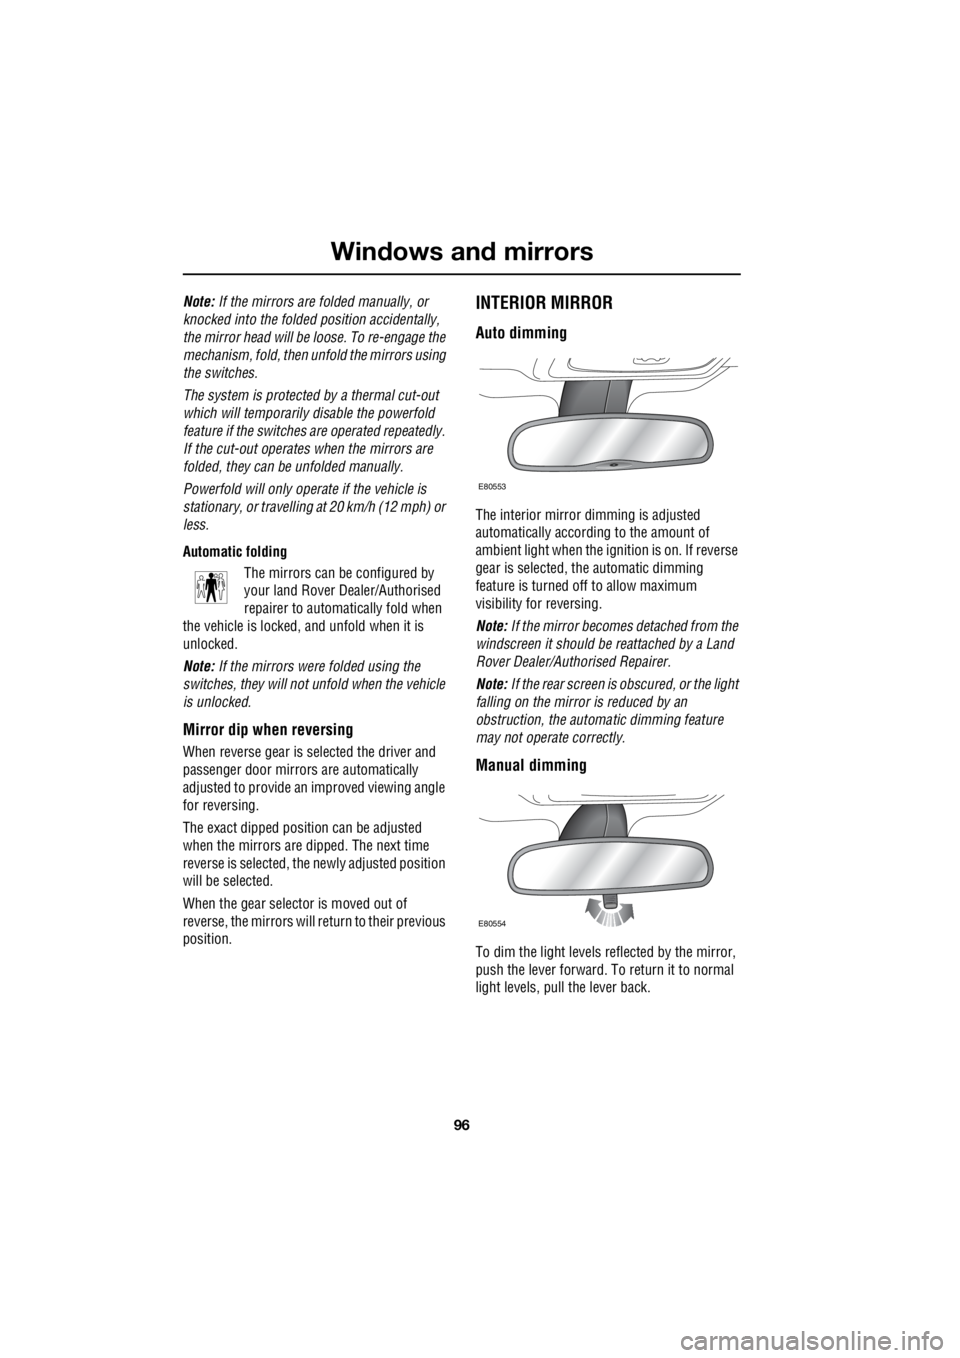
Auto dimming
The interior mirror dimming is adjusted
automatically according to the amount of
ambient light when the i gnition is on. If reverse
gear is selected, the automatic dimming
feature is turned off to allow maximum
visibility for reversing.
Note: If the mirror becomes detached from the
windscreen it should be reattached by a Land
Rover Dealer/Authorised Repairer.
Note: If the rear screen is obscured, or the light
falling on the mirror is reduced by an
obstruction, the automa tic dimming feature
may not operate correctly.
Manual dimming
To dim the light levels re flected by the mirror,
push the lever forward. To return it to normal
light levels, pull the lever back.
E80553
E80554
Page 2827 of 3229
107
Convenience features
R
Convenience featuresSUN VISORS
CLOCK
The clock is set through the audio system.
Setting the clock - Premium audio
1. Switch on the audio system, by pressing
the volume rotary control. 2.
Press the MENU button to access the
function menu.
E82085
Premium
6CD
E82914
100.71 12 3 4 6CD 1Track 1 00:01 1:51P
PTY1
E82981
Page 2828 of 3229

Convenience features
108
L
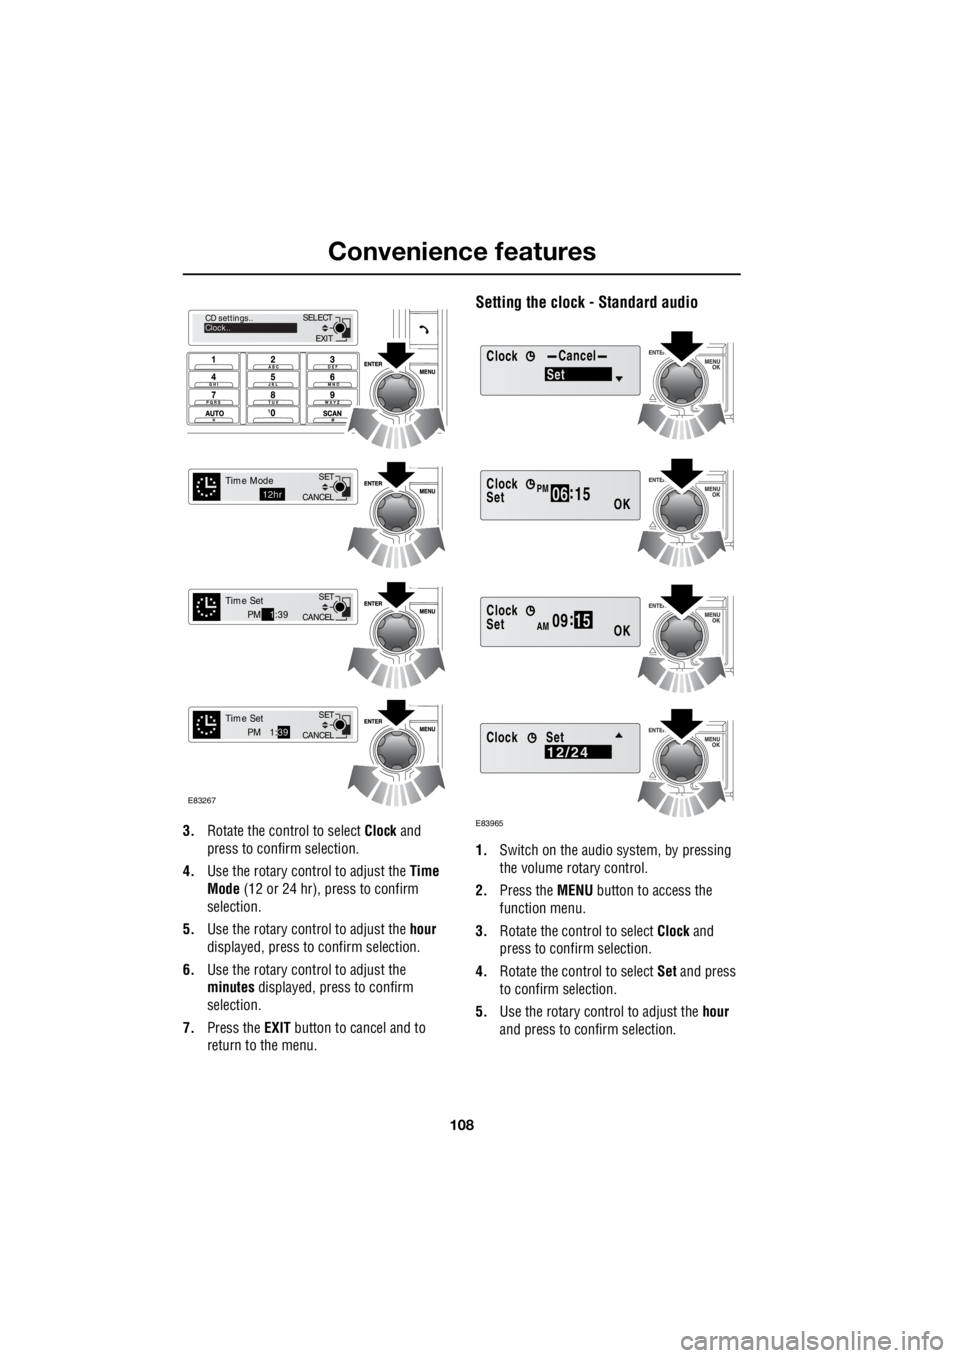
3. Rotate the control to select Clock and
press to confirm selection.
4. Use the rotary control to adjust the Time
Mode (12 or 24 hr), press to confirm
selection.
5. Use the rotary control to adjust the hour
displayed, press to confirm selection.
6. Use the rotary control to adjust the
minutes displayed, press to confirm
selection.
7. Press the EXIT button to cancel and to
return to the menu.
Setting the clock - Standard audio
1. Switch on the audio system, by pressing
the volume rotary control.
2. Press the MENU button to access the
function menu.
3. Rotate the control to select Clock and
press to confirm selection.
4. Rotate the control to select Set and press
to confirm selection.
5. Use the rotary control to adjust the hour
and press to c onfirm selection.
EXIT
SELECT
CD settings..
Clock..
CANCEL SET
Time Mode12hr
CANCELSET
Time SetPM
1:39
CANCEL SET
Time SetPM 1:
39
E83267
ClockCancel
Set
Clock
OK06 :
15SetPM
Clock
OK09 :
15SetAM
E83965
Clock12/24Set