2006 DODGE RAM SRT-10 service
[x] Cancel search: servicePage 453 of 5267

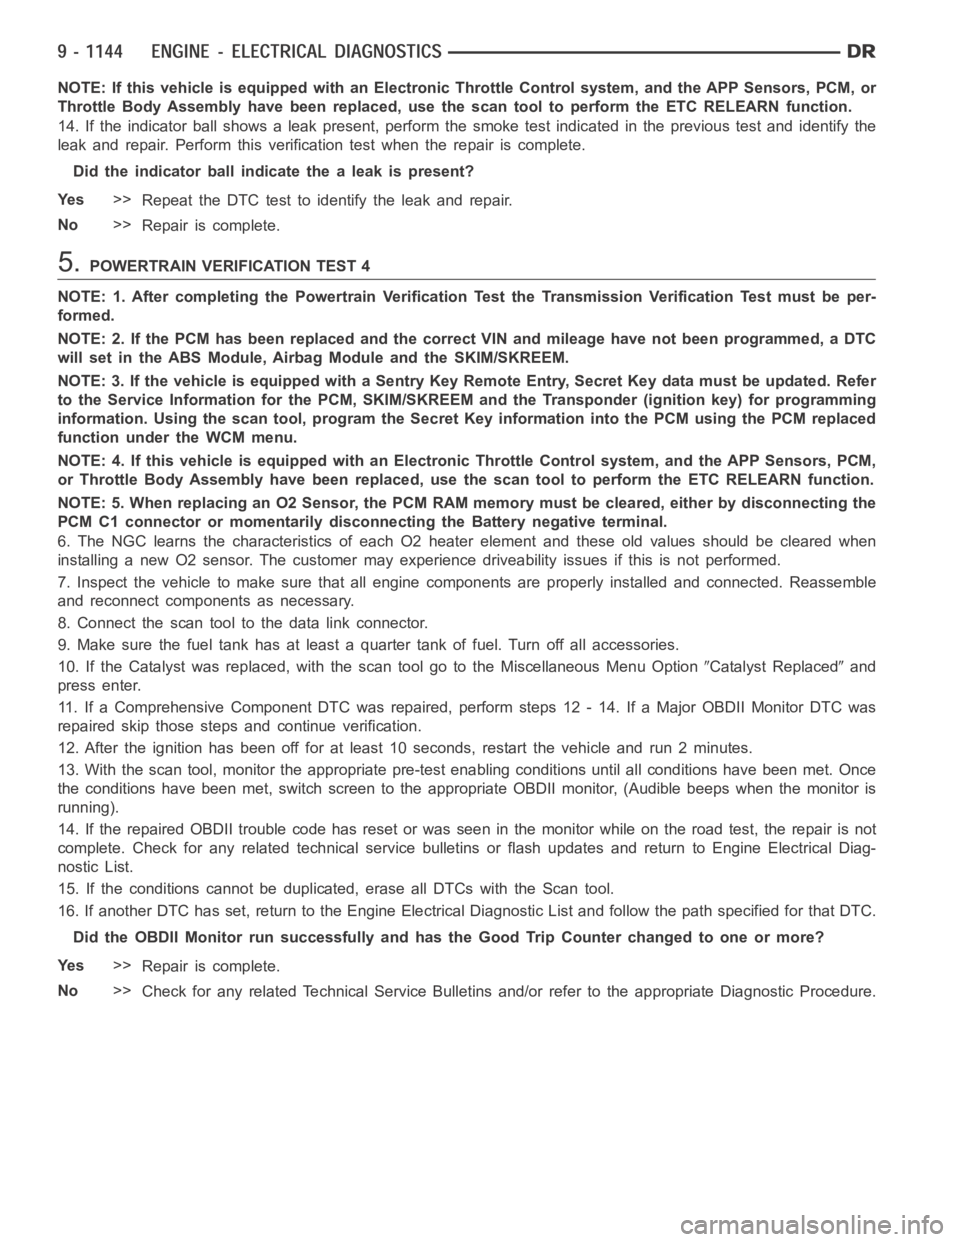
NOTE: If this vehicle is equipped with an Electronic Throttle Control system, and the APP Sensors, PCM, or
Throttle Body Assembly have been replaced, use the scan tool to perform theETC RELEARN function.
14. If the indicator ball shows a leak present, perform the smoke test indicated in the previous test and identify the
leak and repair. Perform this verification test when the repair is complete.
Didtheindicatorballindicatethealeakispresent?
Ye s>>
Repeat the DTC test to identify the leak and repair.
No>>
Repair is complete.
5.POWERTRAIN VERIFICATION TEST 4
NOTE: 1. After completing the Powertrain Verification Test the Transmission Verification Test must be per-
formed.
NOTE: 2. If the PCM has been replaced and the correct VIN and mileage have notbeen programmed, a DTC
will set in the ABS Module, Airbag Module and the SKIM/SKREEM.
NOTE: 3. If the vehicle is equipped with a Sentry Key Remote Entry, Secret Key data must be updated. Refer
to the Service Information for the PCM, SKIM/SKREEM and the Transponder (ignition key) for programming
information. Using the scan tool, program the Secret Key information intothe PCM using the PCM replaced
function under the WCM menu.
NOTE: 4. If this vehicle is equipped with an Electronic Throttle Control system, and the APP Sensors, PCM,
or Throttle Body Assembly have been replaced, use the scan tool to perform the ETC RELEARN function.
NOTE: 5. When replacing an O2 Sensor, the PCM RAM memory must be cleared, either by disconnecting the
PCM C1 connector or momentarily disconnecting the Battery negative terminal.
6. The NGC learns the characteristics of each O2 heater element and these old values should be cleared when
installing a new O2 sensor. The customermay experience driveability issues if this is not performed.
7. Inspect the vehicle to make sure that all engine components are properlyinstalled and connected. Reassemble
and reconnect components as necessary.
8. Connect the scan tool to the data link connector.
9. Make sure the fuel tank has at least a quarter tank of fuel. Turn off all accessories.
10. If the Catalyst was replaced, with the scan tool go to the MiscellaneousMenu Option
Catalyst Replacedand
press enter.
11. If a Comprehensive Component DTC was repaired, perform steps 12 - 14. Ifa Major OBDII Monitor DTC was
repaired skip those steps and continue verification.
12. After the ignition has been off for at least 10 seconds, restart the vehicle and run 2 minutes.
13. With the scan tool, monitor the appropriate pre-test enabling conditions until all conditions have been met. Once
the conditions have been met, switch screen to the appropriate OBDII monitor, (Audible beeps when the monitor is
running).
14. If the repaired OBDII trouble code has reset or was seen in the monitor while on the road test, the repair is not
complete. Check for any related technical service bulletins or flash updates and return to Engine Electrical Diag-
nostic List.
15. If the conditions cannot be duplicated, erase all DTCs with the Scan tool.
16. If another DTC has set, return to the Engine Electrical Diagnostic Listand follow the path specified for that DTC.
Did the OBDII Monitor run successfully and has the Good Trip Counter changed to one or more?
Ye s>>
Repair is complete.
No>>
Check for any related Technical Service Bulletins and/or refer to the appropriate Diagnostic Procedure.
Page 461 of 5267

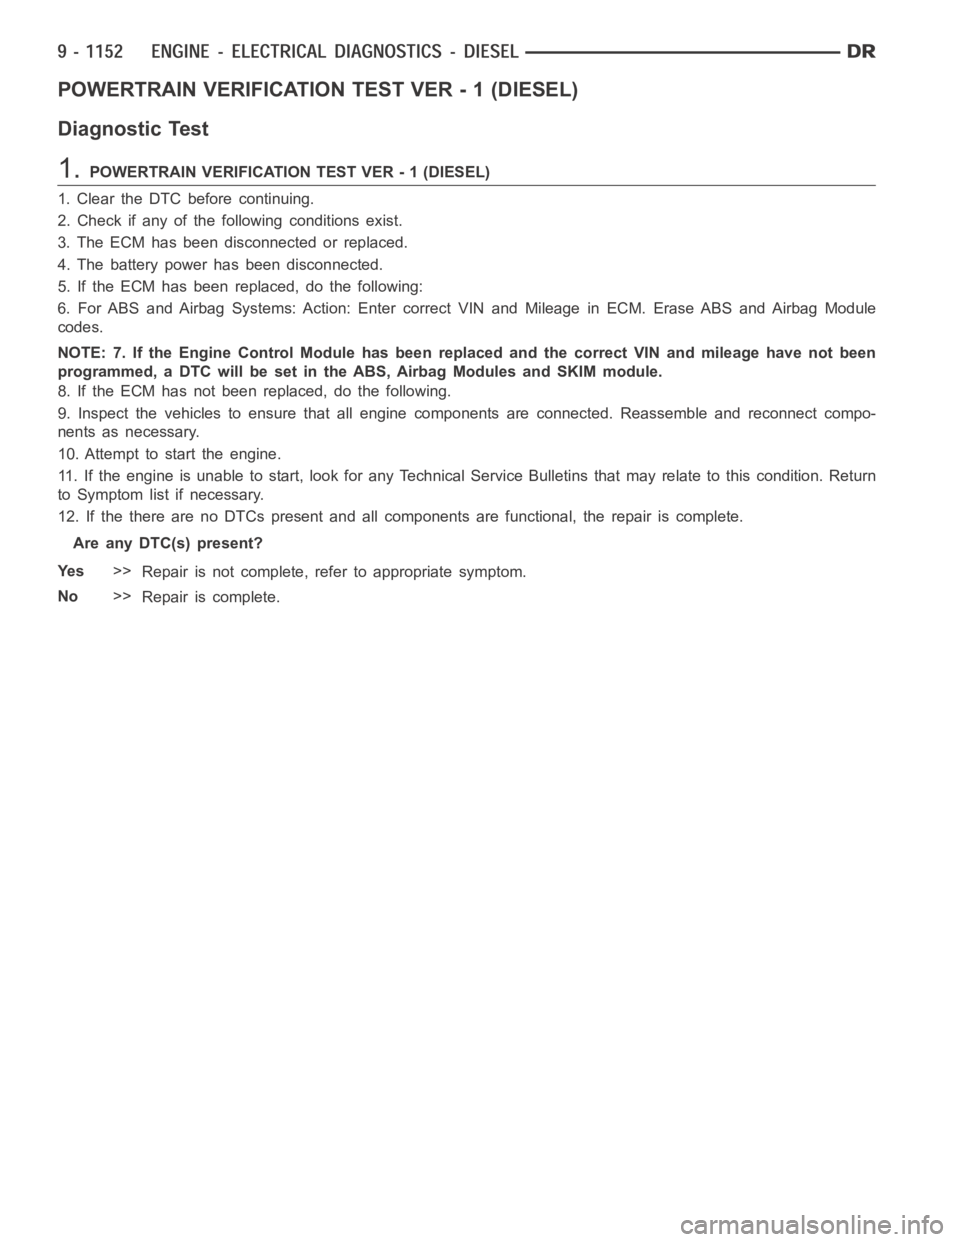
POWERTRAIN VERIFICATION TEST VER - 1 (DIESEL)
Diagnostic Test
1.POWERTRAIN VERIFICATION TEST VER - 1 (DIESEL)
1. Clear the DTC before continuing.
2. Check if any of the following conditions exist.
3. The ECM has been disconnected or replaced.
4. The battery power has been disconnected.
5. If the ECM has been replaced, do the following:
6. For ABS and Airbag Systems: Action: Enter correct VIN and Mileage in ECM.Erase ABS and Airbag Module
codes.
NOTE: 7. If the Engine Control Module has been replaced and the correct VIN and mileage have not been
programmed, a DTC will be set in the ABS, Airbag Modules and SKIM module.
8. If the ECM has not been replaced, do the following.
9. Inspect the vehicles to ensure that all engine components are connected. Reassemble and reconnect compo-
nents as necessary.
10. Attempt to start the engine.
11. If the engine is unable to start, look for any Technical Service Bulletins that may relate to this condition. Return
to Symptom list if necessary.
12. If the there are no DTCs present and all components are functional, the repair is complete.
Are any DTC(s) present?
Ye s>>
Repair is not complete, refer to appropriate symptom.
No>>
Repair is complete.
Page 462 of 5267

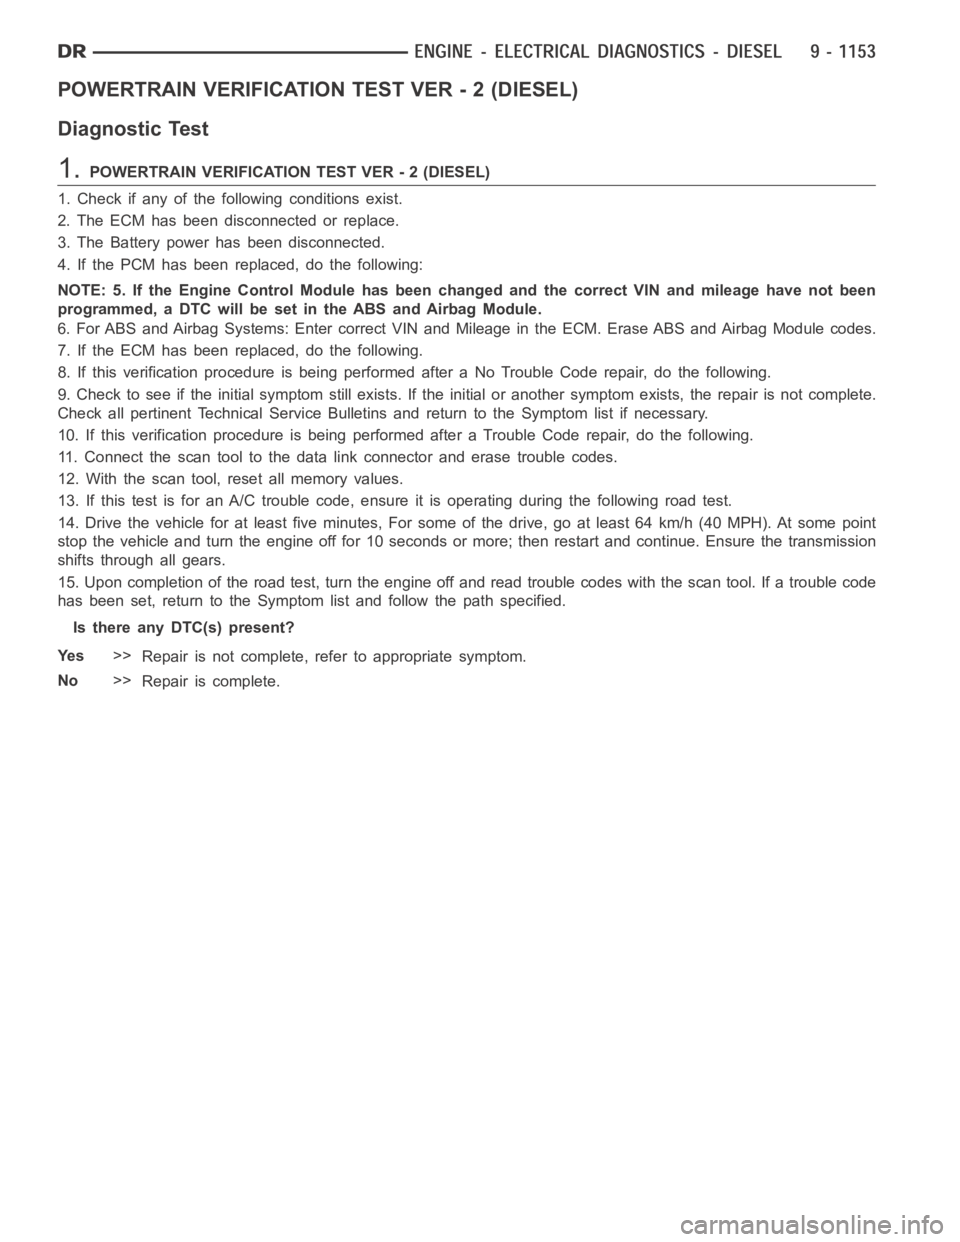
POWERTRAIN VERIFICATION TEST VER - 2 (DIESEL)
Diagnostic Test
1.POWERTRAIN VERIFICATION TEST VER - 2 (DIESEL)
1. Check if any of the following conditions exist.
2. The ECM has been disconnected or replace.
3. The Battery power has been disconnected.
4. If the PCM has been replaced, do the following:
NOTE: 5. If the Engine Control Module has been changed and the correct VIN and mileage have not been
programmed, a DTC will be set in the ABS and Airbag Module.
6. For ABS and Airbag Systems: Enter correct VIN and Mileage in the ECM. Erase ABS and Airbag Module codes.
7. If the ECM has been replaced, do the following.
8. If this verification procedure is being performed after a No Trouble Code repair, do the following.
9. Check to see if the initial symptom still exists. If the initial or another symptom exists, the repair is not complete.
Check all pertinent Technical Service Bulletins and return to the Symptomlist if necessary.
10. If this verification procedure is being performed after a Trouble Coderepair, do the following.
11. Connect the scan tool to the data link connector and erase trouble codes.
12. With the scan tool, reset all memory values.
13. If this test is for an A/C trouble code, ensure it is operating during thefollowing road test.
14. Drive the vehicle for at least five minutes, For some of the drive, go at least 64 km/h (40 MPH). At some point
stop the vehicle and turn the engine off for 10 seconds or more; then restartand continue. Ensure the transmission
shifts through all gears.
15. Upon completion of the road test, turn the engine off and read trouble codeswiththescantool.Ifatroublecode
has been set, return to the Symptom list and follow the path specified.
Is there any DTC(s) present?
Ye s>>
Repair is not complete, refer to appropriate symptom.
No>>
Repair is complete.
Page 465 of 5267

POWERTRAIN VERIFICATION TEST VER - 5 (DIESEL)
Diagnostic Test
1.POWERTRAIN VERIFICATION TEST VER - 5 (DIESEL)
1. Check if any of the following conditions exist.
2. The ECM has been disconnected or replace.
3. The Battery power has been disconnected.
4. Inspect the vehicle to ensure that all engine components are properly installed and connected. Reassemble and
reconnect components as necessary.
5. If any existing diagnostic trouble codes have not been repaired, go to Symptom List and follow path specified.
6. Connect the scan tool to the data link connector.
7. Ensure the fuel tank has at least a quarter tank of fuel. Turn off all accessories.
8. Perform steps 15 through 17 if the PCM has been replaced. Then proceed with the verification. If the ECM has
not been replaced skip those steps and continue verification.
9. If ECM has been changed and correct VIN and mileage have not been programmed, a DTC will be set in ABS
and Air bag modules. In addition, if vehicle is equipped with a Sentry Key Immobilizer Module (SKIM), Secret Key
data must be updated to enable start.
10. For ABS and Air Bag systems: Enter correct VIN and Mileage in ECM. Erase codes in ABS and Air Bag mod-
ules.
11. For SKIM theft alarm: Connect scan tool to data link connector to Theft Alarm, SKIM, Misc. and place SKIM in
secured access mode by using appropriate PIN code for this vehicle. SelectUpdate the Secret Key data. Data will
be transferred from SKIM to PCM.
12. If a Comprehensive Component DTC was repaired, perform steps 10-13. Ifa Major OBDII Monitor DTC was
repaired skip those steps and continue verification.
13. After the ignition has been off for at least 10 seconds, restart the vehicle and run 2 minutes.
14. If there are no new DTC’s, the repair was successful and is now complete.Erase DTC’s and disconnect the
scan tool.
15. If the repaired DTC has reset, the repair is not complete. Check for any related TSB’s or flash updates and
return to the Symptom list.
16. If another DTC has set, return to the Symptom List and follow the path specified for that DTC.
17. With the scan tool, monitor the appropriate pre-test enabling conditions until all conditions have been met. Once
the conditions have been met, switch screen to the appropriate OBDII monitor, (Audible beeps when the monitor is
running).
18. If the monitor ran, the repair was successful and is now complete. EraseDTC’s and disconnect the scan tool.
19. If the repaired OBDII trouble code has reset or was seen in the monitor while on the road test, the repair is not
complete. Check for any related technical service bulletins or flash updates and return to Symptom List.
20. If another DTC has set, return to the Symptom List and follow the path specified for that DTC.
Is any DTC(s) present?
Ye s>>
Repair is not complete, refer to appropriate symptom.
No>>
Repair is complete.
Page 466 of 5267

INTERMITTENT CONDITION
For a complete wiring diagramRefer to Section 8W.
POSSIBLE CAUSES
INTERMITTENT CONDITION
Diagnostic Test
1.INTERMITTENT CONDITION
NOTE: The conditions that set the DTC are not present at this time. The following list may help in identi-
fying the intermittent condition.
WARNING: When the engine is operating, do not stand in direct line with the fan. Do not put your hands
near the pulleys, belts, or fan. Do notwear loose clothing. Failure to follow these instructions can result in
personal injury or death.
Refer to any Technical Service Bulletins (TSBs) that may apply.
Review the scan tool Freeze Frame information. If possible, try to duplicate the conditions under which the DTC set.
With the engine running at normal operating temperature, monitor the scantool parameters relatedtotheDTCwhile
wiggling the wire harness. Look for parameter values to change and/or a DTCto set.
Turn the ignition off.
Visually inspect the related wire harness. Disconnect all the related harness connectors. Look for any chafed,
pierced, pinched, partially broken wires and broken, bent, pushed out, orcorroded terminals.
Perform a voltage drop test on the related circuits between the suspected faulty component and the ECM.
Inspect and clean all ECM, engine, and chassis grounds that are related to the most current DTC.
If numerous trouble codes were set, use a wire schematic and look for any common ground or supply circuits.
For any Relay DTCs, actuate the Relay with the scan tool and wiggle the related wire harness to try to interrupt the
actuation.
For intermittent Evaporative Emission trouble codes perform a visual andphysical inspection of the related parts
including hoses and the Fuel Filler cap.
For intermittent Misfire DTC’s check for restrictions in the Intake and Exhaust system, proper installation of Sensors,
vacuum leaks, and binding components that are run by the accessory drive belt.
Use the scan tool to perform a System Test if one applies to failing component.
A co-pilot, data recorder, and/or lab scope should be used to help diagnoseintermittent conditions.
Were any problems found during the above inspections?
Ye s>>
Perform the necessary repairs.
Perform POWERTRAIN VERIFICATION TEST VER - 1 (DIESEL).
No>>
Te s t C o m p l e t e .
Page 468 of 5267

When Monitored:
While Engine is running.
Set Condition:
When the engine speed detected by the Engine Position Sensor (cam) and the Engine Speed Sensor (crank)
differ by a specified RPM amount.
Possible Causes
DAMAGE TO THE ESS OR EPS
MECHANICAL MISALIGNMENT OF THE ESS OR EPS
MECHANICAL MISALIGNMENT OF THE CAMSHAFT AND CRANKSHAFT GEARS
INTERMITTENT CONDITION
Diagnostic Test
1.DAMAGE TO THE ESS OR EPS
Visually inspect the condition of the tone wheel, ESS, and EPS for damage.
Are any of the components damaged?
Ye s>>
Repair or replace any damaged component.
Perform POWERTRAIN VERIFICATION TEST VER - 1 (DIESEL). (Refer to 9 - ENGINE- DIAGNOSIS
AND TESTING)
No>>
Go To 2
2.MECHANICAL MISALIGNMENT OF THE ESS OR EPS
Verify the speed indicator ring is properly positioned relative to the locating pin in the front face of the crankshaft.
Is the speed indicator ring properly installed?
Ye s>>
Go To 3
No>>
Repair the speed ring indicator ring installation.
Perform POWERTRAIN VERIFICATION TEST VER - 1 (DIESEL). (Refer to 9 - ENGINE- DIAGNOSIS
AND TESTING)
3.MECHANICAL MISALIGNMENT OF THE CAMSHAFT AND CRANKSHAFT GEARS
Check the mechanical alignment of the camshaft gear to the crankshaft gear. Refer to service manual for assis-
tance.
Are the gear teeth in proper alignment?
Ye s>>
Refer to the INTERMITTENT CONDITION Symptom (Diagnostic Procedure). (Refer to 9 - ENGINE -
DIAGNOSIS AND TESTING)
No>>
Repair the gear alignment.
Perform POWERTRAIN VERIFICATION TEST VER - 1 (DIESEL). (Refer to 9 - ENGINE- DIAGNOSIS
AND TESTING)
Page 471 of 5267

4.BOOST PRESSURE SENSOR
Using the scan tool, read the boost pressure sensor value.
Is the Boost pressure sensor reading consistent with the barometric pressure for the geographic
region?
Ye s>>
Go To 5
No>>
Relace the Boost pressure sensor.
Perform POWERTRAIN VERIFICATION TEST VER - 1 (DIESEL). (Refer to 9 - ENGINE- DIAGNOSIS
AND TESTING)
5.INTERMITTENT CONDITION
The conditions necessary to set this DTC are not present at this time.
Using the schematics as a guide, inspect the wiring and connectors specifictothiscircuit.
Wiggle the wiring and connectors while checking for any possible open or shorted circuits.
Check for any Service Information Tune-ups or Technical Service Bulletins that may apply.
Were there any problems found?
Ye s>>
Repair as necessary.
Perform POWERTRAIN VERIFICATION TEST VER - 1 (DIESEL). (Refer to 9 - ENGINE- DIAGNOSIS
AND TESTING)
No>>
Te s t C o m p l e t e .
Page 593 of 5267

When Monitored:
Whileengineisrunning.
Set Condition:
The boost pressure is lower than the expected boost pressure based on engine operating conditions.
Possible Causes
OTHER DTC’S
INTAKE AIR SYSTEM RESTRICTION
TURBO CHARGER DAMAGED
INTAKE AIR SYSTEM LEAK
BOOST PRESSURE SENSOR
BOOST PRESSURE SENSOR
TURBOCHARGER
INTERMITTENT CONDITION
Always perform the Pre-Diagnostic Troubleshooting procedure before proceeding. (Refer to 9 - ENGINE -
DIAGNOSIS AND TESTING)
Diagnostic Test
1.OTHER DTC’S
Turn the ignition on.
With the scan tool, read the Engine DTC’s.
Do you have other DTC’s?
Ye s>>
Repair other boost related DTC’s first.
Perform POWERTRAIN VERIFICATION TEST VER - 1 (DIESEL). (Refer to 8 - ELECTRICAL/ELEC-
TRONIC CONTROL MODULES/ENGINE CONTROL MODULE - DIAGNOSIS AND TESTING)
No>>
Go To 2
2.INTAKE AIR SYSTEM RESTRICTION
Inspect the air filter and intake air system for signs of restriction.
Were any restrictions found?
Ye s>>
Replace the Air Filter or repair the Intake air system for restriction.
Perform POWERTRAIN VERIFICATION TEST VER - 1 (DIESEL). (Refer to 8 - ELECTRICAL/ELEC-
TRONIC CONTROL MODULES/ENGINE CONTROL MODULE - DIAGNOSIS AND TESTING)
No>>
Go To 3
3.TURBO CHARGER DAMAGED
Disconnect the air cleaner connection to the turbo charger.
Using the service manual as a guide, visually inspect the turbo charger blades and turbo housing for signs of dam-
age.
Was any damaged found?
Ye s>>
Replace The Turbo charger.
Perform POWERTRAIN VERIFICATION TEST VER - 1 (DIESEL). (Refer to 8 - ELECTRICAL/ELEC-
TRONIC CONTROL MODULES/ENGINE CONTROL MODULE - DIAGNOSIS AND TESTING)
No>>
Go To 4