2006 DODGE RAM SRT-10 sensor
[x] Cancel search: sensorPage 4950 of 5267
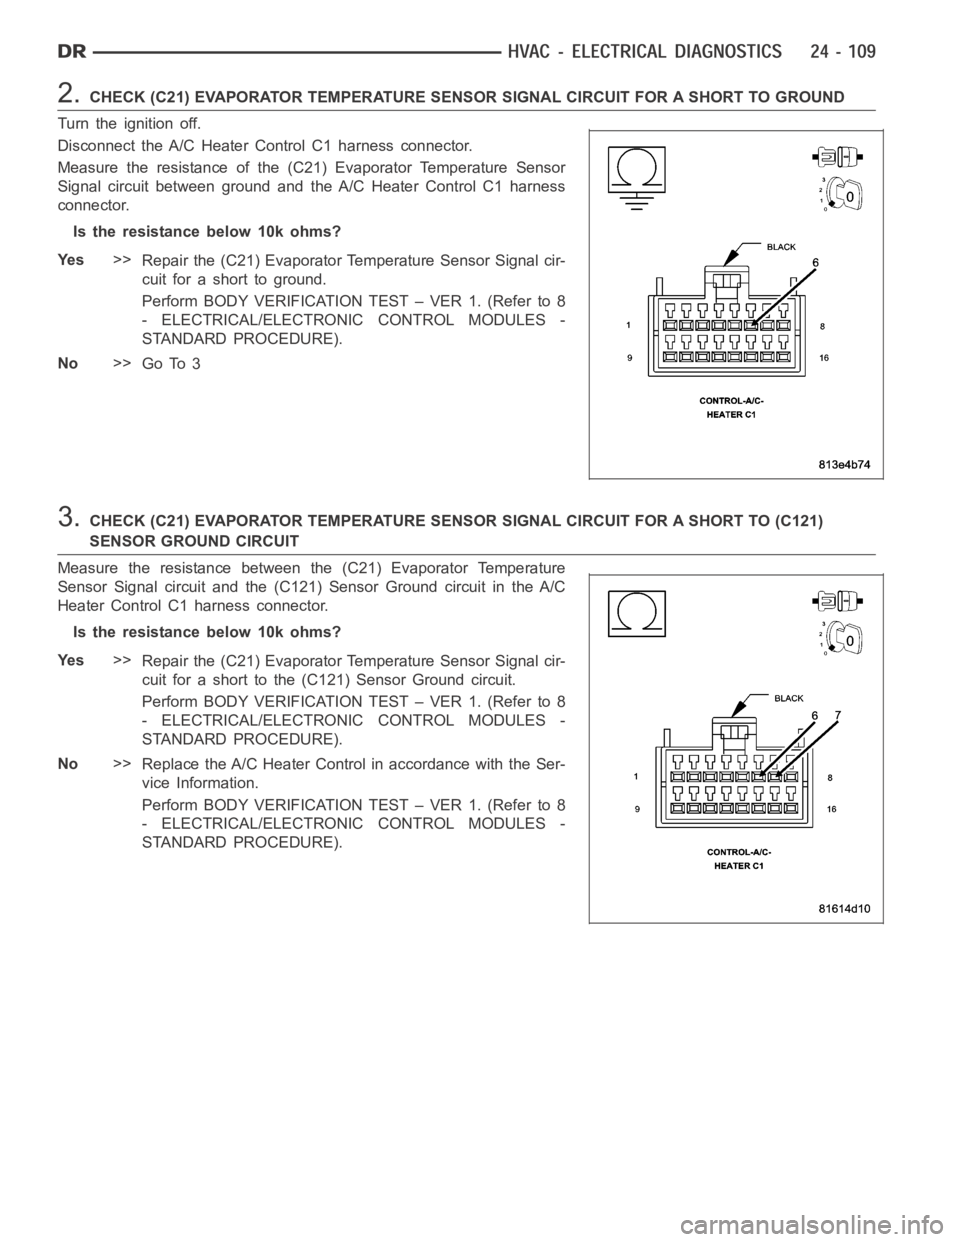
2.CHECK (C21) EVAPORATOR TEMPERATURE SENSOR SIGNAL CIRCUIT FOR A SHORT TO GROUND
Turn the ignition off.
Disconnect the A/C Heater Control C1 harness connector.
Measure the resistance of the (C21) Evaporator Temperature Sensor
Signal circuit between ground and the A/C Heater Control C1 harness
connector.
Istheresistancebelow10kohms?
Ye s>>
Repair the (C21) Evaporator Temperature Sensor Signal cir-
cuit for a short to ground.
Perform BODY VERIFICATION TEST – VER 1. (Refer to 8
- ELECTRICAL/ELECTRONIC CONTROL MODULES -
STANDARD PROCEDURE).
No>>
Go To 3
3.CHECK (C21) EVAPORATOR TEMPERATURE SENSOR SIGNAL CIRCUIT FOR A SHORT TO (C121)
SENSOR GROUND CIRCUIT
Measure the resistance between the (C21) Evaporator Temperature
Sensor Signal circuit and the (C121) Sensor Ground circuit in the A/C
Heater Control C1 harness connector.
Istheresistancebelow10kohms?
Ye s>>
Repair the (C21) Evaporator Temperature Sensor Signal cir-
cuit for a short to the (C121) Sensor Ground circuit.
Perform BODY VERIFICATION TEST – VER 1. (Refer to 8
- ELECTRICAL/ELECTRONIC CONTROL MODULES -
STANDARD PROCEDURE).
No>>
Replace the A/C Heater Control in accordance with the Ser-
vice Information.
Perform BODY VERIFICATION TEST – VER 1. (Refer to 8
- ELECTRICAL/ELECTRONIC CONTROL MODULES -
STANDARD PROCEDURE).
Page 4951 of 5267

B1032–EVAPORATOR TEMPERATURE SENSOR CIRCUIT HIGH
For a complete wiring diagramRefer to Section 8W.
Page 4952 of 5267
When Monitored:
With the ignition on.
Set Condition:
If the Evaporator Temperature Sensor input is out of range toward the high voltage threshold, (A/D counts
reach high threshold of 253). This DTC has a maturing time of 5 seconds and a de-maturing time of 10 sec-
onds. If the DTC’s status changes from active to stored it will stay in memory for 100 ignition cycles.
Possible Causes
(C21) EVAPORATOR TEMPERATURE SENSOR SIGNAL CIRCUIT SHORTED TO VOLTAGE
(C21) EVAPORATOR TEMPERATURE SENSOR SIGNAL CIRCUIT OPEN
(C121) SENSOR GROUND CIRCUIT OPEN
EVAPORATOR TEMPERATURE SENSOR
A/C HEATER CONTROL
NOTE: This DTC must be active for the results of this test to be valid. Do not perform this test if this DTC
is stored. Refer to HVAC System Test for stored DTC test procedures.
Diagnostic Test
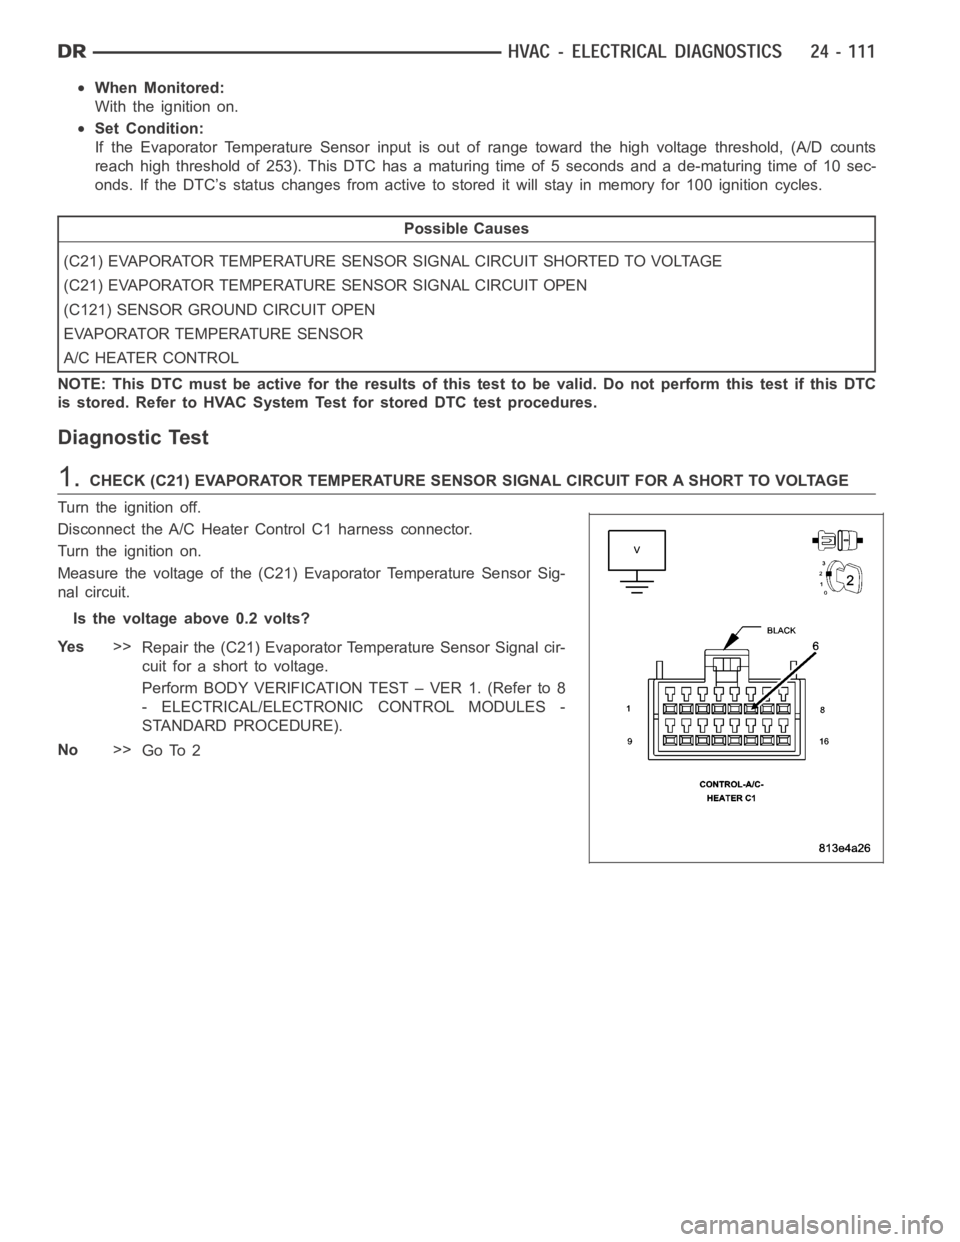
1.CHECK (C21) EVAPORATOR TEMPERATURE SENSOR SIGNAL CIRCUIT FOR A SHORT TO VOLTA G E
Turn the ignition off.
Disconnect the A/C Heater Control C1 harness connector.
Turn the ignition on.
Measure the voltage of the (C21) Evaporator Temperature Sensor Sig-
nal circuit.
Is the voltage above 0.2 volts?
Ye s>>
Repair the (C21) Evaporator Temperature Sensor Signal cir-
cuit for a short to voltage.
Perform BODY VERIFICATION TEST – VER 1. (Refer to 8
- ELECTRICAL/ELECTRONIC CONTROL MODULES -
STANDARD PROCEDURE).
No>>
Go To 2
Page 4953 of 5267
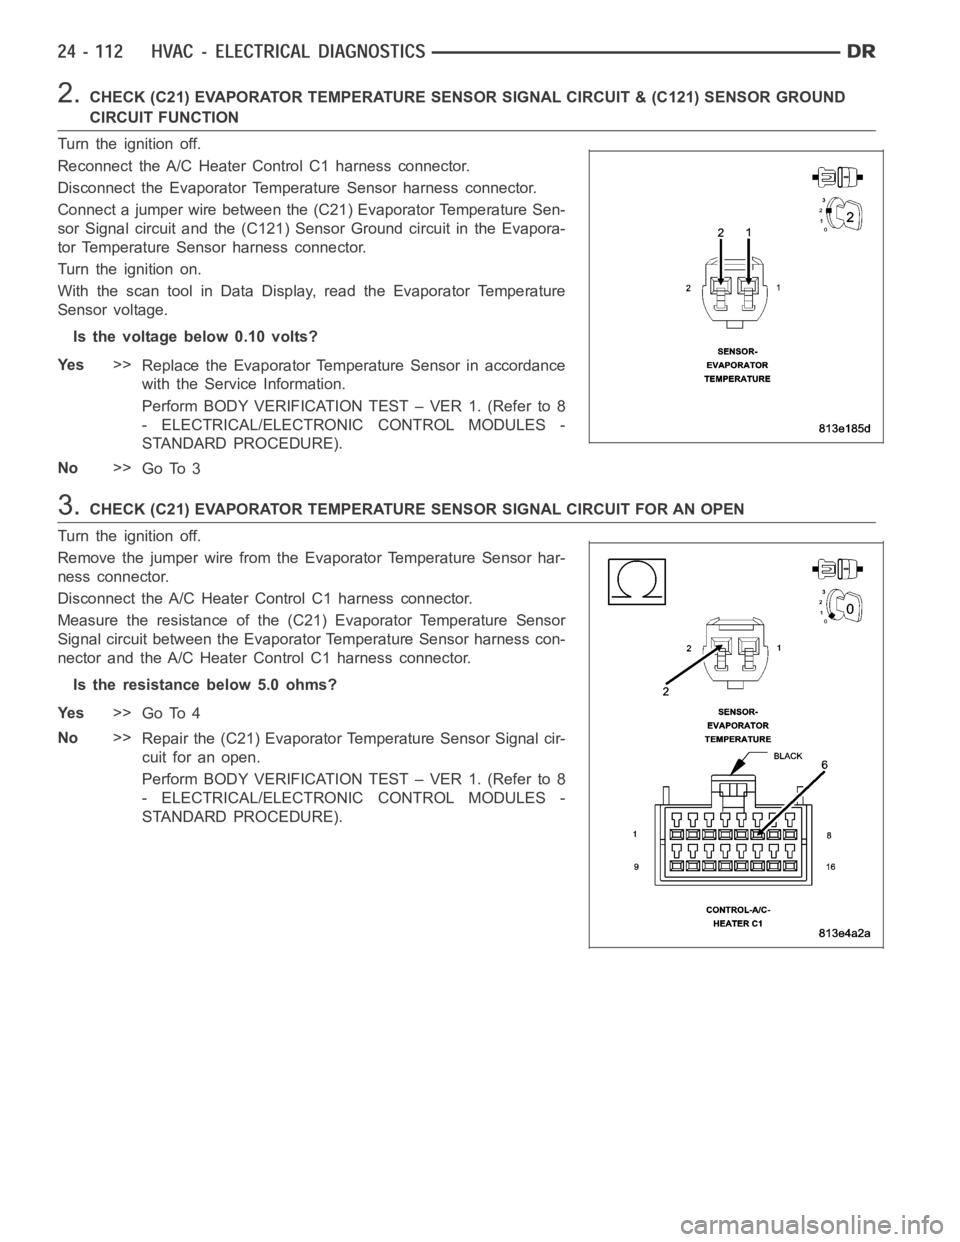
2.CHECK (C21) EVAPORATOR TEMPERATURE SENSOR SIGNAL CIRCUIT & (C121) SENSORGROUND
CIRCUIT FUNCTION
Turn the ignition off.
Reconnect the A/C Heater Control C1 harness connector.
Disconnect the Evaporator Temperature Sensor harness connector.
Connect a jumper wire between the (C21) Evaporator Temperature Sen-
sor Signal circuit and the (C121) Sensor Ground circuit in the Evapora-
tor Temperature Sensor harness connector.
Turn the ignition on.
With the scan tool in Data Display, read the Evaporator Temperature
Sensor voltage.
Is the voltage below 0.10 volts?
Ye s>>
Replace the Evaporator Temperature Sensor in accordance
with the Service Information.
Perform BODY VERIFICATION TEST – VER 1. (Refer to 8
- ELECTRICAL/ELECTRONIC CONTROL MODULES -
STANDARD PROCEDURE).
No>>
Go To 3
3.CHECK (C21) EVAPORATOR TEMPERATURE SENSOR SIGNAL CIRCUIT FOR AN OPEN
Turn the ignition off.
Remove the jumper wire from the Evaporator Temperature Sensor har-
ness connector.
Disconnect the A/C Heater Control C1 harness connector.
Measure the resistance of the (C21) Evaporator Temperature Sensor
Signal circuit between the Evaporator Temperature Sensor harness con-
nector and the A/C Heater Control C1 harness connector.
Is the resistance below 5.0 ohms?
Ye s>>
Go To 4
No>>
Repair the (C21) Evaporator Temperature Sensor Signal cir-
cuit for an open.
Perform BODY VERIFICATION TEST – VER 1. (Refer to 8
- ELECTRICAL/ELECTRONIC CONTROL MODULES -
STANDARD PROCEDURE).
Page 4954 of 5267
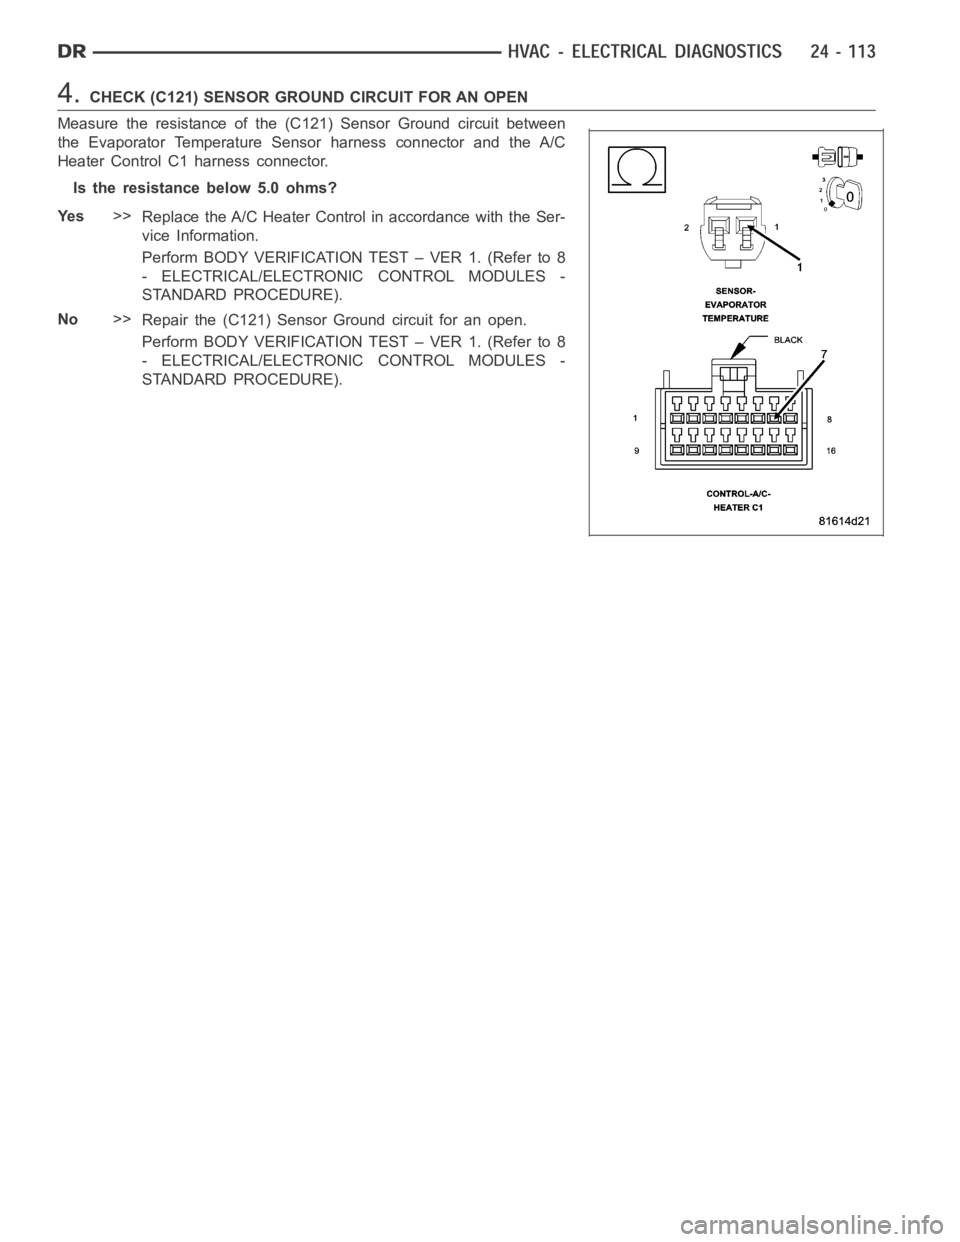
4.CHECK (C121) SENSOR GROUND CIRCUIT FOR AN OPEN
Measure the resistance of the (C121) Sensor Ground circuit between
the Evaporator Temperature Sensor harness connector and the A/C
Heater Control C1 harness connector.
Is the resistance below 5.0 ohms?
Ye s>>
Replace the A/C Heater Control in accordance with the Ser-
vice Information.
Perform BODY VERIFICATION TEST – VER 1. (Refer to 8
- ELECTRICAL/ELECTRONIC CONTROL MODULES -
STANDARD PROCEDURE).
No>>
Repair the (C121) Sensor Ground circuit for an open.
Perform BODY VERIFICATION TEST – VER 1. (Refer to 8
- ELECTRICAL/ELECTRONIC CONTROL MODULES -
STANDARD PROCEDURE).
Page 5033 of 5267
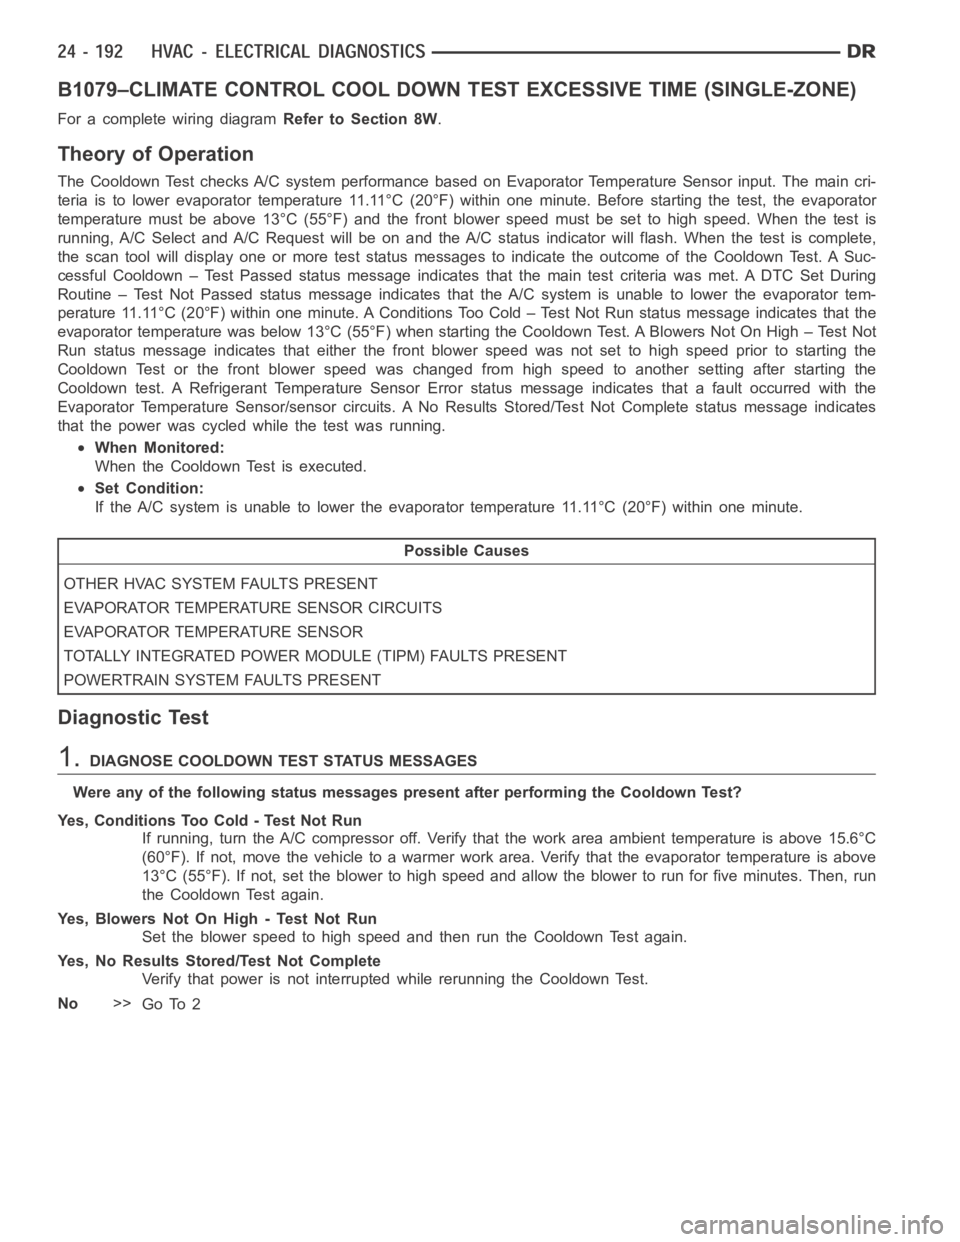
B1079–CLIMATE CONTROL COOL DOWN TEST EXCESSIVE TIME (SINGLE-ZONE)
For a complete wiring diagramRefer to Section 8W.
Theory of Operation
The Cooldown Test checks A/C system performance based on Evaporator Temperature Sensor input. The main cri-
teria is to lower evaporator temperature 11.11°C (20°F) within one minute. Before starting the test, the evaporator
temperature must be above 13°C (55°F) and the front blower speed must be setto high speed. When the test is
running, A/C Select and A/C Request will be on and the A/C status indicator will flash. When the test is complete,
the scan tool will display one or more test status messages to indicate the outcome of the Cooldown Test. A Suc-
cessful Cooldown – Test Passed status message indicates that the main testcriteria was met. A DTC Set During
Routine – Test Not Passed status message indicates that the A/C system is unable to lower the evaporator tem-
perature 11.11°C (20°F) within one minute. A Conditions Too Cold – Test NotRun status message indicates that the
evaporator temperature was below 13°C (55°F) when starting the Cooldown Test. A Blowers Not On High – Test Not
Run status message indicates that either the front blower speed was not setto high speed prior to starting the
Cooldown Test or the front blower speed was changed from high speed to another setting after starting the
Cooldown test. A Refrigerant Temperature Sensor Error status message indicates that a fault occurred with the
Evaporator Temperature Sensor/sensor circuits. A No Results Stored/Test Not Complete status message indicates
that the power was cycled while the test was running.
When Monitored:
When the Cooldown Test is executed.
Set Condition:
If the A/C system is unable to lower the evaporator temperature 11.11°C (20°F) within one minute.
Possible Causes
OTHER HVAC SYSTEM FAULTS PRESENT
EVAPORATOR TEMPERATURE SENSOR CIRCUITS
EVAPORATOR TEMPERATURE SENSOR
TOTALLY INTEGRATED POWER MODULE (TIPM) FAULTS PRESENT
POWERTRAIN SYSTEM FAULTS PRESENT
Diagnostic Test
1.DIAGNOSE COOLDOWN TEST STATUS MESSAGES
WereanyofthefollowingstatusmessagespresentafterperformingtheCooldown Test?
Yes, Conditions Too Cold - Test Not Run
If running, turn the A/C compressor off. Verify that the work area ambient temperature is above 15.6°C
(60°F). If not, move the vehicle to a warmer work area. Verify that the evaporator temperature is above
13°C (55°F). If not, set the blower to high speed and allow the blower to run for five minutes. Then, run
the Cooldown Test again.
Yes, Blowers Not On High - Test Not Run
Set the blower speed to high speed and then run the Cooldown Test again.
Yes, No Results Stored/Test Not Complete
Verify that power is not interrupted while rerunning the Cooldown Test.
No>>
Go To 2
Page 5041 of 5267
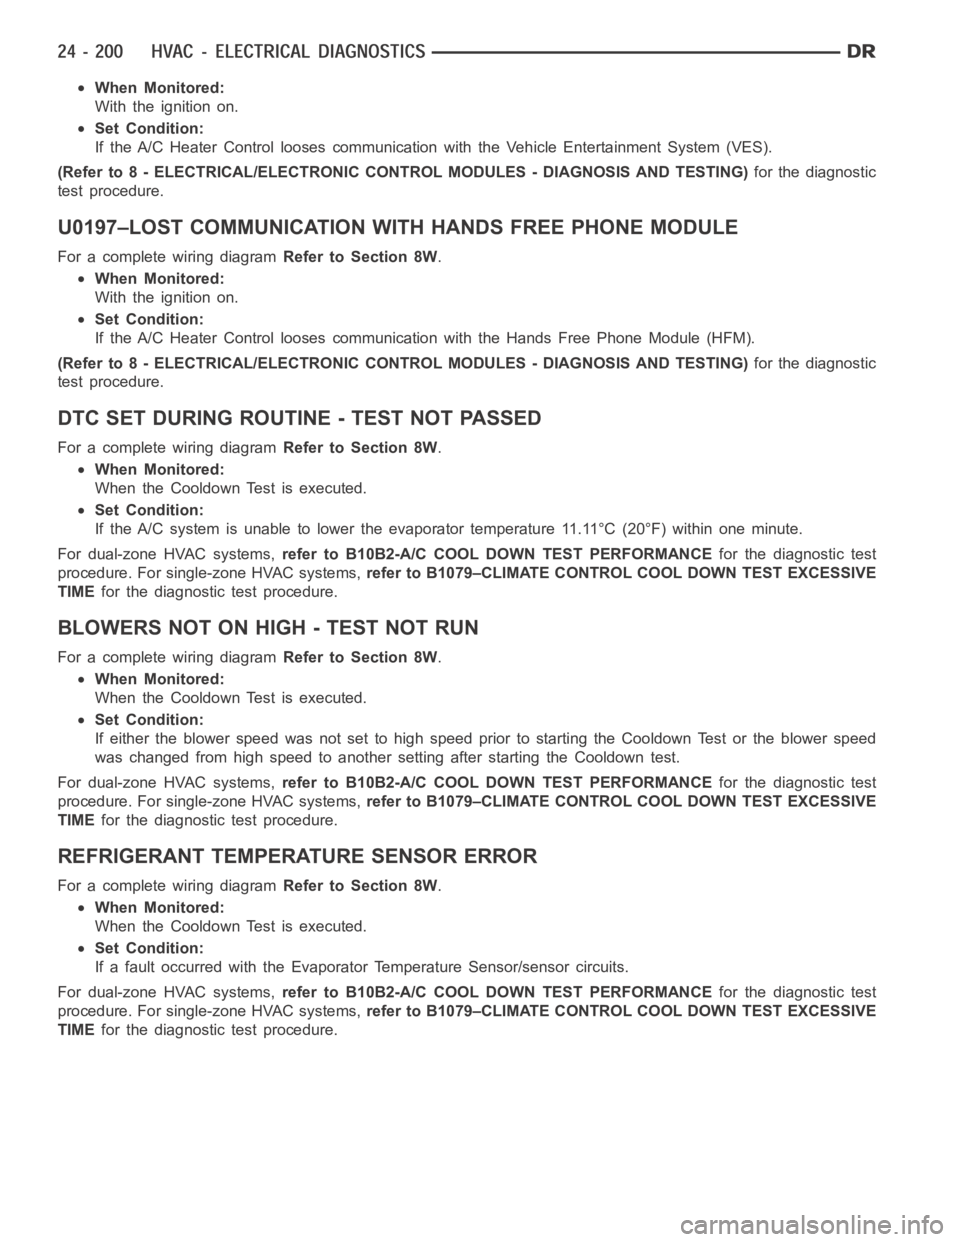
When Monitored:
With the ignition on.
Set Condition:
If the A/C Heater Control looses communication with the Vehicle Entertainment System (VES).
(Refer to 8 - ELECTRICAL/ELECTRONIC CONTROL MODULES - DIAGNOSIS AND TESTING)for the diagnostic
test procedure.
U0197–LOST COMMUNICATION WITH HANDS FREE PHONE MODULE
For a complete wiring diagramRefer to Section 8W.
When Monitored:
With the ignition on.
Set Condition:
If the A/C Heater Control looses communication with the Hands Free Phone Module (HFM).
(Refer to 8 - ELECTRICAL/ELECTRONIC CONTROL MODULES - DIAGNOSIS AND TESTING)for the diagnostic
test procedure.
DTC SET DURING ROUTINE - TEST NOT PASSED
For a complete wiring diagramRefer to Section 8W.
When Monitored:
When the Cooldown Test is executed.
Set Condition:
If the A/C system is unable to lower the evaporator temperature 11.11°C (20°F) within one minute.
For dual-zone HVAC systems,refer to B10B2-A/C COOL DOWN TEST PERFORMANCEfor the diagnostic test
procedure. For single-zone HVAC systems,refer to B1079–CLIMATE CONTROL COOL DOWN TEST EXCESSIVE
TIMEfor the diagnostic test procedure.
BLOWERS NOT ON HIGH - TEST NOT RUN
For a complete wiring diagramRefer to Section 8W.
When Monitored:
When the Cooldown Test is executed.
Set Condition:
If either the blower speed was not set to high speed prior to starting the Cooldown Test or the blower speed
was changed from high speed to another setting after starting the Cooldowntest.
For dual-zone HVAC systems,refer to B10B2-A/C COOL DOWN TEST PERFORMANCEfor the diagnostic test
procedure. For single-zone HVAC systems,refer to B1079–CLIMATE CONTROL COOL DOWN TEST EXCESSIVE
TIMEfor the diagnostic test procedure.
REFRIGERANT TEMPERATURE SENSOR ERROR
For a complete wiring diagramRefer to Section 8W.
When Monitored:
When the Cooldown Test is executed.
Set Condition:
If a fault occurred with the Evaporator Temperature Sensor/sensor circuits.
For dual-zone HVAC systems,refer to B10B2-A/C COOL DOWN TEST PERFORMANCEfor the diagnostic test
procedure. For single-zone HVAC systems,refer to B1079–CLIMATE CONTROL COOL DOWN TEST EXCESSIVE
TIMEfor the diagnostic test procedure.
Page 5046 of 5267
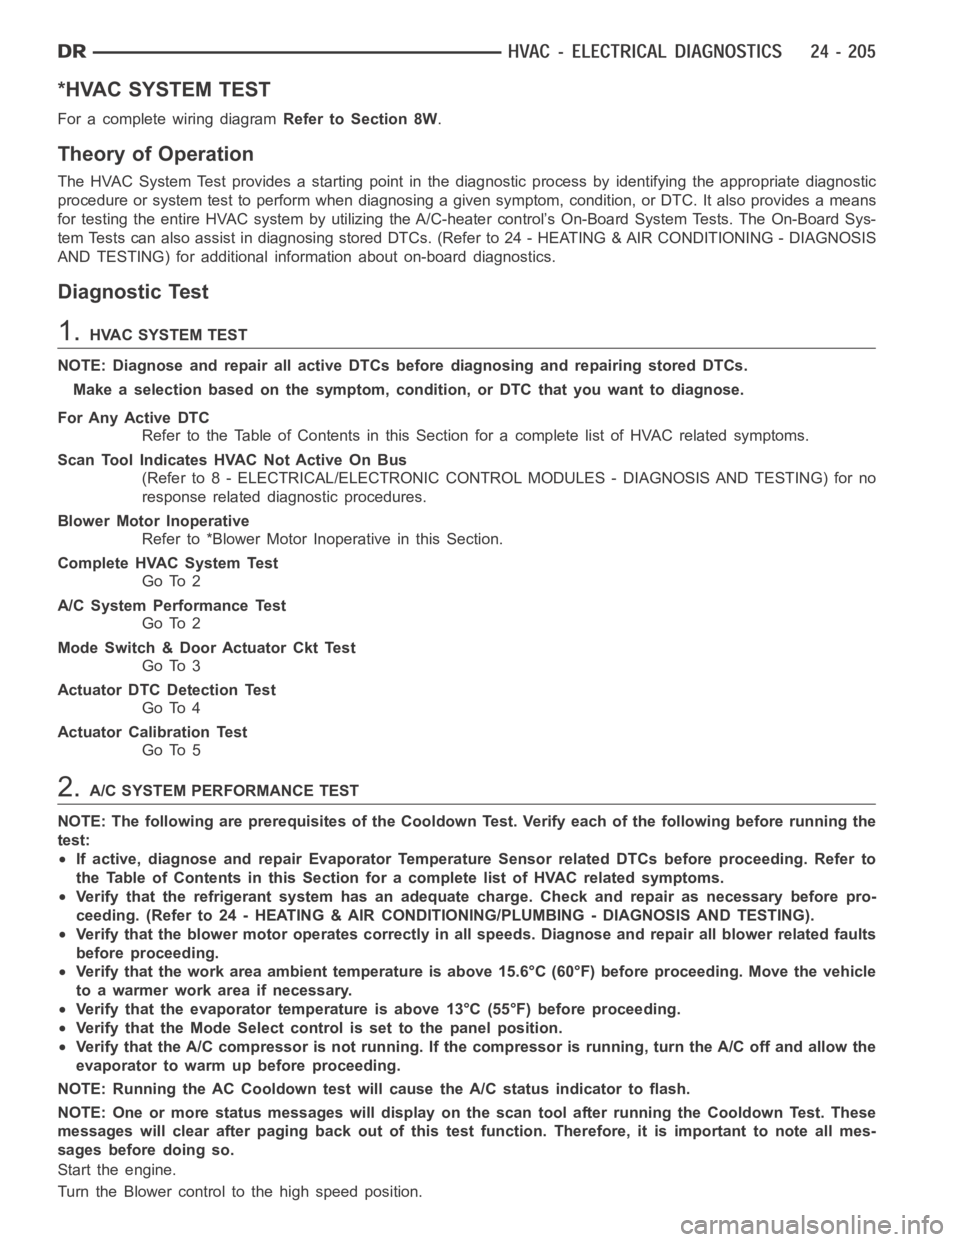
*HVAC SYSTEM TEST
For a complete wiring diagramRefer to Section 8W.
Theory of Operation
The HVAC System Test provides a starting point in the diagnostic process byidentifying the appropriate diagnostic
procedure or system test to perform when diagnosing a given symptom, condition, or DTC. It also provides a means
for testing the entire HVAC system byutilizing the A/C-heater control’s On-Board System Tests. The On-Board Sys-
tem Tests can also assist in diagnosing stored DTCs. (Refer to 24 - HEATING &AIR CONDITIONING - DIAGNOSIS
AND TESTING) for additional information about on-board diagnostics.
Diagnostic Test
1.HVAC SYSTEM TEST
NOTE: Diagnose and repair all active DTCs before diagnosing and repairingstored DTCs.
Make a selection based on the symptom, condition, or DTC that you want to diagnose.
For Any Active DTC
Refer to the Table of Contents in this Section for a complete list of HVAC related symptoms.
Scan Tool Indicates HVAC Not Active On Bus
(Refer to 8 - ELECTRICAL/ELECTRONIC CONTROL MODULES - DIAGNOSIS AND TESTING) for no
response related diagnostic procedures.
Blower Motor Inoperative
Refer to *Blower Motor Inoperative in this Section.
Complete HVAC System Test
Go To 2
A/C System Performance Test
Go To 2
Mode Switch & Door Actuator Ckt Test
Go To 3
Actuator DTC Detection Test
Go To 4
Actuator Calibration Test
Go To 5
2.A/C SYSTEM PERFORMANCE TEST
NOTE: The following are prerequisites of the Cooldown Test. Verify each ofthe following before running the
test:
If active, diagnose and repair Evaporator Temperature Sensor related DTCs before proceeding. Refer to
the Table of Contents in this Section for a complete list of HVAC related symptoms.
Verify that the refrigerant system has an adequate charge. Check and repair as necessary before pro-
ceeding. (Refer to 24 - HEATING & AIR CONDITIONING/PLUMBING - DIAGNOSIS ANDTESTING).
Verify that the blower motor operates correctly in all speeds. Diagnose and repair all blower related faults
before proceeding.
Verify that the work area ambient temperature is above 15.6°C (60°F) before proceeding. Move the vehicle
to a warmer work area if necessary.
Verify that the evaporator temperature is above 13°C (55°F) before proceeding.
Verify that the Mode Select control is set to the panel position.
Verify that the A/C compressor is not running. If the compressor is running, turn the A/C off and allow the
evaporator to warm up before proceeding.
NOTE: Running the AC Cooldown test will cause the A/C status indicator to flash.
NOTE: One or more status messages will display on the scan tool after running the Cooldown Test. These
messages will clear after paging back out of this test function. Therefore, it is important to note all mes-
sages before doing so.
Start the engine.
Turn the Blower control to the high speed position.