Page 2456 of 3229

1
2
3
1
2
3
4
5
Repl ace as required. Refer t o t he warranty pol icy and procedures manual , or det ermine i f any priorapproval programme i s in operati on, prior to the ins tall ati on of a new module/component
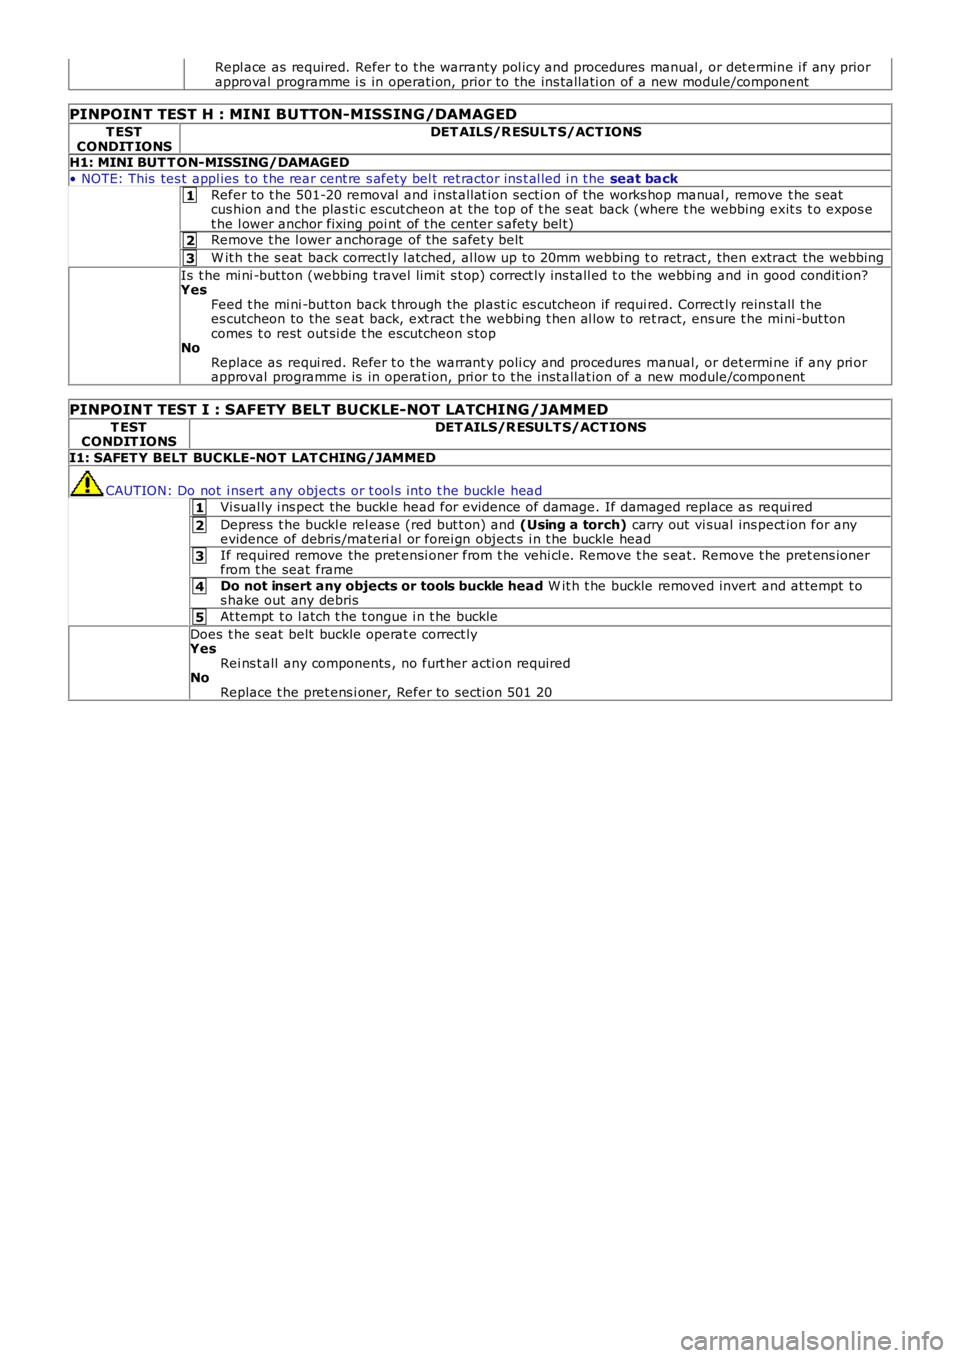
PINPOINT TEST H : MINI BUTTON-MISSING/DAMAGED
T ESTCONDIT IONSDET AILS/R ESULT S/ACT IONS
H1: MINI BUT T ON-MISSING/DAMAGED
• NOTE: This tes t appl ies t o t he rear cent re s afety bel t ret ractor ins t al led i n t he seat back
Refer to t he 501-20 removal and i nst all at ion secti on of the works hop manual , remove t he s eatcus hion and t he plas ti c escut cheon at t he top of t he s eat back (where t he webbing exit s t o expos et he l ower anchor fixing poi nt of t he center s afety bel t)Remove t he l ower anchorage of the s afet y belt
W it h t he s eat back correct ly l atched, al low up to 20mm webbing t o retract , then extract the webbing
Is t he mi ni -but ton (webbing t ravel limit s t op) correct ly ins tall ed t o the webbi ng and in good condit ion?YesFeed t he mi ni -but ton back t hrough the pl ast ic es cutcheon if requi red. Correct ly reins tall t hees cutcheon to the s eat back, ext ract t he webbi ng t hen al low to ret ract, ens ure t he mi ni -but toncomes t o rest out si de t he escutcheon s topNoReplace as requi red. Refer t o t he warrant y poli cy and procedures manual, or det ermi ne if any pri orapproval programme is in operat ion, pri or t o t he i ns t allat ion of a new module/component
PINPOINT TEST I : SAFETY BELT BUCKLE-NOT LATCHING /JAMMED
T ESTCONDIT IONSDET AILS/R ESULT S/ACT IONS
I1: SAFET Y BELT BUCKLE-NO T LAT CHING/JAMMED
CAUTION: Do not i nsert any object s or t ool s int o t he buckle head
Vi sual ly i ns pect the buckl e head for evidence of damage. If damaged replace as required
Depres s t he buckl e rel eas e (red but t on) and (Using a torch) carry out vi sual ins pect ion for anyevidence of debris /materi al or forei gn object s i n t he buckle head
If required remove the pret ensi oner from t he vehi cl e. Remove t he s eat. Remove t he pret ens ionerfrom t he seat frame
Do not insert any objects or tools buckle head W it h t he buckle removed invert and at tempt t os hake out any debris
At tempt t o l atch t he t ongue i n t he buckle
Does t he s eat belt buckle operat e correct lyYesRei ns t all any components , no furt her acti on requiredNoReplace t he pret ens i oner, Refer to secti on 501 20
Page 2457 of 3229
Publi s hed: 11-May-2011
Safety Belt System - Front Safety Belt Retractor
Removal and Inst all ati on
Removal
• NOTE: Removal s t eps in t his procedure may cont ain i nst all ati on det ail s.
Make t he SRS s ys t em s afe.
Refer t o: Supplement al Res t raint Sys tem (SRS) Depowering and
Repowering (501-20, General Procedures ).
1.
Remove t he B-pi llar upper trim panel .
Refer t o: B-Pil lar Upper Trim Panel (501-05 Interior Tri m and
Ornament ati on, Removal and Ins tal lat ion).
2. 3. W ARNING: Make sure t hat a new bolt i s
i ns t alled.
T orque: 40 Nm 3.
Installation To i nst all , revers e t he removal procedure.
1.
Page 2458 of 3229
Publi s hed: 11-May-2011
Safety Belt System - Rear Safety Belt Retractor
Removal and Inst all ati on
Removal
Remove t he rear quart er t ri m panel.
Refer t o: Rear Quarter Tri m Panel (501-05 Int erior Tri m and
Ornament ati on, Removal and Ins tal lat ion).
1.
Remove t he C-pi llar upper trim panel .
Refer t o: C-Pil lar Tri m Panel (501-05 Int erior Trim and
Ornament ati on, Removal and Ins tal lat ion).
2. T orque:
40 Nm 3.
Installation To i nst all , revers e t he removal procedure.
1.
Page 2459 of 3229
Publi s hed: 11-May-2011
Safety Belt System - Rear Center Safety Belt Retractor
Removal and Inst all ati on
Removal
• NOTE: This procedure invol ves the removal and i nst all at ion of bot h rear s eat backres ts and the LH rear s eat backrestcover and pad as sembl y. Al l not es and caut ions mus t be foll owed st ri ctl y to avoi d any chance of NVH or fai lure of the rears eat backres ts .
1.
2.
Page 2462 of 3229
Remove t he armrest backing plat e.Remove and dis card t he 4 fir t ree cl ips .
9.
10. CAUTION: Make s ure t hat a webbing ret ainer isins t al led at l eas t 200 mm t owards t he rear cent er s afetybelt ret ract or from t he webbi ng s top.
Ins t all the safety belt webbi ng ret ai ner.
10.
Remove t he rear cent er safety bel t lower anchor nut .11.
12.13.
Page 2464 of 3229
Remove and dis card t he LH rear seat backres t out erpivot pin bus hing.17.
18.
Remove t he cent er safet y belt t rim panel.19.
Page 2467 of 3229
Remove t he rear cent er safety bel t ret ractor
Torx bol t. Releas e t he locki ng t ang.27.
Installation Inst all t he rear cent er safety bel t ret ractor. Locat e t he tang of t he rear center s afety bel t int o t he LH rear
s eat backres t frame. 1.
Inst all t he rear cent er safety bel t ret ractor Torx bolt .
T orque: 35 Nm 2.
Inst all t he carpet to t he LH rear seat backrest .
3.
Guide the rear center s afet y belt and l ower anchor t hrough t he
backrest cover.
4.
Inst all t he rear s eat backres t cover and pad ass embly.
5.
Secure t he rear s eat backres t cover and pad ass embl y around t he
rear s eat backres t rel eas e but ton.
6.
Secure t he rear s eat backres t cover to the rear seat backrest frame.
7.
Inst all new head res t rai nt gui de tubes .
8.
Inst all t he rear s eat backres t releas e butt on t ri m panel.
9.
Inst all t he cent er safet y belt t rim panel.
10.
Inst all t he head res traints .
11.
Page 2468 of 3229

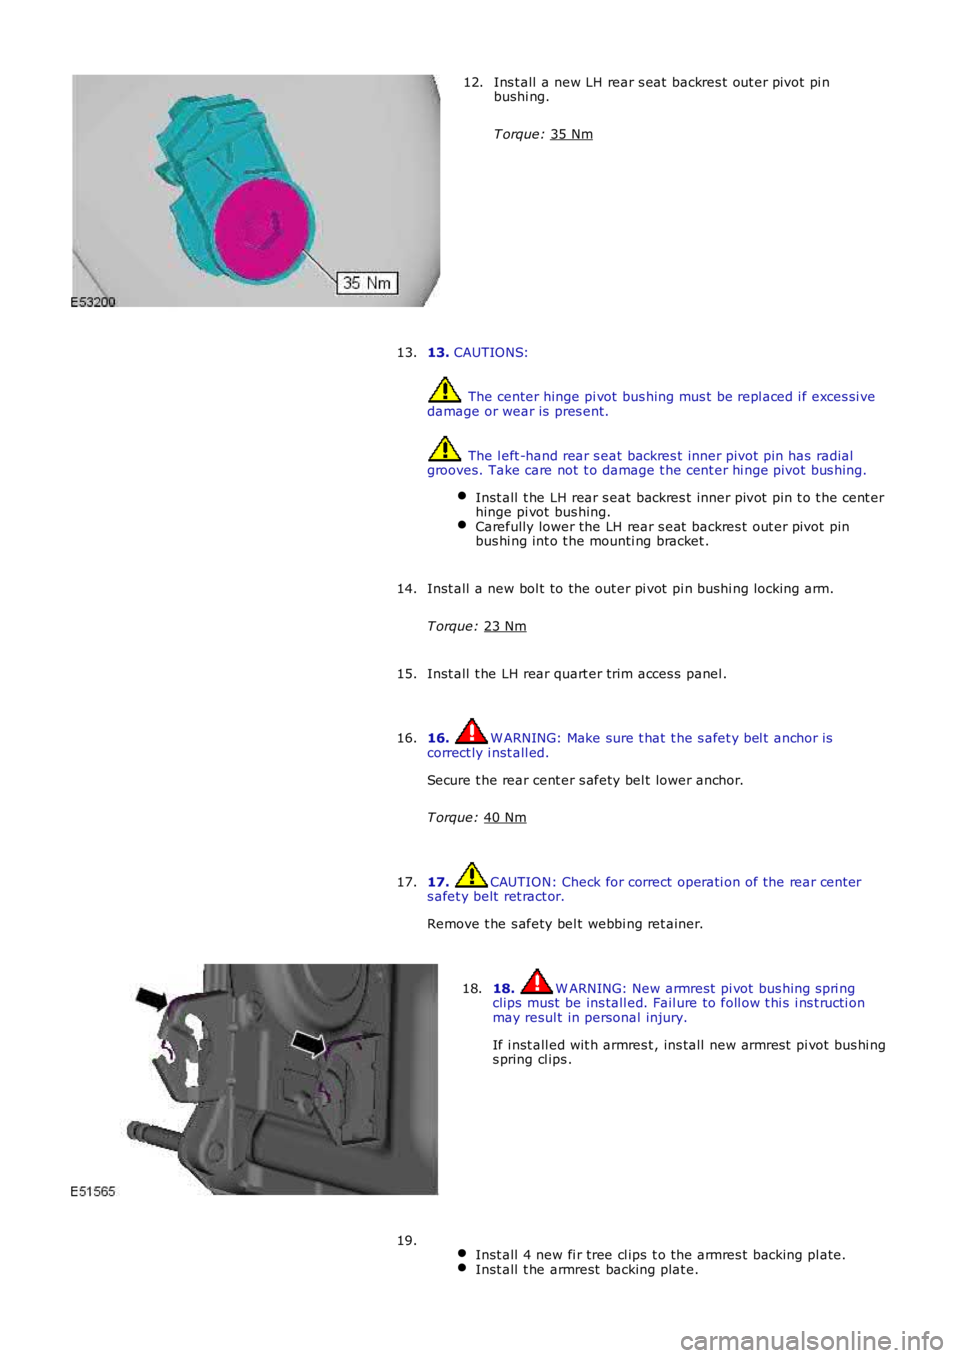
Ins t all a new LH rear s eat backres t out er pivot pi n
bushi ng.
T orque: 35 Nm 12.
13. CAUTIONS: The center hinge pi vot bus hing mus t be repl aced i f exces si ve
damage or wear is pres ent. The l eft -hand rear s eat backres t inner pivot pin has radial
grooves. Take care not t o damage t he cent er hi nge pivot bus hing.
Inst all t he LH rear s eat backres t inner pivot pin t o t he cent er
hinge pi vot bus hing. Carefully lower the LH rear s eat backres t out er pivot pin
bus hi ng int o t he mounti ng bracket . 13.
Inst all a new bol t to the out er pi vot pi n bushi ng locking arm.
T orque: 23 Nm 14.
Inst all t he LH rear quart er trim acces s panel .
15.
16. W ARNING: Make sure t hat t he s afet y bel t anchor is
correct ly i nst all ed.
Secure t he rear cent er s afety bel t lower anchor.
T orque: 40 Nm 16.
17. CAUTION: Check for correct operati on of the rear cent er
s afet y belt ret ract or.
Remove t he s afety bel t webbi ng ret ainer.
17. 18. W ARNING: New armrest pi vot bus hing s pri ng
clips must be ins tall ed. Fail ure to foll ow t hi s i ns t ructi on
may resul t in personal injury.
If i nst all ed wit h armres t , ins tall new armres t pi vot bus hi ng
s pring cl ips .
18.
Inst all 4 new fi r tree cl ips t o t he armres t backing pl ate. Inst all t he armrest backing plat e.19.