2006 DODGE RAM SRT-10 transmission oil
[x] Cancel search: transmission oilPage 2664 of 5267
MANUAL TRANSMISSION-T56 - SERVICE INFORMATION
DIAGNOSIS AND TESTING
MANUAL TRANSMISSION - T56
LOW LUBRICANT LEVEL
A low transmission lubricant level is generally the result of a leak, inadequate lubricant fill or incorrect lubricant level
check.
Rear transmission leakswill be from the oil seals or component mating surfaces.
Front transmission leakswill be from the front bearing retainer or retainer seal. Lubricant may dripfromtheclutch
housing after extended operation. If leak is severe, it may contaminate the clutch disc.
Lubricant level checkcan only be made when the vehicle is level and allowing the lubricant to settle for a minute
before checking. This will ensure an accurate check and avoid an underfillor overfill condition.
HARD SHIFTING
Hard shifting is usually caused by low lubricant level, improper or contaminated lubricants. This will cause noise,
excessive wear, internal bind, and hard shifting. Substantial lubricantleaks can result in gear, shift rail, synchro, and
bearing damage. The first indications of component damage is usually hardshifting and noise.
Shift component damage, clutch adjustment, worn pressure plate or disc are also causes of increased shift effort. If
clutch problem is advanced, gear clash during shifts can result. Worn or damaged synchro rings can cause gear
clash when shifting into any forward gear. In some new or rebuilt transmissions, new synchro rings may tend to stick
slightly causing hard or noisy shifts. In most cases, this condition will decline as the rings wear-in.
TRANSMISSION NOISE
Most manual transmissions make some noise during normal operation. Rotating gears generate a mild whine that is
audible, but generally only at extreme speeds.
Severe, highly audible transmission noise is generally the initial indicator of a lubricant problem. Insufficient,
improper or contaminated lubricant will promote rapid wear of gears, synchros, shift rails, forks and bearings. The
overheating caused by a lubricant problem, can also lead to gear and bearing damage.
STANDARD PROCEDURE - DRAIN AND FILL
1. Raise and support vehicle.
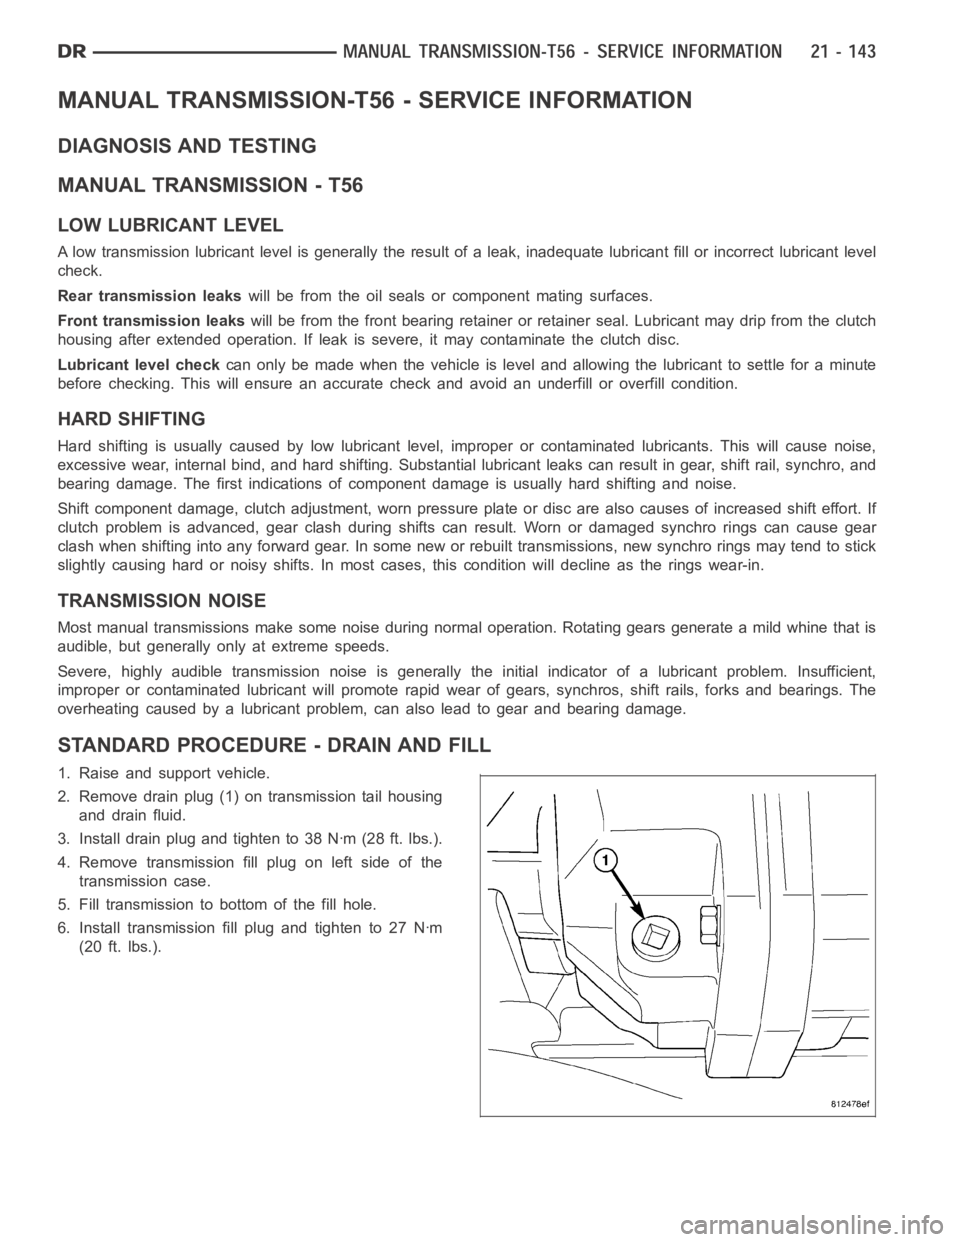
2. Remove drain plug (1) on transmission tail housing
and drain fluid.
3. Install drain plug and tighten to 38 Nꞏm (28 ft. lbs.).
4. Remove transmission fill plug on left side of the
transmission case.
5. Fill transmission to bottom of the fill hole.
6. Install transmission fill plug and tighten to 27 Nꞏm
(20 ft. lbs.).
Page 2713 of 5267
COUNTERSHAFT BEARINGS PRELOAD
1. Install countershaft with original shim into adapter.
2. Install case and bolt together using all bolts.
3. Rotate countershaft to seat bearings.
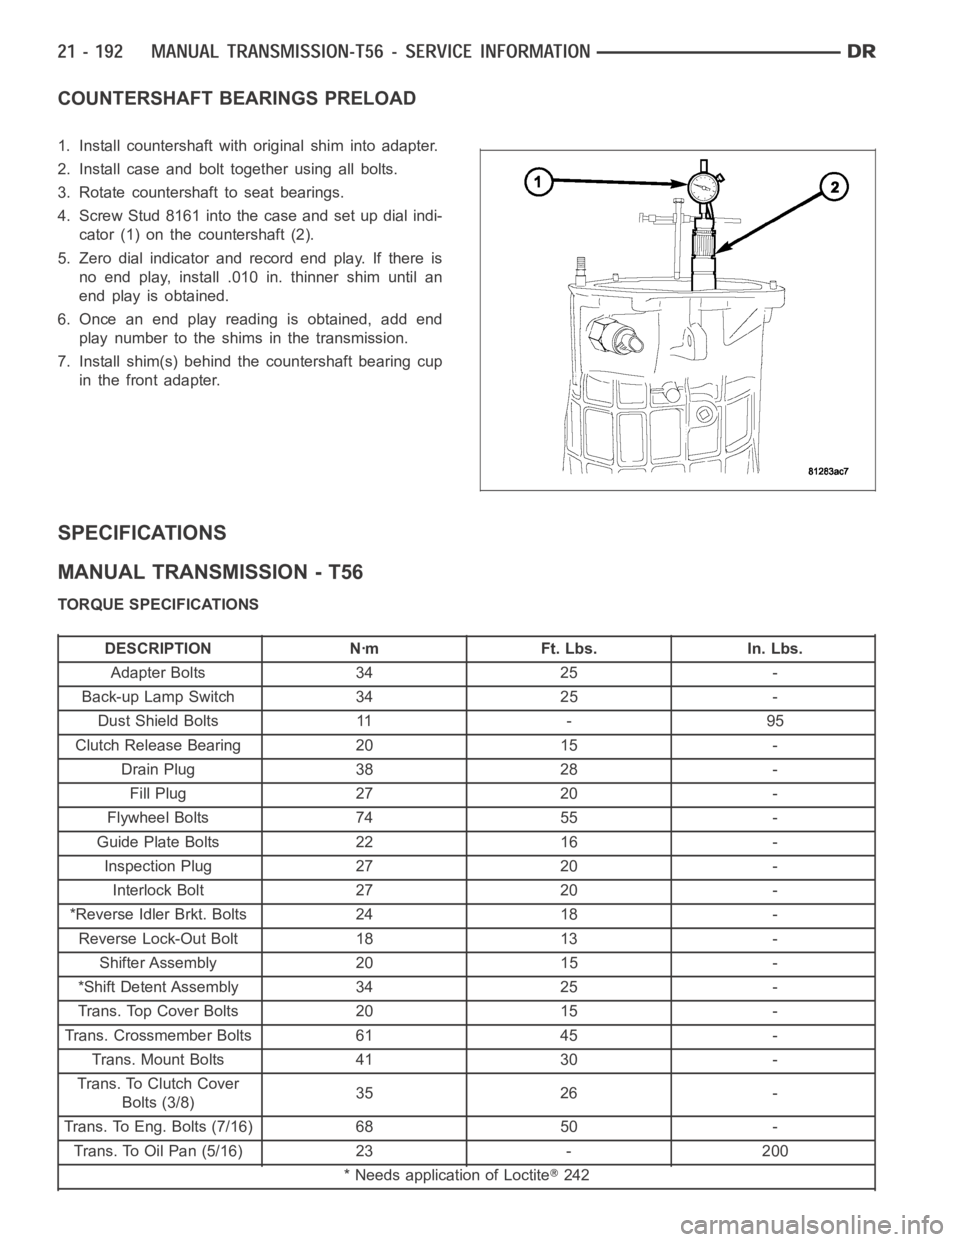
4. Screw Stud 8161 into the case and set up dial indi-
cator (1) on the countershaft (2).
5. Zero dial indicator and record end play. If there is
no end play, install .010 in. thinner shim until an
end play is obtained.
6. Once an end play reading is obtained, add end
play number to the shims in the transmission.
7. Install shim(s) behind the countershaft bearing cup
in the front adapter.
SPECIFICATIONS
MANUAL TRANSMISSION - T56
TORQUE SPECIFICATIONS
DESCRIPTION Nꞏm Ft. Lbs. In. Lbs.
Adapter Bolts 34 25 -
Back-up Lamp Switch 34 25 -
Dust Shield Bolts 11 - 95
Clutch Release Bearing 20 15 -
Drain Plug 38 28 -
Fill Plug 27 20 -
Flywheel Bolts 74 55 -
Guide Plate Bolts 22 16 -
Inspection Plug 27 20 -
Interlock Bolt 27 20 -
*Reverse Idler Brkt. Bolts 24 18 -
Reverse Lock-Out Bolt 18 13 -
Shifter Assembly 20 15 -
*Shift Detent Assembly 34 25 -
Trans. Top Cover Bolts 20 15 -
Trans. Crossmember Bolts 61 45 -
Trans. Mount Bolts 41 30 -
Trans. To Clutch Cover
Bolts (3/8)35 26 -
Trans. To Eng. Bolts (7/16) 68 50 -
Trans. To Oil Pan (5/16) 23 - 200
* Needs application of Loctite
242
Page 2732 of 5267
P0218-HIGH TEMPERATURE OPERATION ACTIVATED
For a complete wiring diagramRefer to Section 8W.
When Monitored:
Whenever the engine is running.
Set Condition:
Immediately when a Overheat shift schedule is activated when the Transmission Oil Temperature reaches 155°
C or 240° F.
Possible Causes
ENGINE COOLING SYSTEM OPERATION
TRANSMISSION OIL COOLER PLUGGED
H I G H T E M P E R AT U R E O P E R AT I O N S A C T I VAT E D
Always perform the Pre-Diagnostic Troubleshooting procedure before proceeding. (Refer to 21 - TRANSMIS-
SION/TRANSAXLE/AUTOMATIC - 42RLE - STANDARD PROCEDURE)
Theory of Operation
If the transmission oil temperature rises above 115° C (240° F), the overheat shift schedule is activated refer to
Transmission Operation as a function of Transmission Oil Temperature andthe code is set. The DTC is an infor-
mational code only and is being set to aid the technician in determining root cause of a customer driveability issue.
The code is also intended to alert the technician to determine if a cooling system malfunction has occurred or if an
additional transmission air to oil cooler should be added to the vehicle ifthe customer regularly drives in a manner
that overheats the transmission. Extended operation above 115° C (240° F)will reduce the durability of the trans-
mission and should be avoided. Correcting the cooling system malfunctionor installing an additional transmission oil
cooler will improve transmission durability especially for customers who operate in city/construction stop and go traf-
fic, tow trailers regularly, drive aggressively in low gear or drive regularly in mountainous areas.
Diagnostic Test
1.CHECK ENGINE COOLING SYSTEM
Perform Engine Cooling System diagnostics per the Service Information.
Is the Engine Cooling System functioning properly?
Ye s>>
Go To 2
No>>
Repair the cause of the engine overheating. Refer to the Service Information for the related diagnostic
or repair procedures.
Perform 42RLE TRANSMISSION VERIFICATION TEST - VER 1. (Refer to 21 - TRANSMISSION/
TRANSAXLE/AUTOMATIC - 42RLE - STANDARD PROCEDURE)
2.TRANSMISSION OIL COOLER RESTRICTED
Check the Transmission Oil Cooler Flow in accordance with the Service Information.
Is the transmission oil cooler restricted or plugged?
Ye s>>
Go To 3
No>>
Repair the cause of the plugged Transmission Oil Cooler as necessary and repair or replace the Trans-
mission Oil Cooler per the Service Information.
Perform 42RLE TRANSMISSION VERIFICATION TEST - VER 1. (Refer to 21 - TRANSMISSION/
TRANSAXLE/AUTOMATIC - 42RLE - STANDARD PROCEDURE)
Page 2733 of 5267
3.HIGH TEMPERATURE OPERATION
This DTC is an informational DTC designed to aid the Technician in diagnosing shift quality complaints.
This DTC indicates that the transmission has been operating in the
Overheatshift schedule which may generate
a customer complaint.
The customer driving patterns may indicate the need for an additional transmission oil cooler.
With the scan tool, check the DTC EVENT DATA to help identify the conditionsin which the DTC was set.
Check for any Service Information Tune-ups or Service Bulletins for any possible causes that may apply.
If there are no possible causes remaining, view repair.
Repair
Repair the cause of transmission overheating per the Service Information.
Perform 42RLE TRANSMISSION VERIFICATION TEST - VER 1. (Refer to 21 - TRANSMISSION/
TRANSAXLE/AUTOMATIC - 42RLE - STANDARD PROCEDURE)
Page 2741 of 5267
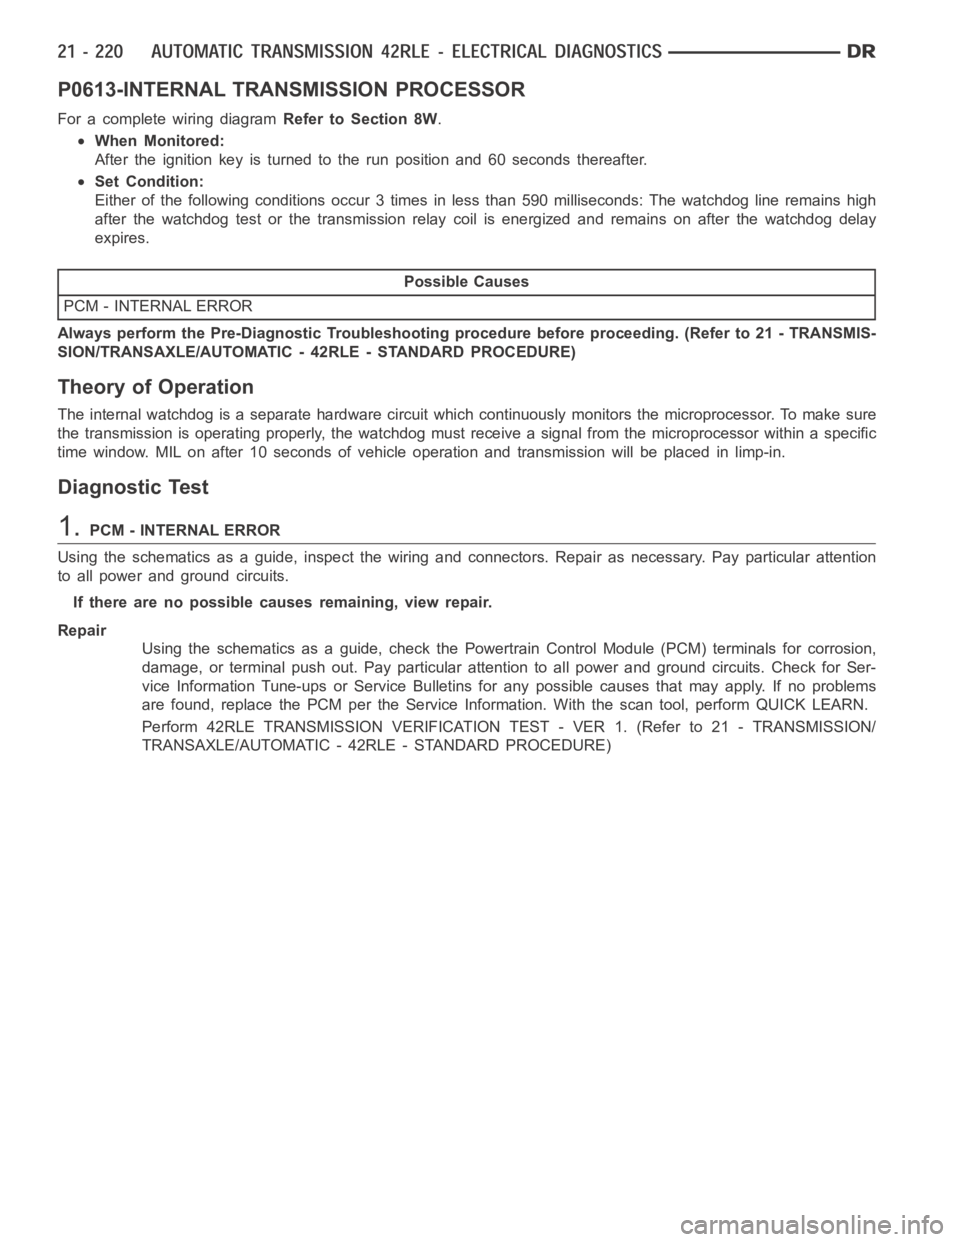
P0613-INTERNAL TRANSMISSION PROCESSOR
For a complete wiring diagramRefer to Section 8W.
When Monitored:
After the ignition key is turned to the run position and 60 seconds thereafter.
Set Condition:
Either of the following conditions occur 3 times in less than 590 milliseconds: The watchdog line remains high
after the watchdog test or the transmission relay coil is energized and remains on after the watchdog delay
expires.
Possible Causes
PCM - INTERNAL ERROR
Always perform the Pre-Diagnostic Troubleshooting procedure before proceeding. (Refer to 21 - TRANSMIS-
SION/TRANSAXLE/AUTOMATIC - 42RLE - STANDARD PROCEDURE)
Theory of Operation
The internal watchdog is a separate hardware circuit which continuously monitors the microprocessor. To make sure
the transmission is operating properly, the watchdog must receive a signal from the microprocessor within a specific
time window. MIL on after 10 seconds of vehicle operation and transmissionwill be placed in limp-in.
Diagnostic Test
1.PCM - INTERNAL ERROR
Using the schematics as a guide, inspect the wiring and connectors. Repairas necessary. Pay particular attention
to all power and ground circuits.
If there are no possible causes remaining, view repair.
Repair
Using the schematics as a guide, check the Powertrain Control Module (PCM)terminals for corrosion,
damage, or terminal push out. Pay particular attention to all power and ground circuits. Check for Ser-
vice Information Tune-ups or Service Bulletins for any possible causes that may apply. If no problems
are found, replace the PCM per the Service Information. With the scan tool,perform QUICK LEARN.
Perform 42RLE TRANSMISSION VERIFICATION TEST - VER 1. (Refer to 21 - TRANSMISSION/
TRANSAXLE/AUTOMATIC - 42RLE - STANDARD PROCEDURE)
Page 2743 of 5267
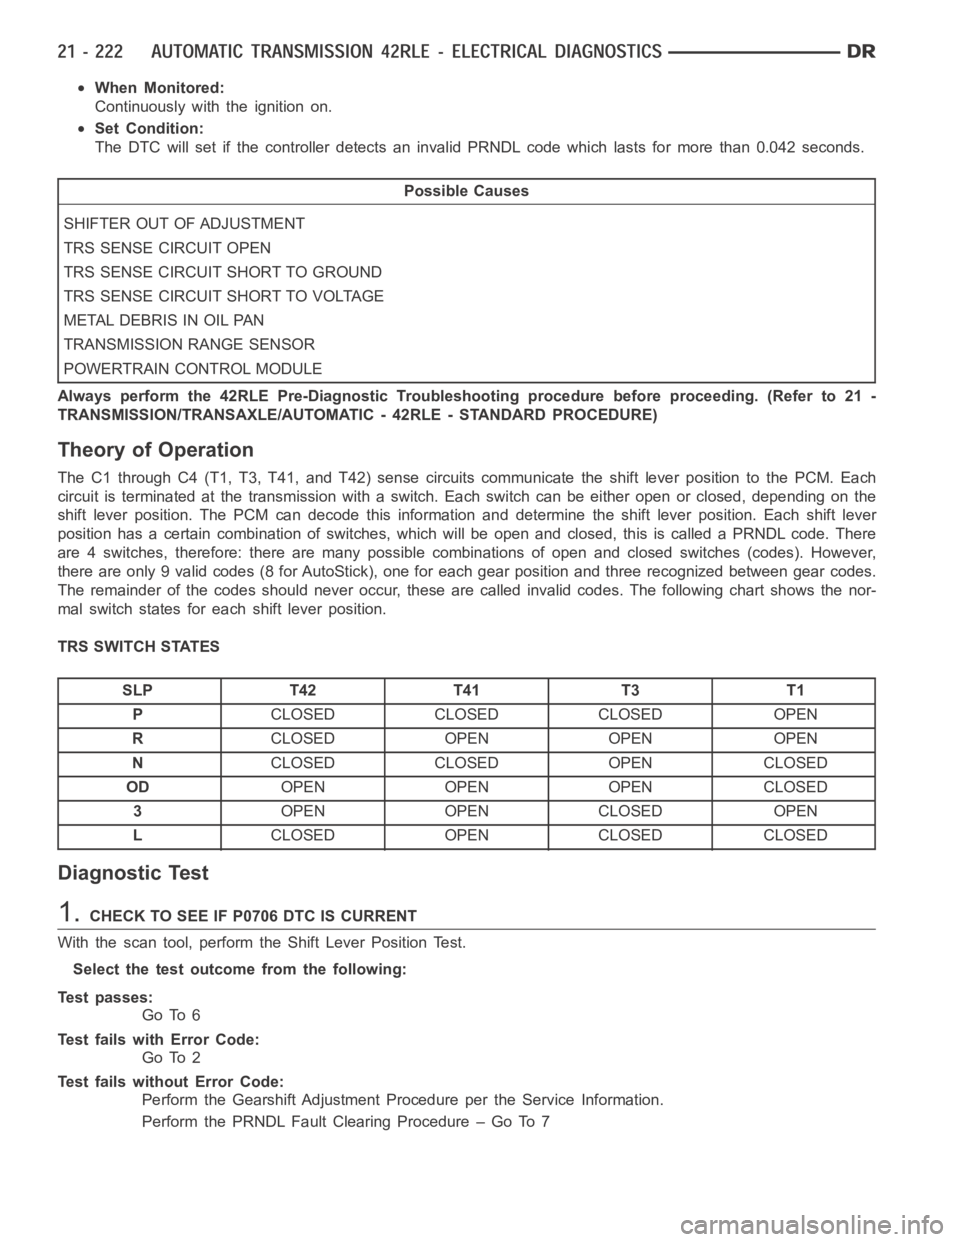
When Monitored:
Continuously with the ignition on.
Set Condition:
The DTC will set if the controller detects an invalid PRNDL code which lastsfor more than 0.042 seconds.
Possible Causes
SHIFTER OUT OF ADJUSTMENT
TRS SENSE CIRCUIT OPEN
TRS SENSE CIRCUIT SHORT TO GROUND
TRS SENSE CIRCUIT SHORT TO VOLTAGE
METAL DEBRIS IN OIL PAN
TRANSMISSION RANGE SENSOR
POWERTRAIN CONTROL MODULE
Always perform the 42RLE Pre-Diagnostic Troubleshooting procedure before proceeding. (Refer to 21 -
TRANSMISSION/TRANSAXLE/AUTOMATIC - 42RLE - STANDARD PROCEDURE)
Theory of Operation
The C1 through C4 (T1, T3, T41, and T42) sense circuits communicate the shift lever position to the PCM. Each
circuit is terminated at the transmission with a switch. Each switch can beeither open or closed, depending on the
shift lever position. The PCM can decode this information and determine the shift lever position. Each shift lever
position has a certain combination of switches, which will be open and closed, this is called a PRNDL code. There
are 4 switches, therefore: there are many possible combinations of open and closed switches (codes). However,
there are only 9 valid codes (8 for AutoStick), one for each gear position and three recognized between gear codes.
The remainder of the codes should never occur, these are called invalid codes. The following chart shows the nor-
mal switch states for each shift lever position.
TRS SWITCH STATES
SLP T42 T41 T3 T1
PCLOSED CLOSED CLOSED OPEN
RCLOSED OPEN OPEN OPEN
NCLOSED CLOSED OPEN CLOSED
ODOPEN OPEN OPEN CLOSED
3OPEN OPEN CLOSED OPEN
LCLOSED OPEN CLOSED CLOSED
Diagnostic Test
1.CHECK TO SEE IF P0706 DTC IS CURRENT
With the scan tool, perform the Shift Lever Position Test.
Select the test outcome from the following:
Test passes:
Go To 6
Test fails with Error Code:
Go To 2
Test fails without Error Code:
Perform the Gearshift Adjustment Procedure per the Service Information.
Perform the PRNDL Fault Clearing Procedure – Go To 7
Page 2744 of 5267
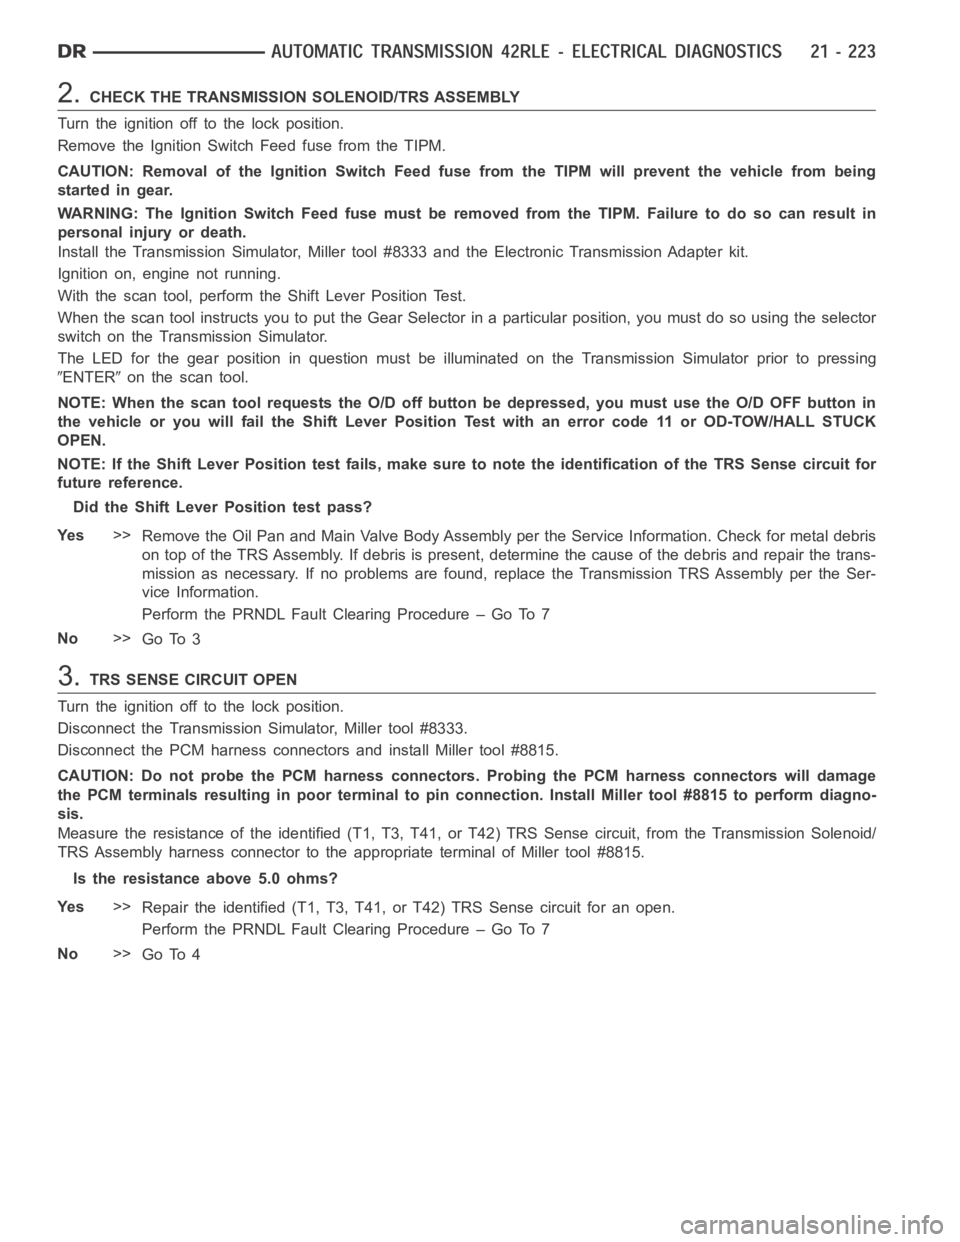
2.CHECK THE TRANSMISSION SOLENOID/TRS ASSEMBLY
Turn the ignition off to the lock position.
Remove the Ignition Switch Feed fuse from the TIPM.
CAUTION: Removal of the Ignition Switch Feed fuse from the TIPM will prevent the vehicle from being
startedingear.
WARNING: The Ignition Switch Feed fuse must be removed from the TIPM. Failure to do so can result in
personal injury or death.
Install the Transmission Simulator,Miller tool #8333 and the ElectronicTransmission Adapter kit.
Ignition on, engine not running.
With the scan tool, perform the Shift Lever Position Test.
When the scan tool instructs you to put the Gear Selector in a particular position, you must do so using the selector
switch on the Transmission Simulator.
The LED for the gear position in question must be illuminated on the Transmission Simulator prior to pressing
ENTERon the scan tool.
NOTE: When the scan tool requests the O/D off button be depressed, you must use the O/D OFF button in
the vehicle or you will fail the Shift Lever Position Test with an error code11 or OD-TOW/HALL STUCK
OPEN.
NOTE: If the Shift Lever Position test fails, make sure to note the identification of the TRS Sense circuit for
future reference.
Did the Shift Lever Position test pass?
Ye s>>
Remove the Oil Pan and Main Valve Body Assembly per the Service Information. Check for metal debris
on top of the TRS Assembly. If debris is present, determine the cause of the debris and repair the trans-
mission as necessary. If no problems are found, replace the Transmission TRS Assembly per the Ser-
vice Information.
Perform the PRNDL Fault Clearing Procedure – Go To 7
No>>
Go To 3
3.TRS SENSE CIRCUIT OPEN
Turn the ignition off to the lock position.
Disconnect the Transmission Simulator, Miller tool #8333.
Disconnect the PCM harness connectors and install Miller tool #8815.
CAUTION: Do not probe the PCM harness connectors. Probing the PCM harness connectors will damage
the PCM terminals resulting in poor terminal to pin connection. Install Miller tool #8815 to perform diagno-
sis.
Measure the resistance of the identified (T1, T3, T41, or T42) TRS Sense circuit, from the Transmission Solenoid/
TRS Assembly harness connector to theappropriate terminal of Miller tool#8815.
Is the resistance above 5.0 ohms?
Ye s>>
Repair the identified (T1, T3, T41, or T42) TRS Sense circuit for an open.
Perform the PRNDL Fault Clearing Procedure – Go To 7
No>>
Go To 4
Page 2771 of 5267
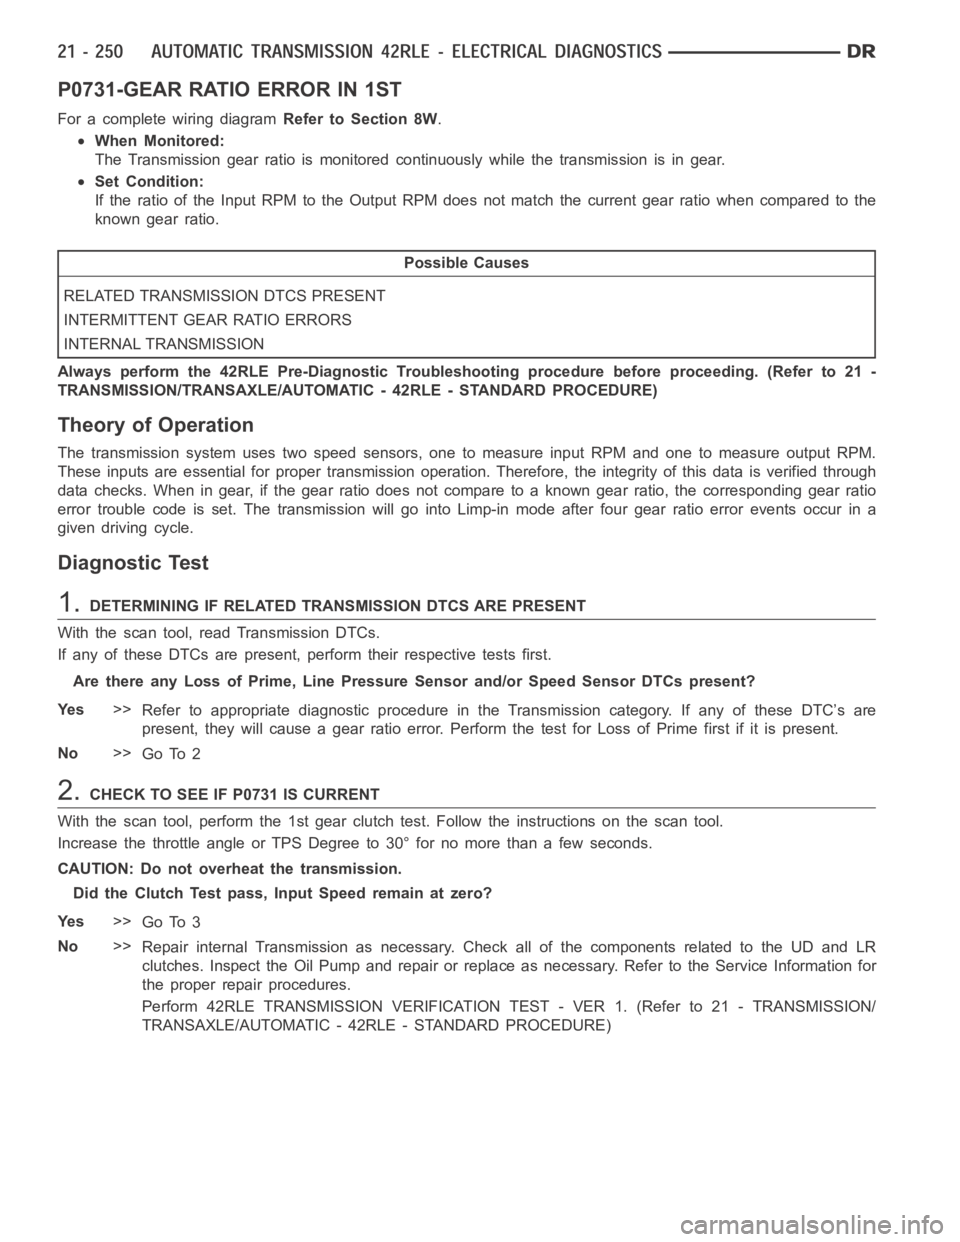
P0731-GEAR RATIO ERROR IN 1ST
For a complete wiring diagramRefer to Section 8W.
When Monitored:
The Transmission gear ratio is monitored continuously while the transmission is in gear.
Set Condition:
If the ratio of the Input RPM to the Output RPM does not match the current gearratio when compared to the
known gear ratio.
Possible Causes
RELATED TRANSMISSION DTCS PRESENT
INTERMITTENT GEAR RATIO ERRORS
INTERNAL TRANSMISSION
Always perform the 42RLE Pre-Diagnostic Troubleshooting procedure before proceeding. (Refer to 21 -
TRANSMISSION/TRANSAXLE/AUTOMATIC - 42RLE - STANDARD PROCEDURE)
Theory of Operation
The transmission system uses two speed sensors, one to measure input RPM and one to measure output RPM.
These inputs are essential for proper transmission operation. Therefore, the integrity of this data is verified through
data checks. When in gear, if the gear ratio does not compare to a known gear ratio, the corresponding gear ratio
error trouble code is set. The transmission will go into Limp-in mode afterfour gear ratio error events occur in a
given driving cycle.
Diagnostic Test
1.DETERMINING IF RELATED TRANSMISSION DTCS ARE PRESENT
With the scan tool, read Transmission DTCs.
If any of these DTCs are present, perform their respective tests first.
Are there any Loss of Prime, Line Pressure Sensor and/or Speed Sensor DTCs present?
Ye s>>
Refer to appropriate diagnostic procedure in the Transmission category.If any of these DTC’s are
present, they will cause a gear ratio error. Perform the test for Loss of Primefirstifitispresent.
No>>
Go To 2
2.CHECK TO SEE IF P0731 IS CURRENT
With the scan tool, perform the 1st gear clutch test. Follow the instructions on the scan tool.
Increase the throttle angle or TPS Degree to 30° for no more than a few seconds.
CAUTION: Do not overheat the transmission.
Did the Clutch Test pass, Input Speed remain at zero?
Ye s>>
Go To 3
No>>
Repair internal Transmission as necessary. Check all of the components relatedtotheUDandLR
clutches. Inspect the Oil Pump and repair or replace as necessary. Refer tothe Service Information for
the proper repair procedures.
Perform 42RLE TRANSMISSION VERIFICATION TEST - VER 1. (Refer to 21 - TRANSMISSION/
TRANSAXLE/AUTOMATIC - 42RLE - STANDARD PROCEDURE)