Page 41 of 202

40
CONNECT NAV
NAVIGATOR
“INCROCIO”
(INTERSECTION)
destination entry
Proceed as follows to reach an in-
tersection:
1) enter the street name as de-
scribed above
2) select INCROCIO (INTERSEC-
TION) with the knob/button (11)
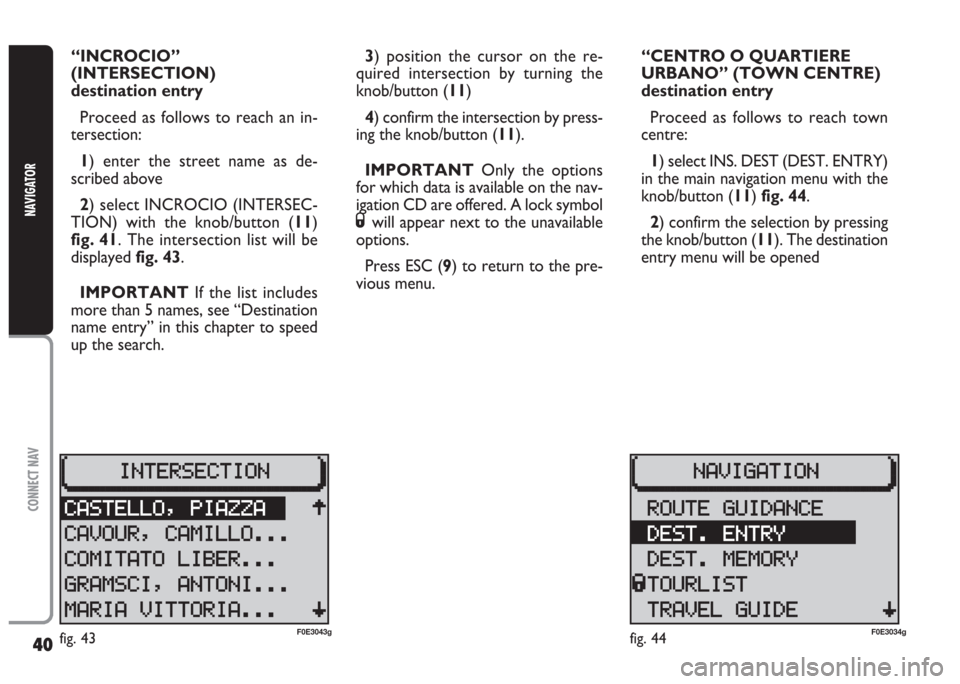
fig. 41. The intersection list will be
displayed fig. 43.
IMPORTANT If the list includes
more than 5 names, see “Destination
name entry” in this chapter to speed
up the search.3) position the cursor on the re-
quired intersection by turning the
knob/button (11)
4) confirm the intersection by press-
ing the knob/button (11).
IMPORTANT Only the options
for which data is available on the nav-
igation CD are offered. A lock symbol
Swill appear next to the unavailable
options.
Press ESC (9) to return to the pre-
vious menu.“CENTRO O QUARTIERE
URBANO” (TOWN CENTRE)
destination entry
Proceed as follows to reach town
centre:
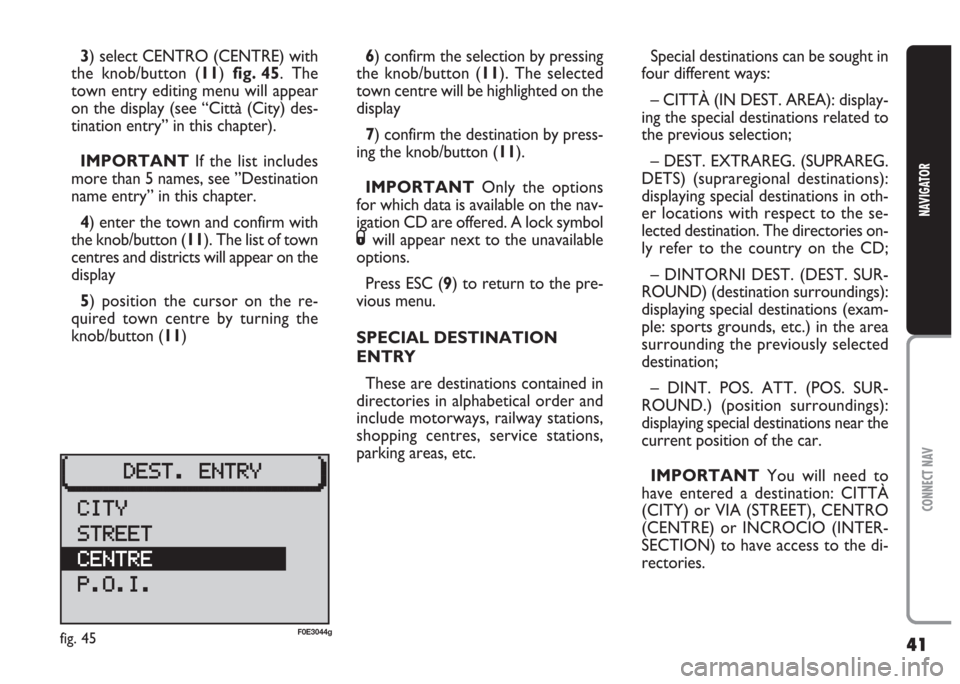
1) select INS. DEST (DEST. ENTRY)
in the main navigation menu with the
knob/button (11) fig. 44.
2) confirm the selection by pressing
the knob/button (11). The destination
entry menu will be opened
fig. 43F0E3043gfig. 44F0E3034g
Page 42 of 202

41
CONNECT NAV
NAVIGATOR
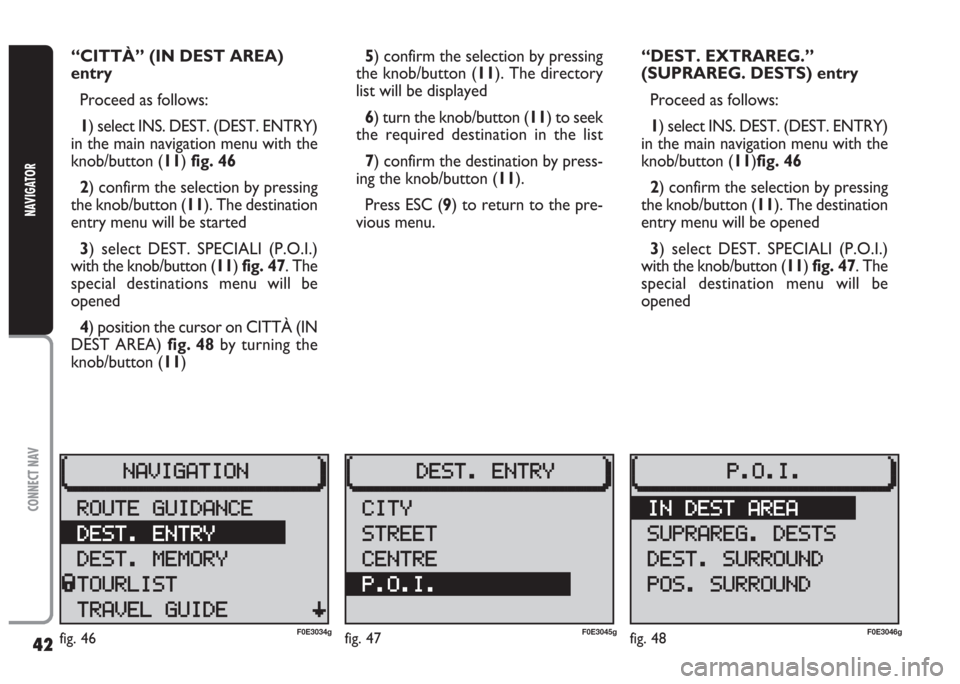
3) select CENTRO (CENTRE) with
the knob/button (11) fig. 45. The
town entry editing menu will appear
on the display (see “Città (City) des-
tination entry” in this chapter).
IMPORTANT If the list includes
more than 5 names, see ”Destination
name entry” in this chapter.
4) enter the town and confirm with
the knob/button (11). The list of town
centres and districts will appear on the
display
5) position the cursor on the re-
quired town centre by turning the
knob/button (11)6) confirm the selection by pressing
the knob/button (11). The selected
town centre will be highlighted on the
display
7) confirm the destination by press-
ing the knob/button (11).
IMPORTANT Only the options
for which data is available on the nav-
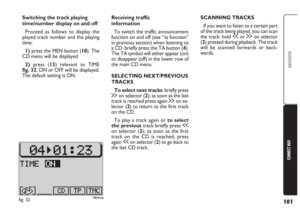
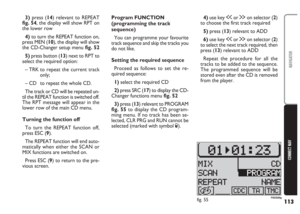
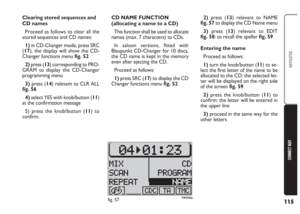
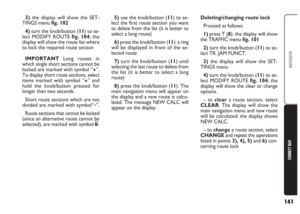
igation CD are offered. A lock symbol
Swill appear next to the unavailable
options.
Press ESC (9) to return to the pre-
vious menu.
SPECIAL DESTINATION
ENTRY
These are destinations contained in
directories in alphabetical order and
include motorways, railway stations,
shopping centres, service stations,
parking areas, etc.Special destinations can be sought in
four different ways:
– CITTÀ (IN DEST. AREA): display-
ing the special destinations related to
the previous selection;
– DEST. EXTRAREG. (SUPRAREG.
DETS) (supraregional destinations):
displaying special destinations in oth-
er locations with respect to the se-
lected destination. The directories on-
ly refer to the country on the CD;
– DINTORNI DEST. (DEST. SUR-
ROUND) (destination surroundings):
displaying special destinations (exam-
ple: sports grounds, etc.) in the area
surrounding the previously selected
destination;
– DINT. POS. ATT. (POS. SUR-
ROUND.) (position surroundings):
displaying special destinations near the
current position of the car.
IMPORTANT You will need to
have entered a destination: CITTÀ
(CITY) or VIA (STREET), CENTRO
(CENTRE) or INCROCIO (INTER-
SECTION) to have access to the di-
rectories.
fig. 45F0E3044g
Page 43 of 202

42
CONNECT NAV
NAVIGATOR
“CITTÀ” (IN DEST AREA)
entry
Proceed as follows:
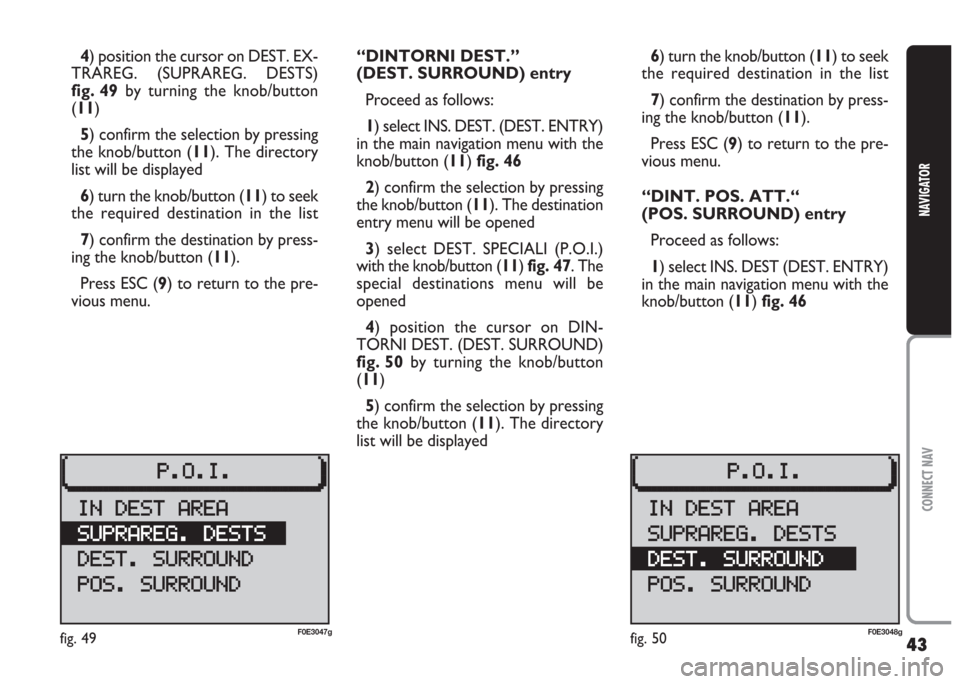
1) select INS. DEST. (DEST. ENTRY)
in the main navigation menu with the
knob/button (11) fig. 46
2) confirm the selection by pressing
the knob/button (11). The destination
entry menu will be started
3) select DEST. SPECIALI (P.O.I.)
with the knob/button (11) fig. 47. The
special destinations menu will be
opened
4) position the cursor on CITTÀ (IN
DEST AREA) fig. 48by turning the
knob/button (11)5) confirm the selection by pressing
the knob/button (11). The directory
list will be displayed
6) turn the knob/button (11) to seek
the required destination in the list
7) confirm the destination by press-
ing the knob/button (11).
Press ESC (9) to return to the pre-
vious menu.“DEST. EXTRAREG.”
(SUPRAREG. DESTS) entry
Proceed as follows:
1) select INS. DEST. (DEST. ENTRY)
in the main navigation menu with the
knob/button (11)fig. 46
2) confirm the selection by pressing
the knob/button (11). The destination
entry menu will be opened
3) select DEST. SPECIALI (P.O.I.)
with the knob/button (11) fig. 47. The
special destination menu will be
opened
fig. 46F0E3034gfig. 47F0E3045gfig. 48F0E3046g
Page 44 of 202

43
CONNECT NAV
NAVIGATOR
4) position the cursor on DEST. EX-
TRAREG. (SUPRAREG. DESTS)
fig. 49by turning the knob/button
(11)
5) confirm the selection by pressing
the knob/button (11). The directory
list will be displayed
6) turn the knob/button (11) to seek
the required destination in the list
7) confirm the destination by press-
ing the knob/button (11).
Press ESC (9) to return to the pre-
vious menu.“DINTORNI DEST.”
(DEST. SURROUND) entry
Proceed as follows:
1) select INS. DEST. (DEST. ENTRY)
in the main navigation menu with the
knob/button (11) fig. 46
2) confirm the selection by pressing
the knob/button (11). The destination
entry menu will be opened
3) select DEST. SPECIALI (P.O.I.)
with the knob/button (11) fig. 47. The
special destinations menu will be
opened
4) position the cursor on DIN-
TORNI DEST. (DEST. SURROUND)
fig. 50by turning the knob/button
(11)
5) confirm the selection by pressing
the knob/button (11). The directory
list will be displayed6) turn the knob/button (11) to seek
the required destination in the list
7) confirm the destination by press-
ing the knob/button (11).
Press ESC (9) to return to the pre-
vious menu.
“DINT. POS. ATT.“
(POS. SURROUND) entry
Proceed as follows:
1) select INS. DEST (DEST. ENTRY)
in the main navigation menu with the
knob/button (11) fig. 46
fig. 49F0E3047gfig. 50F0E3048g
Page 45 of 202

44
CONNECT NAV
NAVIGATOR
2) confirm the selection by pressing
the knob/button (11). The destination
entry menu will be opened
3) select DEST. SPECIALI (P.O.I.)
with the knob/button (11) fig. 47. The
special destinations menu will be
opened
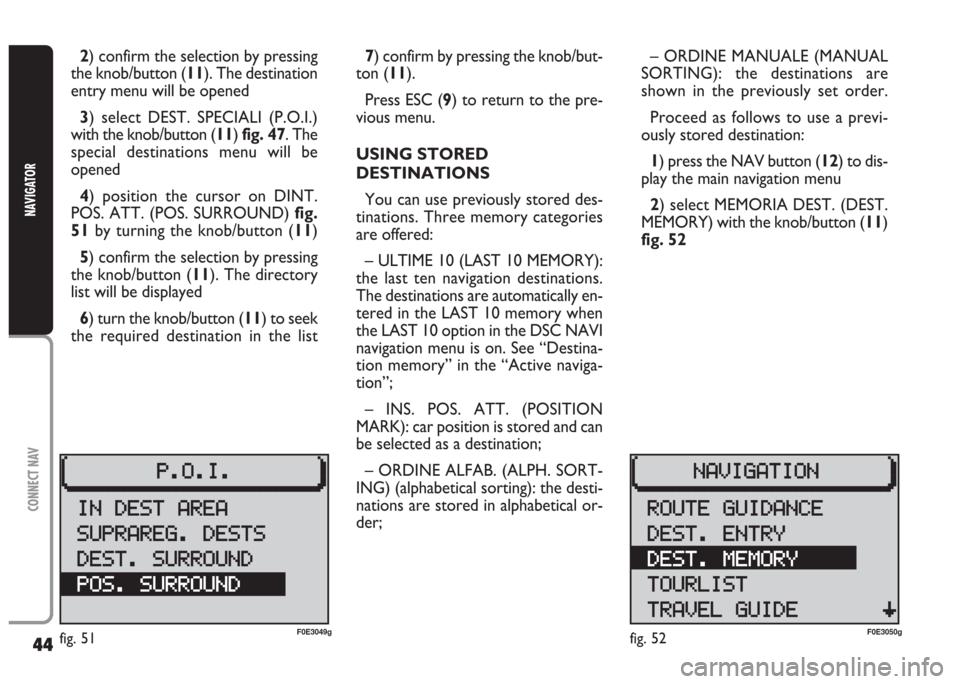
4) position the cursor on DINT.
POS. ATT. (POS. SURROUND) fig.
51by turning the knob/button (11)
5) confirm the selection by pressing
the knob/button (11). The directory
list will be displayed
6) turn the knob/button (11) to seek
the required destination in the list7) confirm by pressing the knob/but-
ton (11).
Press ESC (9) to return to the pre-
vious menu.
USING STORED
DESTINATIONS
You can use previously stored des-
tinations. Three memory categories
are offered:
– ULTIME 10 (LAST 10 MEMORY):
the last ten navigation destinations.
The destinations are automatically en-
tered in the LAST 10 memory when
the LAST 10 option in the DSC NAVI
navigation menu is on. See “Destina-
tion memory” in the “Active naviga-
tion”;
– INS. POS. ATT. (POSITION
MARK): car position is stored and can
be selected as a destination;
– ORDINE ALFAB. (ALPH. SORT-
ING) (alphabetical sorting): the desti-
nations are stored in alphabetical or-
der;– ORDINE MANUALE (MANUAL
SORTING): the destinations are
shown in the previously set order.
Proceed as follows to use a previ-
ously stored destination:
1) press the NAV button (12) to dis-
play the main navigation menu
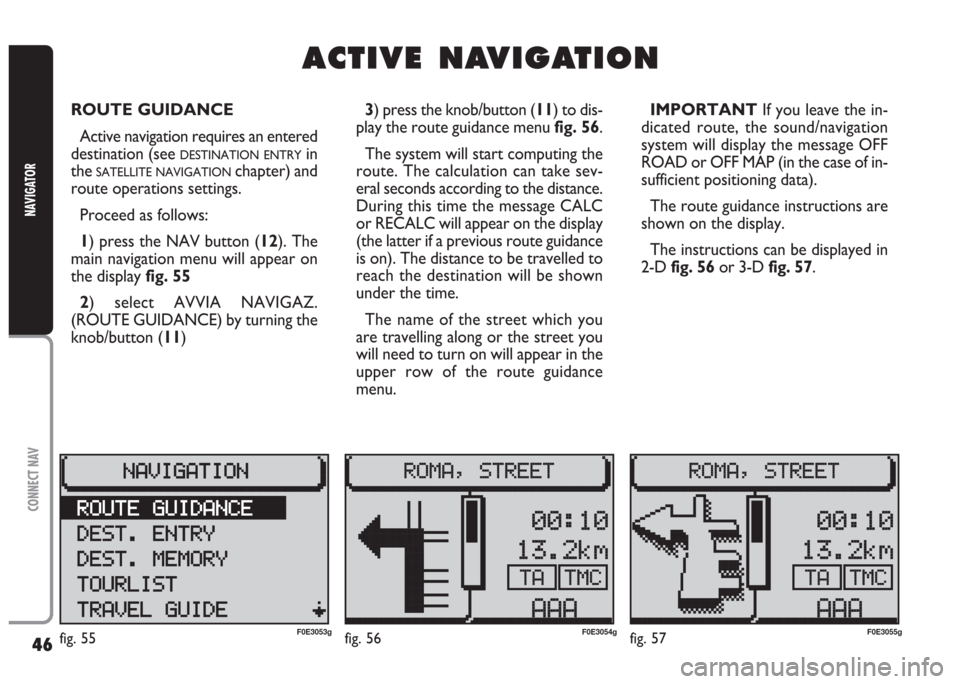
2) select MEMORIA DEST. (DEST.
MEMORY) with the knob/button (11)
fig. 52
fig. 51F0E3049gfig. 52F0E3050g
Page 46 of 202
45
CONNECT NAV
NAVIGATOR
3) confirm the selection by pressing
the knob/button (11). The destination
memory menu will be opened fig. 53
4) position the cursor on the re-
quired destination by turning the
knob/button (11)
5) confirm the destination by press-
ing the knob/button (11).
Press ESC (9) to return to the pre-
vious menu.STORING THE CURRENT
POSITION
Proceed as follows to store the cur-
rent position of the car:
1) select MEMORIA DEST. (DEST.
MEMORY) in the main navigation
menu with the knob/button (11)
2) confirm the selection with the
knob/button (11). The destination en-
try menu will be opened3) select INS. POS. ATT. (POSI-
TION MARK) with the knob/button
(11) fig. 54
4) confirm the destination with the
knob/button (11).
IMPORTANT This procedure can
only be carried out if a navigation CD
is inserted.
Press ESC (9) to return to the pre-
vious menu.
fig. 53F0E3051gfig. 54F0E3052g
Page 47 of 202

46
CONNECT NAV
NAVIGATOR
A A
C C
T T
I I
V V
E E
N N
A A
V V
I I
G G
A A
T T
I I
O O
N N
ROUTE GUIDANCE
Active navigation requires an entered
destination (see
DESTINATION ENTRYin
the
SATELLITE NAVIGATIONchapter) and
route operations settings.
Proceed as follows:
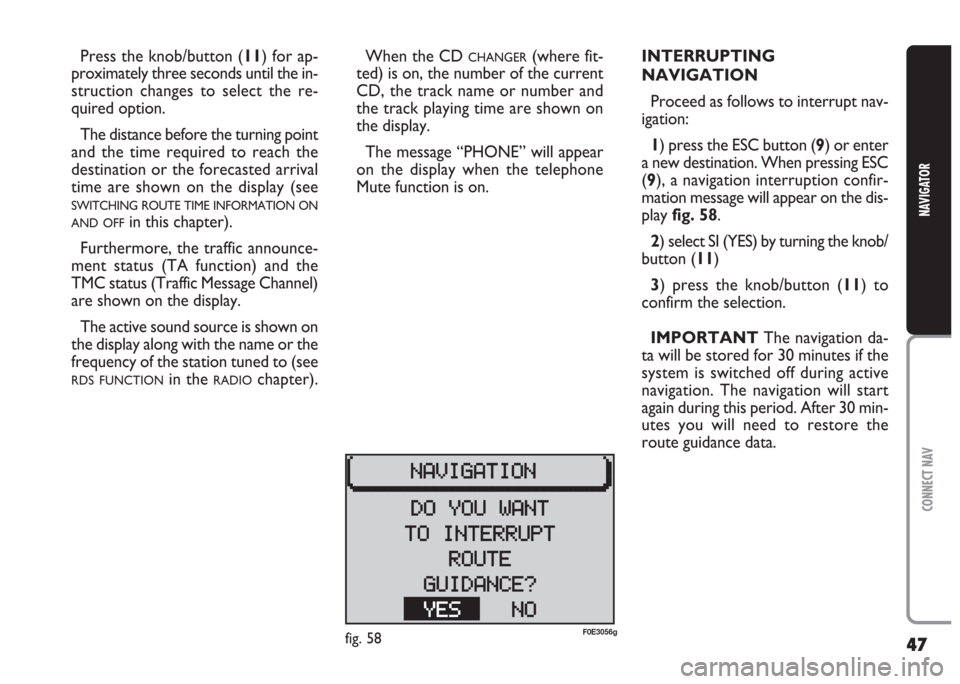
1) press the NAV button (12). The
main navigation menu will appear on
the display fig. 55
2) select AVVIA NAVIGAZ.
(ROUTE GUIDANCE) by turning the
knob/button (11) 3) press the knob/button (11) to dis-
play the route guidance menu fig. 56.
The system will start computing the
route. The calculation can take sev-
eral seconds according to the distance.
During this time the message CALC
or RECALC will appear on the display
(the latter if a previous route guidance
is on). The distance to be travelled to
reach the destination will be shown
under the time.
The name of the street which you
are travelling along or the street you
will need to turn on will appear in the
upper row of the route guidance
menu.IMPORTANT If you leave the in-
dicated route, the sound/navigation
system will display the message OFF
ROAD or OFF MAP (in the case of in-
sufficient positioning data).
The route guidance instructions are
shown on the display.
The instructions can be displayed in
2-D fig. 56or 3-D fig. 57.
fig. 55F0E3053gfig. 56F0E3054gfig. 57F0E3055g
Page 48 of 202

47
CONNECT NAV
NAVIGATOR
When the CD CHANGER(where fit-
ted) is on, the number of the current
CD, the track name or number and
the track playing time are shown on
the display.
The message “PHONE” will appear
on the display when the telephone
Mute function is on.INTERRUPTING
NAVIGATION
Proceed as follows to interrupt nav-
igation:
1) press the ESC button (9) or enter
a new destination. When pressing ESC
(9), a navigation interruption confir-
mation message will appear on the dis-
play fig. 58.
2) select SI (YES) by turning the knob/
button (11)
3) press the knob/button (11) to
confirm the selection.
IMPORTANT The navigation da-
ta will be stored for 30 minutes if the
system is switched off during active
navigation. The navigation will start
again during this period. After 30 min-
utes you will need to restore the
route guidance data. Press the knob/button (11) for ap-
proximately three seconds until the in-
struction changes to select the re-
quired option.
The distance before the turning point
and the time required to reach the
destination or the forecasted arrival
time are shown on the display (see
SWITCHING ROUTE TIME INFORMATION ON
AND OFF
in this chapter).
Furthermore, the traffic announce-
ment status (TA function) and the
TMC status (Traffic Message Channel)
are shown on the display.
The active sound source is shown on
the display along with the name or the
frequency of the station tuned to (see
RDS FUNCTIONin the RADIOchapter).
fig. 58F0E3056g