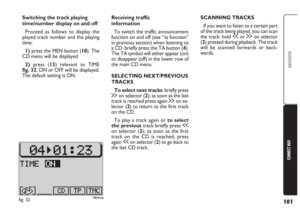
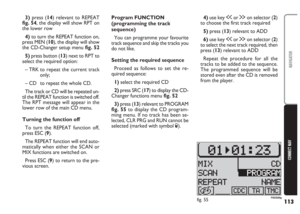
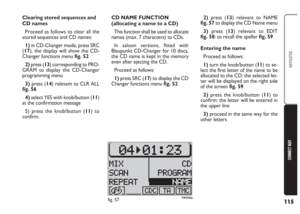
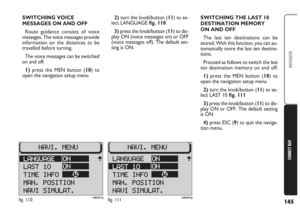
Page 137 of 202

136
CONNECT NAV
NAVIGATOR
ENTERING AND EDITING
DESTINATION NAMES
Proceed as follows to edit or enter
a name in the destination memory:
1) press NAV (12) to display the
main navigation menu fig. 94
2)turn the knob/button (11) to se-
lect DEST. MEMORY fig. 94
3)confirm the selection by pressing
the knob/button (11). The DEST.
MEMORY menu will appear on the
display
4) turn the knob/button (11) to se-
lect EDIT MEMORY fig. 965)confirm the selection by pressing
the knob/button (11). The editing
menu will appear on the display
6) position the cursor on the re-
quired character by turning the
knob/button (11)
7)confirm the selected character by
pressing the knob/button (11). The se-
lected character will be displayed in
the editing field. Repeat the last two
operations to complete the name
8) press the knob/button (11) for
over two seconds to confirm or select
symboljand then press the
knob/button (11).
Press ESC (9) to return to the pre-
vious menu.STORING STORED
DESTINATIONS
You can sort the destination mem-
ory list. This list can be recalled when
entering the destination.
Proceed as follows for storing:
1)press the NAV button (12) to
open the main navigation menu
2) turn the knob/button (11) to se-
lect DEST. MEMORY fig. 97
fig. 96F0E3098gfig. 95F0E3104gfig. 97F0E3050g
Page 138 of 202

137
CONNECT NAV
NAVIGATOR
9)confirm the new position by
pressing the knob/button (11) for
longer than two seconds.
Press ESC (9) to return to the pre-
vious menu.
DELETING STORED DATA
The last ten stored destinations, sin-
gle destinations or all destination in
memory can be deleted.
IMPORTANT A navigation CD
must be inserted in the drive to clear
the memory.
Proceed as follows:
1)press the NAV button (12) to
open the main navigation menu
2)turn the knob/button (11) to se-
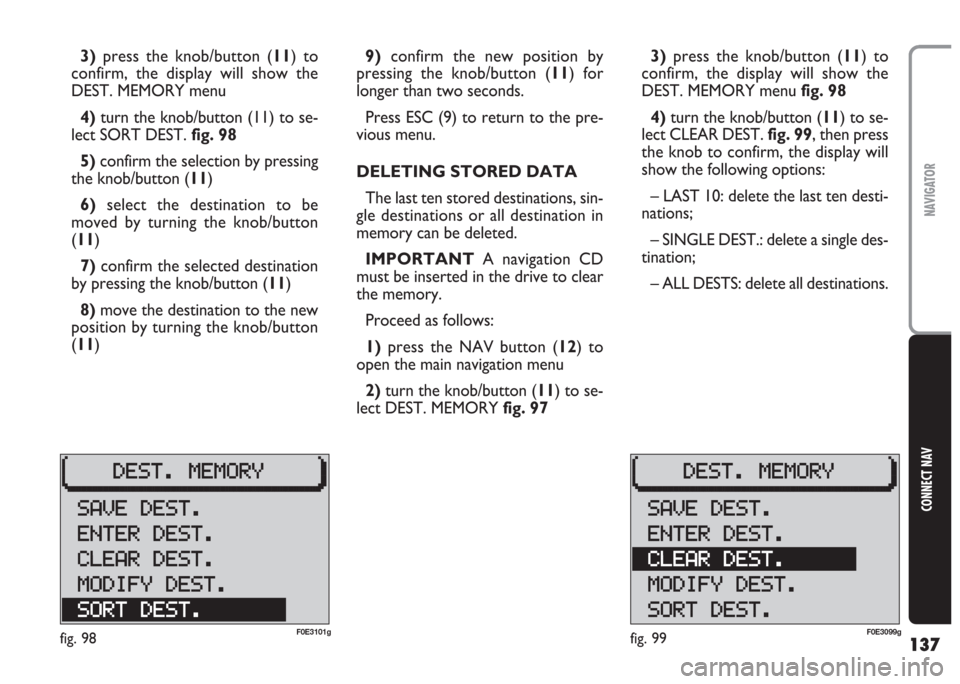
lect DEST. MEMORY fig. 973)press the knob/button (11) to
confirm, the display will show the
DEST. MEMORY menu fig. 98
4)turn the knob/button (11) to se-
lect CLEAR DEST. fig. 99, then press
the knob to confirm, the display will
show the following options:
– LAST 10: delete the last ten desti-
nations;
– SINGLE DEST.: delete a single des-
tination;
– ALL DESTS: delete all destinations. 3)press the knob/button (11) to
confirm, the display will show the
DEST. MEMORY menu
4) turn the knob/button (11) to se-
lect SORT DEST. fig. 98
5) confirm the selection by pressing
the knob/button (11)
6)select the destination to be
moved by turning the knob/button
(11)
7)confirm the selected destination
by pressing the knob/button (11)
8)move the destination to the new
position by turning the knob/button
(11)
fig. 99F0E3099gfig. 98F0E3101g
Page 139 of 202

138
CONNECT NAV
NAVIGATOR
ENTERING AND EDITING
DESTINATION SHORT
NAMES
Proceed as follows to edit or enter
a short name in the destination mem-
ory:
1) Press the NAV button (12). The
main navigation menu will appear on
the display
2)select DEST. MEMORY by turn-
ing the knob/button (11)
3) confirm the selection by pressing
the knob/button (11). The DEST.
MEMORY menu will appear on the
display
4) turn the knob/button (11) to se-
lect MODIFY DEST. fig. 100
5) press the knob/button (11) to
confirm, the display will show the list
of stored destinations in alphabetical
order
6) turn the knob/button (11) to se-
lect the destination name to be
changed, the display will show the edit-
ing menu (speller) 5)select the required option (LAST
10, SINGLE DEST., ALL DESTS) and
confirm by pressing the knob/button
(11). The memory will be automati-
cally cleared for the first two options.
Continue as follows for the third op-
tion:
6)select the destination to be delet-
ed by turning the knob/button (11)
7) confirm the selection by pressing
the knob/button (11)
8)select CLEAR (to delete) or NO
(not to delete) with the knob/button
(11).
Press ESC (9) to return to the pre-
vious menu.7)position the cursor on the re-
quired character by turning the
knob/button (11)
8) confirm the selected character by
pressing the knob/button (11). The se-
lected character will be displayed in
the editing field
9)repeat the above procedure to
complete the name
10) position the cursor on symbolj
and press the knob/button (11) or
press the knob/button (11) for longer
than two seconds.
fig. 100F0E3100g
Page 140 of 202

139
CONNECT NAV
NAVIGATOR
GPS STATUS AND POSITION
INFORMATION
Proceed as follows to display the
number of GPS satellites which can be
received and the car position:
1) Press the NAV button (12). The
main navigation menu will appear on
the display
2) select GPS STATUS by turning the
knob/button (11)
3) confirm the selection by pressing
the knob/button (11).
Press ESC (9) to return to the pre-
vious menu.AVOIDING TAILBACKS
DURING NAVIGATION
When active navigation is on, the sys-
tem can detour tailbacks or road in-
terruptions.
IMPORTANT Only the options
for which data is available on the nav-
igation CD are offered. A lock symbol
Swill appear next to the unavailable
options.
Proceed as follows:
1)press T (8): the display will show
the TRAFFIC menu fig. 1012)turn the knob/button (11) to se-
lect TR. JAM FUNCT.
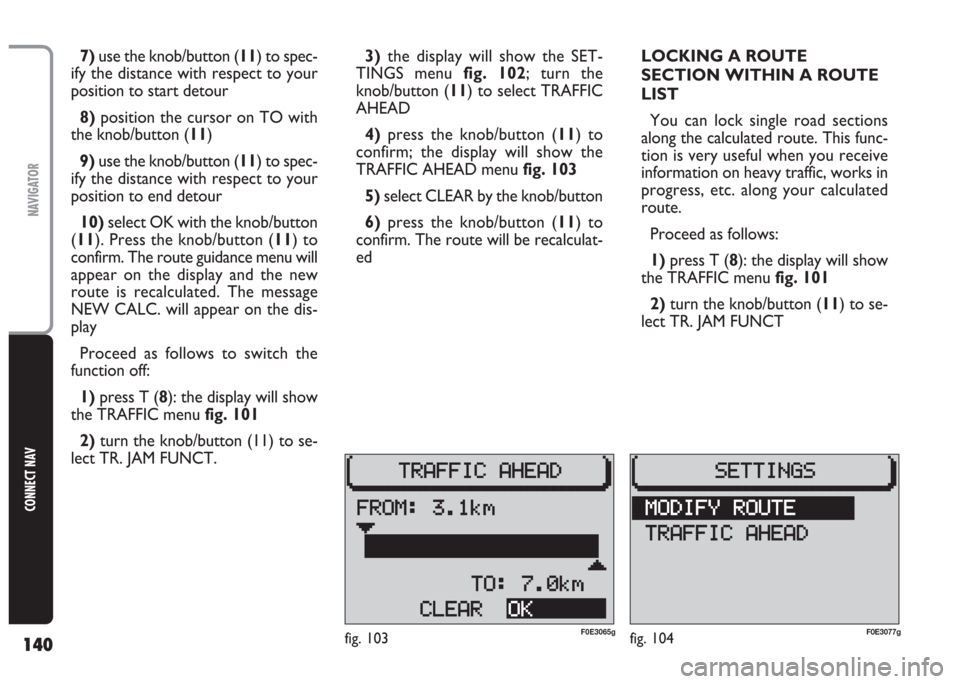
3)the display will show the SET-
TINGS menu fig. 102; use the
knob/button (11) to select TRAFFIC
AHEAD
4) press the knob/button (11) to
confirm; the display will show the
TRAFFIC AHEAD menu and the cur-
sor will move to TO fig. 103
5)press knob/button (11)
6) position the cursor on FROM
with the knob/button (11)
fig. 101F0E3215gfig. 102F0E3064g
Page 141 of 202

140
CONNECT NAV
NAVIGATOR
7) use the knob/button (11) to spec-
ify the distance with respect to your
position to start detour
8)position the cursor on TO with
the knob/button (11)
9) use the knob/button (11) to spec-
ify the distance with respect to your
position to end detour
10) select OK with the knob/button
(11). Press the knob/button (11) to
confirm. The route guidance menu will
appear on the display and the new
route is recalculated. The message
NEW CALC. will appear on the dis-
play
Proceed as follows to switch the
function off:
1)press T (8): the display will show
the TRAFFIC menu fig. 101
2) turn the knob/button (11) to se-
lect TR. JAM FUNCT. 3)the display will show the SET-
TINGS menu fig. 102; turn the
knob/button (11) to select TRAFFIC
AHEAD
4)press the knob/button (11) to
confirm; the display will show the
TRAFFIC AHEAD menu fig. 103
5) select CLEAR by the knob/button
6)press the knob/button (11) to
confirm. The route will be recalculat-
edLOCKING A ROUTE
SECTION WITHIN A ROUTE
LIST
You can lock single road sections
along the calculated route. This func-
tion is very useful when you receive
information on heavy traffic, works in
progress, etc. along your calculated
route.
Proceed as follows:
1) press T (8): the display will show
the TRAFFIC menu fig. 101
2) turn the knob/button (11) to se-
lect TR. JAM FUNCT
fig. 103F0E3065gfig. 104F0E3077g
Page 142 of 202

141
CONNECT NAV
NAVIGATOR
3)the display will show the SET-
TINGS menu fig. 102
4) turn the knob/button (11) to se-
lect MODIFY ROUTE fig. 104; the
display will show the route list where
to lock the required route section
IMPORTANT Long routes in
which single short sections cannot be
locked are marked with symbol “
+”.
To display short route sections, select
items marked with symbol “
+” and
hold the knob/button pressed for
longer than two seconds.
Short route sections which are not
divided are marked with symbol“
-”.
Route sections that cannot be locked
(since an alternative route cannot be
selected), are marked with symbol
S.5) use the knob/button (11) to se-
lect the first route section you want
to delete from the list (it is better to
select a long route)
6) press the knob/button (11): a ring
will be displayed in front of the se-
lected route
7) turn the knob/button (11) until
selecting the last route to delete from
the list (it is better to select a long
route)
8)press the knob/button (11). The
main navigation menu will appear on
the display and a new route is calcu-
lated. The message NEW CALC will
appear on the display.Deleting/changing route lock
Proceed as follows:
1) press T (8): the display will show
the TRAFFIC menu fig. 101
2)turn the knob/button (11) to se-
lect TR. JAM FUNCT.
3)the display will show the SET-
TINGS menu
4) turn the knob/button (11) to se-
lect MODIFY ROUTE fig. 104; the
display will show the clear or change
options.
– to cleara route section, select
CLEAR. The display will show the
main navigation menu and new route
will be calculated: the display shows
NEW CALC.
– to changea route section, select
CHANGEand repeat the operations
listed in points 3), 4), 5)and 6)con-
cerning route lock
Page 143 of 202

142
CONNECT NAV
NAVIGATOR
CUSTOMISING THE ROUTE
Routes can be customised at any mo-
ment, even during navigation by en-
tering the following parameters:
– ROUTE: you can choose between
the fastest or shortest route or select
the “Dynamic travel guide” (DYN.)
with TMC (see paragraph “Dynamic
travel guide” in this section). When
this function is on, all the other op-
tions (MOTORWAY, FERRY and
TOOL) are not displayed. The system
tunes automatically to a TMC station
and calculates the fastest/shortest
route on the basis of the traffic mes-
sages;
– MOTORWAY: during navigation,
you can choose whether to use mo-
torways;
– FERRY: you can choose whether
to use ferries;
– TOOL: you can exclude toll roads
from the route.IMPORTANT For instance, setting
MOTOR WAY LESS fig. 106, you
avoid motorways but you have to cov-
er long route sections, the system will
therefore programme motorways in
the calculated route. The same stands
valid for FERRY and for TOOL roads.
Proceed as follows to select the
route options:
1)press the MEN button (10) to
open the navigation setup menu
2)turn the knob/button (11) to se-
lect ROUTE OPTION fig. 1053) press the knob/button (11) to
confirm, the display will show the
ROUTE OPTION menu fig. 105
4)position the cursor on the re-
quired option with the knob/button
(11)
5) press the knob/button (11) to
change the setting.
fig. 105F0E3060g
Page 144 of 202

143
CONNECT NAV
NAVIGATOR
Proceed as follows to quit the route
option menu:
1) press ESC (9), to go back to the
navigation setup menu or use the
knob/button (11) to move the cursor
to CONTINUE fig. 106
2)press the knob/button (11) to
confirm. If “Route guide” is not active
the display will show the main naviga-
tion menu.
IMPORTANT The system will au-
tomatically calculate a new route when
the settings are changed during active
navigation. The route options will be
active until they are changed again.DEFINING THE CAR
POSITION
This function can be used to display
the current position of the car (ex-
ample: the name of the street you are
driving along) and the north-up indi-
cation. Route guidance will be inter-
rupted when the function is on.
Proceed as follows to define the cur-
rent position:
1) press the NAV button (12) to
open the main navigation menu
2)turn the knob/button (11) to se-
lect LOCATING fig. 107
3) confirm the selection by pressing
the knob/button (11).Press ESC (9) to end the function
and return to the main navigation
menu.
Storing the position
Proceed as follows to store the cur-
rent position:
1)press the MEN button (10) to
open the navigation setup menu
2)turn the knob/button (11) to se-
lect POSITION MARK fig. 108
fig. 108F0E3067gfig. 107F0E3069gfig. 106F0E3066g