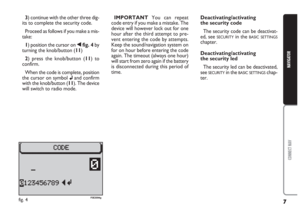
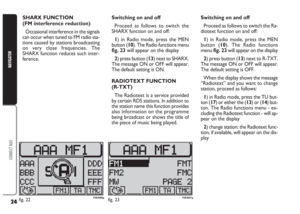
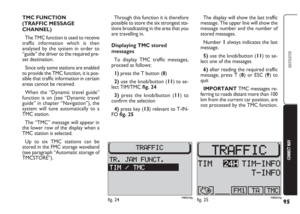
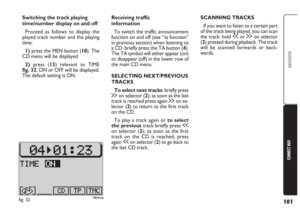
Page 177 of 202

176
CONNECT NAV
NAVIGATOR
PHONEBOOK
Entering names/phone
numbers
To display the names/phone numbers
contained in the phone book, proceed
as follows:
1)press
£(15): the display will show
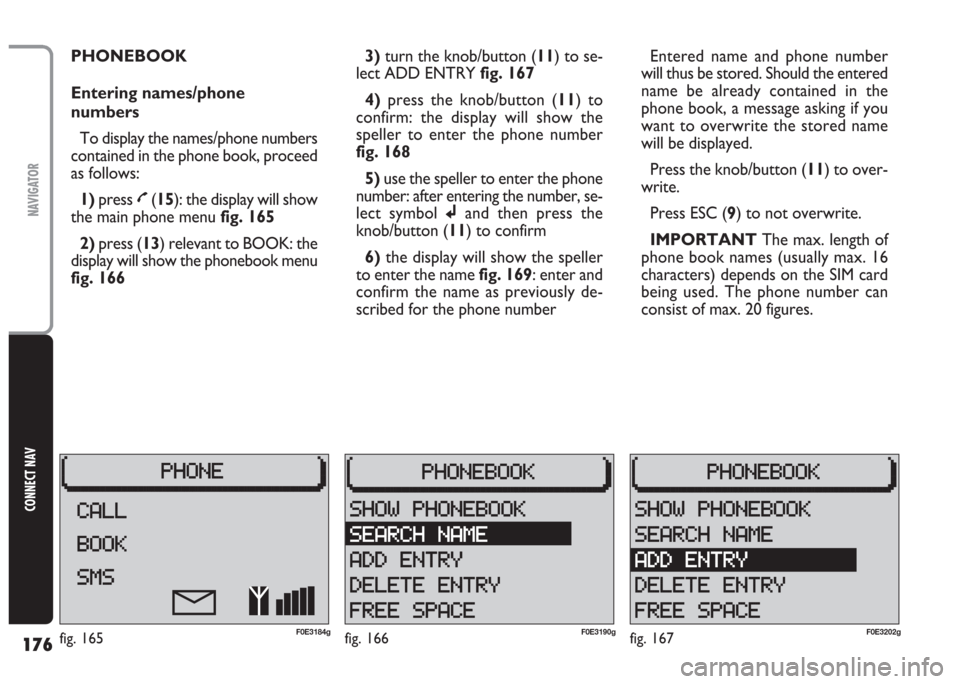
the main phone menu fig. 165
2) press (13) relevant to BOOK: the
display will show the phonebook menu
fig. 1663)turn the knob/button (11) to se-
lect ADD ENTRY fig. 167
4) press the knob/button (11) to
confirm: the display will show the
speller to enter the phone number
fig. 168
5)use the speller to enter the phone
number: after entering the number, se-
lect symbol jand then press the
knob/button (11) to confirm
6)the display will show the speller
to enter the name fig. 169: enter and
confirm the name as previously de-
scribed for the phone numberEntered name and phone number
will thus be stored. Should the entered
name be already contained in the
phone book, a message asking if you
want to overwrite the stored name
will be displayed.
Press the knob/button (11) to over-
write.
Press ESC (9) to not overwrite.
IMPORTANT The max. length of
phone book names (usually max. 16
characters) depends on the SIM card
being used. The phone number can
consist of max. 20 figures.
fig. 167F0E3202gfig. 166F0E3190gfig. 165F0E3184g
Page 178 of 202
177
CONNECT NAV
NAVIGATOR
Deleting entries from
the phone book
To delete one or more entry from
the phone book, proceed as follows:
1)press
£(15): the display will show
the main phone menu fig. 165
2) press (13) relevant to BOOK: the
display will show the phone book
menu fig. 1663)turn the knob/button (11) to se-
lect DELETE ENTRY fig. 170: the dis-
play will show the phone book entries
fig. 171
4)turn the knob/button (11) to se-
lect the entry to be deleted
5)press the knob/button (11) to
confirm: the display will ask for con-
firmation. Press the knob/button (11)
to confirm and delete the entry, oth-
erwise press ESC (9).Displaying the free space left
in the phone book
Use this function to display how
many entries can be still stored in the
phone book.
Proceed as follows:
1) press
£(15): the display will show
the main phone menu fig. 165
2) press (13) relevant to BOOK: the
display will show the phone book
menu fig. 166
fig. 170F0E3204gfig. 168F0E3188gfig. 169F0E3203g
Page 179 of 202
178
CONNECT NAV
NAVIGATOR
3)turn the knob/button (11) to se-
lect FREE SPACE fig. 172: the display
will show the free space left in the
phone book
4)press ESC (9) to go back to the
phone book menu fig. 166MESSAGES (SMS)
This system enables to send/receive
SMS messages (Short Message Service)
Reading a message
Received messages are shown on the
display by symbol
óand are accom-
panied by a beep (can be excluding).
When receiving a message, press the
knob/button (11) to display it.
To scroll the message, turn the
knob/button (11).
After reading the message, press ESC
(9) to store it.Sending a message
Proceed as follows:
1)press
£(15): the display will show
the main phone menu fig. 165
2) press (13) relevant to SMS: the
display will show the SMS menu
fig. 173
3)turn the knob/button (11) to se-
lect WRITE NEW fig. 173
fig. 173F0E3206gfig. 171F0E3195gfig. 172F0E3205g
Page 180 of 202

179
CONNECT NAV
NAVIGATOR
4) press the knob/button (11) to
confirm: the display will show the
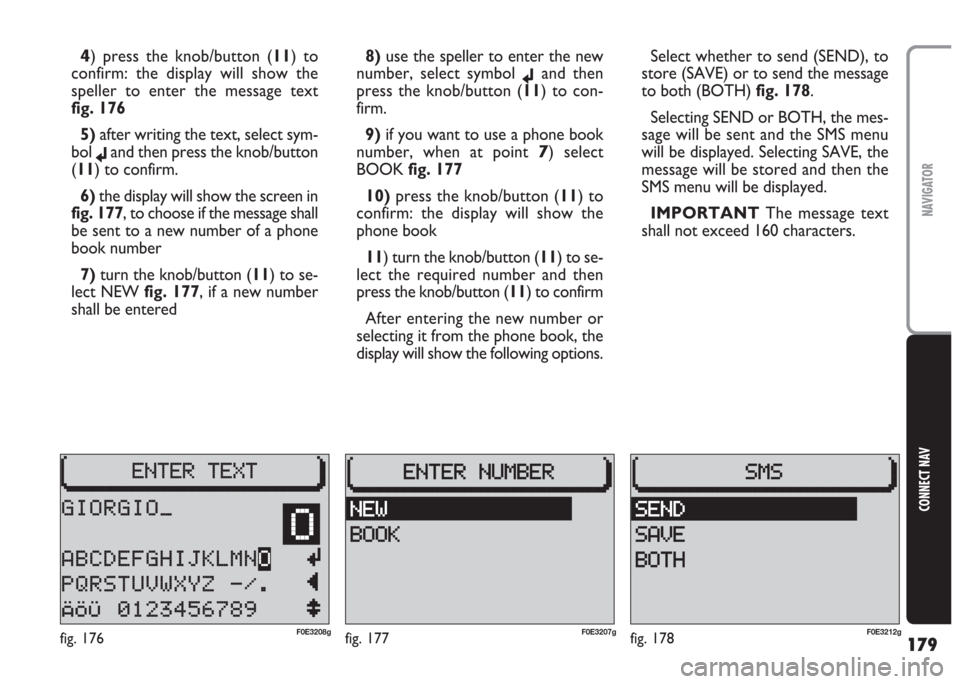
speller to enter the message text
fig. 176
5) after writing the text, select sym-
bol
jand then press the knob/button
(11) to confirm.
6)the display will show the screen in
fig. 177, to choose if the message shall
be sent to a new number of a phone
book number
7) turn the knob/button (11) to se-
lect NEW fig. 177, if a new number
shall be entered8)use the speller to enter the new
number, select symbol
jand then
press the knob/button (11) to con-
firm.
9)if you want to use a phone book
number, when at point
7) select
BOOK fig. 177
10)press the knob/button (11) to
confirm: the display will show the
phone book
11) turn the knob/button (11) to se-
lect the required number and then
press the knob/button (11) to confirm
After entering the new number or
selecting it from the phone book, the
display will show the following options.Select whether to send (SEND), to
store (SAVE) or to send the message
to both (BOTH) fig. 178.
Selecting SEND or BOTH, the mes-
sage will be sent and the SMS menu
will be displayed. Selecting SAVE, the
message will be stored and then the
SMS menu will be displayed.
IMPORTANT The message text
shall not exceed 160 characters.
fig. 177F0E3207gfig. 176F0E3208gfig. 178F0E3212g
Page 181 of 202
180
CONNECT NAV
NAVIGATOR
Entering the Provider service
number
To send messages, the Provider ser-
vice number shall be entered.
This number is usually stored on the
SIM card and is entered automatically.
To enter the Provider service num-
ber again or to change it, proceed as
follows:
1) press
£(15): the display will show
the main phone menu fig. 165
2)press (13) relevant to SMS:
the display will show the SMS menu
fig. 1733)turn the knob/button (
11) to se-
lect SETTINGS fig. 179
4) press the knob/button (11) to
confirm
5) turn the knob/button (11) to se-
lect SMSC NUMBER fig. 1806) press the knob/button (11) to
confirm: the display will show the
speller to enter the Provider service
number fig. 181
7) use the speller to enter the num-
ber. After entering the number select
symbol
jand then press the knob/but-
ton (11) to confirm.
The display will show again the SMS
menu fig. 179.
fig. 180F0E3220gfig. 181F0E3211gfig. 179F0E3209g
Page 182 of 202
181
CONNECT NAV
NAVIGATOR
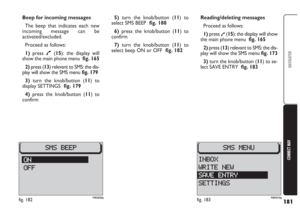
Beep for incoming messages
The beep that indicates each new
incoming message can be
activated/excluded.
Proceed as follows:
1)press
£(15): the display will
show the main phone menu fig. 165
2) press (13) relevant to SMS: the dis-
play will show the SMS menu fig. 179
3)turn the knob/button (11) to
display SETTINGS fig. 179
4) press the knob/button (11) to
confirm5) turn the knob/button (11) to
select SMS BEEP fig. 180
6)press the knob/button (11) to
confirm
7)turn the knob/button (11) to
select beep ON or OFF fig. 182Reading/deleting messages
Proceed as follows:
1)press
£(15): the display will show
the main phone menu fig. 165
2) press (13) relevant to SMS: the dis-
play will show the SMS menu fig. 173
3) turn the knob/button (11) to se-
lect SAVE ENTRY fig. 183
fig. 182F0E3235gfig. 183F0E3210g
Page 183 of 202
182
CONNECT NAV
NAVIGATOR
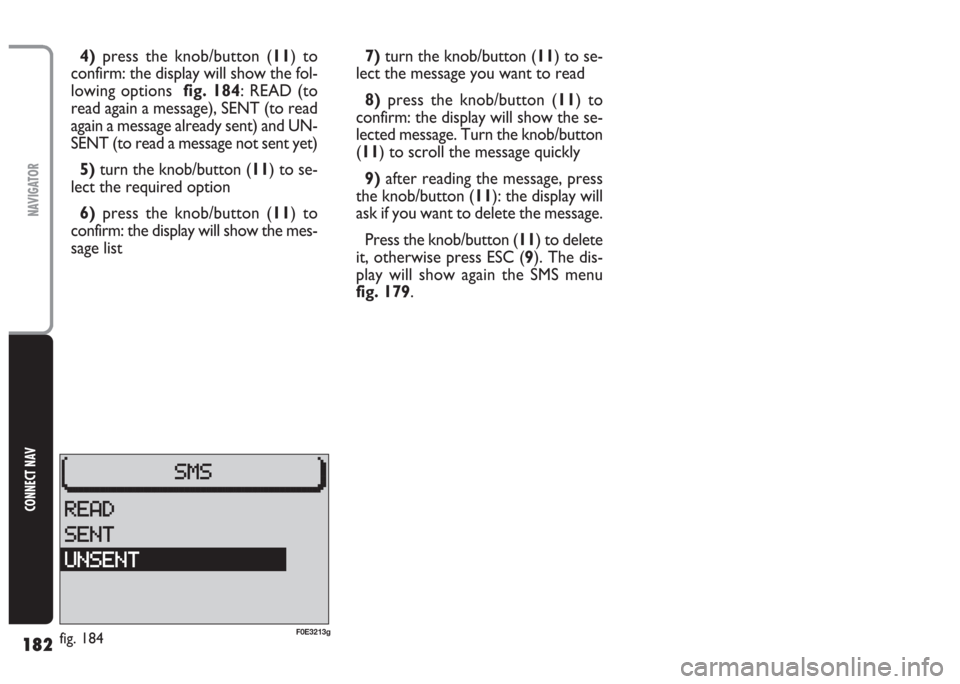
4) press the knob/button (11) to
confirm: the display will show the fol-
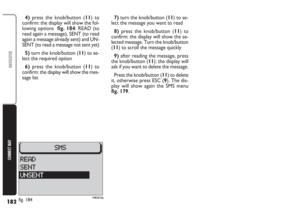
lowing options fig. 184: READ (to
read again a message), SENT (to read
again a message already sent) and UN-
SENT (to read a message not sent yet)
5) turn the knob/button (11) to se-
lect the required option
6)press the knob/button (11) to
confirm: the display will show the mes-
sage list7) turn the knob/button (11) to se-
lect the message you want to read
8)press the knob/button (11) to
confirm: the display will show the se-
lected message. Turn the knob/button
(11) to scroll the message quickly
9)after reading the message, press
the knob/button (11): the display will
ask if you want to delete the message.
Press the knob/button (11) to delete
it, otherwise press ESC (9). The dis-
play will show again the SMS menu
fig. 179.
fig. 184F0E3213g
Page 184 of 202

183
CONNECT NAV
NAVIGATOR
The SETTINGS menu allows to ad-
just the system settings to your needs.
Furthermore, with the settings menu
of the different audio sources it is pos-
sible to set the special audio and nav-
igation functions.
OPENING THE SETTINGS
MENU
The SETTINGS menu can be opened
from the main menus of the various
functions. Use the following buttons
to open the main menus:
•press SRC (17) to select Radio, CD
or CD-Changer (where fitted) main
menus
•press NAV (12) for the main nav-
igation menu.Proceed as follows to set and select
options in the list:
1)position the cursor on the re-
quired list option turning the
knob/button (11)
2) confirm the selection by pressing
the knob/button (11).
Press ESC (9) to return to the pre-
vious menu.
ADJUSTING THE DISPLAY
In the SETTINGS menu, you can turn
on and off the automatic switchover
to night-time display and adjust bright-
ness and contrast (separately for day
and night). Furthermore, you can ad-
just the angle of vision for the route
instructions on the display.
B B
A A
S S
I I
C C
S S
E E
T T
T T
I I
N N
G G
S S
When the display shows the main
menu of one of the audio sources or
a function menu is displayed, press
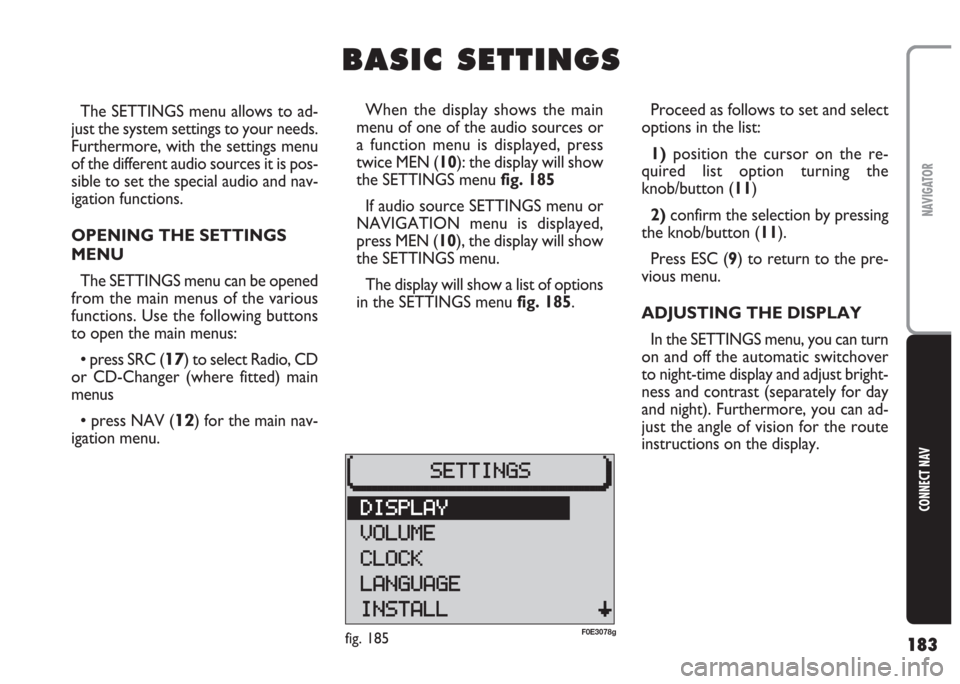
twice MEN (10): the display will show
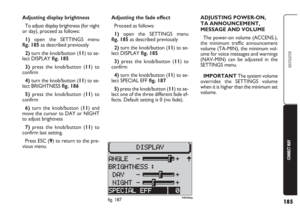
the SETTINGS menu fig. 185
If audio source SETTINGS menu or
NAVIGATION menu is displayed,
press MEN (10), the display will show
the SETTINGS menu.
The display will show a list of options
in the SETTINGS menu fig. 185.
fig. 185F0E3078g