Page 25 of 202

24
CONNECT NAV
NAVIGATOR
SHARX FUNCTION
(FM interference reduction)
Occasional interference in the signals
can occur when tuned to FM radio sta-
tions caused by stations broadcasting
on very close frequencies. The
SHARX function reduces such inter-
ference.Switching on and off
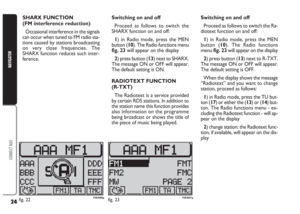
Proceed as follows to switch the
SHARX function on and off:
1) in Radio mode, press the MEN
button (10). The Radio functions menu
fig. 23will appear on the display
2) press button (13) next to SHARX.
The message ON or OFF will appear.
The default setting is ON.
RADIOTEXT FUNCTION
(R-TXT)
The Radiotext is a service provided
by certain RDS stations. In addition to
the station name this function provides
also information on the programme
being broadcast or shows the title of
the piece of music being played. Switching on and off
Proceed as follows to switch the Ra-
diotext function on and off:
1) in Radio mode, press the MEN
button (10). The Radio functions
menu fig. 23will appear on the display
2) press button (13) next to R-TXT.
The message ON or OFF will appear.
The default setting is OFF.
When the display shows the message
“Radiotext” and you want to change
station, proceed as follows:
1) in Radio mode, press the TU but-
ton (17) or either the (13) or (14) but-
ton. The Radio functions menu - ex-
cluding the Radiotext function - will ap-
pear on the display
2) change station: the Radiotext func-
tion, if available, will appear on the dis-
play
fig. 22F0E3008gfig. 23F0E3001g
Page 26 of 202

25
CONNECT NAV
NAVIGATOR
TIM FUNCTION
(TRAFFIC INFORMATION
MEMORY)
The device is provided with vocal
digital memory. Up to 14 traffic mes-
sages having max. overall length equal
to or lower than 4 minutes can be
stored automatically.
According to the length of the new
traffic messages, the oldest ones are
cleared.
IMPORTANT Traffic messages
longerthan four minutes are record-
ed partly only. In this case the message
OVERFLOW will appear on the dis-
play.When a new traffic message arrives
while you are listening to a TIM mes-
sage, the latter one is stopped and the
new arrived message is transmitted.
Storing traffic messages
Traffic messages are stored auto-
matically when listening to TA stations
or when the TIM function is on with
the device off.
Messages can be stored for 1 hour
or 12 hours (see next paragraph
“Choosing how long to store traffic
messages“).
If listening to a station not broad-
casting traffic info, switching the device
off with the TIM function on will start
automatically the search for a TA sta-
tion.Choosing how long to store
traffic messages
With the device on, proceed as fol-
lows to choose how long to store traf-
fic messages:
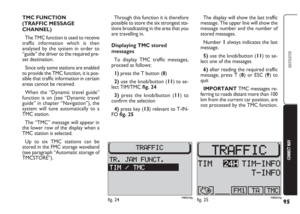
1) press the T button (8). The Traf-
fic menu fig. 24will appear on the dis-
play
2) press button (14) next to TIM un-
til the required indication is displayed:
2H = the message will be stored for
two hours; 24H = the message will be
stored for 24 hours; OFF (to switch
the function off)
IMPORTANT When the Traffic
menu is displayed, the TIM function
can be switched on/off by pressing the
T button (8) for over 2 seconds.
fig. 24F0E3009g
Page 27 of 202

26
CONNECT NAV
NAVIGATOR
When switching the device off, the
message “GOODBYE” will appear on
the display together with the traffic
message storage time previously se-
lected.
Listening to stored traffic
messages
Proceed as follows:
1) press the T button (8). The Traf-
fic menu fig. 24will appear on the dis-
play
2) press button (13) next to TIM-IN-
FO. The last stored message has the
highest number (14) and will be played
first; then all the other messages will
be played in decreasing sequence. The
display will also show the time of ar-
rival of the message being played.
Once the message playing procedure
is over, the system will automatically
switch over to the last selected sound
source (Radio, CD or CD changer).Proceed as follows to listen to the last
selected sound source (Radio, CD or
CD changer) without playing all traffic
messages:
– press T (8) or ESC (9)
Displaying TMC traffic
messages
The device can also display the traf-
fic messages broadcast with the TMC
function (See paragraph “TMC (Traf-
fic Message Channel)” in this chapter).
This type of messages is used by the
satellite sound/navigation system “to
guide” the driver to the required pre-
set destination (see “Dynamic travel
guide” in chapter “Navigation”).To display TMC traffic messages pro-
ceed as follows:
1) press the T button (8)
2) press button (13) next to TIM-IN-
FO. The displayed message number
and the number of stored messages
will appear in the upper row of the dis-
play. The last received message is iden-
tified by the lowest number (1)
3) select one of the stored messages
using the knob/button (11)
4) after reading the required mes-
sage/s, press T (8) or ESC (9) to quit.
IMPORTANT TMC messages re-
ferring to roads distant more than 100
km from the actual car position, are
not processed by the TMC function.
Page 28 of 202

27
CONNECT NAV
NAVIGATOR
C C
O O
M M
P P
A A
C C
T T
D D
I I
S S
C C
( (
C C
D D
) )
Audio CDs can be played with the in-
ternal CD player or with the CD
CHANGER(where fitted).
During CD playback, either the track
number and the playing time, or the
track number only, will appear on the
display (according to the settings, see
CD
FUNCTIONSin this chapter).
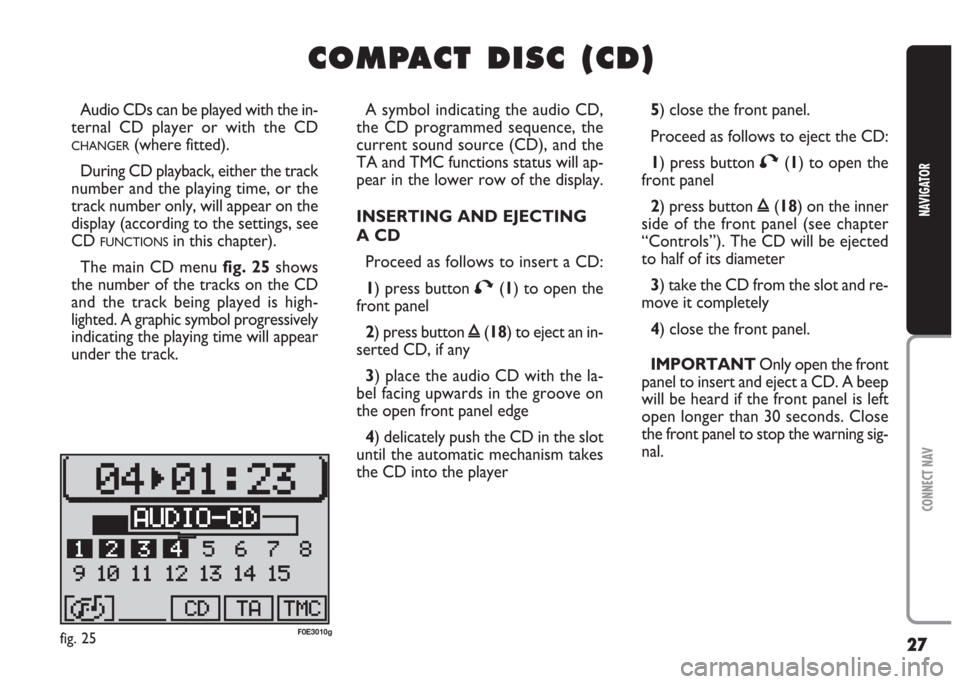
The main CD menu fig. 25shows
the number of the tracks on the CD
and the track being played is high-
lighted. A graphic symbol progressively
indicating the playing time will appear
under the track.A symbol indicating the audio CD,
the CD programmed sequence, the
current sound source (CD), and the
TA and TMC functions status will ap-
pear in the lower row of the display.
INSERTING AND EJECTING
A CD
Proceed as follows to insert a CD:
1) press button
T(1) to open the
front panel
2) press button
ı(18) to eject an in-
serted CD, if any
3) place the audio CD with the la-
bel facing upwards in the groove on
the open front panel edge
4) delicately push the CD in the slot
until the automatic mechanism takes
the CD into the player5) close the front panel.
Proceed as follows to eject the CD:
1) press button
T(1) to open the
front panel
2) press button
ı(18) on the inner
side of the front panel (see chapter
“Controls”). The CD will be ejected
to half of its diameter
3) take the CD from the slot and re-
move it completely
4) close the front panel.
IMPORTANT Only open the front
panel to insert and eject a CD. A beep
will be heard if the front panel is left
open longer than 30 seconds. Close
the front panel to stop the warning sig-
nal.
fig. 25F0E3010g
Page 29 of 202

28
CONNECT NAV
NAVIGATOR
PLAYING A CD
(INTERNAL PLAYER)
Playback will start automatically as
soon as a CD is inserted.
If you are using another source and
a CD is inserted in the internal player,
press the CD-C button (15). The main
CD menu fig. 25will appear on the
display and the CD playback will start.CD FUNCTIONS
Proceed as follows if the last source
was the CD
CHANGER(where fitted)
and there are one or more audio CDs
inside:
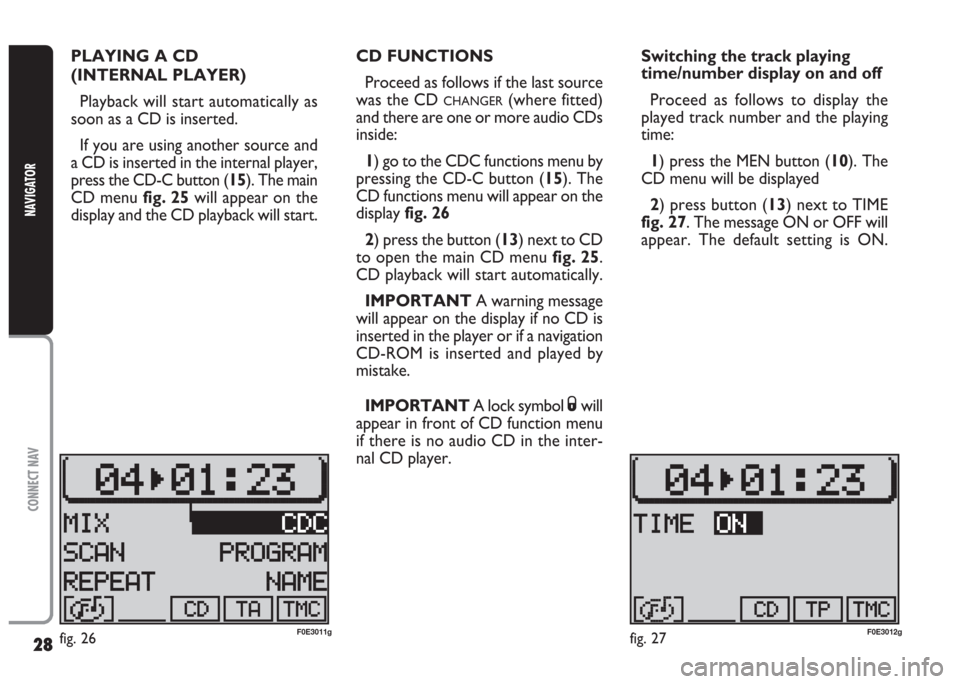
1) go to the CDC functions menu by
pressing the CD-C button (15). The
CD functions menu will appear on the
display fig. 26
2) press the button (13) next to CD
to open the main CD menu fig. 25.
CD playback will start automatically.
IMPORTANT A warning message
will appear on the display if no CD is
inserted in the player or if a navigation
CD-ROM is inserted and played by
mistake.
IMPORTANT A lock symbol
Swill
appear in front of CD function menu
if there is no audio CD in the inter-
nal CD player.Switching the track playing
time/number display on and off
Proceed as follows to display the
played track number and the playing
time:
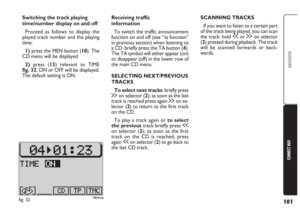
1) press the MEN button (10). The
CD menu will be displayed
2) press button (13) next to TIME
fig. 27. The message ON or OFF will
appear. The default setting is ON.
fig. 26F0E3011gfig. 27F0E3012g
Page 30 of 202

29
CONNECT NAV
NAVIGATOR
Receiving traffic information
To switch the traffic announcement
function on and off (see “TA function”
in the previous chapter) when listen-
ing to a CD: briefly press the TA but-
ton (4). The TA symbol will either ap-
pear (on) or disappear (off) in the low-
er row of the main CD menu.
SELECTING NEXT/PREVIOUS
TRACKS
To select next tracks: briefly press
the
§button on switch (2). Press the
§button on switch (2) as soon as the
last track is reached to return to the
first track on the CD.
Press the
ùbutton on switch (2)
to repeat the track playback or to se-
lect a previous track. Press the
ù
button on switch (2) again as soon as
the first track on the CD is reached to
return to the last track on the CD.SCANNING TRACKS
If you want to listen to a certain part
of the track being played, you can scan
the track: hold
ùor §on switch (2)
pressed during playback. The track will
be scanned forwards or backwards.
IMPORTANT The display will re-
turn to the main CD function after ap-
proximately 30 seconds if no opera-
tions are carried out in the CD func-
tions menu.RANDOM PLAYBACK (MIX)
Proceed as follows to play the CD
tracks in random order:
1) in CD mode, press the CD-C but-
ton (15). The CD functions menu
fig. 28will appear on the display
2) press the button (14) next to
MIX.
Press the button (14) next to MIX
again to switch the function off.
The MIX function will end automat-
ically if the SCAN function is switched
on.
Press ESC (9) to return to the pre-
vious screen.
fig. 28F0E3013g
Page 31 of 202

30
CONNECT NAV
NAVIGATOR
SCANNING ALL TRACKS
ON A CD (SCAN)
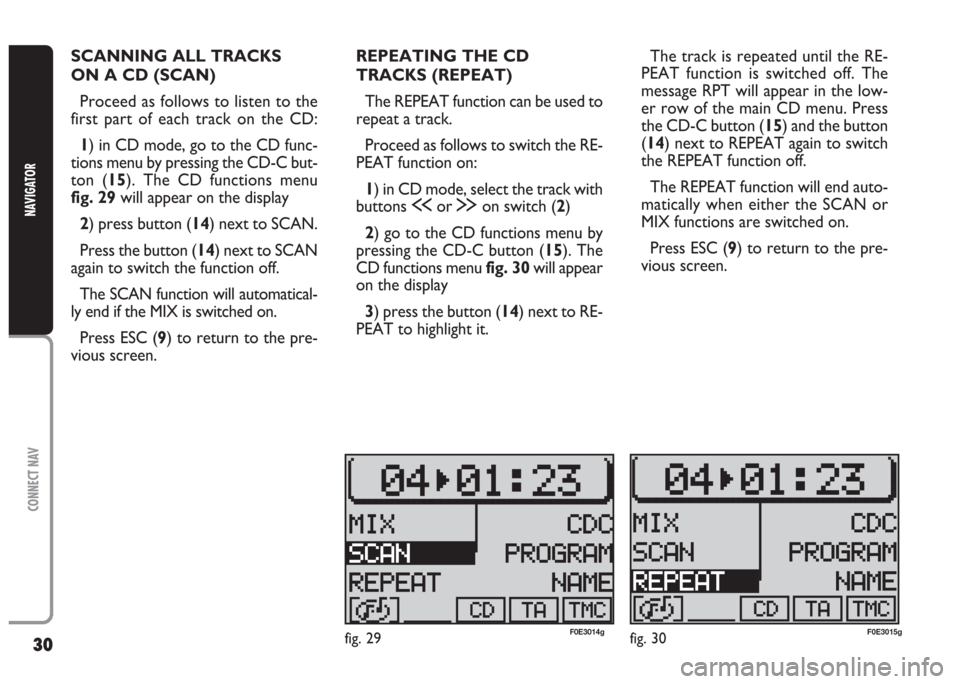
Proceed as follows to listen to the
first part of each track on the CD:
1) in CD mode, go to the CD func-
tions menu by pressing the CD-C but-
ton (15). The CD functions menu
fig. 29will appear on the display
2) press button (14) next to SCAN.
Press the button (14) next to SCAN
again to switch the function off.
The SCAN function will automatical-
ly end if the MIX is switched on.
Press ESC (9) to return to the pre-
vious screen.REPEATING THE CD
TRACKS (REPEAT)
The REPEAT function can be used to
repeat a track.
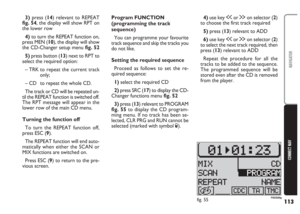
Proceed as follows to switch the RE-
PEAT function on:
1) in CD mode, select the track with
buttons
ùor §on switch (2)
2) go to the CD functions menu by
pressing the CD-C button (15). The
CD functions menu fig. 30will appear
on the display
3) press the button (14) next to RE-
PEAT to highlight it.The track is repeated until the RE-
PEAT function is switched off. The
message RPT will appear in the low-
er row of the main CD menu. Press
the CD-C button (15) and the button
(14) next to REPEAT again to switch
the REPEAT function off.
The REPEAT function will end auto-
matically when either the SCAN or
MIX functions are switched on.
Press ESC (9) to return to the pre-
vious screen.
fig. 29F0E3014gfig. 30F0E3015g
Page 32 of 202

31
CONNECT NAV
NAVIGATOR
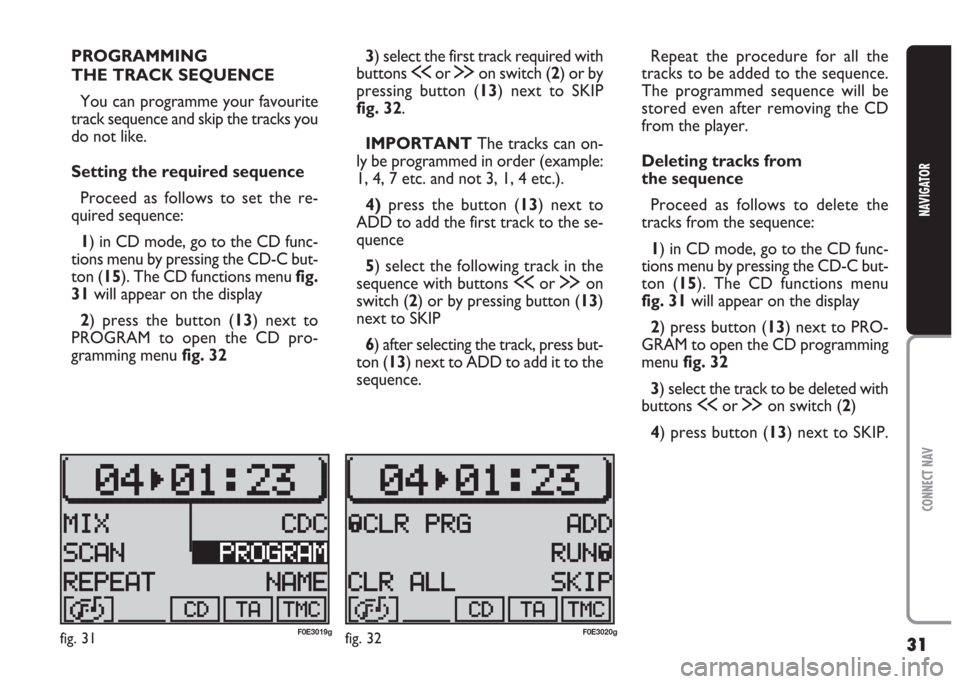
PROGRAMMING
THE TRACK SEQUENCE
You can programme your favourite
track sequence and skip the tracks you
do not like.
Setting the required sequence
Proceed as follows to set the re-
quired sequence:
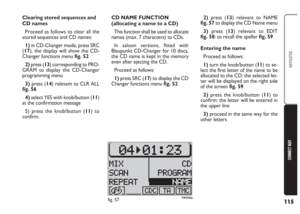
1) in CD mode, go to the CD func-
tions menu by pressing the CD-C but-
ton (15). The CD functions menu fig.
31will appear on the display
2) press the button (13) next to
PROGRAM to open the CD pro-
gramming menu fig. 323) select the first track required with
buttons
ùor §on switch (2) or by
pressing button (13) next to SKIP
fig. 32.
IMPORTANT The tracks can on-
ly be programmed in order (example:
1, 4, 7 etc. and not 3, 1, 4 etc.).
4)press the button (13) next to
ADD to add the first track to the se-
quence
5) select the following track in the
sequence with buttons
ùor §on
switch (2) or by pressing button (13)
next to SKIP
6) after selecting the track, press but-
ton (13) next to ADD to add it to the
sequence.Repeat the procedure for all the
tracks to be added to the sequence.
The programmed sequence will be
stored even after removing the CD
from the player.
Deleting tracks from
the sequence
Proceed as follows to delete the
tracks from the sequence:
1) in CD mode, go to the CD func-
tions menu by pressing the CD-C but-
ton (15). The CD functions menu
fig. 31will appear on the display
2) press button (13) next to PRO-
GRAM to open the CD programming
menu fig. 32
3) select the track to be deleted with
buttons
ùor §on switch (2)
4) press button (13) next to SKIP.
fig. 31F0E3019gfig. 32F0E3020g