Page 113 of 202

112
CONNECT NAV
NAVIGATOR
SCAN FUNCTION
(scanning all tracks on a cd)
The SCAN function plays all the
tracks for 10 seconds starting from the
current track. Proceed as follows to
scan all the tracks on a CD:
1)in CD-Changer mode (where fit-
ted), press SRC (17) to go to CD-
Changer functions menu fig. 52
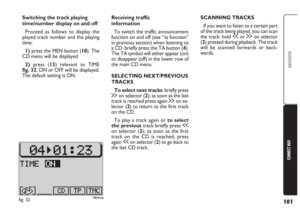
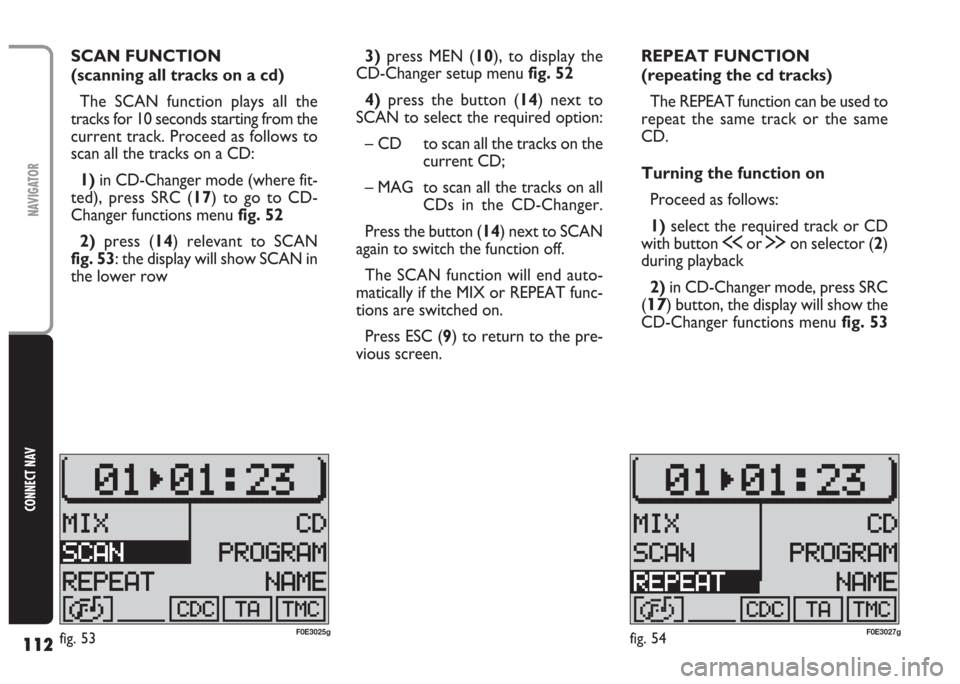
2) press (14) relevant to SCAN
fig. 53: the display will show SCAN in
the lower row3)press MEN (10), to display the
CD-Changer setup menu fig. 52
4)press the button (14) next to
SCAN to select the required option:
– CD to scan all the tracks on the
current CD;
– MAG to scan all the tracks on all
CDs in the CD-Changer.
Press the button (14) next to SCAN
again to switch the function off.
The SCAN function will end auto-
matically if the MIX or REPEAT func-
tions are switched on.
Press ESC (9) to return to the pre-
vious screen.REPEAT FUNCTION
(repeating the cd tracks)
The REPEAT function can be used to
repeat the same track or the same
CD.
Turning the function on
Proceed as follows:
1)select the required track or CD
with button
ùor §on selector (2)
during playback
2)in CD-Changer mode, press SRC
(
17) button, the display will show the
CD-Changer functions menufig. 53
fig. 54F0E3027gfig. 53F0E3025g
Page 114 of 202

113
CONNECT NAV
NAVIGATOR
Program FUNCTION
(programming the track
sequence)
You can programme your favourite
track sequence and skip the tracks you
do not like.
Setting the required sequence
Proceed as follows to set the re-
quired sequence:
1)select the required CD
2)press SRC (17) to display the CD-
Changer functions menu fig. 52
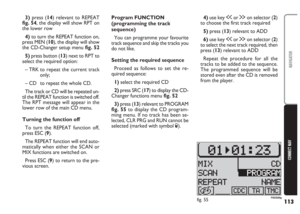
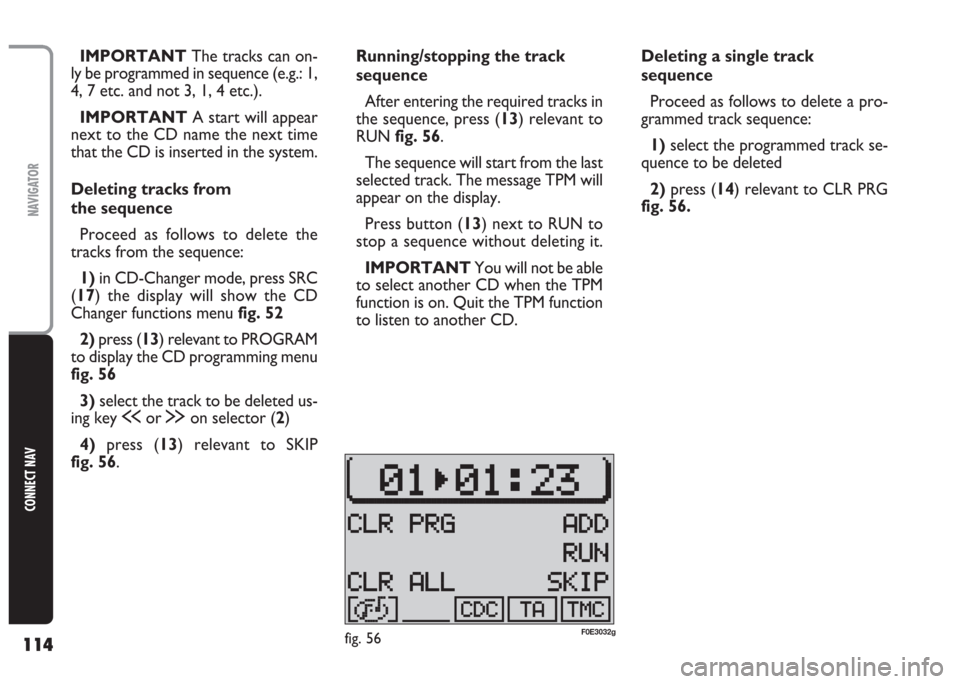
3) press (13) relevant to PROGRAM
fig. 55to display the CD program-
ming menu. If no track has been se-
lected, CLR PRG and RUN cannot be
selected (marked with symbol S).4)use key ùor §on selector (2)
to choose the first track required
5) press (13) relevant to ADD
6)use key ùor §on selector (2)
to select the next track required, then
press (13) relevant to ADD
Repeat the procedure for all the
tracks to be added to the sequence.
The programmed sequence will be
stored even after the CD is removed
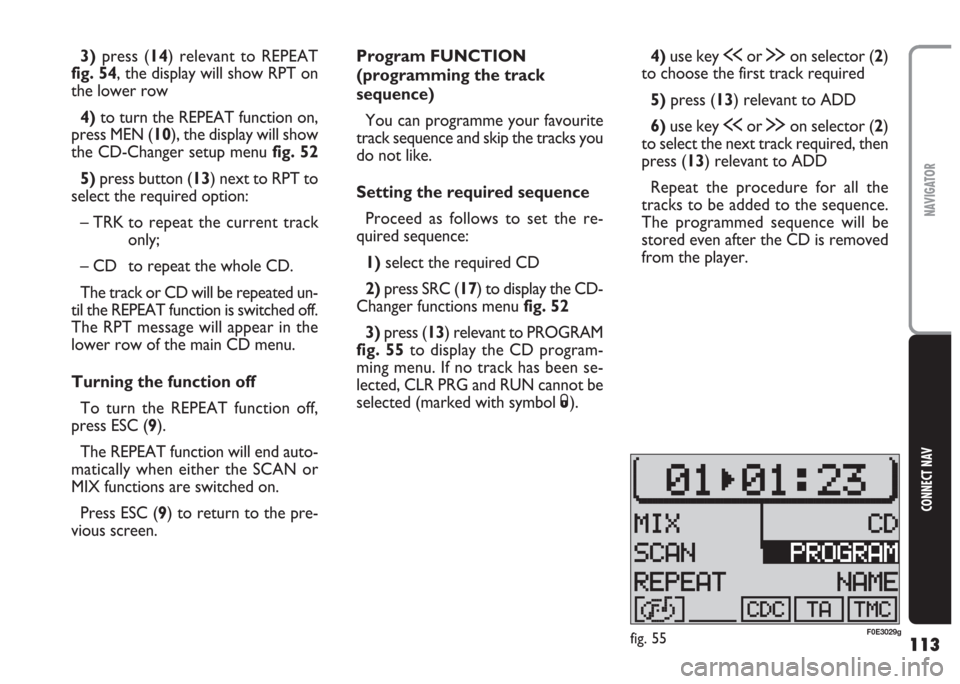
from the player. 3)press (14) relevant to REPEAT
fig. 54, the display will show RPT on
the lower row
4) to turn the REPEAT function on,
press MEN (10), the display will show
the CD-Changer setup menu fig. 52
5) press button (13) next to RPT to
select the required option:
– TRK to repeat the current track
only;
– CD to repeat the whole CD.
The track or CD will be repeated un-
til the REPEAT function is switched off.
The RPT message will appear in the
lower row of the main CD menu.
Turning the function off
To turn the REPEAT function off,
press ESC (9).
The REPEAT function will end auto-
matically when either the SCAN or
MIX functions are switched on.
Press ESC (9) to return to the pre-
vious screen.
fig. 55F0E3029g
Page 115 of 202

114
CONNECT NAV
NAVIGATOR
Running/stopping the track
sequence
After entering the required tracks in
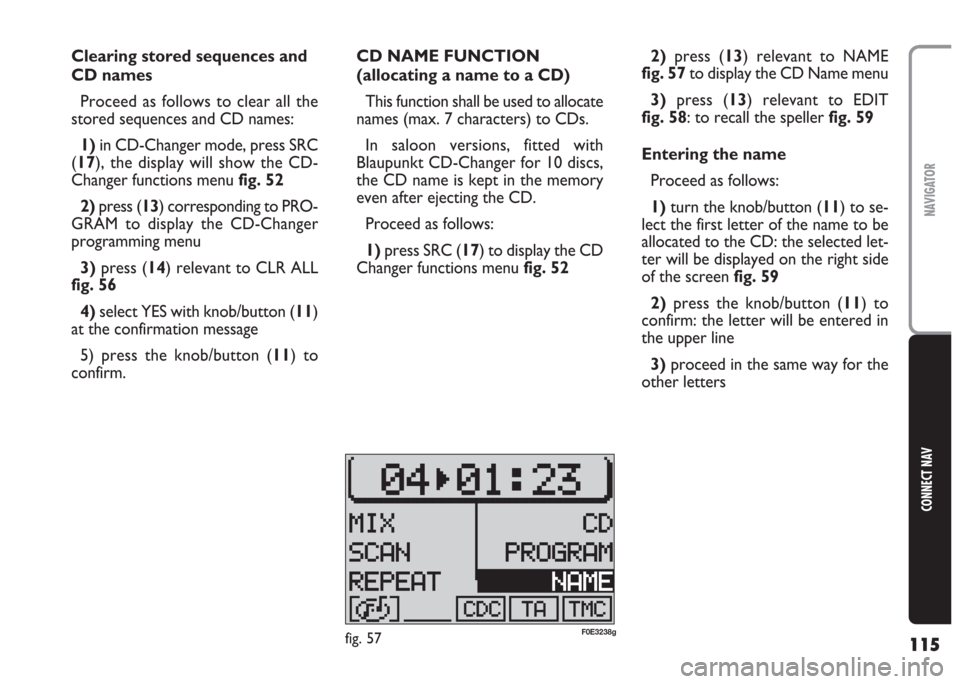
the sequence, press (13) relevant to
RUN fig. 56.
The sequence will start from the last
selected track. The message TPM will
appear on the display.
Press button (13) next to RUN to
stop a sequence without deleting it.
IMPORTANT You will not be able
to select another CD when the TPM
function is on. Quit the TPM function
to listen to another CD. IMPORTANT The tracks can on-
ly be programmed in sequence (e.g.: 1,
4, 7 etc. and not 3, 1, 4 etc.).
IMPORTANT A start will appear
next to the CD name the next time
that the CD is inserted in the system.
Deleting tracks from
the sequence
Proceed as follows to delete the
tracks from the sequence:
1) in CD-Changer mode, press SRC
(17) the display will show the CD
Changer functions menu fig. 52
2) press (13) relevant to PROGRAM
to display the CD programming menu
fig. 56
3) select the track to be deleted us-
ing key ùor §on selector (2)
4) press (13) relevant to SKIP
fig. 56.Deleting a single track
sequence
Proceed as follows to delete a pro-
grammed track sequence:
1)select the programmed track se-
quence to be deleted
2) press (14) relevant to CLR PRG
fig. 56.
fig. 56F0E3032g
Page 116 of 202

115
CONNECT NAV
NAVIGATOR
Clearing stored sequences and
CD names
Proceed as follows to clear all the
stored sequences and CD names:
1)in CD-Changer mode, press SRC
(17), the display will show the CD-
Changer functions menu fig. 52
2)press (13) corresponding to PRO-
GRAM to display the CD-Changer
programming menu
3) press (14) relevant to CLR ALL
fig. 56
4) select YES with knob/button (11)
at the confirmation message
5) press the knob/button (11) to
confirm.CD NAME FUNCTION
(allocating a name to a CD)
This function shall be used to allocate
names (max. 7 characters) to CDs.
In saloon versions, fitted with
Blaupunkt CD-Changer for 10 discs,
the CD name is kept in the memory
even after ejecting the CD.
Proceed as follows:
1)press SRC (17) to display the CD
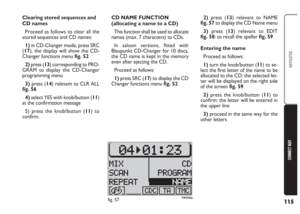
Changer functions menufig. 522)press (13) relevant to NAME
fig. 57to display the CD Name menu
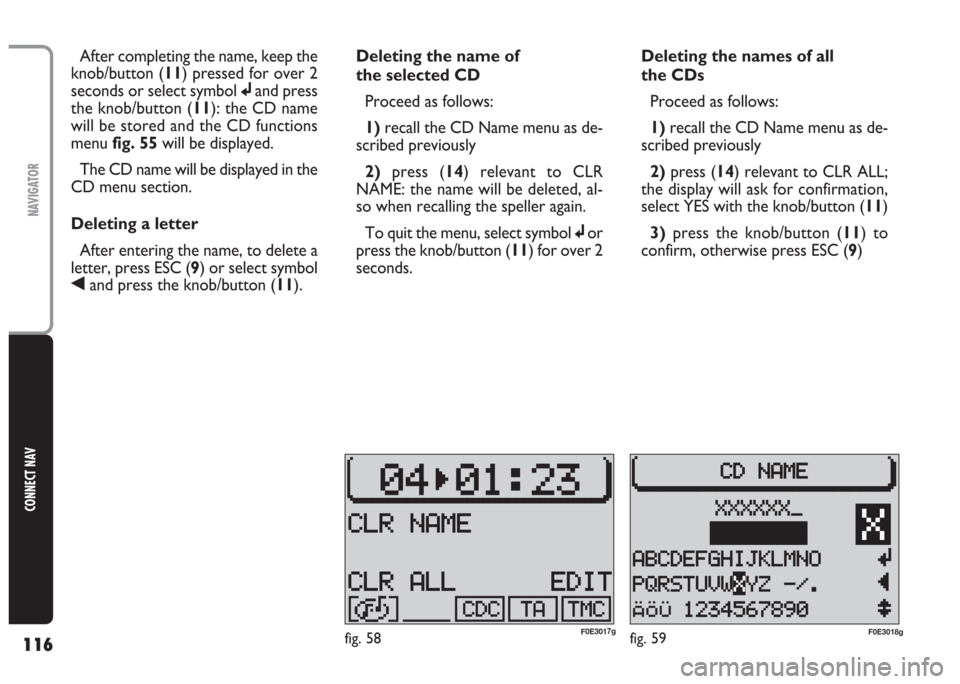
3)press (13) relevant to EDIT
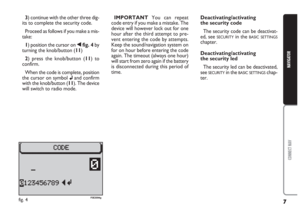
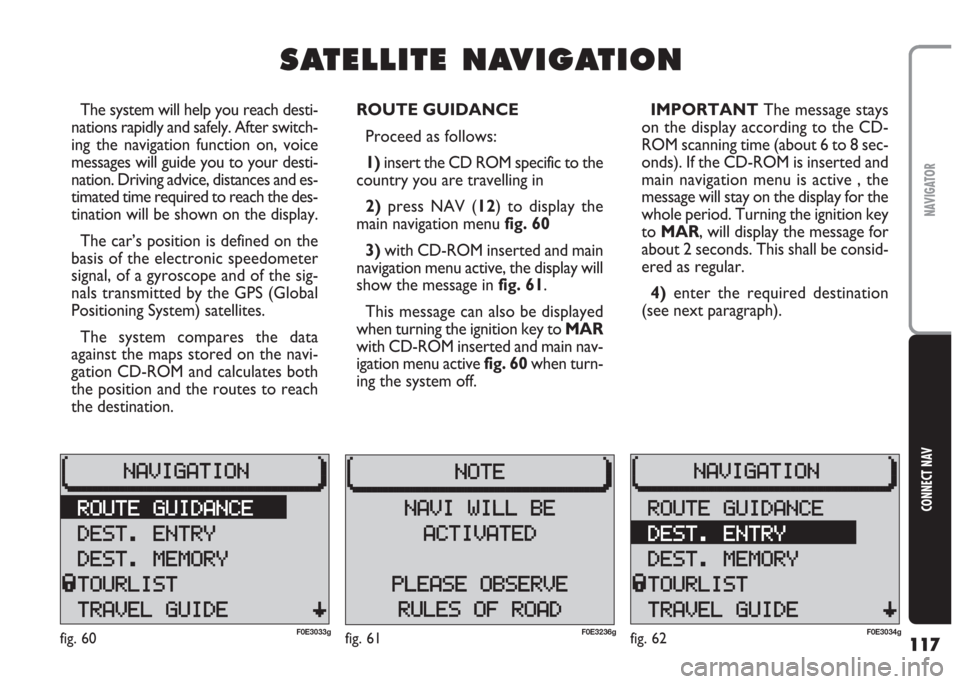
fig. 58: to recall the speller fig. 59
Entering the name
Proceed as follows:
1) turn the knob/button (11) to se-
lect the first letter of the name to be
allocated to the CD: the selected let-
ter will be displayed on the right side
of the screenfig. 59
2)press the knob/button (11) to
confirm: the letter will be entered in
the upper line
3) proceed in the same way for the
other letters
fig. 57F0E3238g
Page 117 of 202

116
CONNECT NAV
NAVIGATOR
After completing the name, keep the
knob/button (11) pressed for over 2
seconds or select symbol
jand press
the knob/button (11): the CD name
will be stored and the CD functions
menu fig. 55will be displayed.
The CD name will be displayed in the
CD menu section.
Deleting a letter
After entering the name, to delete a
letter, press ESC (9) or select symbol
¯and press the knob/button (11).Deleting the name of
the selected CD
Proceed as follows:
1)recall the CD Name menu as de-
scribed previously
2)press (14) relevant to CLR
NAME: the name will be deleted, al-
so when recalling the speller again.
To quit the menu, select symbol jor
press the knob/button (11) for over 2
seconds.Deleting the names of all
the CDs
Proceed as follows:
1)recall the CD Name menu as de-
scribed previously
2)press (14) relevant to CLR ALL;
the display will ask for confirmation,
select YES with the knob/button (11)
3) press the knob/button (11) to
confirm, otherwise press ESC (9)
fig. 58F0E3017gfig. 59F0E3018g
Page 118 of 202

117
CONNECT NAV
NAVIGATOR
S S
A A
T T
E E
L L
L L
I I
T T
E E
N N
A A
V V
I I
G G
A A
T T
I I
O O
N N
The system will help you reach desti-
nations rapidly and safely. After switch-
ing the navigation function on, voice
messages will guide you to your desti-
nation. Driving advice, distances and es-
timated time required to reach the des-
tination will be shown on the display.
The car’s position is defined on the
basis of the electronic speedometer
signal, of a gyroscope and of the sig-
nals transmitted by the GPS (Global
Positioning System) satellites.
The system compares the data
against the maps stored on the navi-
gation CD-ROM and calculates both
the position and the routes to reach
the destination.ROUTE GUIDANCE
Proceed as follows:
1) insert the CD ROM specific to the
country you are travelling in
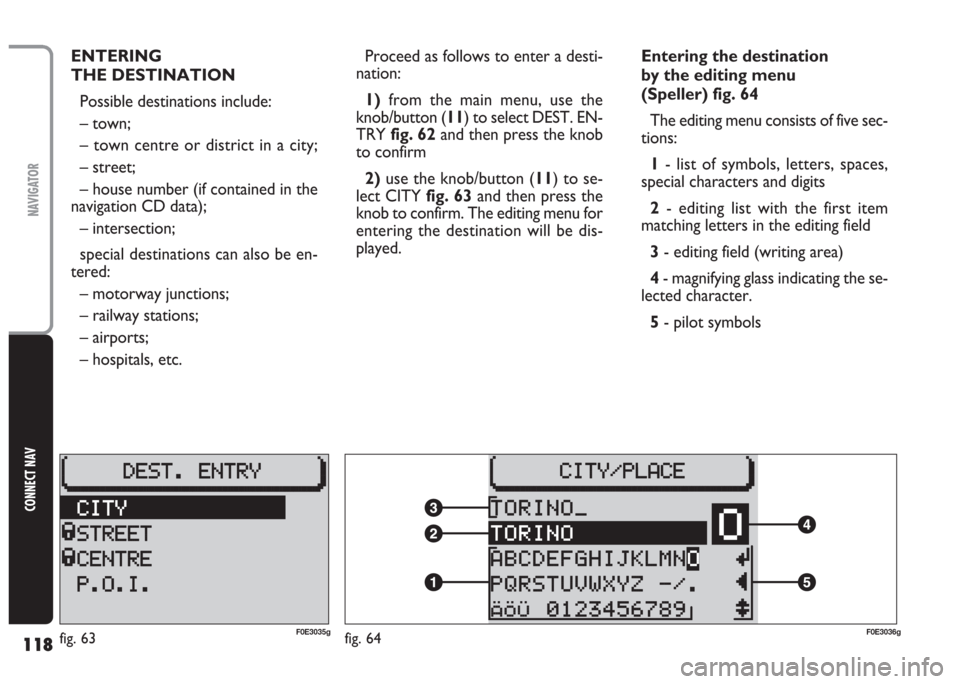
2)press NAV (12) to display the
main navigation menu fig. 60
3) with CD-ROM inserted and main
navigation menu active, the display will
show the message in fig. 61.
This message can also be displayed
when turning the ignition key to MAR
with CD-ROM inserted and main nav-
igation menu active fig. 60when turn-
ing the system off.IMPORTANT The message stays
on the display according to the CD-
ROM scanning time (about 6 to 8 sec-
onds). If the CD-ROM is inserted and
main navigation menu is active , the
message will stay on the display for the
whole period. Turning the ignition key
to MAR, will display the message for
about 2 seconds. This shall be consid-
ered as regular.
4) enter the required destination
(see next paragraph).
fig. 60F0E3033gfig. 62F0E3034gfig. 61F0E3236g
Page 119 of 202

118
CONNECT NAV
NAVIGATOR
ENTERING
THE DESTINATION
Possible destinations include:
– town;
– town centre or district in a city;
– street;
– house number (if contained in the
navigation CD data);
– intersection;
special destinations can also be en-
tered:
– motorway junctions;
– railway stations;
– airports;
– hospitals, etc.Proceed as follows to enter a desti-
nation:
1)from the main menu, use the
knob/button (11) to select DEST. EN-
TRYfig. 62and then press the knob
to confirm
2) use the knob/button (11) to se-
lect CITY fig. 63and then press the
knob to confirm. The editing menu for
entering the destination will be dis-
played.Entering the destination
by the editing menu
(Speller) fig. 64
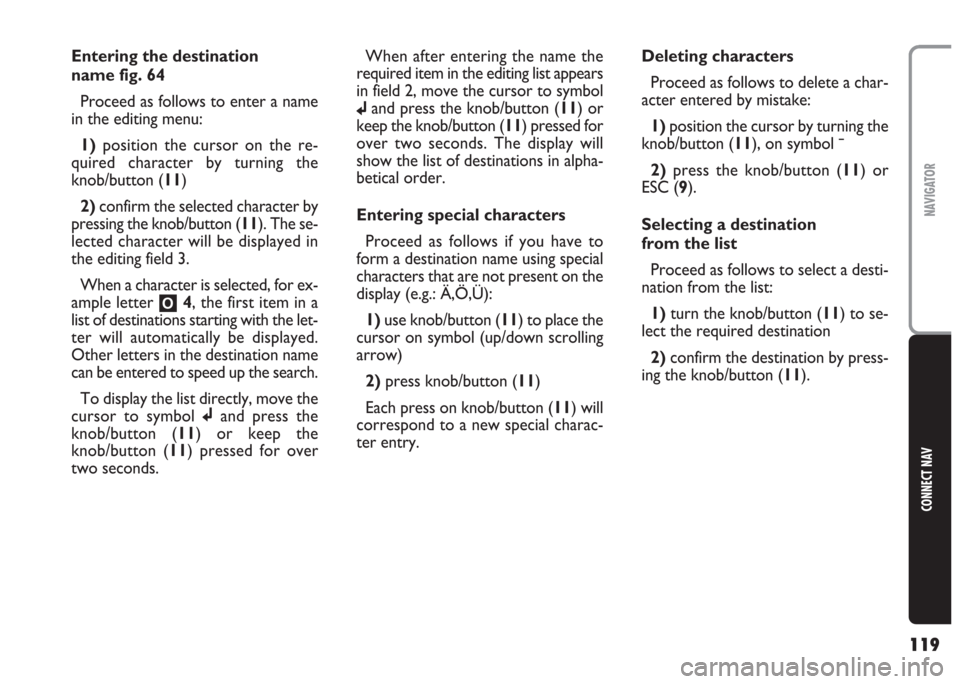
The editing menu consists of five sec-
tions:
1- list of symbols, letters, spaces,
special characters and digits
2- editing list with the first item
matching letters in the editing field
3- editing field (writing area)
4- magnifying glass indicating the se-
lected character.
5- pilot symbols
fig. 63F0E3035gfig. 64F0E3036g
Page 120 of 202

119
CONNECT NAV
NAVIGATOR
Entering the destination
name fig. 64
Proceed as follows to enter a name
in the editing menu:
1)position the cursor on the re-
quired character by turning the
knob/button (11)
2) confirm the selected character by
pressing the knob/button (11). The se-
lected character will be displayed in
the editing field 3.
When a character is selected, for ex-
ample letter
O4, the first item in a
list of destinations starting with the let-
ter will automatically be displayed.
Other letters in the destination name
can be entered to speed up the search.
To display the list directly, move the
cursor to symbol jand press the
knob/button (11) or keep the
knob/button (11) pressed for over
two seconds.When after entering the name the
required item in the editing list appears
in field 2, move the cursor to symbol
jand press the knob/button (11) or
keep the knob/button (11) pressed for
over two seconds. The display will
show the list of destinations in alpha-
betical order.
Entering special characters
Proceed as follows if you have to
form a destination name using special
characters that are not present on the
display (e.g.: Ä,Ö,Ü):
1)use knob/button (11) to place the
cursor on symbol (up/down scrolling
arrow)
2) press knob/button (11)
Each press on knob/button (11) will
correspond to a new special charac-
ter entry.Deleting characters
Proceed as follows to delete a char-
acter entered by mistake:
1)position the cursor by turning the
knob/button (11), on symbol ¯
2)press the knob/button (11) or
ESC (9).
Selecting a destination
from the list
Proceed as follows to select a desti-
nation from the list:
1)turn the knob/button (11) to se-
lect the required destination
2)confirm the destination by press-
ing the knob/button (11).