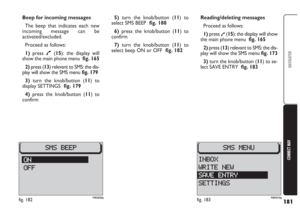
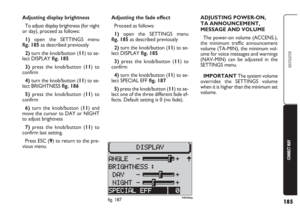
Page 185 of 202

184
CONNECT NAV
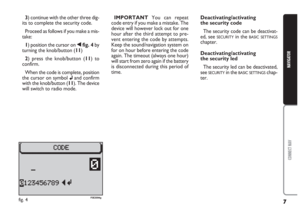
NAVIGATOR
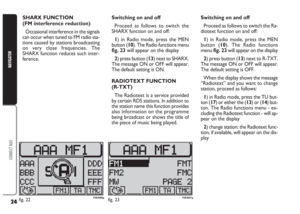
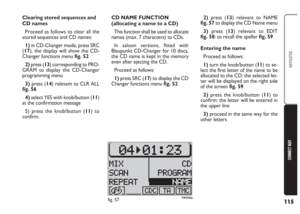
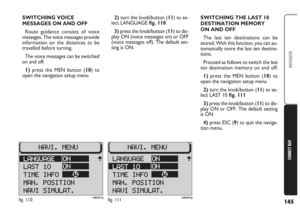
Automatic night-time
display switchover
Proceed as follows to switch the au-
tomatic night-time display switchover
function off:
1)open the SETTINGS menu
fig. 185as described previously
2)turn the knob/button (11) to se-
lect DISPLAY fig. 185
3)press the knob/button (11) to
confirm
4)turn the knob/button (11) to se-
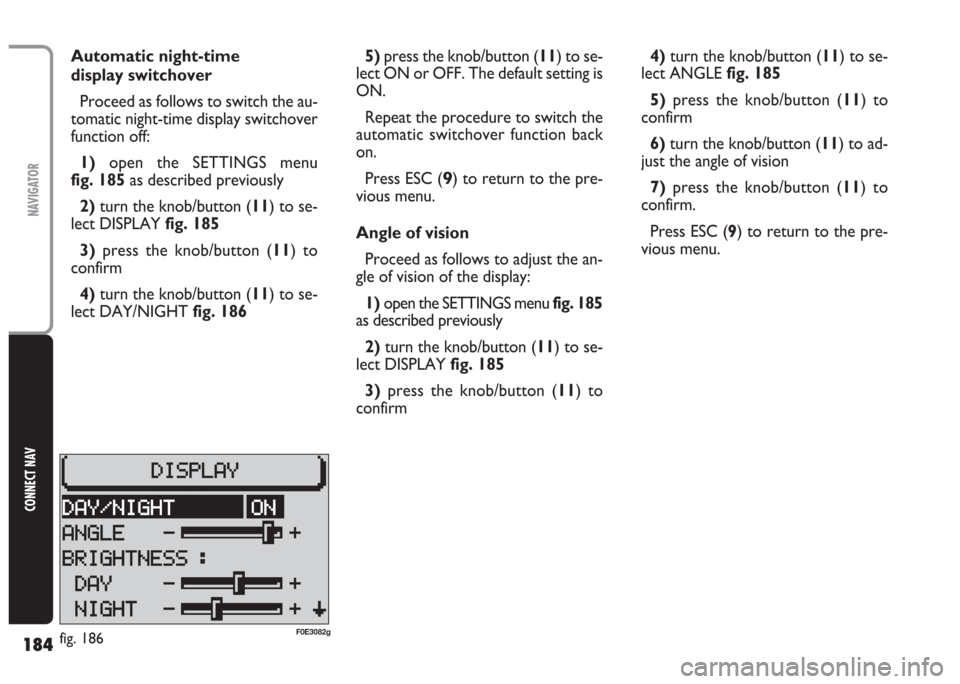
lect DAY/NIGHT fig. 1865) press the knob/button (11) to se-
lect ON or OFF. The default setting is
ON.
Repeat the procedure to switch the
automatic switchover function back
on.
Press ESC (
9) to return to the pre-
vious menu.
Angle of vision
Proceed as follows to adjust the an-
gle of vision of the display:
1) open the SETTINGS menu fig. 185
as described previously
2)turn the knob/button (11) to se-
lect DISPLAY fig. 185
3)press the knob/button (11) to
confirm4)turn the knob/button (11) to se-
lect ANGLE fig. 185
5)press the knob/button (11) to
confirm
6)turn the knob/button (11) to ad-
just the angle of vision
7) press the knob/button (11) to
confirm.
Press ESC (9) to return to the pre-
vious menu.
fig. 186F0E3082g
Page 186 of 202

185
CONNECT NAV
NAVIGATOR
Adjusting the fade effect
Proceed as follows:
1) open the SETTINGS menu
fig. 185as described previously
2)turn the knob/button (11) to se-
lect DISPLAY fig. 185
3)press the knob/button (11) to
confirm
4) turn the knob/button (11) to se-
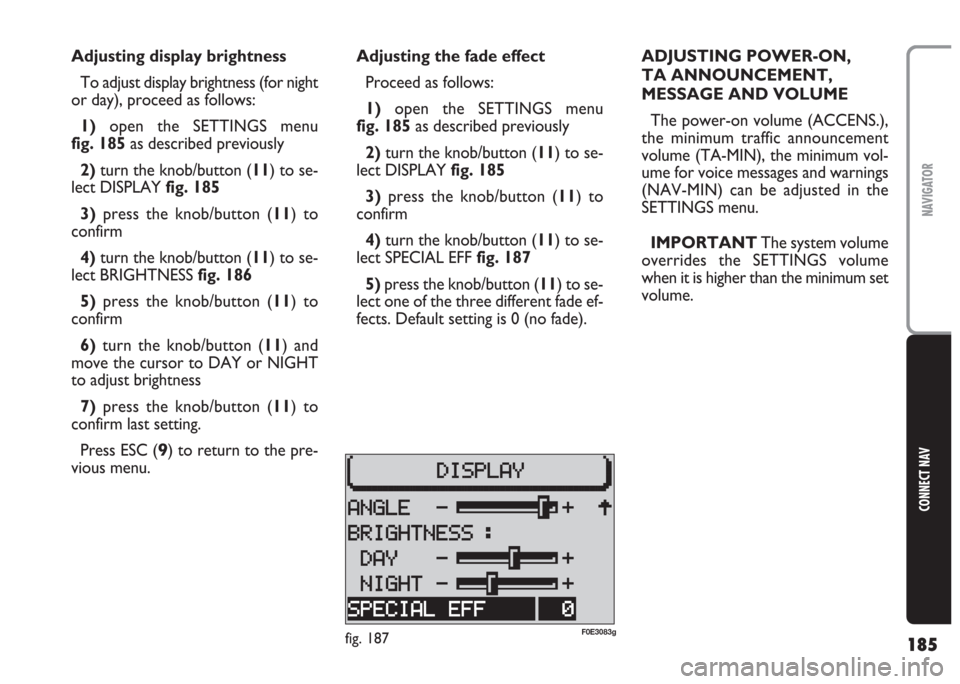
lect SPECIAL EFF fig. 187
5) press the knob/button (11) to se-
lect one of the three different fade ef-
fects. Default setting is 0 (no fade). Adjusting display brightness
To adjust display brightness (for night
or day), proceed as follows:
1)open the SETTINGS menu
fig. 185as described previously
2)turn the knob/button (11) to se-
lect DISPLAY fig. 185
3)press the knob/button (11) to
confirm
4) turn the knob/button (11) to se-
lect BRIGHTNESS fig. 186
5)press the knob/button (11) to
confirm
6)turn the knob/button (11) and
move the cursor to DAY or NIGHT
to adjust brightness
7)press the knob/button (11) to
confirm last setting.
Press ESC (
9) to return to the pre-
vious menu.ADJUSTING POWER-ON,
TA ANNOUNCEMENT,
MESSAGE AND VOLUME
The power-on volume (ACCENS.),
the minimum traffic announcement
volume (TA-MIN), the minimum vol-
ume for voice messages and warnings
(NAV-MIN) can be adjusted in the
SETTINGS menu.
IMPORTANT The system volume
overrides the SETTINGS volume
when it is higher than the minimum set
volume.
fig. 187F0E3083g
Page 187 of 202

186
CONNECT NAV
NAVIGATOR
IMPORTANT The minimum
volume is a form of limitation. If the
volume was lower than the minimum
set volume when the system was
switched off this will override the
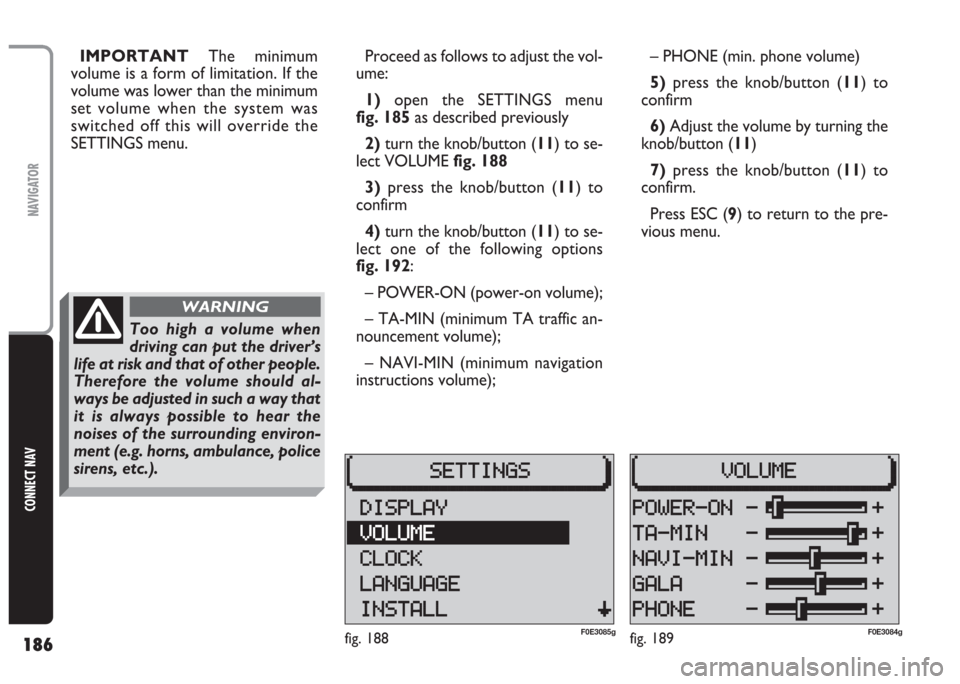
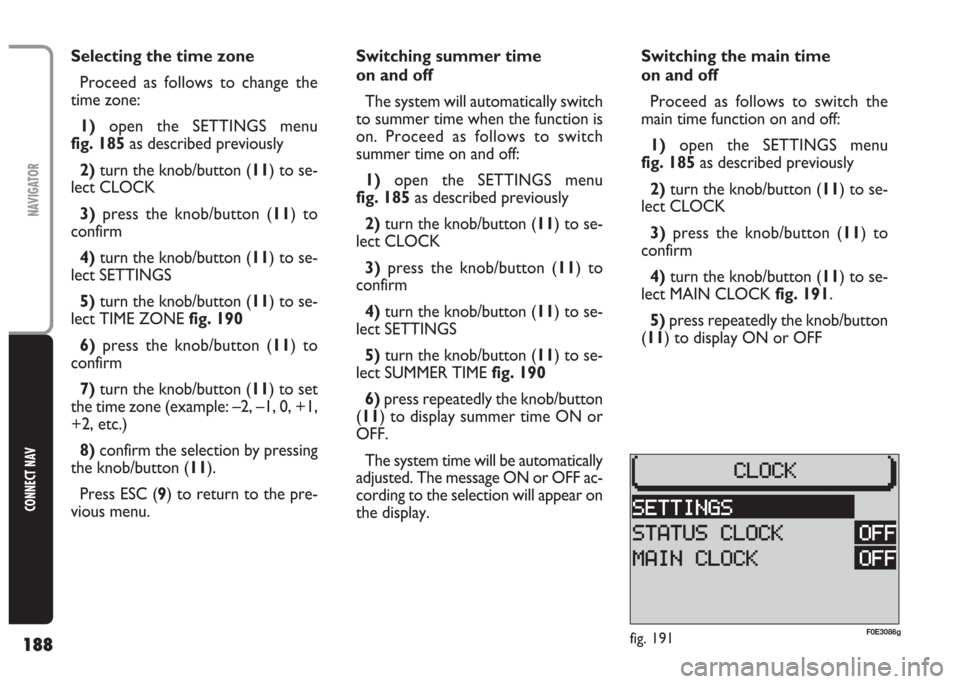
SETTINGS menu.Proceed as follows to adjust the vol-
ume:
1) open the SETTINGS menu
fig. 185as described previously
2)turn the knob/button (11) to se-
lect VOLUME fig. 188
3)press the knob/button (11) to
confirm
4) turn the knob/button (11) to se-
lect one of the following options
fig. 192:
– POWER-ON (power-on volume);
– TA-MIN (minimum TA traffic an-
nouncement volume);
– NAVI-MIN (minimum navigation
instructions volume);– PHONE (min. phone volume)
5)press the knob/button (11) to
confirm
6) Adjust the volume by turning the
knob/button (11)
7) press the knob/button (11) to
confirm.
Press ESC (9) to return to the pre-
vious menu.
fig. 188F0E3085gfig. 189F0E3084g
Too high a volume when
driving can put the driver’s
life at risk and that of other people.
Therefore the volume should al-
ways be adjusted in such a way that
it is always possible to hear the
noises of the surrounding environ-
ment (e.g. horns, ambulance, police
sirens, etc.).
WARNING
Page 188 of 202

187
CONNECT NAV
NAVIGATOR
Selecting the time format
Proceed as follows to select the time
format (12 or 24 hour clock):
1) open the SETTINGS menu
fig. 185as described previously
2)turn the knob/button (11) to se-
lect CLOCK
3) press the knob/button (11) to
confirm
4) turn the knob/button (11) to se-
lect SETTINGS
5) turn the knob/button (11) to se-
lect TIME FORMAT fig. 1906)press the knob/button (11) to
confirm
7)press repeatedly the knob/button
(11) to select 12H or 24H
8) press the knob/button (11) for
longer than two seconds to confirm
the selection.
Press ESC (
9) to return to the pre-
vious menu. SETTING THE CLOCK
The SETTINGS menu can be used to
switch the summer time on and off, ad-
just the clock format (12 hours/24
hours) and set the time zone referred
to Central European Time (MEZ).
These settings are required by the
sound/navigation system to calculate
the discrepancy between system time
and GPS transmitted time and, conse-
quently, calculate the actual navigation
time.
fig. 190F0E3087g
Page 189 of 202

188
CONNECT NAV
NAVIGATOR
Selecting the time zone
Proceed as follows to change the
time zone:
1) open the SETTINGS menu
fig. 185as described previously
2)turn the knob/button (11) to se-
lect CLOCK
3)press the knob/button (11) to
confirm
4)turn the knob/button (11) to se-
lect SETTINGS
5) turn the knob/button (11) to se-
lect TIME ZONE fig. 190
6)press the knob/button (11) to
confirm
7) turn the knob/button (11) to set
the time zone (example: –2, –1, 0, +1,
+2, etc.)
8) confirm the selection by pressing
the knob/button (11).
Press ESC (9) to return to the pre-
vious menu.Switching summer time
on and off
The system will automatically switch
to summer time when the function is
on. Proceed as follows to switch
summer time on and off:
1) open the SETTINGS menu
fig. 185as described previously
2) turn the knob/button (11) to se-
lect CLOCK
3)press the knob/button (11) to
confirm
4)turn the knob/button (11) to se-
lect SETTINGS
5) turn the knob/button (11) to se-
lect SUMMER TIME fig. 190
6) press repeatedly the knob/button
(11) to display summer time ON or
OFF.
The system time will be automatically
adjusted. The message ON or OFF ac-
cording to the selection will appear on
the display.Switching the main time
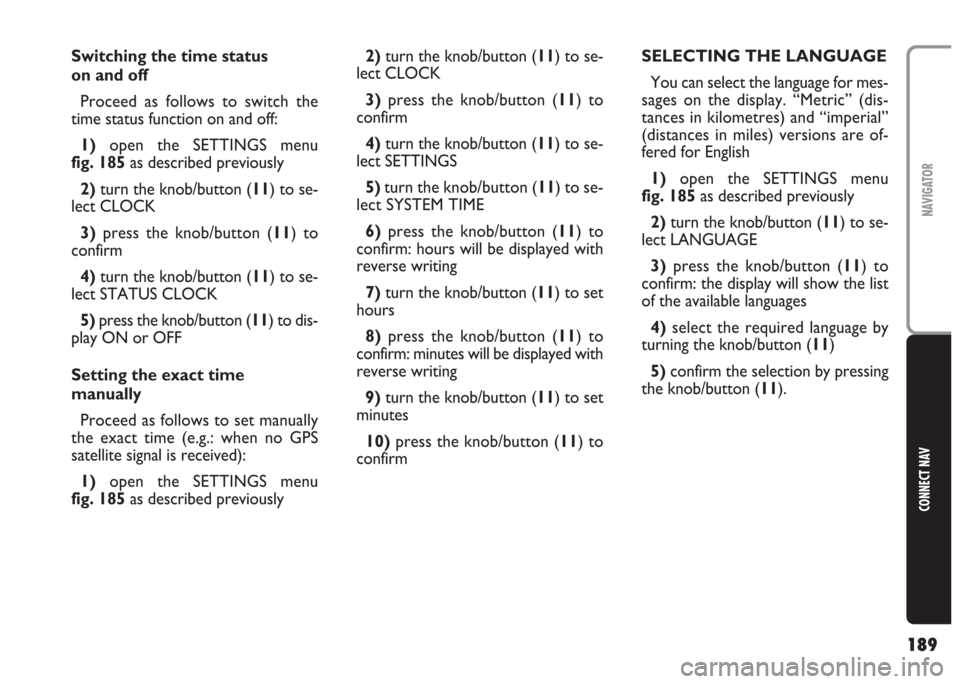
on and off
Proceed as follows to switch the
main time function on and off:
1)open the SETTINGS menu
fig. 185as described previously
2)turn the knob/button (11) to se-
lect CLOCK
3) press the knob/button (
11) to
confirm
4) turn the knob/button (11) to se-
lect MAIN CLOCK fig. 191.
5)press repeatedly the knob/button
(11) to display ON or OFF
fig. 191F0E3086g
Page 190 of 202

189
CONNECT NAV
NAVIGATOR
Switching the time status
on and off
Proceed as follows to switch the
time status function on and off:
1)open the SETTINGS menu
fig. 185as described previously
2) turn the knob/button (11) to se-
lect CLOCK
3) press the knob/button (11) to
confirm
4)turn the knob/button (11) to se-
lect STATUS CLOCK
5) press the knob/button (11) to dis-
play ON or OFF
Setting the exact time
manually
Proceed as follows to set manually
the exact time (e.g.: when no GPS
satellite signal is received):
1) open the SETTINGS menu
fig. 185as described previously2) turn the knob/button (11) to se-
lect CLOCK
3)press the knob/button (11) to
confirm
4)turn the knob/button (11) to se-
lect SETTINGS
5) turn the knob/button (11) to se-
lect SYSTEM TIME
6)press the knob/button (11) to
confirm: hours will be displayed with
reverse writing
7)turn the knob/button (11) to set
hours
8) press the knob/button (11) to
confirm: minutes will be displayed with
reverse writing
9)turn the knob/button (11) to set
minutes
10)press the knob/button (11) to
confirmSELECTING THE LANGUAGE
You can select the language for mes-
sages on the display. “Metric” (dis-
tances in kilometres) and “imperial”
(distances in miles) versions are of-
fered for English
1)open the SETTINGS menu
fig. 185as described previously
2)turn the knob/button (11) to se-
lect LANGUAGE
3) press the knob/button (11) to
confirm: the display will show the list
of the available languages
4)select the required language by
turning the knob/button (
11)
5)confirm the selection by pressing
the knob/button (11).
Page 191 of 202
190
CONNECT NAV
NAVIGATOR
A new language will be loaded. At the
end of the loading operation, with the
navigation CD inserted in the drive, a
confirmation voice message will be
heard.
The SETTINGS menu will be then
displayed again.
IMPORTANT For certain coun-
tries (e.g. Denmark, Sweden and Por-
tugal), the voice messages related to
Navigation are in English whereas dis-
played messages are written in the lan-
guage of each country.GPS STATUS
Proceed as follows to display the
number of GPS satellites which can be
received and the car position:
1) press the NAV button (12) to
open the main navigation menu
2) press MEN (10) to display the
SETTINGS menu
3) turn the knob/button (11) to se-
lect INSTALL fig. 1924)press the knob/button (11) to
confirm, the display will show the IN-
STALLATION menufig. 193
5)select GPS STATUS by turning the
knob/button (
11)
6)press the knob/button (11) to
confirm.
Press ESC (9) to return to the pre-
vious menu.
fig. 192F0E3080gfig. 193F0E3088g
Page 192 of 202

191
CONNECT NAV
NAVIGATOR
Proceed as follows to activate/deac-
tivate the code:
1) press the NAV button (12) to
open the main navigation menu
2)press the MEN button (10) to
open the SETTINGS menu
3)turn the knob/button (11) to se-
lect SAFETY fig. 194
4) press the knob/button (11) to
confirm
5)turn the knob/button (11) to se-
lect CODE6) press the knob/button (11) to se-
lect ON or OFF. The default setting is
OFF (security code off). In any case,
enter the security code
7)select
jby turning the knob/but-
ton (11)
8)press the knob/button (11) to
confirm. SECURITY
Activating/deactivating
the security code
The security code can be activated
and deactivated by selecting SAFETY
in the SETTINGS menu. When the
protection is on, the device can only
be switched on by entering a safety
code after disconnecting the battery
(see paragraph “Entering the security
code” in section “Antitheft protection
system”).
IMPORTANT This is the only
theft-prevention countermeasure of
the system. We recommend you acti-
vate the security code.
fig. 194F0E3081gfig. 195F0E3237g