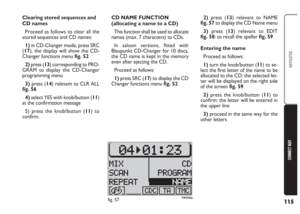
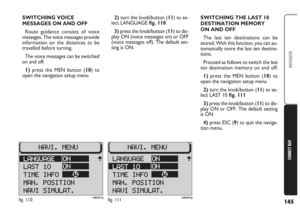
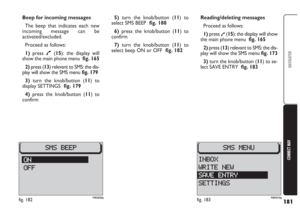
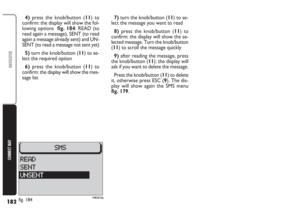
Page 169 of 202

168
CONNECT NAV
NAVIGATOR
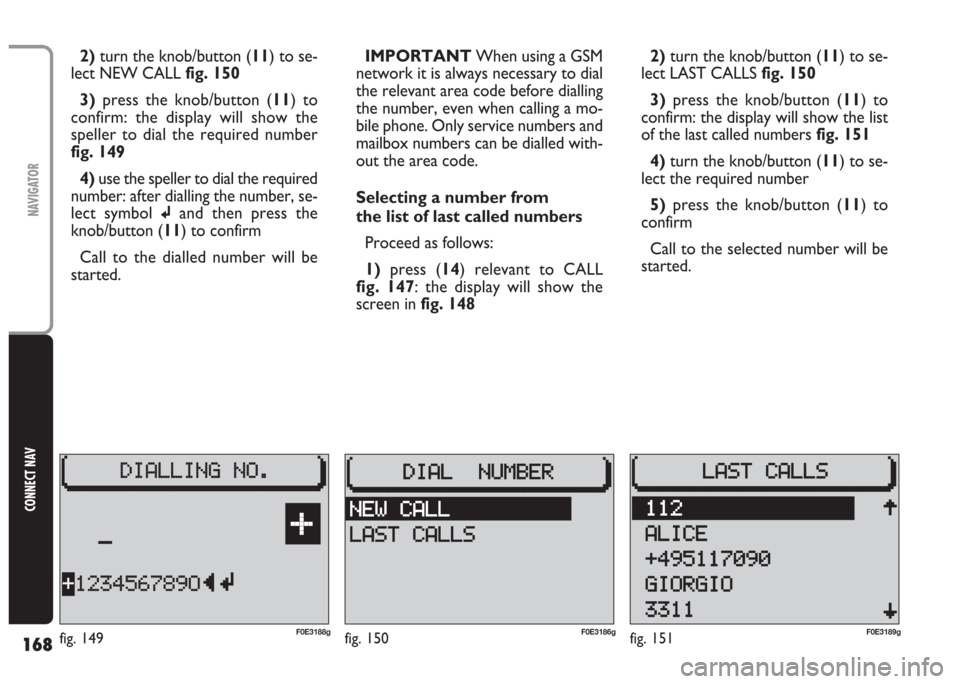
2)turn the knob/button (11) to se-
lect NEW CALL fig. 150
3) press the knob/button (11) to
confirm: the display will show the
speller to dial the required number
fig. 149
4) use the speller to dial the required
number: after dialling the number, se-
lect symbol
jand then press the
knob/button (11) to confirm
Call to the dialled number will be
started.IMPORTANT When using a GSM
network it is always necessary to dial
the relevant area code before dialling
the number, even when calling a mo-
bile phone. Only service numbers and
mailbox numbers can be dialled with-
out the area code.
Selecting a number from
the list of last called numbers
Proceed as follows:
1)press (14) relevant to CALL
fig. 147: the display will show the
screen in fig. 1482)turn the knob/button (11) to se-
lect LAST CALLS fig. 150
3) press the knob/button (11) to
confirm: the display will show the list
of the last called numbers fig. 151
4)turn the knob/button (11) to se-
lect the required number
5)press the knob/button (11) to
confirm
Call to the selected number will be
started.
fig. 150F0E3186gfig. 151F0E3189gF0E3188gfig. 149
Page 170 of 202

169
CONNECT NAV
NAVIGATOR
SELECTING A NUMBER
FROM THE PHONE BOOK
Applying the following procedure will
make it possible to call a number pre-
viously stored in the phone book.
Search name
Proceed as follows:
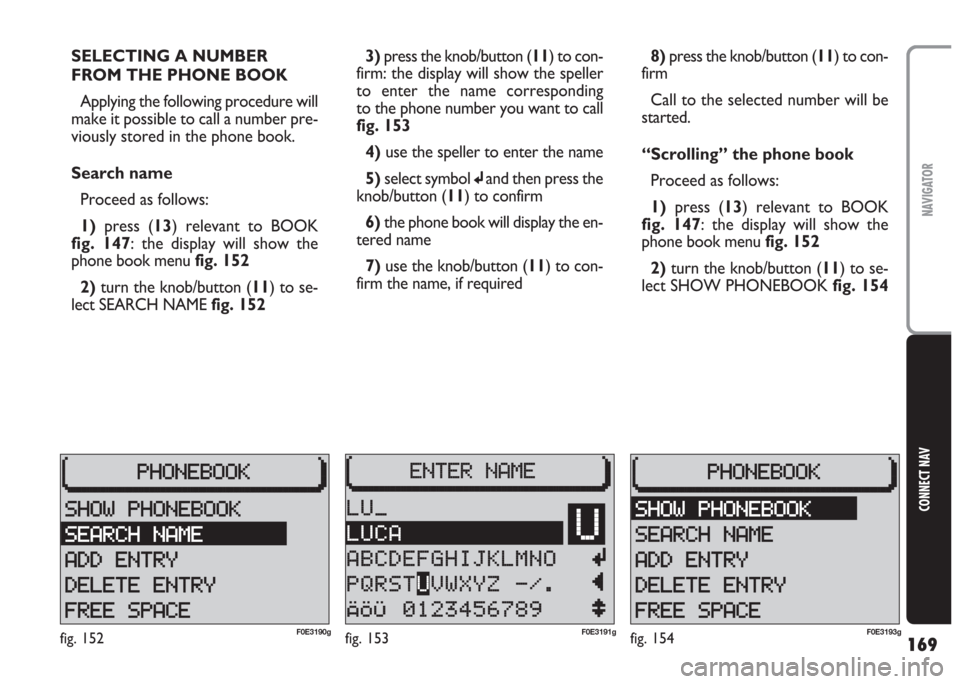
1)press (13) relevant to BOOK
fig. 147: the display will show the
phone book menu fig. 152
2)turn the knob/button (11) to se-
lect SEARCH NAME fig. 1523)press the knob/button (11) to con-
firm: the display will show the speller
to enter the name corresponding
to the phone number you want to call
fig. 153
4) use the speller to enter the name
5) select symbol
jand then press the
knob/button (11) to confirm
6) the phone book will display the en-
tered name
7)use the knob/button (11) to con-
firm the name, if required8) press the knob/button (11) to con-
firm
Call to the selected number will be
started.
“Scrolling” the phone book
Proceed as follows:
1) press (13) relevant to BOOK
fig. 147: the display will show the
phone book menu fig. 152
2)turn the knob/button (11) to se-
lect SHOW PHONEBOOK fig. 154
fig. 152F0E3190gfig. 153F0E3191gfig. 154F0E3193g
Page 171 of 202

170
CONNECT NAV
NAVIGATOR
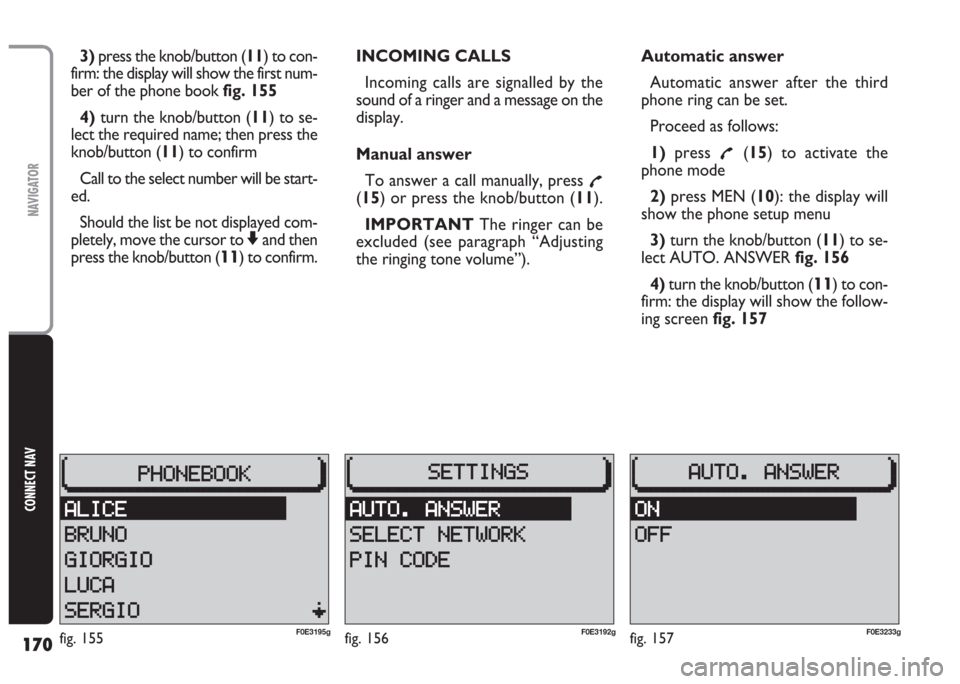
3)press the knob/button (11) to con-
firm: the display will show the first num-
ber of the phone book fig. 155
4) turn the knob/button (11) to se-
lect the required name; then press the
knob/button (11) to confirm
Call to the select number will be start-
ed.
Should the list be not displayed com-
pletely, move the cursor to
Zand then
press the knob/button (
11) to confirm.INCOMING CALLS
Incoming calls are signalled by the
sound of a ringer and a message on the
display.
Manual answer
To answer a call manually, press
£(15) or press the knob/button (11).
IMPORTANT The ringer can be
excluded (see paragraph “Adjusting
the ringing tone volume”).Automatic answer
Automatic answer after the third
phone ring can be set.
Proceed as follows:
1)press
£(15) to activate the
phone mode
2)press MEN (10): the display will
show the phone setup menu
3)turn the knob/button (11) to se-
lect AUTO. ANSWER fig. 156
4)turn the knob/button (
11) to con-
firm: the display will show the follow-
ing screen fig. 157
fig. 156F0E3192gfig. 155F0E3195gfig. 157F0E3233g
Page 172 of 202

171
CONNECT NAV
NAVIGATOR
5) turn the knob/button (11) to se-
lect the required setting (ON or OFF)
6)press the knob/button (11) to
confirm: the display will show the
phone setup menu.
Refusing a call
To refuse a call, press ESC (9).
The caller will hear the busy line sig-
nal.
Ending a call
To end a call, press
£(15).
Redialling
Using the list of last called number
it is possible to redial a number (see
“Selecting a number from the list of
last called numbers” in this section).TELEPHONE CALLS TO
FOREIGN COUNTRIES
The GSM international standard en-
ables to call foreign countries.
The prerequisite is the existence of
a roaming agreement between
providers.
Check that your network provider
allows to use the SIM card in roam-
ing conditions.
The network provider can provide
you with the list of countries having lo-
cal network providers and the differ-
ent tariffs.
IMPORTANT To call abroad con-
tact immediately your network
provider and remember that your SIM
card shall be enabled for calls in roam-
ing conditions.Proceed as follows:
1) dial the international dialling code
of the required country
2) dial the area code without di-
allingthe first “0” and then dial the
phone number
IMPORTANT the first two figures
of the international dialling code can
be replaced by symbol “
+”
Example
International code of
the required country: 0039
Italy
Area dialling code: 011 Torino
Phone number: 12…. Office
Dialled number: +391112706..
Page 173 of 202

172
CONNECT NAV
NAVIGATOR
When you are abroad
Who calls you from your country of
origin can dial the number without in-
ternational code.
Who calls you from a country dif-
ferent from that of origin must dial the
international code of your country.
When calling a fix phone number, di-
al first the area dialling code and then
the phone number, the international
code is not required.SELECTING THE NETWORK
This function shall be used for se-
lecting another network (not the GSM
one), provided that there is a roaming
agreement between your provider and
other providers. A list with preferred
radio stations can also be selected.
This is particularly useful when you
have to stay abroad for long periods
since the tariffs of the various network
providers can be very different.Selecting the network manually
Use this function for selecting man-
ually the required network.
Proceed as follows:
1)press
£(15) to activate the
phone mode
2)press MEN (10): the display will
show the phone setup menu
3)turn the knob/button (11) to
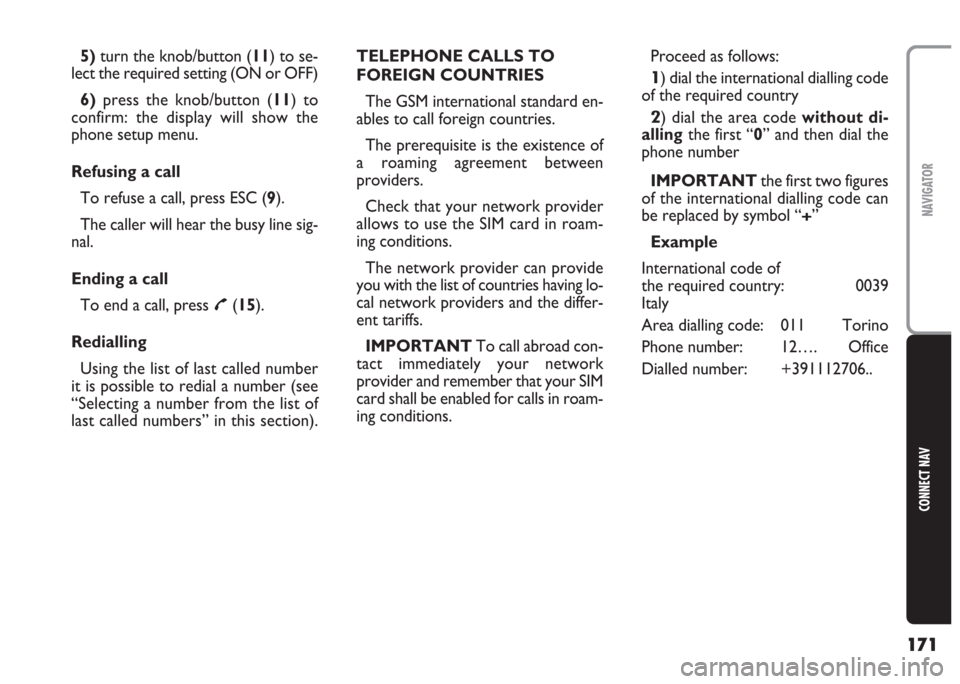
choose SELECT NETWORK fig. 158
4) press the knob/button (11) to
confirm: the display will show the fol-
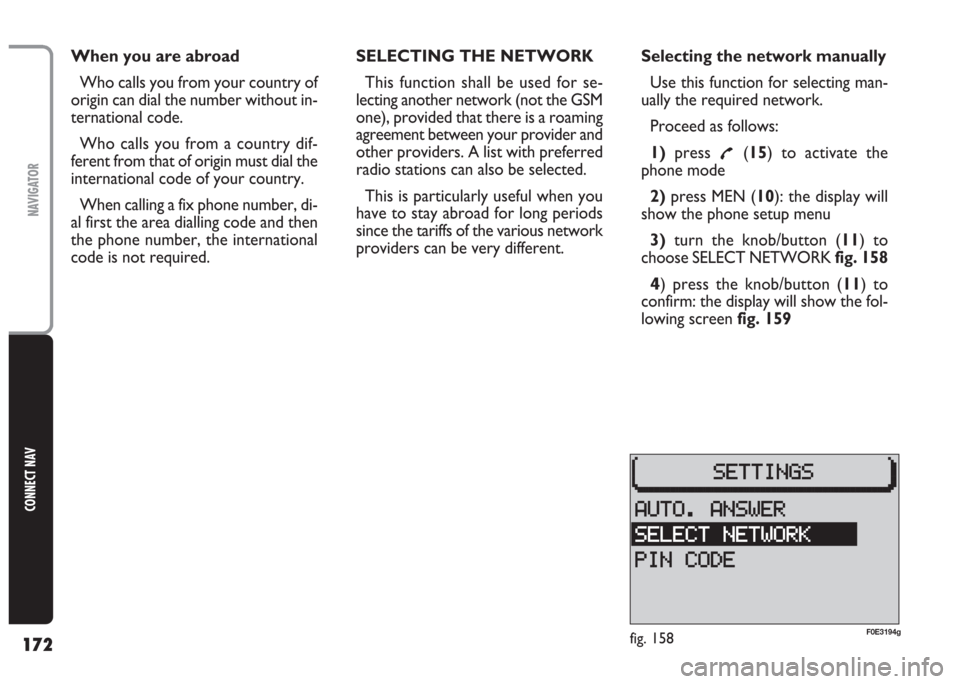
lowing screen fig. 159
fig. 158F0E3194g
Page 174 of 202

173
CONNECT NAV
NAVIGATOR
5)turn the knob/button (11) to
choose SELECTABLE NET fig. 159
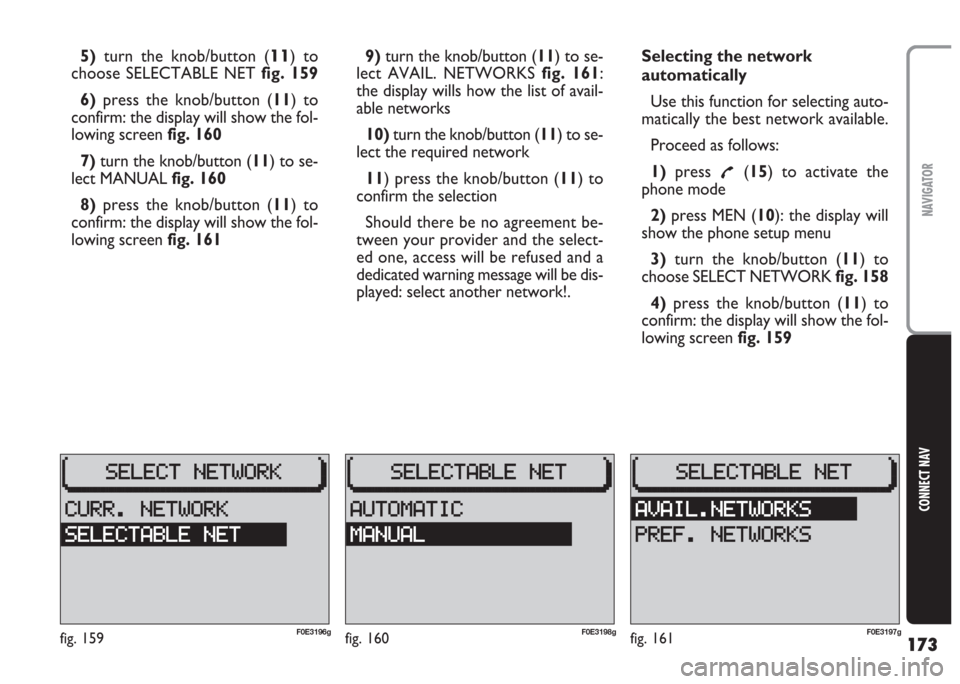
6) press the knob/button (11) to
confirm: the display will show the fol-
lowing screen fig. 160
7)turn the knob/button (11) to se-
lect MANUAL fig. 160
8)press the knob/button (11) to
confirm: the display will show the fol-
lowing screen fig. 1619)turn the knob/button (11) to se-
lect AVAIL. NETWORKS fig. 161:
the display wills how the list of avail-
able networks
10)turn the knob/button (11) to se-
lect the required network
11) press the knob/button (11) to
confirm the selection
Should there be no agreement be-
tween your provider and the select-
ed one, access will be refused and a
dedicated warning message will be dis-
played: select another network!.Selecting the network
automatically
Use this function for selecting auto-
matically the best network available.
Proceed as follows:
1)press
£(15) to activate the
phone mode
2)press MEN (10): the display will
show the phone setup menu
3)turn the knob/button (11) to
choose SELECT NETWORK fig. 158
4)press the knob/button (11) to
confirm: the display will show the fol-
lowing screen fig. 159
fig. 159F0E3196gfig. 160F0E3198gfig. 161F0E3197g
Page 175 of 202

174
CONNECT NAV
NAVIGATOR
5) turn the knob/button (11) to se-
lect SELECTABLE NET fig. 159
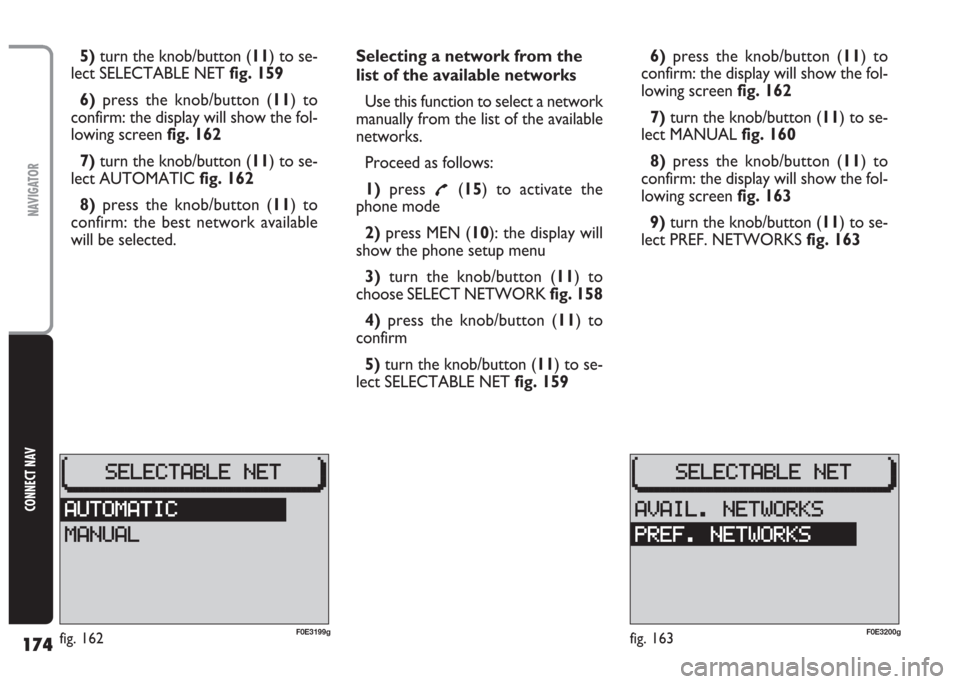
6)press the knob/button (11) to
confirm: the display will show the fol-
lowing screen fig. 162
7)turn the knob/button (11) to se-
lect AUTOMATIC fig. 162
8)press the knob/button (11) to
confirm: the best network available
will be selected.Selecting a network from the
list of the available networks
Use this function to select a network
manually from the list of the available
networks.
Proceed as follows:
1)press
£(15) to activate the
phone mode
2)press MEN (10): the display will
show the phone setup menu
3) turn the knob/button (11) to
choose SELECT NETWORK fig. 158
4) press the knob/button (11) to
confirm
5)turn the knob/button (11) to se-
lect SELECTABLE NET fig. 1596)press the knob/button (11) to
confirm: the display will show the fol-
lowing screen fig. 162
7)turn the knob/button (11) to se-
lect MANUAL fig. 160
8)press the knob/button (11) to
confirm: the display will show the fol-
lowing screen fig. 163
9)turn the knob/button (11) to se-
lect PREF. NETWORKS fig. 163
fig. 163F0E3200gfig. 162F0E3199g
Page 176 of 202

175
CONNECT NAV
NAVIGATOR
10)press the knob/button (11) to
confirm: the display will show the list
of the available networks
11) turn the knob/button (11) to se-
lect the required network
12)press the knob/button (11) to
confirm the selection
Should the selected network be not
available (e.g.: overload or poor signal),
the display will show a dedicated
warning message.
In this case another network shall be
selected.Displaying the selected
network
Use this function to display the se-
lected network.
Proceed as follows:
1)press
£(15) to activate the
phone mode
2) press MEN (10): the display will
show the phone setup menu
3)turn the knob/button (11) to
choose SELECT NETWORK fig. 158
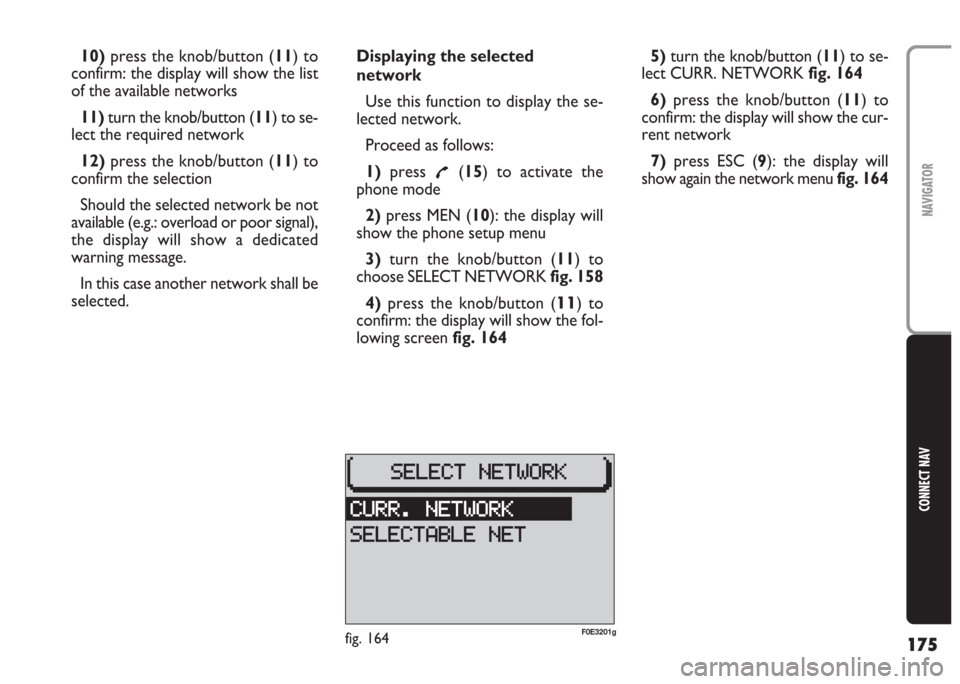
4) press the knob/button (
11) to
confirm: the display will show the fol-
lowing screen fig. 1645)turn the knob/button (11) to se-
lect CURR. NETWORK fig. 164
6) press the knob/button (11) to
confirm: the display will show the cur-
rent network
7)press ESC (9): the display will
show again the network menu fig. 164
fig. 164F0E3201g