Page 105 of 202

104
CONNECT NAV
NAVIGATOR
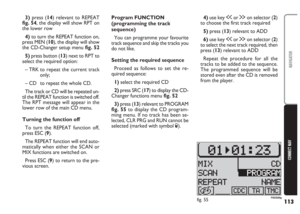
Deleting tracks from
the sequence
Proceed as follows to delete the
tracks from the sequence:
1) from the CD functions menu
fig. 31press (13) relevant to PRO-
GRAM to display the CD program-
ming menu fig. 37
2)select the track to be deleted us-
ing keys ùor §on selector (2)
3)press button (13) next to SKIP.
Running/stopping the track
sequence
After entering the required track se-
quence, press button (13) relevant to
RUNfig. 37.
The sequence will start from the last
selected track. The message TPM will
appear on the display.
Press button (13) next to RUN to
stop a sequence without deleting it.Deleting a single track
sequence
Proceed as follows to delete a pro-
grammed track sequence:
1)from the CD functions menu
fig. 31press (13) relevant to PRO-
GRAM to display the CD program-
ming menu fig. 37
2)press (14) relevant to CLR PRG.
Clearing all stored sequence
Proceed as follows to delete all the
stored sequences:
1)press (13) relevant to PROGRAM
to display the CD programming menu
fig. 37
2)press button (14) next to CLR
ALL
3) select YES with the knob/button
(11) at the confirmation message
4)press the knob/button (11) to
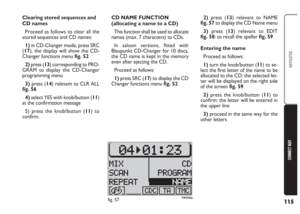
confirm.CD NAME FUNCTION
(allocating a name to a CD)
This function shall be used to allocate
names (max. 7 characters) to CDs.
In saloon versions, fitted with
Blaupunkt CD-Changer for 10 discs,
the CD name is kept in the memory
even after ejecting the CD.
Proceed as follows:
1)press SRC (17) to display the CD
functions menufig. 31
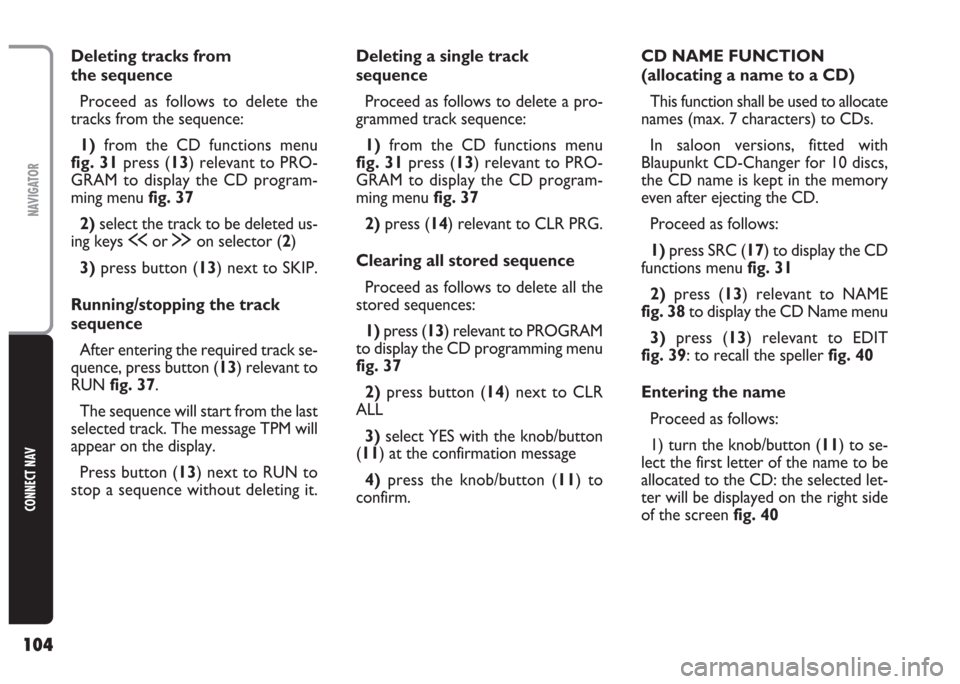
2)press (13) relevant to NAME
fig. 38to display the CD Name menu
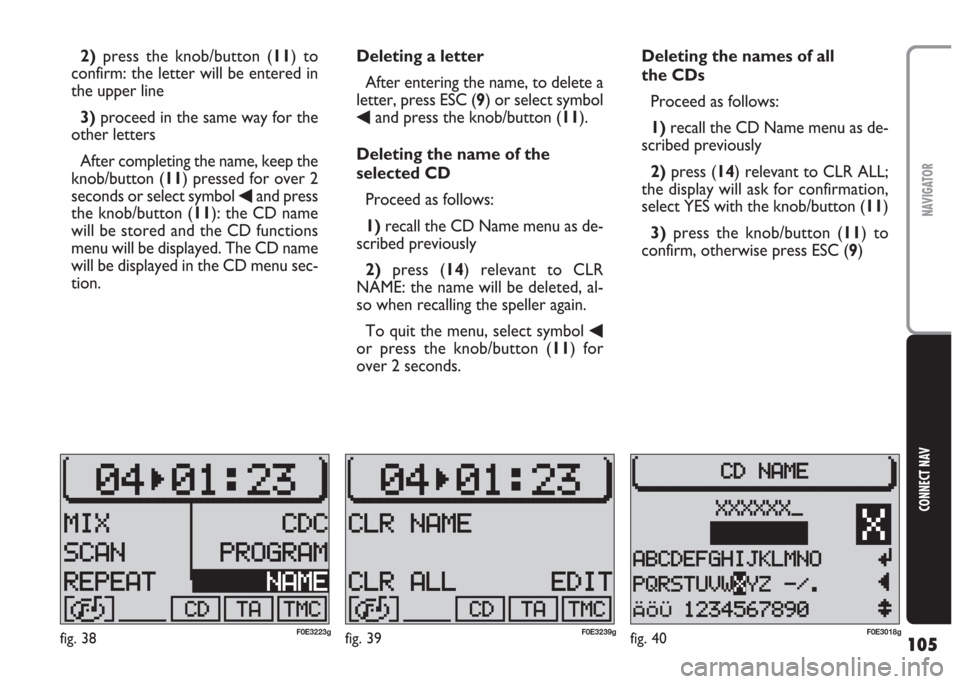
3)press (13) relevant to EDIT
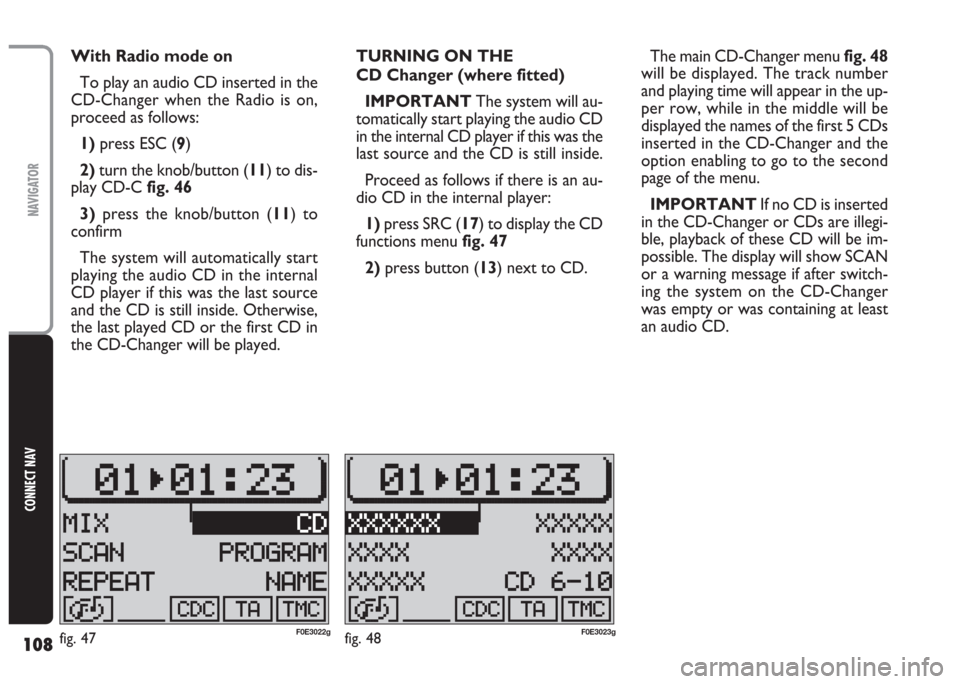
fig. 39: to recall the speller fig. 40
Entering the name
Proceed as follows:
1) turn the knob/button (11) to se-
lect the first letter of the name to be
allocated to the CD: the selected let-
ter will be displayed on the right side
of the screen fig. 40
Page 106 of 202

105
CONNECT NAV
NAVIGATOR
2)press the knob/button (11) to
confirm: the letter will be entered in
the upper line
3)proceed in the same way for the
other letters
After completing the name, keep the
knob/button (11) pressed for over 2
seconds or select symbol
¯and press
the knob/button (11): the CD name
will be stored and the CD functions
menu will be displayed. The CD name
will be displayed in the CD menu sec-
tion.Deleting a letter
After entering the name, to delete a
letter, press ESC (9) or select symbol
¯and press the knob/button (11).
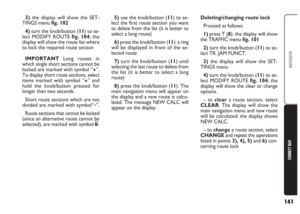
Deleting the name of the
selected CD
Proceed as follows:
1)recall the CD Name menu as de-
scribed previously
2) press (14) relevant to CLR
NAME: the name will be deleted, al-
so when recalling the speller again.
To quit the menu, select symbol
¯or press the knob/button (11) for
over 2 seconds.Deleting the names of all
the CDs
Proceed as follows:
1)recall the CD Name menu as de-
scribed previously
2)press (14) relevant to CLR ALL;
the display will ask for confirmation,
select YES with the knob/button (11)
3)press the knob/button (11) to
confirm, otherwise press ESC (9)
fig. 38F0E3223gfig. 39F0E3239gfig. 40F0E3018g
Page 107 of 202
106
CONNECT NAV
NAVIGATOR
INSERTING AND EJECTING
A CD
Loading the CD loader
To insert CDs apply the following
procedure:
1) pull the proper lever A-fig. 41to
open one of the ten loader compart-
ments;
2) load the CD taking care to posi-
tion the CD with the label set on the
proper side otherwise the CD player
will not work;
3)close the loader compartment;
4) repeat the same procedure for
the other Compact Discs.
C C
D D
C C
H H
A A
N N
G G
E E
R R
- -
C C
D D
C C
( (
w w
h h
e e
r r
e e
f f
i i
t t
t t
e e
d d
) )
How to insert the CD-changer
in the CD-player
Move the sliding lid B-fig. 42right-
wards until it locks.
Fit down the loader C-fig. 43com-
pletely into the player observing the
direction of the arrow marked on the
loader side.
After fitting the CD loader, close the
sliding lid D-fig. 44to prevent foreign
matters or dust penetration into the
CD player.
fig. 41F0E0401mfig. 42F0E0402mfig. 44F0E0404m
fig. 43F0E0403m
Page 108 of 202
107
CONNECT NAV
NAVIGATOR
PLAYING A CD WITH THE
INTERNAL CD PLAYER
(with CD-Changer,
if installed)
Proceed as follows:
1) press SRC (17) button.
2) turn the knob/button (11) to se-
lect CD-C.
3) press the knob/button (11) to
confirm.
IMPORTANT If you accidentally
select a CD that is not inserted, the
system will automatically play the next
CD. Removing the CD loader
from the player
Open the sliding lid B-fig. 42, press
EJECT E-fig. 45on the player: the
loader will be partially ejected.
Carefully remove the loader.
Close the sliding lid.
Ejecting Compact Discs
from the loader
Remove the CDs in sequence pulling
the lever corresponding to each CD.PLAYING A CD
WITH THE CD Changer
(where fitted)
With Navigation mode on
To play an audio CD inserted in the
CD-Changer when the Navigation
function is on, proceed as follows:
1) press SRC (17)
2)turn the knob/button (11) to dis-
play CD-Cfig. 46
3)press the knob/button (11) to
confirm
fig. 46F0E3217gfig. 45F0E0405m
Page 109 of 202

108
CONNECT NAV
NAVIGATOR
With Radio mode on
To play an audio CD inserted in the
CD-Changer when the Radio is on,
proceed as follows:
1) press ESC (9)
2)turn the knob/button (11) to dis-
play CD-Cfig. 46
3)press the knob/button (11) to
confirm
The system will automatically start
playing the audio CD in the internal
CD player if this was the last source
and the CD is still inside. Otherwise,
the last played CD or the first CD in
the CD-Changer will be played.TURNING ON THE
CD Changer (where fitted)
IMPORTANT The system will au-
tomatically start playing the audio CD
in the internal CD player if this was the
last source and the CD is still inside.
Proceed as follows if there is an au-
dio CD in the internal player:
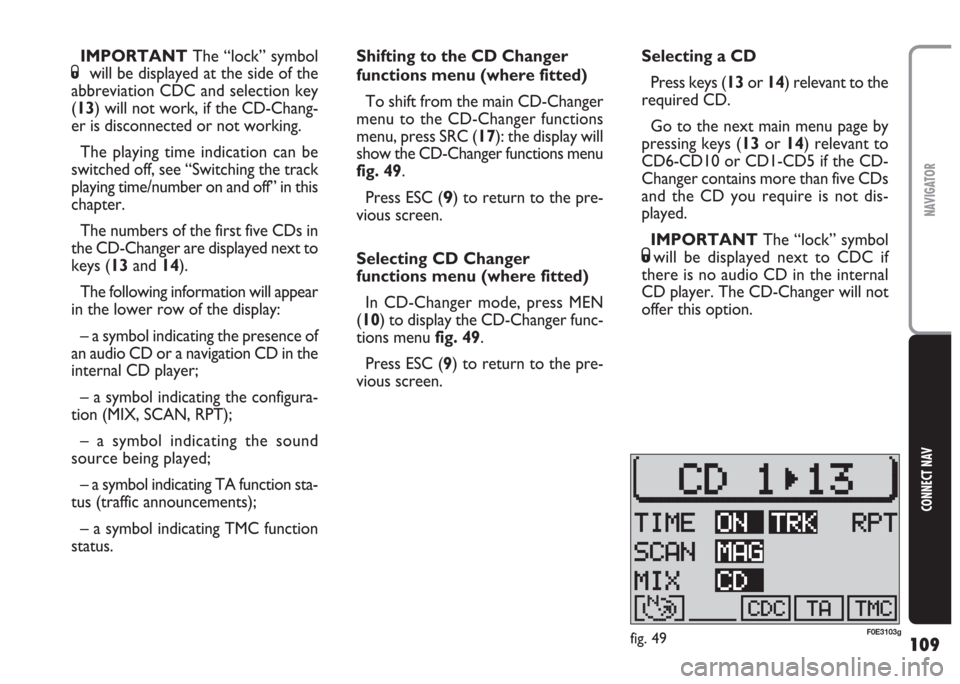
1)press SRC (17) to display the CD
functions menu fig. 47
2)press button (13) next to CD.The main CD-Changer menu fig. 48
will be displayed. The track number
and playing time will appear in the up-
per row, while in the middle will be
displayed the names of the first 5 CDs
inserted in the CD-Changer and the
option enabling to go to the second
page of the menu.
IMPORTANT If no CD is inserted
in the CD-Changer or CDs are illegi-
ble, playback of these CD will be im-
possible. The display will show SCAN
or a warning message if after switch-
ing the system on the CD-Changer
was empty or was containing at least
an audio CD.
fig. 48F0E3023gfig. 47F0E3022g
Page 110 of 202

109
CONNECT NAV
NAVIGATOR
Shifting to the CD Changer
functions menu (where fitted)
To shift from the main CD-Changer
menu to the CD-Changer functions
menu, press SRC (17): the display will
show the CD-Changer functions menu
fig. 49.
Press ESC (
9) to return to the pre-
vious screen.
Selecting CD Changer
functions menu (where fitted)
In CD-Changer mode, press MEN
(10) to display the CD-Changer func-
tions menu fig. 49.
Press ESC (9) to return to the pre-
vious screen.Selecting a CD
Press keys (13or 14) relevant to the
required CD.
Go to the next main menu page by
pressing keys (13or 14) relevant to
CD6-CD10 or CD1-CD5 if the CD-
Changer contains more than five CDs
and the CD you require is not dis-
played.
IMPORTANT The “lock” symbol
Swill be displayed next to CDC if
there is no audio CD in the internal
CD player. The CD-Changer will not
offer this option. IMPORTANT The “lock” symbol
Swill be displayed at the side of the
abbreviation CDC and selection key
(13) will not work, if the CD-Chang-
er is disconnected or not working.
The playing time indication can be
switched off, see “Switching the track
playing time/number on and off” in this
chapter.
The numbers of the first five CDs in
the CD-Changer are displayed next to
keys (13and 14).
The following information will appear
in the lower row of the display:
– a symbol indicating the presence of
an audio CD or a navigation CD in the
internal CD player;
– a symbol indicating the configura-
tion (MIX, SCAN, RPT);
– a symbol indicating the sound
source being played;
– a symbol indicating TA function sta-
tus (traffic announcements);
– a symbol indicating TMC function
status.
fig. 49F0E3103g
Page 111 of 202

110
CONNECT NAV
NAVIGATOR
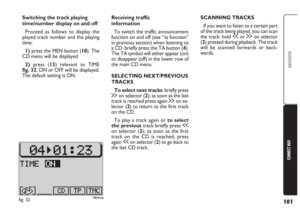
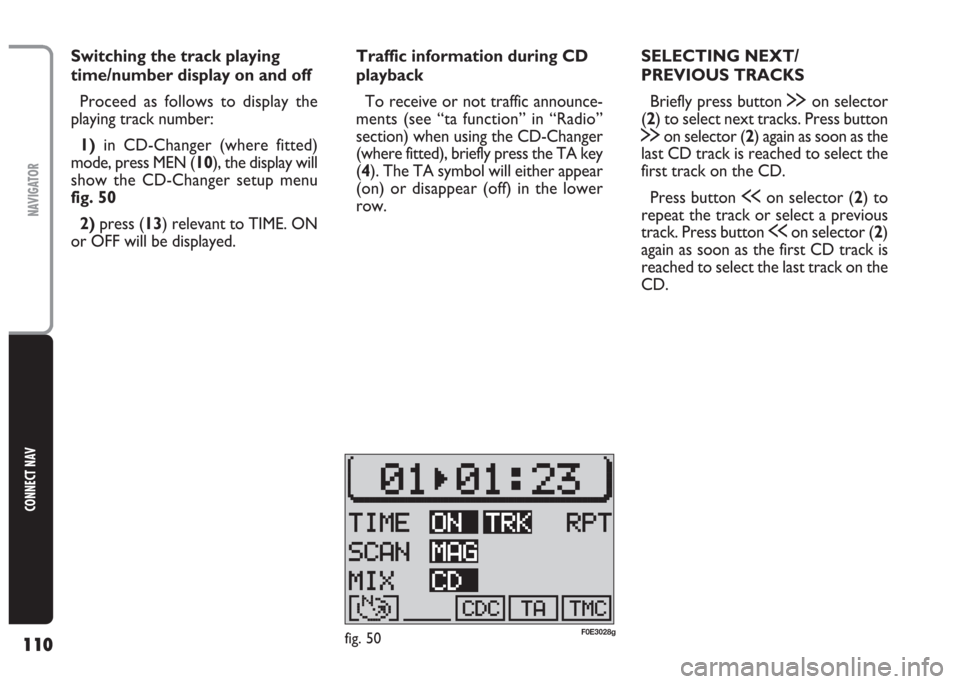
Switching the track playing
time/number display on and off
Proceed as follows to display the
playing track number:
1)in CD-Changer (where fitted)
mode, press MEN (10), the display will
show the CD-Changer setup menu
fig. 50
2)press (13) relevant to TIME. ON
or OFF will be displayed. Traffic information during CD
playback
To receive or not traffic announce-
ments (see “ta function” in “Radio”
section) when using the CD-Changer
(where fitted), briefly press the TA key
(4). The TA symbol will either appear
(on) or disappear (off) in the lower
row.SELECTING NEXT/
PREVIOUS TRACKS
Briefly press button §on selector
(2) to select next tracks. Press button
§on selector (2) again as soon as the
last CD track is reached to select the
first track on the CD.
Press button ùon selector (2) to
repeat the track or select a previous
track. Press button ùon selector (2)
again as soon as the first CD track is
reached to select the last track on the
CD.
fig. 50F0E3028g
Page 112 of 202

111
CONNECT NAV
NAVIGATOR
SCANNING TRACKS
If you want to listen to a certain part
of the track being played, you can scan
the track: hold ùor §on selector
(2) pressed during playback. The track
will be scanned forwards or back-
wards.
IMPORTANT The display will re-
turn to the main CD menu if no op-
eration is carried out in the CD
Changer (where fitted), functions
menu for 30 seconds.MIX FUNCTION
(random playback)
The MIX function can be used to play
in random sequence the tracks on the
current CD or on all the CDs in the
CD-Changer (where fitted).
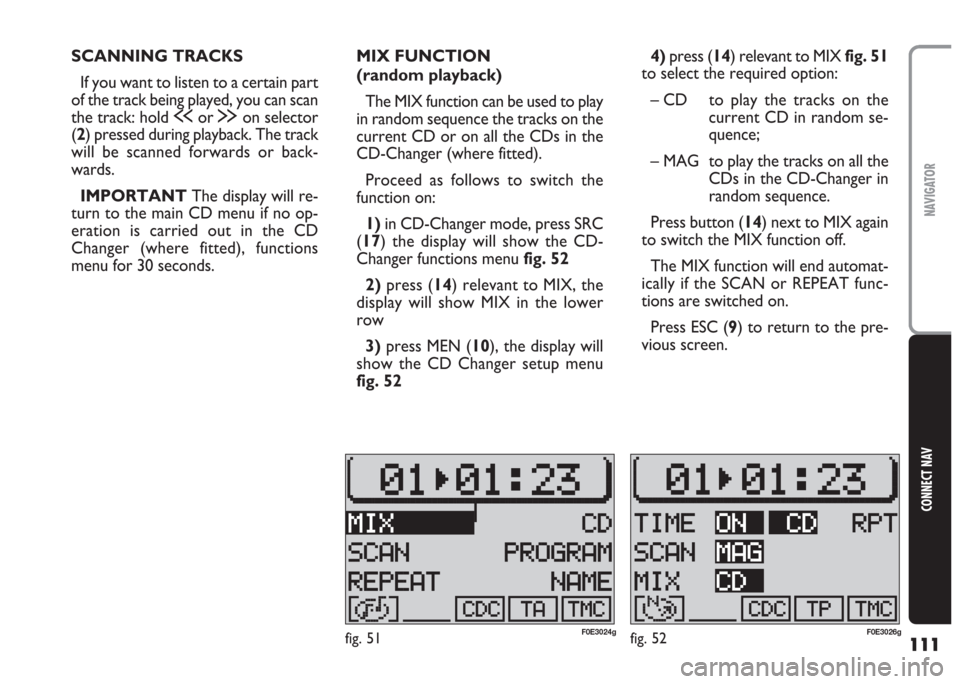
Proceed as follows to switch the
function on:
1) in CD-Changer mode, press SRC
(17) the display will show the CD-
Changer functions menu fig. 52
2) press (14) relevant to MIX, the
display will show MIX in the lower
row
3)press MEN (10), the display will
show the CD Changer setup menu
fig. 524) press (14) relevant to MIXfig. 51
to select the required option:
– CD to play the tracks on the
current CD in random se-
quence;
– MAG to play the tracks on all the
CDs in the CD-Changer in
random sequence.
Press button (14) next to MIX again
to switch the MIX function off.
The MIX function will end automat-
ically if the SCAN or REPEAT func-
tions are switched on.
Press ESC (9) to return to the pre-
vious screen.
fig. 52F0E3026gfig. 51F0E3024g