Page 145 of 202

144
CONNECT NAV
NAVIGATOR
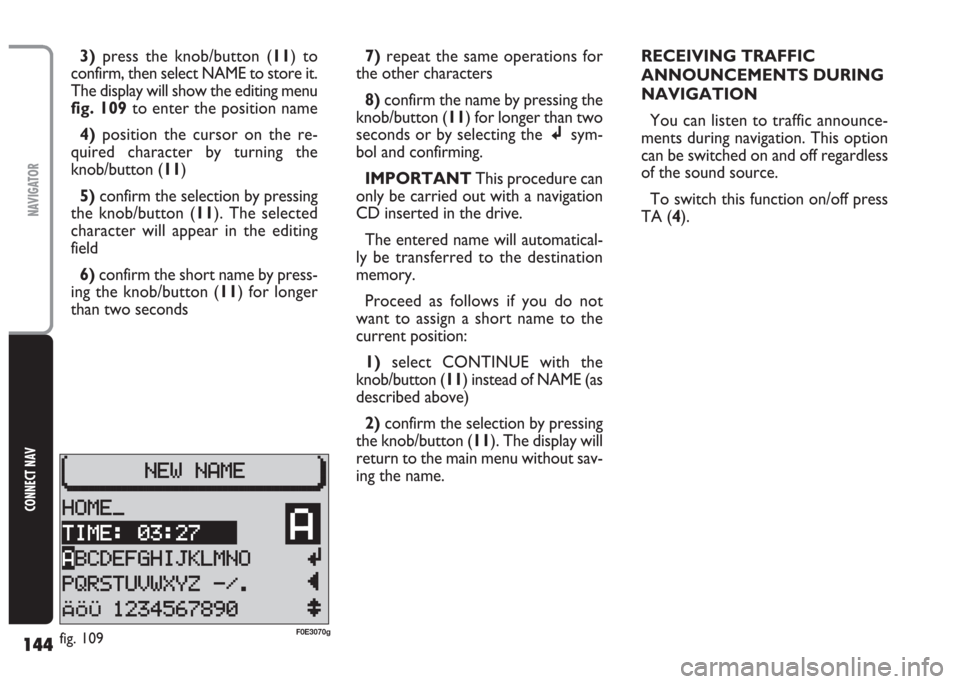
3)press the knob/button (11) to
confirm, then select NAME to store it.
The display will show the editing menu
fig. 109to enter the position name
4)position the cursor on the re-
quired character by turning the
knob/button (11)
5)confirm the selection by pressing
the knob/button (11). The selected
character will appear in the editing
field
6) confirm the short name by press-
ing the knob/button (11) for longer
than two seconds7)repeat the same operations for
the other characters
8)confirm the name by pressing the
knob/button (11) for longer than two
seconds or by selecting thejsym-
bol and confirming.
IMPORTANT This procedure can
only be carried out with a navigation
CD inserted in the drive.
The entered name will automatical-
ly be transferred to the destination
memory.
Proceed as follows if you do not
want to assign a short name to the
current position:
1)select CONTINUE with the
knob/button (11) instead of NAME (as
described above)
2)confirm the selection by pressing
the knob/button (11). The display will
return to the main menu without sav-
ing the name.RECEIVING TRAFFIC
ANNOUNCEMENTS DURING
NAVIGATION
You can listen to traffic announce-
ments during navigation. This option
can be switched on and off regardless
of the sound source.
To switch this function on/off press
TA (4).
fig. 109F0E3070g
Page 146 of 202

145
CONNECT NAV
NAVIGATOR
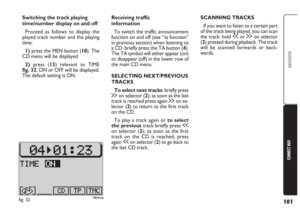
SWITCHING VOICE
MESSAGES ON AND OFF
Route guidance consists of voice
messages. The voice messages provide
information on the distances to be
travelled before turning.
The voice messages can be switched
on and off:
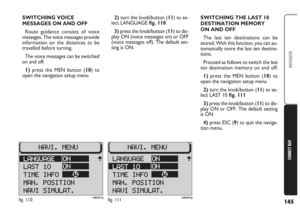
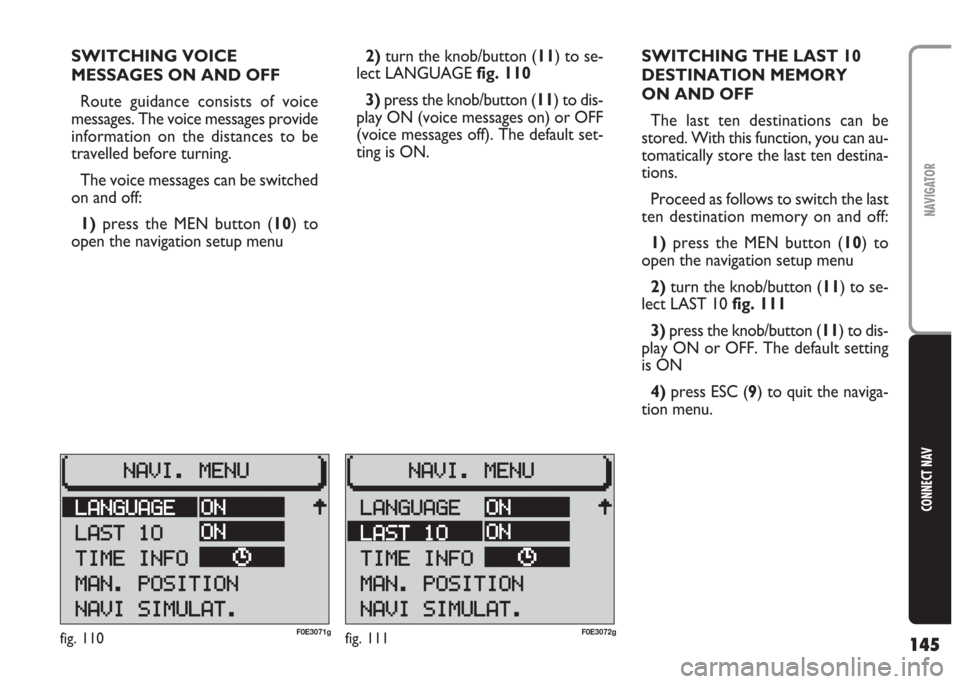
1)press the MEN button (10) to
open the navigation setup menu2)turn the knob/button (11) to se-
lect LANGUAGE fig. 110
3) press the knob/button (11) to dis-
play ON (voice messages on) or OFF
(voice messages off). The default set-
ting is ON.SWITCHING THE LAST 10
DESTINATION MEMORY
ON AND OFF
The last ten destinations can be
stored. With this function, you can au-
tomatically store the last ten destina-
tions.
Proceed as follows to switch the last
ten destination memory on and off:
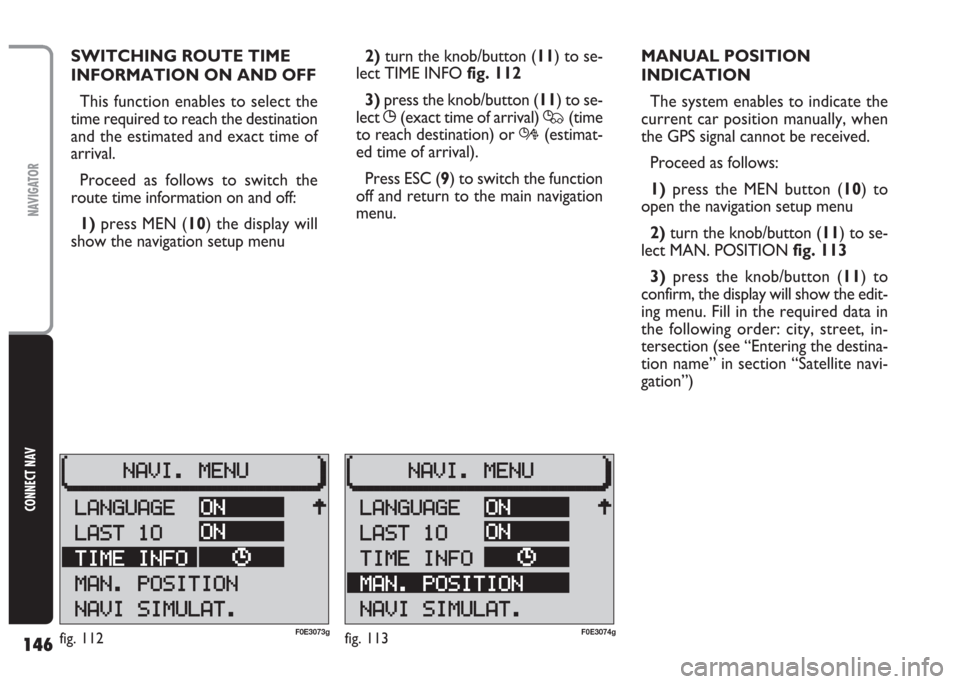
1)press the MEN button (10) to
open the navigation setup menu
2)turn the knob/button (11) to se-
lect LAST 10 fig. 111
3)press the knob/button (11) to dis-
play ON or OFF. The default setting
is ON
4)press ESC (9) to quit the naviga-
tion menu.
fig. 111F0E3072gfig. 110F0E3071g
Page 147 of 202

146
CONNECT NAV
NAVIGATOR
SWITCHING ROUTE TIME
INFORMATION ON AND OFF
This function enables to select the
time required to reach the destination
and the estimated and exact time of
arrival.
Proceed as follows to switch the
route time information on and off:
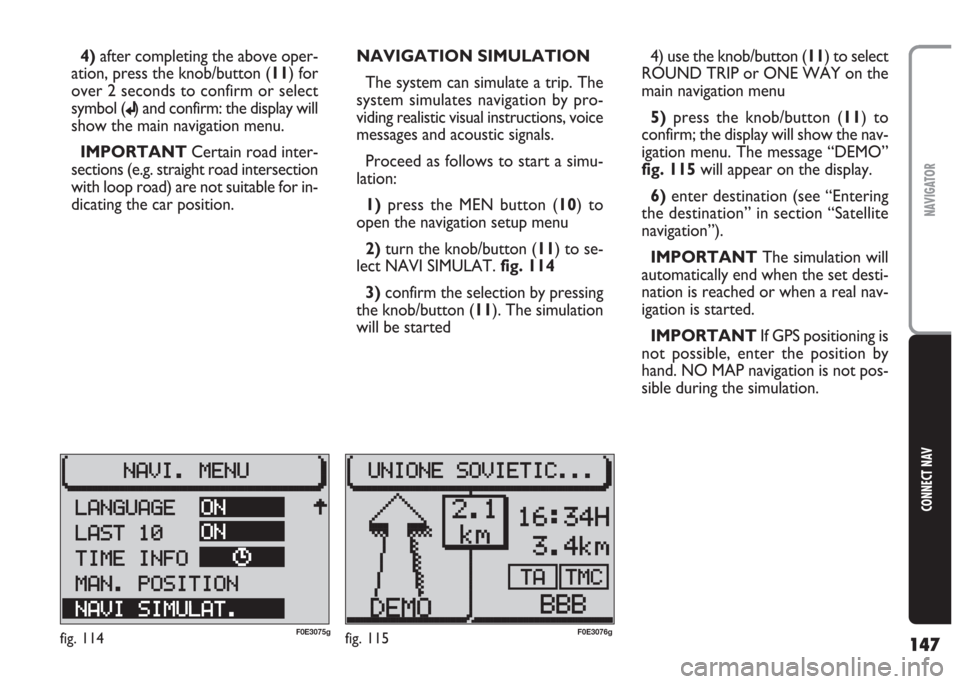
1)press MEN (10) the display will
show the navigation setup menu2) turn the knob/button (11) to se-
lect TIME INFO fig. 112
3)press the knob/button (11) to se-
lect
X(exact time of arrival) Q(time
to reach destination) or R(estimat-
ed time of arrival).
Press ESC (9) to switch the function
off and return to the main navigation
menu.MANUAL POSITION
INDICATION
The system enables to indicate the
current car position manually, when
the GPS signal cannot be received.
Proceed as follows:
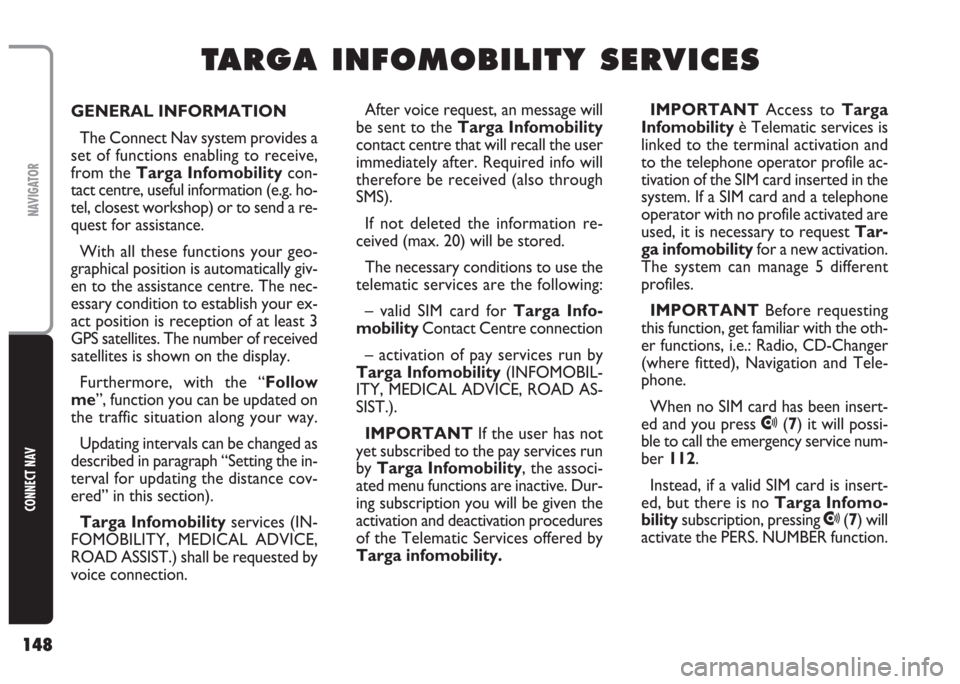
1)press the MEN button (10) to
open the navigation setup menu
2) turn the knob/button (11) to se-
lect MAN. POSITION fig. 113
3)press the knob/button (11) to
confirm, the display will show the edit-
ing menu. Fill in the required data in
the following order: city, street, in-
tersection (see “Entering the destina-
tion name” in section “Satellite navi-
gation”)
fig. 112F0E3073gfig. 113F0E3074g
Page 148 of 202

147
CONNECT NAV
NAVIGATOR
4)after completing the above oper-
ation, press the knob/button (11) for
over 2 seconds to confirm or select
symbol (
j) and confirm: the display will
show the main navigation menu.
IMPORTANT Certain road inter-
sections (e.g. straight road intersection
with loop road) are not suitable for in-
dicating the car position. NAVIGATION SIMULATION
The system can simulate a trip. The
system simulates navigation by pro-
viding realistic visual instructions, voice
messages and acoustic signals.
Proceed as follows to start a simu-
lation:
1)press the MEN button (10) to
open the navigation setup menu
2) turn the knob/button (11) to se-
lect NAVI SIMULAT. fig. 114
3)confirm the selection by pressing
the knob/button (11). The simulation
will be started4) use the knob/button (11) to select
ROUND TRIP or ONE WAY on the
main navigation menu
5) press the knob/button (11) to
confirm; the display will show the nav-
igation menu. The message “DEMO”
fig. 115 will appear on the display.
6)enter destination (see “Entering
the destination” in section “Satellite
navigation”).
IMPORTANT The simulation will
automatically end when the set desti-
nation is reached or when a real nav-
igation is started.
IMPORTANT If GPS positioning is
not possible, enter the position by
hand. NO MAP navigation is not pos-
sible during the simulation.
fig. 114F0E3075gfig. 115F0E3076g
Page 149 of 202

148
CONNECT NAV
NAVIGATOR
GENERAL INFORMATION
The Connect Nav system provides a
set of functions enabling to receive,
from the Targa Infomobilitycon-
tact centre, useful information (e.g. ho-
tel, closest workshop) or to send a re-
quest for assistance.
With all these functions your geo-
graphical position is automatically giv-
en to the assistance centre. The nec-
essary condition to establish your ex-
act position is reception of at least 3
GPS satellites. The number of received
satellites is shown on the display.
Furthermore, with the “Follow
me”, function you can be updated on
the traffic situation along your way.
Updating intervals can be changed as
described in paragraph “Setting the in-
terval for updating the distance cov-
ered” in this section).
Targa Infomobilityservices (IN-
FOMOBILITY, MEDICAL ADVICE,
ROAD ASSIST.) shall be requested by
voice connection. IMPORTANT Access to Targa
Infomobilityè Telematic services is
linked to the terminal activation and
to the telephone operator profile ac-
tivation of the SIM card inserted in the
system. If a SIM card and a telephone
operator with no profile activated are
used, it is necessary to request Tar-
ga infomobilityfor a new activation.
The system can manage 5 different
profiles.
IMPORTANT Before requesting
this function, get familiar with the oth-
er functions, i.e.: Radio, CD-Changer
(where fitted), Navigation and Tele-
phone.
When no SIM card has been insert-
ed and you press
•(7) it will possi-
ble to call the emergency service num-
ber 112.
Instead, if a valid SIM card is insert-
ed, but there is no Targa Infomo-
bilitysubscription, pressing
•(7) will
activate the PERS. NUMBER function.
T T
A A
R R
G G
A A
I I
N N
F F
O O
M M
O O
B B
I I
L L
I I
T T
Y Y
S S
E E
R R
V V
I I
C C
E E
S S
After voice request, an message will
be sent to the Targa Infomobility
contact centre that will recall the user
immediately after. Required info will
therefore be received (also through
SMS).
If not deleted the information re-
ceived (max. 20) will be stored.
The necessary conditions to use the
telematic services are the following:
– valid SIM card for Targa Info-
mobilityContact Centre connection
– activation of pay services run by
Targa Infomobility (INFOMOBIL-
ITY, MEDICAL ADVICE, ROAD AS-
SIST.).
IMPORTANT If the user has not
yet subscribed to the pay services run
by Targa Infomobility, the associ-
ated menu functions are inactive. Dur-
ing subscription you will be given the
activation and deactivation procedures
of the Telematic Services offered by
Targa infomobility.
Page 150 of 202

149
CONNECT NAV
NAVIGATOR
IMPORTANT “112”is the emer-
gency call service for all countries in
which this public service is available.
The “Emergency 112”call can al-
ways be activated, even if the tele-
phone card is not inserted in the slot.
The “Emergency 112” call can be
made at any moment also with the
telephone. The activation of calls for
assistance is subordinate to whether
the cell phone is working and correctly
supplied electrically. Therefore in the
event of accidents or damage to the
car it might not be available. More-
over, you must be in a place covered
by the GSM 900 network and there
should be enough field signal intensity.IMPORTANT Make “112” emer-
gency calls only when there is a real
emergency. Emergency call misuse is
liable to punishment.
After service activation, pressing
•
(7) will display the main Targa Info-
mobility menu with the following op-
tions
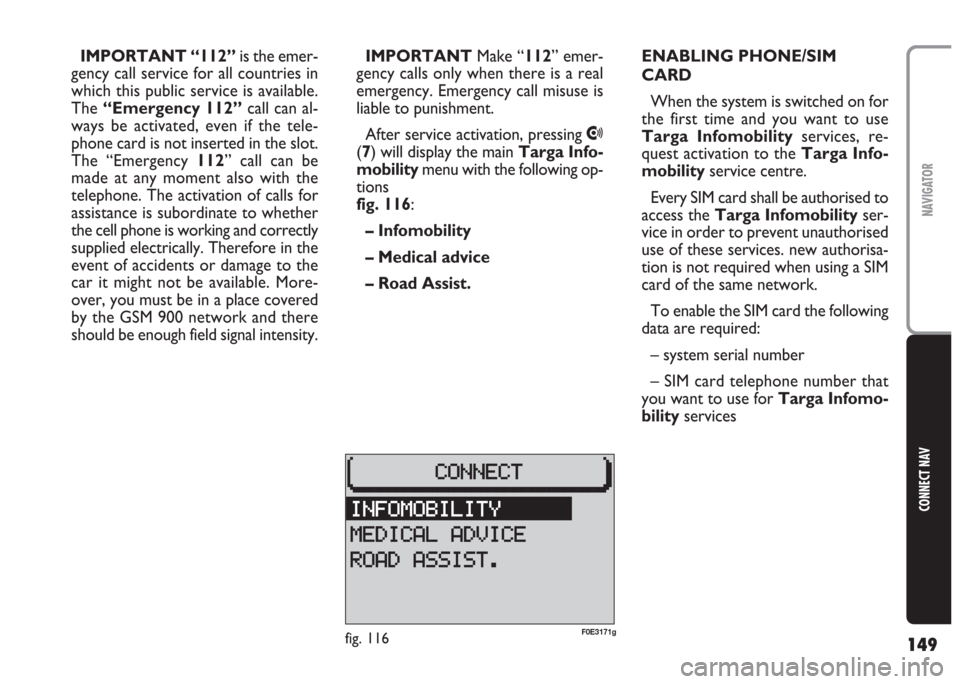
fig. 116:
– Infomobility
– Medical advice
– Road Assist.ENABLING PHONE/SIM
CARD
When the system is switched on for
the first time and you want to use
Targa Infomobilityservices, re-
quest activation to the Targa Info-
mobilityservice centre.
Every SIM card shall be authorised to
access the Targa Infomobilityser-
vice in order to prevent unauthorised
use of these services. new authorisa-
tion is not required when using a SIM
card of the same network.
To enable the SIM card the following
data are required:
– system serial number
– SIM card telephone number that
you want to use for Targa Infomo-
bilityservices
fig. 116F0E3171g
Page 151 of 202

150
CONNECT NAV
NAVIGATOR
ENTERING THE
TARGA INFOMOBILITY
NUMBER
To activate the required functions
and setting the system, proceed as fol-
lows:
1)press
•(7): since the system is
not on yet and no SIM card profile has
been entered, the display will show a
message specifying that after 20 sec-
onds the 112emergency call will be
started.
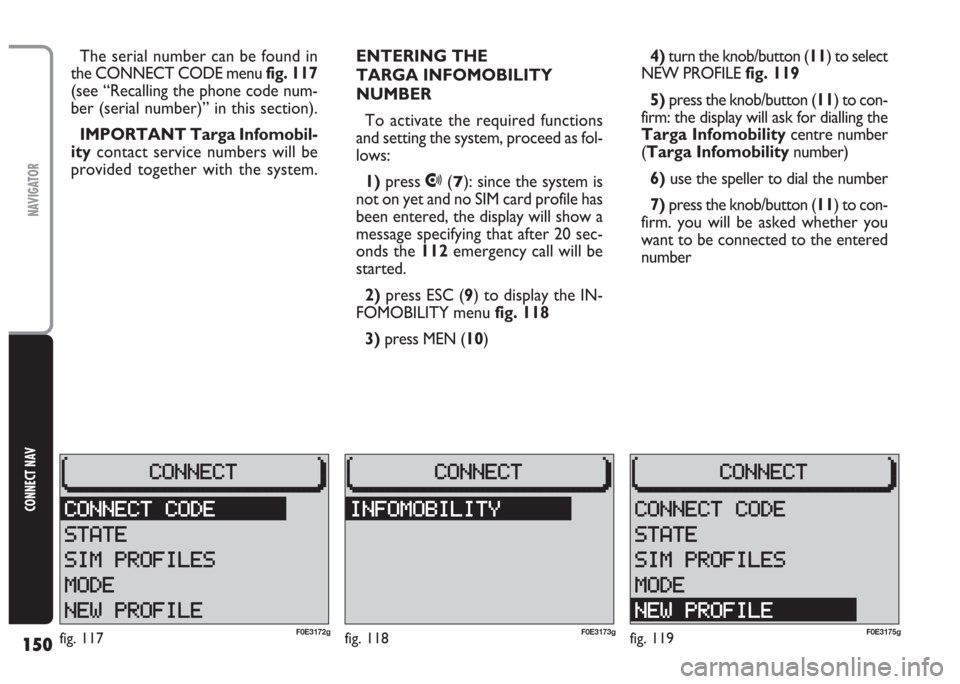
2) press ESC (9) to display the IN-
FOMOBILITY menu fig. 118
3)press MEN (10) The serial number can be found in
the CONNECT CODE menu fig. 117
(see “Recalling the phone code num-
ber (serial number)” in this section).
IMPORTANT Targa Infomobil-
itycontact service numbers will be
provided together with the system.4)turn the knob/button (11) to select
NEW PROFILE fig. 119
5) press the knob/button (11) to con-
firm: the display will ask for dialling the
Targa Infomobilitycentre number
(Targa Infomobilitynumber)
6)use the speller to dial the number
7) press the knob/button (11) to con-
firm. you will be asked whether you
want to be connected to the entered
number
fig. 118F0E3173gfig. 117F0E3172gfig. 119F0E3175g
Page 152 of 202

151
CONNECT NAV
NAVIGATOR
8)press the knob/button (11) to con-
firm and to start a call to Targa In-
fomobility.
Once connected to the Targa In-
fomobility service centre, follow the
operator’s instructions (who will ask
you the system code number and the
SIM card telephone number).
The system will thus be enabled.ENTERING THE PERSONAL
NUMBER
The PERS. NUMBER is the phone
number used by the system when one
of the Targa Infomobility service is
enabled but the SIM card profile or the
operator profile is not enabled yet.
The PERS. NUMBER can also be used
when the Targa Infomobilityser-
vices are disabled but a SIM profile rel-
evant to inserted SIM card is still valid.
This could take place when the User
enables, disables or suspends the Tar-
ga Infomobilityservices. The PERS.
NUMBER can be called anyway.To enter the personal number apply
the following procedure:
1) press
•(7) button
2) press MEN (10) button
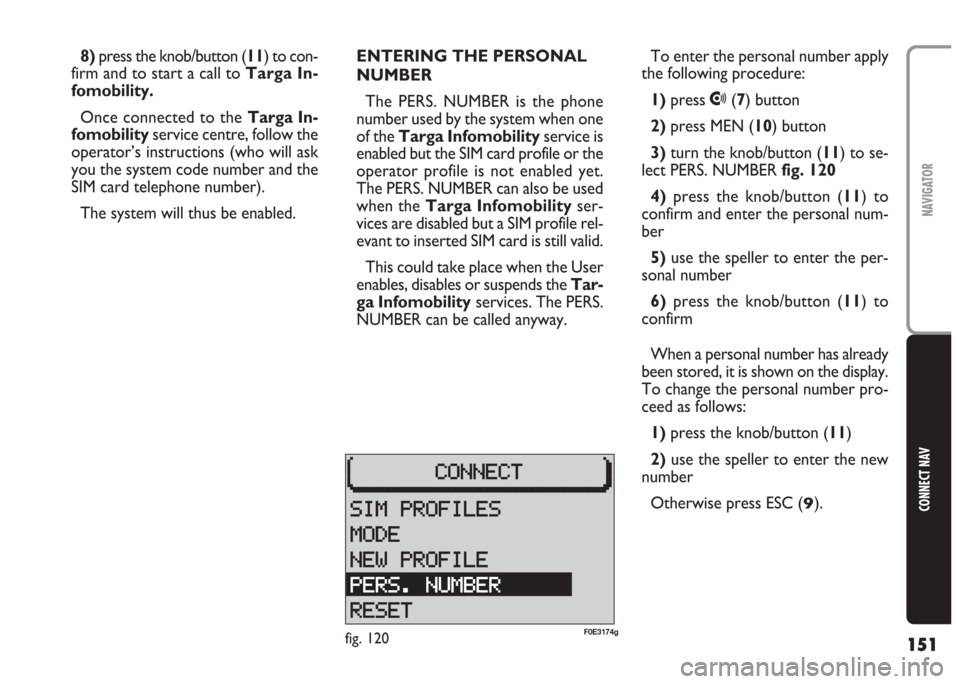
3)turn the knob/button (11) to se-
lect PERS. NUMBER fig. 120
4) press the knob/button (11) to
confirm and enter the personal num-
ber
5)use the speller to enter the per-
sonal number
6) press the knob/button (11) to
confirm
When a personal number has already
been stored, it is shown on the display.
To change the personal number pro-
ceed as follows:
1) press the knob/button (11)
2)use the speller to enter the new
number
Otherwise press ESC (
9).
fig. 120F0E3174g