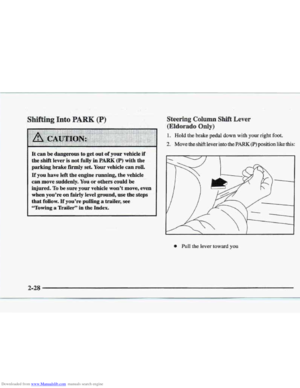
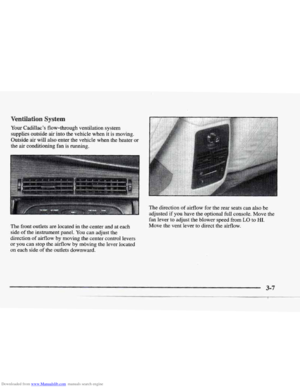
Page 113 of 361
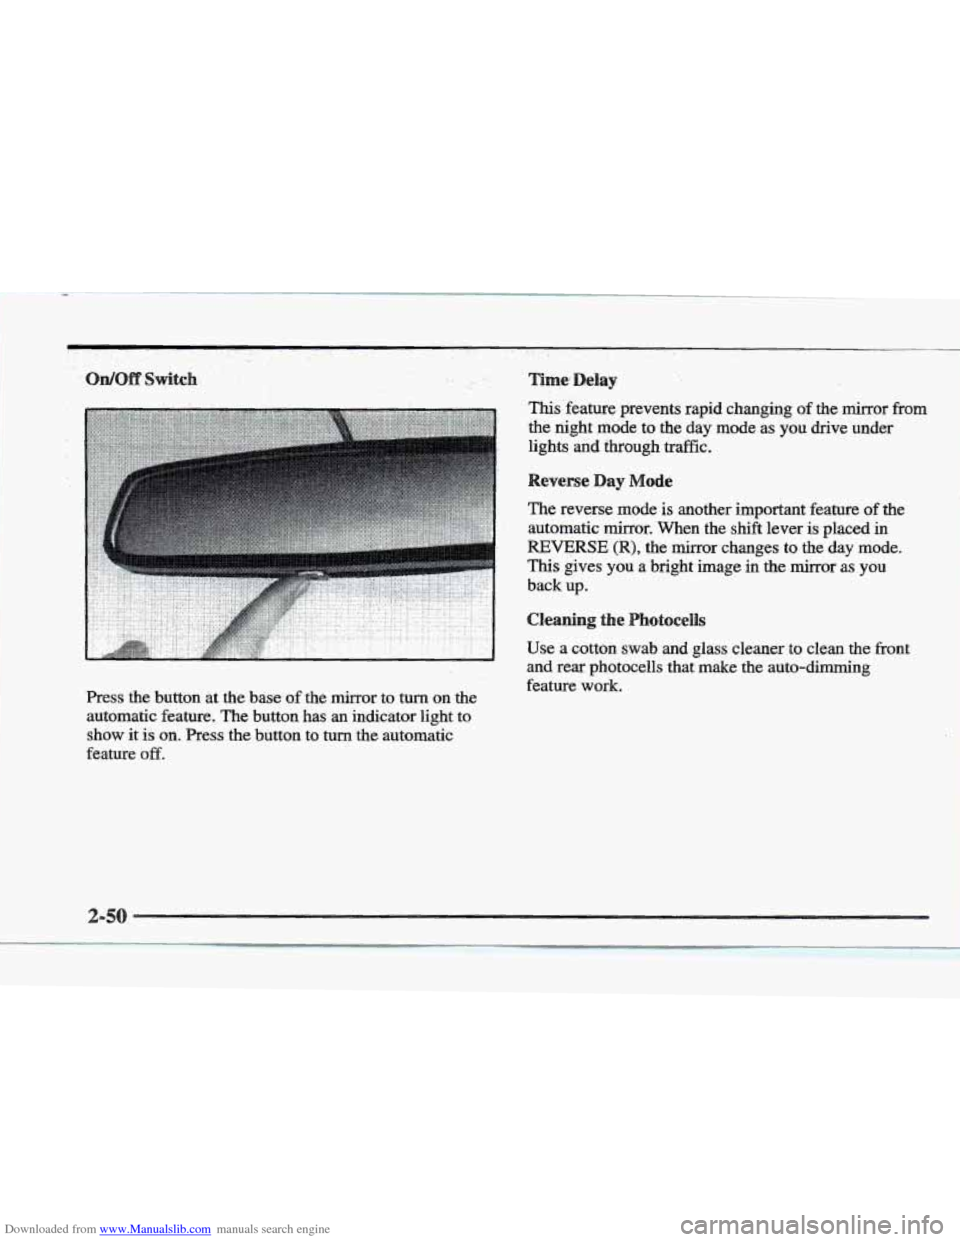
Downloaded from www.Manualslib.com manuals search engine Press the button at the base of the mirror to turn on the
automatic feature. The button
has an indicator light to
show it is on. Press the button to turn the automatic
feature
off.
Time; Delay
This'feature prevents rapid changing of the mirror from
the night mode to the day mode as. you drive under
lights
and through traffic.
Reverse Day Mode
The reverse mode is another important feature of the
automatic mirror. When the
shift lever is placed in
REVERSE (R), the mirror changes to the day mode.
This gives you a bright image in the mirror as you
back up.
Cleaning the Photocellls
Use a cotton swab and glass cleaner to clean the front
and rear photocells that make
the auto-dimming
feature work.
Page 114 of 361
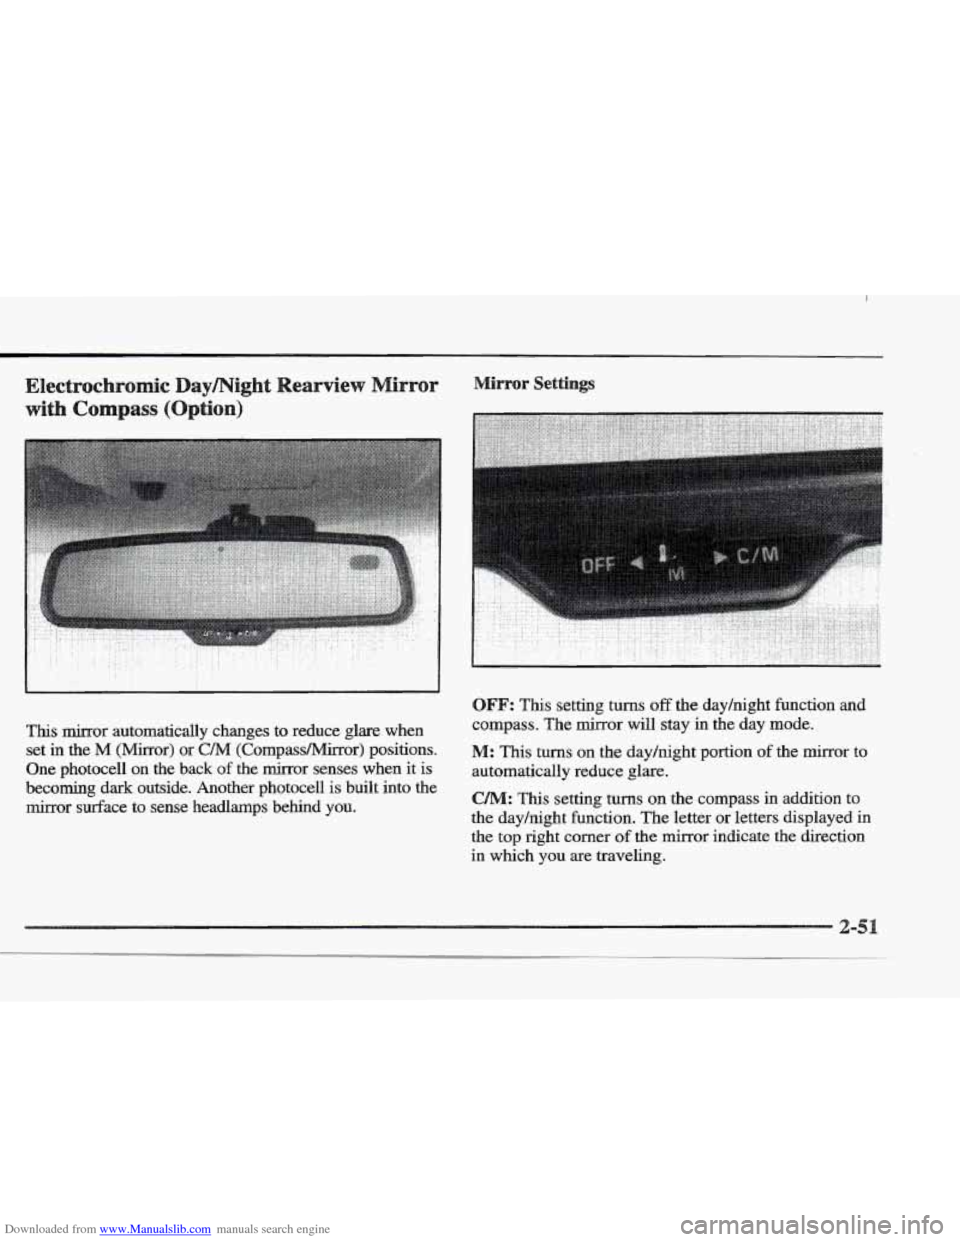
Downloaded from www.Manualslib.com manuals search engine This mirror automatically changes to reduce glare when set
in the M (Mirror) or C/M (Compass/Mirror) positions.
One photocell
on the back of the mirror senses when it is
becoming
dark outside. Another photocell is built into the
mirror surface to sense headlamps behind YOU.
.. :. .. .. ..
. . . . . . . . .. . : ..
OFF: This setting turns off the dayhight function and
compass. The mirror will stay in the day mode.
M: This turns on the dayhight portion of the mirror to
automatically reduce glare.
CAM: This setting turns on the compass in addition to
the day/night function. The letter
or letters displayed in
the
top right corner of the mirror indicate the direction
in which
you are traveling.
Page 115 of 361

Downloaded from www.Manualslib.com manuals search engine This feature prevents rapid changing of the mirror from
the night mode to the day mode as you drive under
lights and through. traffic.
The reverse mode
is another important feature of the
automatic mirror. When the shift lever is placed
in
REVERSE (R), the mirror changes to the'day mode.
This gives you a bright image in the mirror as you
back up.
Cleaning the
Use a cotton swab and glass cleaner to clean the front
and rear photocells that make the auto-dimming
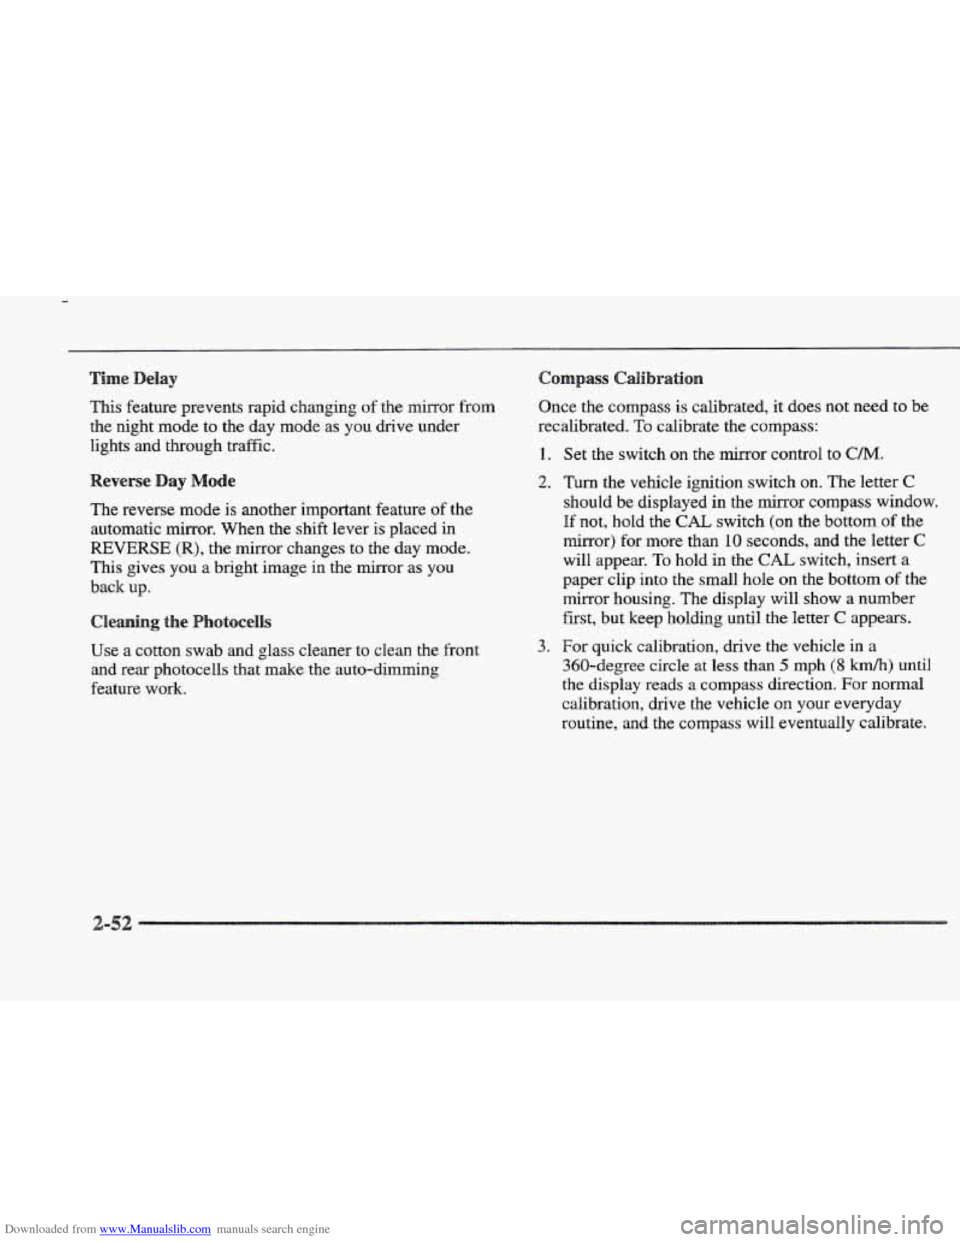
feature work. Once the compass is calibrated,
it does not need
to be
recalibrated.
To calibrate the compass:
1.
2.
3.
Set the switch on the mirror control to C/M.
Turn the vehicle ignition switch on. The letter C
should be displayed in the mirror compass window.
If not, hold the CAL switch (on the bottom of the
mirror) for more than
10 seconds, and the letter C
will appear. To hold in the CAL switch, insert a
paper clip into
the small hole on the bottom of the
mirror housing. The display will show
a number
first, but keep holding until the letter
C appears.
For quick calibration,
drive the vehicle in a
360-degree circle at less than 5 mph (8 krnh) until
the display reads a compass direction. For normal
calibration, drive
the vehicle on your everyday
routine, and the compass will eventually calibrate.
Page 116 of 361
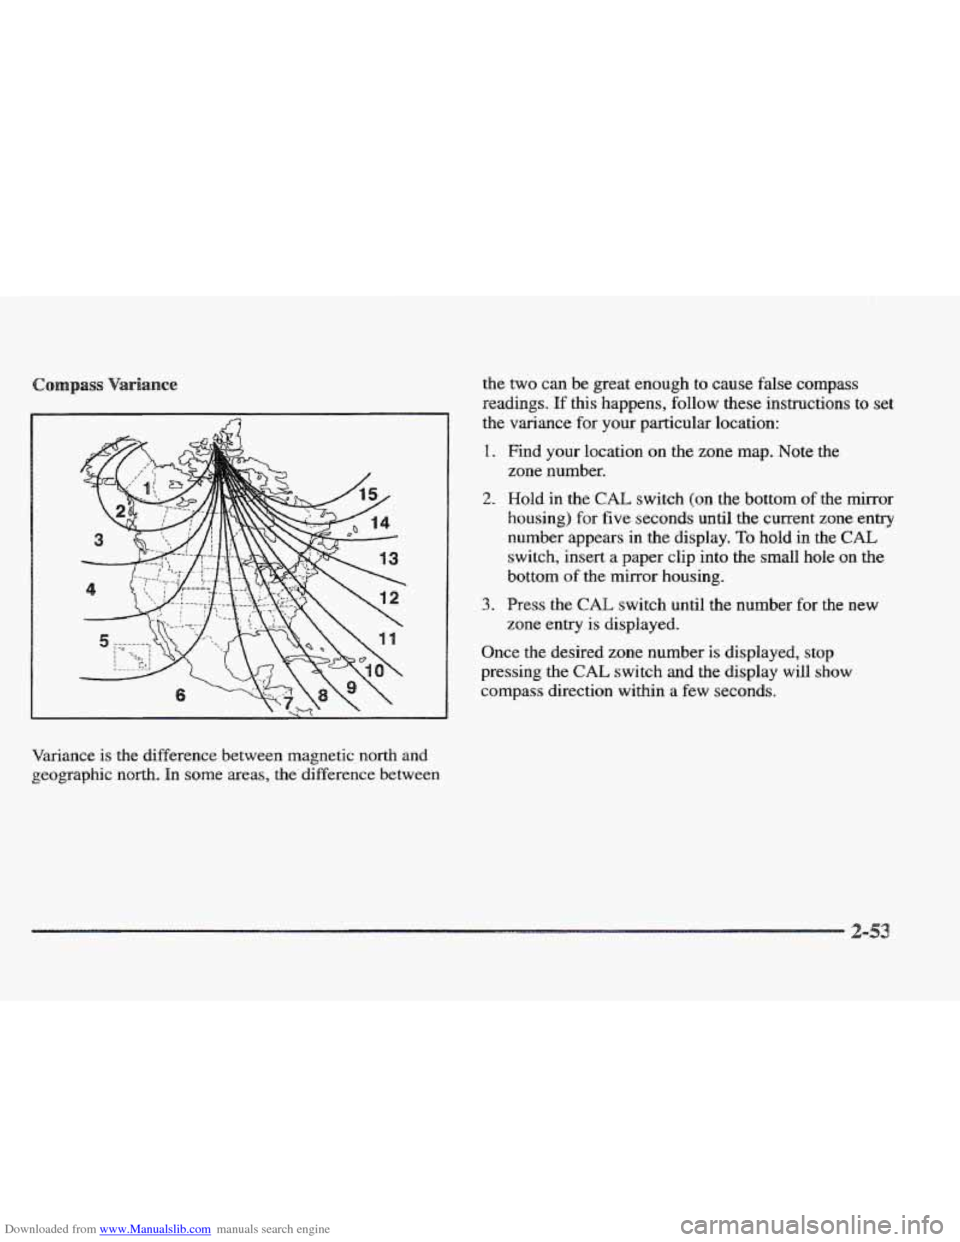
Downloaded from www.Manualslib.com manuals search engine Variance is the difference between magnetic north and
geographic north. In
some areas, the difference between the
two can be great enough
to cause false compass
readings.
If this happens, follow these instructions to set
the variance for your particular location:
1. Find your location on the zone map. Note the
2. Hold in the CAE switch (on the bottom of the mirror
housing) for
five seconds until the current zone entry
number appears in the display.
To hold in the CAL
switch, insert a paper clip into the small hole on the
bottom of the mirror housing.
zone
number.
3. Press the CAL switch until the number for the new
zone entry is displayed.
Once the desired zone number
is displayed, stop
pressing the
CAL switch and the display will show
compass direction within a few seconds.
Page 117 of 361
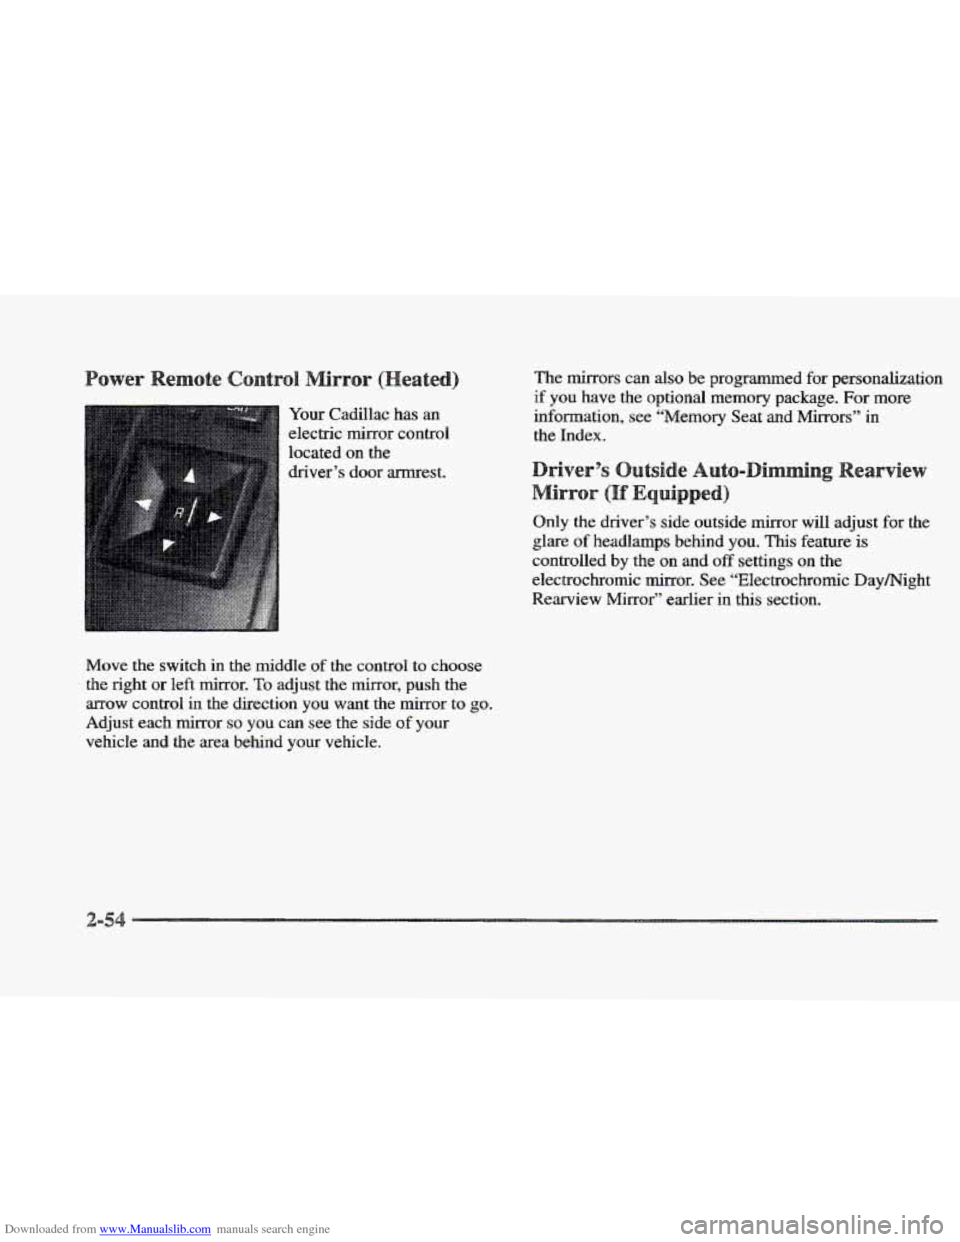
Downloaded from www.Manualslib.com manuals search engine Your Cadillac has an
electric mirror control
located
on the
driver’s door armrest.
Move the switch
in the middle of the control to choose
the right or left
mirror. To adjust the mirror, push the
arrow control in the direction YOU want the mirror to go.
Adjust each mirror so you can see the side of your
vehicle and the area behind your vehicle. The
mirrors can
also be programmed for personalization
if you have the optional memory package. For more
information, see “Memory Seat
and Mirrors” in
the Index.
in
Only the driver’s side outside mirror will adjust for the
controlled by
the on and off settings on the
electrochromic mirror. See “Electrochromic Day/Night
Rearview Mirror” earlier
in this section.
b ulare of headlamps behind you. This feature is
Page 118 of 361
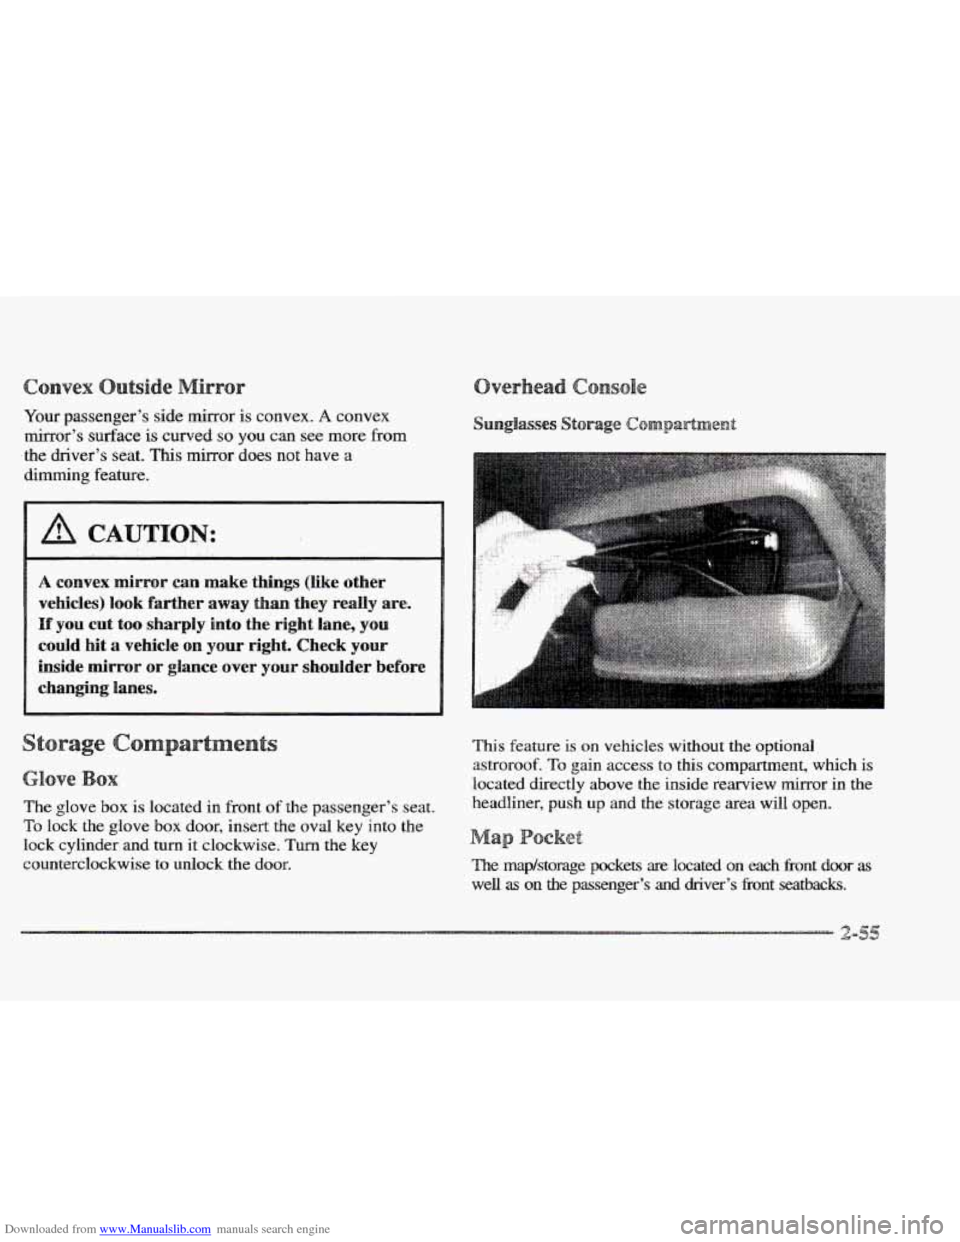
Downloaded from www.Manualslib.com manuals search engine Your passenger’s side mirror is convex. A convex
mirror’s
surface is curved so you can see more from
the driver’s seat.
This mirror does not have a
dimming feature.
vehicles) look farther away than they really are.
If you cut too sharply into the right lane, you
could hit a vehicle on ~QW right. Check your
inside mirror
or glance over shoulder before
e
The glove box is located in front of the passenger’s seat.
To lock the glove box door, insert the oval key into the
lock cylinder and turn it clockwise. Turn
the key
counterclockwise to unlock the
door.
.. ..
This feature is on vehicles without the optional
astroroof.
To gain access to this compartment, which is
located directly above the inside rearview mirror in the
headliner, push
up and the storage area will open.
a
The map/storage pockets are located on each Eront door as
well as on the passenger’s and driver’s fi-ont seatbacks.
Page 119 of 361
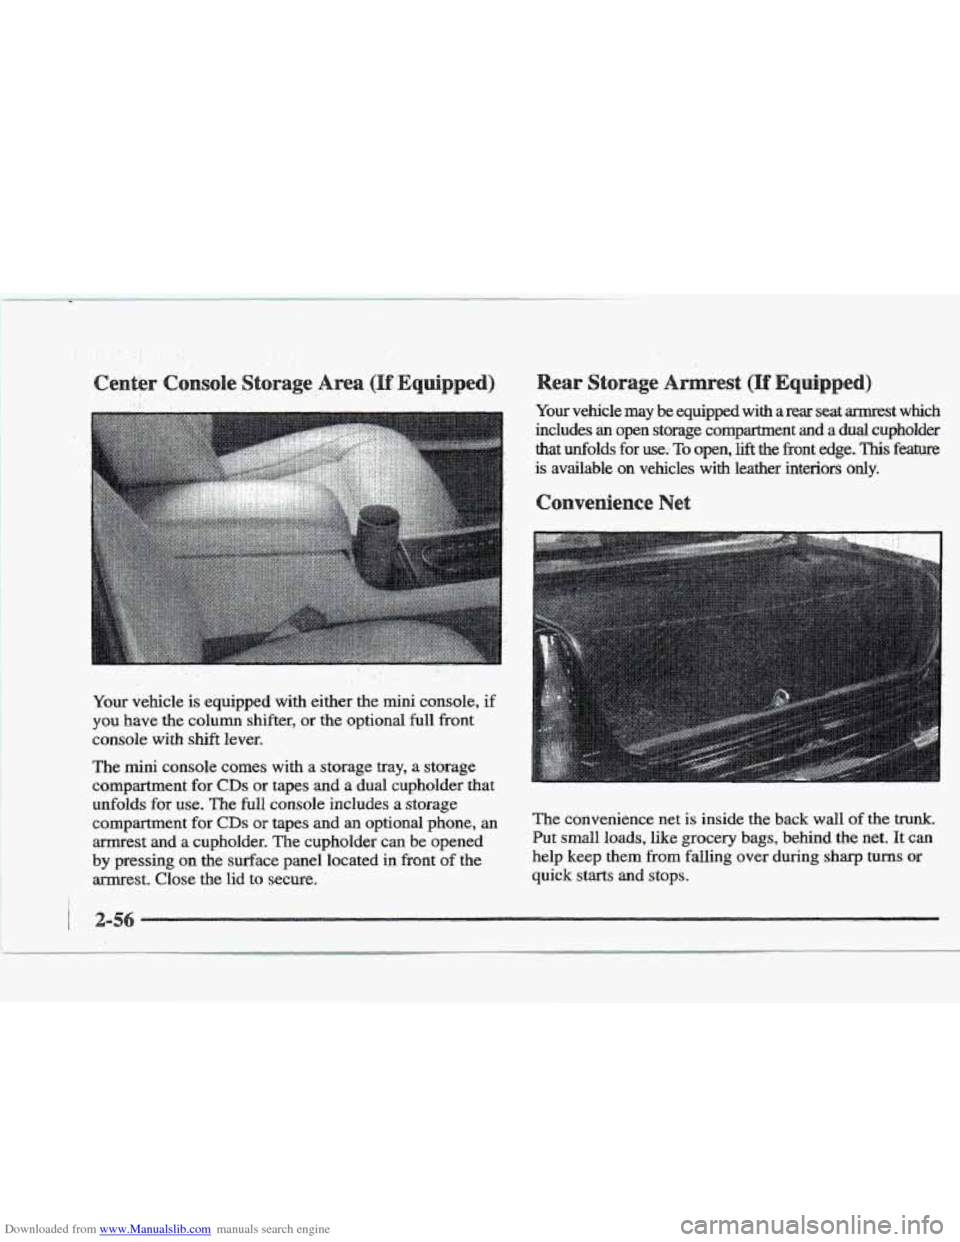
Downloaded from www.Manualslib.com manuals search engine The mini console comes with a storage tray, a storage
compartment for
CDs or tapes and a dual cupholder that
unfolds
for use. The full console includes a storage
compartment
for CD~ or tapes and an optional phone, an The convenience net is inside the back wall Of the trunk.
arrnrest and a cupholder. The cupholder can be opened Put small loads, like grocery bags, behind the net. It can
by pressing on the surface panel located in front of the help keep them from falling over during sharp turns or
armrest. Close the lid to secure. quick starts and stops.
1
Page 120 of 361

Downloaded from www.Manualslib.com manuals search engine The net is not for larger, heavier loads. Store them in the
trunk as far forward as you can. When not using the
net,
hook the net to the tabs securing it to the sill plate.
s s
With the full console, press on the cover, which is
located below the climate control system, to reveal the
front ashtray.
To clean this ashtray, lift it out by gripping
the sides.
If you don’t have a center console, pull the
tray out to reveal
the ashtray. The tray is located beneath
the radio.
TQ clean this ashtray, lift it out by pulling on
the snuffer. If the ashtray will not come out, try reaching
under
it and gently press up on the ashtray bowl to
remove it.
To use the rear ashtray, lift the lid.
Don’t put papers or other flammable items
into your ashtrays.
Hot cigarettes or other
smoking materials could ignite them, causing
a
damaging fire.
The cigarette lighter is located near the ashtray. Press it all
the way in
and release. It will pop back by itself when it’s
ready to light. You may
also have a lighter on the back of
the center console near the
rear seat air outlet.
Note that power to the cigarette lighter will shut
off
10 minutes after the ignition is turned off. This helps
to prevent battery drainage. For more infomation, see
“Inadvertent Power Battery Saver” earlier in tlus section.
Dsn’t hold a cigarette Iighter in with your hand
while
it is heating. If you do, it won’t be able to
back away
from the heating element when it’s
ready. That can make it overheat, damaging the
lighter and the heating element.
Swing down the visor to block out glare. It can also be
detached from the center mount and moved to the side.
The driver’s sunshade is also equipped with a storage
flap that can be used for maps or toll tickets.