Page 1157 of 2543

SPARK PLUGS INSPECTION
NOTICE:
wNever use a wire brush for cleaning.
wNever attempt to adjust the electrode gap on used a spark
plug.
wSpark plugs should be replaced every 100,000 km (60,000
miles).
1. REMOVE IGNITION COILS ASSEMBLIES
(See ignition coils removal)
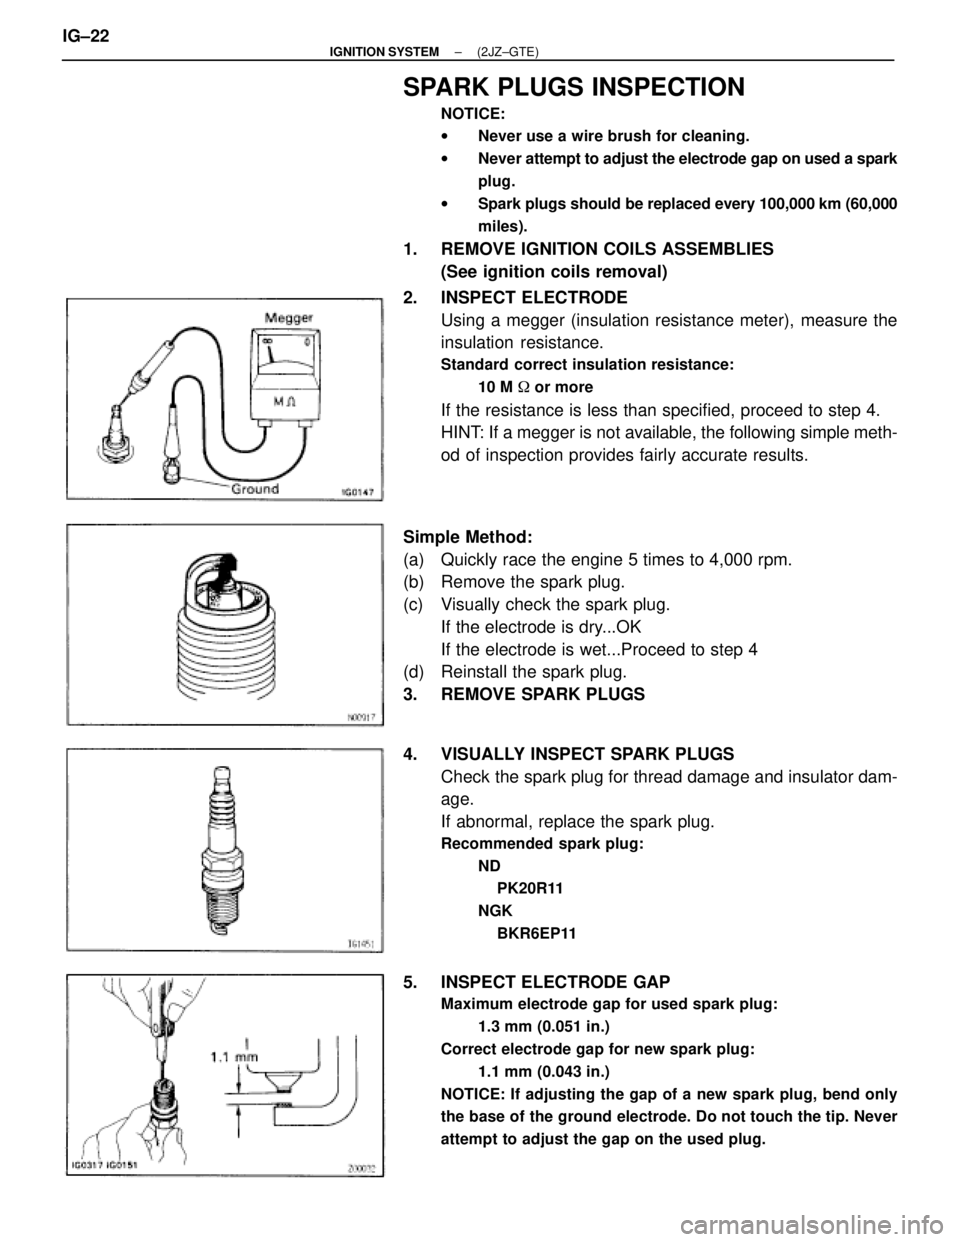
2. INSPECT ELECTRODE
Using a megger (insulation resistance meter), measure the
insulation resistance.
Standard correct insulation resistance:
10 M � or more
If the resistance is less than specified, proceed to step 4.
HINT: If a megger is not available, the following simple meth-
od of inspection provides fairly accurate results.
Simple Method:
(a) Quickly race the engine 5 times to 4,000 rpm.
(b) Remove the spark plug.
(c) Visually check the spark plug.
If the electrode is dry...OK
If the electrode is wet...Proceed to step 4
(d) Reinstall the spark plug.
3. REMOVE SPARK PLUGS
4. VISUALLY INSPECT SPARK PLUGS
Check the spark plug for thread damage and insulator dam-
age.
If abnormal, replace the spark plug.
Recommended spark plug:
ND
PK20R11
NGK
BKR6EP11
5. INSPECT ELECTRODE GAP
Maximum electrode gap for used spark plug:
1.3 mm (0.051 in.)
Correct electrode gap for new spark plug:
1.1 mm (0.043 in.)
NOTICE: If adjusting the gap of a new spark plug, bend only
the base of the ground electrode. Do not touch the tip. Never
attempt to adjust the gap on the used plug.
IG±22± IGNITION SYSTEM(2JZ±GTE)
Page 1158 of 2543

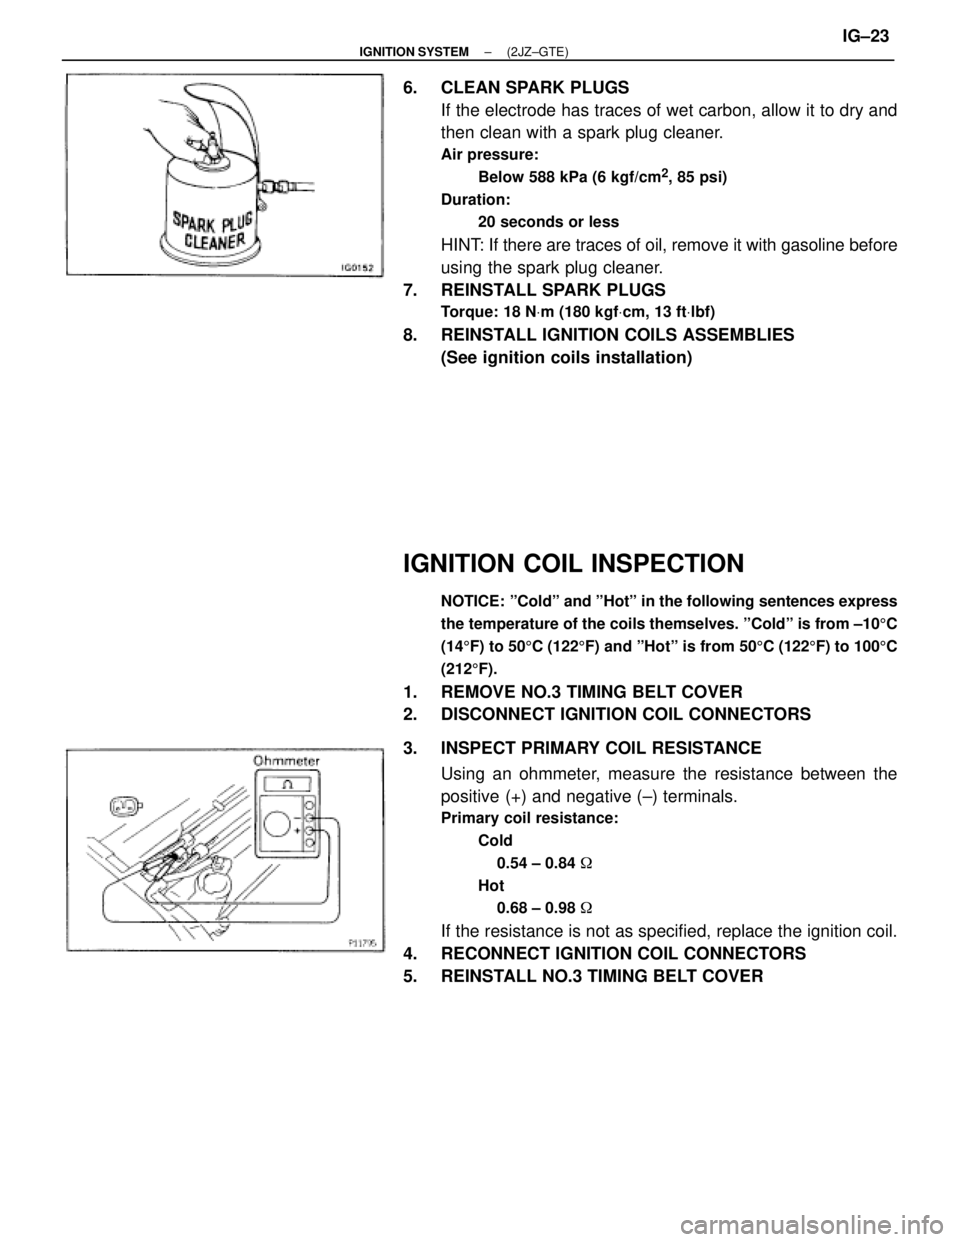
6. CLEAN SPARK PLUGS
If the electrode has traces of wet carbon, allow it to dry and
then clean with a spark plug cleaner.
Air pressure:
Below 588 kPa (6 kgf/cm
2, 85 psi)
Duration:
20 seconds or less
HINT: If there are traces of oil, remove it with gasoline before
using the spark plug cleaner.
7. REINSTALL SPARK PLUGS
Torque: 18 NVm (180 kgfVcm, 13 ftVlbf)
8. REINSTALL IGNITION COILS ASSEMBLIES
(See ignition coils installation)
IGNITION COIL INSPECTION
NOTICE: ºColdº and ºHotº in the following sentences express
the temperature of the coils themselves. ºColdº is from ±105C
(145F) to 505C (1225F) and ºHotº is from 505C (1225F) to 1005C
(2125F).
1. REMOVE NO.3 TIMING BELT COVER
2. DISCONNECT IGNITION COIL CONNECTORS
3. INSPECT PRIMARY COIL RESISTANCE
Using an ohmmeter, measure the resistance between the
positive (+) and negative (±) terminals.
Primary coil resistance:
Cold
0.54 ± 0.84 �
Hot
0.68 ± 0.98 �
If the resistance is not as specified, replace the ignition coil.
4. RECONNECT IGNITION COIL CONNECTORS
5. REINSTALL NO.3 TIMING BELT COVER
± IGNITION SYSTEM(2JZ±GTE)IG±23
Page 1159 of 2543
CAMSHAFT POSITION SENSORS
INSPECTION
NOTICE: ºColdº and ºHotº in the following sentences express
the temperature of the sensors themselves. ºColdº is from
±105C (145F) to 505C (1225F) and ºHotº is from 505C (1225F) to
1005C (2125F).
1. DISCONNECT CAMSHAFT POSITION SENSOR
CONNECTORS
2. INSPECT CAMSHAFT POSITION SENSOR RESISTANCE
Using an ohmmeter, measure the resistance between termi-
nals.
Resistance:
Cold
NIPPONDENSO
835±1,400 �
AISAN
985±1,600 �
Hot
NIPPONDENSO
1,060±1,645 �
AISAN
1,265±1,890 �
If the resistance is not as specified, replace the camshaft
position sensor.
3. RECONNECT CAMSHAFT POSITION SENSOR
CONNECTORS IG±24
± IGNITION SYSTEM(2JZ±GTE)
Page 1160 of 2543
CRANKSHAFT POSITION SENSOR
INSPECTION
NOTICE: ºColdº and ºHotº in the following sentences express
the temperature of the sensors themselves. ºColdº is from
±105C (145F) to 505C (1225F) and ºHotº is from 505C (1225F) to
1005C (2125F).
1. REMOVE NO.2 AIR TUBE FOR CAC
2. DISCONNECT CRANKSHAFT POSITION SENSOR
CONNECTOR
3. INSPECT CRANKSHAFT POSITION SENSOR
RESISTANCE
Using an ohmmeter, measure the resistance between termi-
nals.
Resistance:
Cold
NIPPONDENSO
835±1,400 �
AISAN
985±1,600 �
Hot
NIPPONDENSO
1,060±1,645 �
AISAN
1,265±1,890 �
If the resistance is not as specified, replace the crankshaft
position sensor.
4. RECONNECT CRANKSHAFT POSITION SENSOR
CONNECTOR
5. REINSTALL NO.2 AIR TUBE FOR CAC
IGNITER INSPECTION
(See procedure Spark Test on page IG±22)
± IGNITION SYSTEM(2JZ±GTE)IG±25
Page 1161 of 2543
IGNITION COIL
COMPONENTS FOR REMOVAL AND
INSTALLATION
IGNITION COILS REMOVAL
Installation is in the reverse order of removal.
1. REMOVE NO.3 TIMING BELT COVER
(a) Remove the oil filler cap.
(b) Using a 5 mm hexagon wrench, remove the 10 bolts, belt
cover and gasket.
2. REMOVE PCV HOSES
Remove the 2 PCV hoses.
3. DISCONNECT IGNITION COIL CONNECTORS
(a) Disconnect the engine wire from the 6 clamps on the ignition
coils.
(b) Disconnect the 6 ignition coil connectors. IG±26
± IGNITION SYSTEM2JZ±GTE
Page 1162 of 2543
4. REMOVE BRACKET IGNITION COILS ASSEMBLIES
Remove the 2 bolts and 2 ignition coils assembly.
Torque:
Bracket to cylinder head cover
8.8 NVm (90 kgfVcm, 78 in.Vlbf)
5. REMOVE IGNITION COILS FROM BRACKET
(a) Remove the rubber boot from the ignition coil.
(b) Remove the 2 screws and ignition coil.
± IGNITION SYSTEM(2JZ±GTE)IG±27
Page 1163 of 2543
CAMSHAFT POSITION SENSOR
COMPONENTS FOR REMOVAL AND
INSTALLATION
CAMSHAFT POSITION SENSOR
REMOVAL
Installation is in the reverse order of removal.
1. DISCONNECT IAC VALVE CONNECTOR
2. DISCONNECT AIR HOSE FROM IAC VALVE
3. REMOVE ENGINE HANGER
Remove the 2 bolts, ground strap and engine hanger.
Torque: 39 NVm (400 kgfVcm, 29 ftVlbf)
4. DISCONNECT CAMSHAFT POSITION SENSOR
CONNECTORS
5. REMOVE CAMSHAFT POSITION SENSORS
Remove the 4 bolts, 2 camshaft position sensors and 2 gas-
kets.
Torque: 6.4 NVm (65 kgfVcm, 56 in.Vlbf)
IG±28± IGNITION SYSTEM2JZ±GTE
Page 1164 of 2543
CRANKSHAFT POSITION SENSOR
COMPONENTS FOR REMOVAL AND
INSTALLATION
± IGNITION SYSTEM2JZ±GTEIG±29