Page 185 of 378

9
183
Driving
Visual and audible front and rear parking sensors
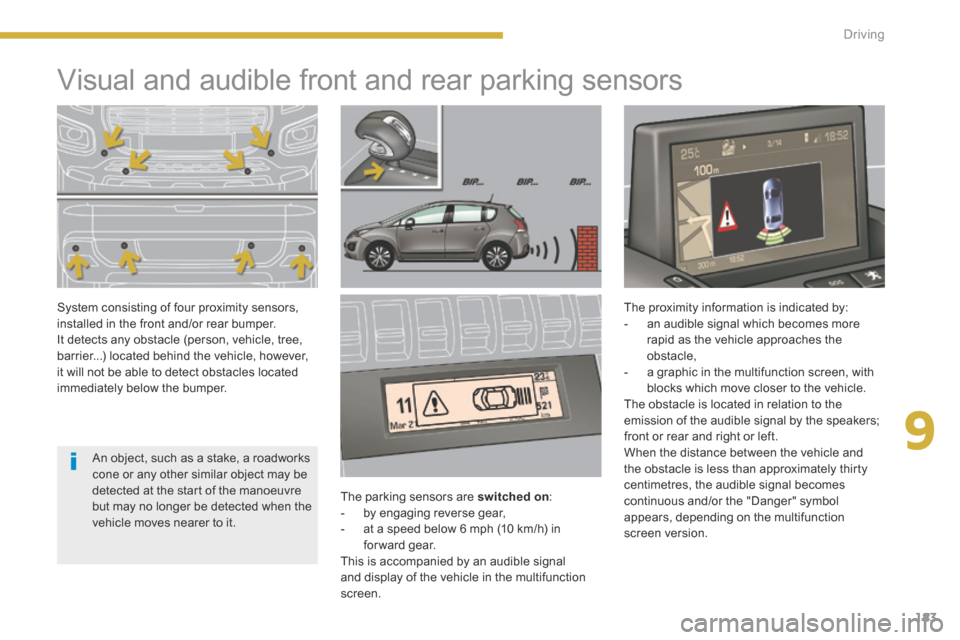
The parking sensors are switched on : - by engaging reverse gear, - at a speed below 6 mph (10 km/h) in forward gear. This is accompanied by an audible signal and display of the vehicle in the multifunction screen.
The proximity information is indicated by: - an audible signal which becomes more rapid as the vehicle approaches the obstacle, - a graphic in the multifunction screen, with blocks which move closer to the vehicle. The obstacle is located in relation to the emission of the audible signal by the speakers; front or rear and right or left. When the distance between the vehicle and the obstacle is less than approximately thirty centimetres, the audible signal becomes continuous and/or the "Danger" symbol appears, depending on the multifunction screen version.
System consisting of four proximity sensors, installed in the front and/or rear bumper. It detects any obstacle (person, vehicle, tree, barrier...) located behind the vehicle, however, it will not be able to detect obstacles located immediately below the bumper.
An object, such as a stake, a roadworks cone or any other similar object may be detected at the start of the manoeuvre but may no longer be detected when the vehicle moves nearer to it.
Page 186 of 378

184Driving
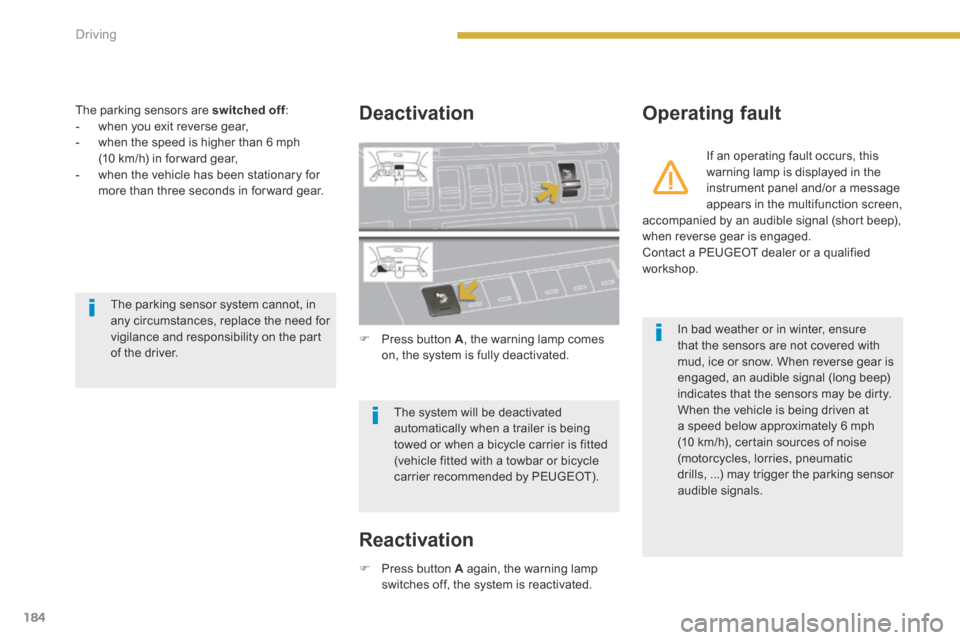
The parking sensors are switched off : switched off : switched off - when you exit reverse gear, - when the speed is higher than 6 mph (10 km/h) in for ward gear, - when the vehicle has been stationary for more than three seconds in for ward gear.
Deactivation
Press button A , the warning lamp comes on, the system is fully deactivated.
Operating fault
If an operating fault occurs, this warning lamp is displayed in the instrument panel and/or a message appears in the multifunction screen, accompanied by an audible signal (short beep), when reverse gear is engaged. Contact a PEUGEOT dealer or a qualified workshop.
The system will be deactivated automatically when a trailer is being
towed or when a bicycle carrier is fitted (vehicle fitted with a towbar or bicycle carrier recommended by PEUGEOT).
In bad weather or in winter, ensure that the sensors are not covered with mud, ice or snow. When reverse gear is engaged, an audible signal (long beep) indicates that the sensors may be dirty. When the vehicle is being driven at a speed below approximately 6 mph (10 km/h), certain sources of noise (motorcycles, lorries, pneumatic drills, ...) may trigger the parking sensor audible signals.
The parking sensor system cannot, in any circumstances, replace the need for vigilance and responsibility on the part of the driver.
Reactivation
Press button A again, the warning lamp switches off, the system is reactivated.
Page 187 of 378
9
185
Driving
Reversing camera
Clean the reversing camera regularly using a sponge and a soft cloth. When cleaning the vehicle with a high pressure jet wash, keep the end of the lance at least 30 cm from the camera.
This system is a driving aid that does not replace the vigilance or the responsibility of the driver, who must remain in control of the vehicle at all times.
A reversing camera is activated automatically when reverse gear is engaged. The colour image from the rear of the vehicle is
provided in the navigation screen.
Depending on version, coloured lines are also displayed in the screen: - The green lines represent the general direction of the vehicle. - The red lines represent around 30 cm beyond the limit of your vehicle's rear bumper. The audible signal becomes continuous from this limit.
- The blue lines represent the maximum turning circle.
Page 188 of 378

186Driving
Parking space sensors
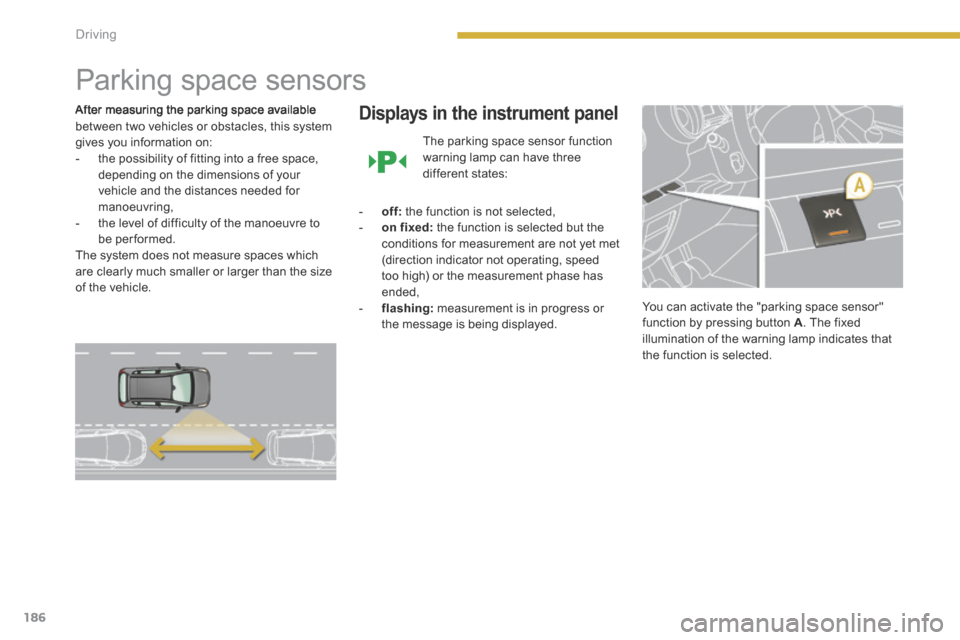
After measuring the parking space available between two vehicles or obstacles, this system gives you information on: - the possibility of fitting into a free space, depending on the dimensions of your vehicle and the distances needed for manoeuvring, - the level of difficulty of the manoeuvre to be performed. The system does not measure spaces which are clearly much smaller or larger than the size of the vehicle.
Displays in the instrument panel
The parking space sensor function warning lamp can have three different states:
- off: the function is not selected, - on fixed: the function is selected but the conditions for measurement are not yet met (direction indicator not operating, speed too high) or the measurement phase has ended, - flashing: measurement is in progress or the message is being displayed.
You can activate the "parking space sensor" function by pressing button A. The fixed illumination of the warning lamp indicates that the function is selected.
Page 189 of 378

9
187
Driving
Operation
You have identified a parking space: Press button A to activate the function. Activate the direction indicator on the side where the space is to be measured. During the measuring, go for ward the length of the space, at a speed less than 12 mph (approximately 20 km/h), to prepare for your manoeuvre. The system then measures the size of the space. The system informs you of the level of difficulty of the manoeuvre via a message in the multifunction screen accompanied by an audible signal.
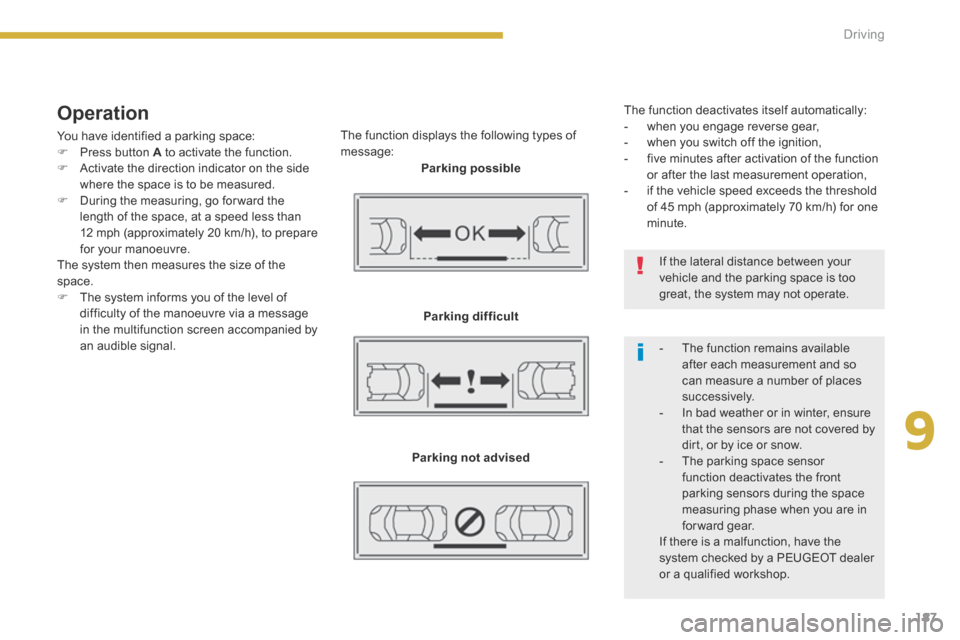
The function displays the following types of message:
Parking possible
Parking difficult
Parking not advised
The function deactivates itself automatically: - when you engage reverse gear, - when you switch off the ignition, - five minutes after activation of the function or after the last measurement operation, - if the vehicle speed exceeds the threshold of 45 mph (approximately 70 km/h) for one minute.
- The function remains available after each measurement and so can measure a number of places su c c e s s i ve l y. - In bad weather or in winter, ensure that the sensors are not covered by dirt, or by ice or snow. - The parking space sensor function deactivates the front parking sensors during the space measuring phase when you are in forward gear.
If there is a malfunction, have the system checked by a PEUGEOT dealer or a qualified workshop.
If the lateral distance between your vehicle and the parking space is too great, the system may not operate.
Page 190 of 378
Checks
188
PEUGEOT & TOTAL
Partners in performance and
protection of the environment
Innovation at the service of performance
The TOTAL Research and Development teams develop lubricants for PEUGEOT which satisfy the requirements of the latest technical innovations incorporated in PEUGEOT vehicles. This ensures that you obtain the best per formance and the maximum engine life.
Reduced exhaust emissions
TOTAL lubricants are formulated to optimise the efficiency of engines and the protection of the emissions post-treatment systems. It is crucial to observe the servicing recommendations made by PEUGEOT to ensure correct operation.
RECOMMENDSRECOMMENDS
Page 191 of 378

10
Checks189
Bonnet
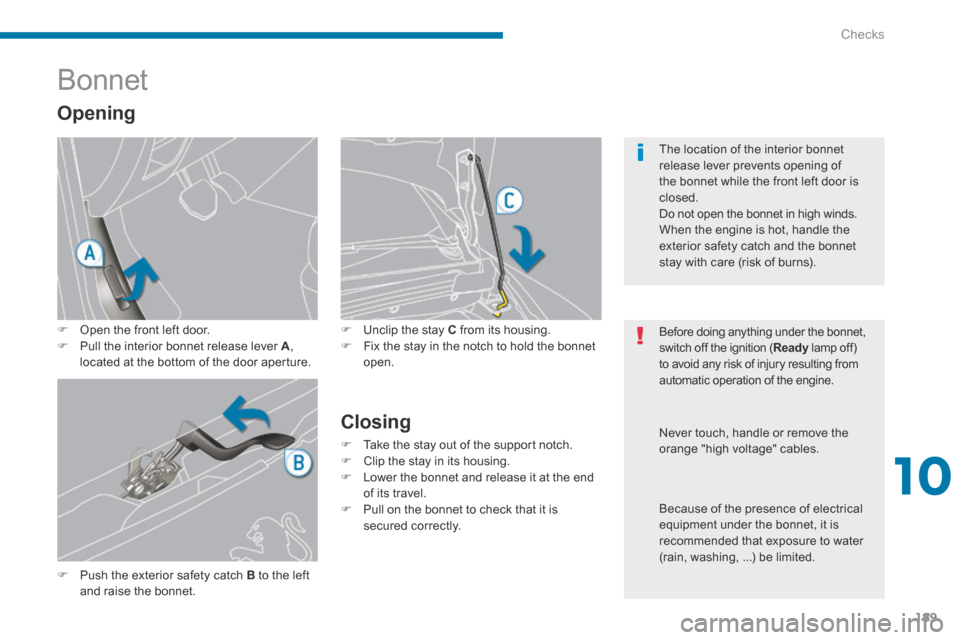
Unclip the stay C from its housing. Fix the stay in the notch to hold the bonnet open.
Closing
Take the stay out of the support notch. Clip the stay in its housing. Lower the bonnet and release it at the end of its travel. Pull on the bonnet to check that it is secured correctly.
Opening
Open the front left door. Pull the interior bonnet release lever A , located at the bottom of the door aperture.
Before doing anything under the bonnet, switch off the ignition ( Ready lamp off) Ready lamp off) Readyto avoid any risk of injury resulting from automatic operation of the engine.
The location of the interior bonnet release lever prevents opening of the bonnet while the front left door is closed. Do not open the bonnet in high winds.
When the engine is hot, handle the exterior safety catch and the bonnet stay with care (risk of burns).
Push the exterior safety catch B to the left and raise the bonnet.
Never touch, handle or remove the orange "high voltage" cables.
Because of the presence of electrical equipment under the bonnet, it is
recommended that exposure to water (rain, washing, ...) be limited.
Page 192 of 378

Checks
190
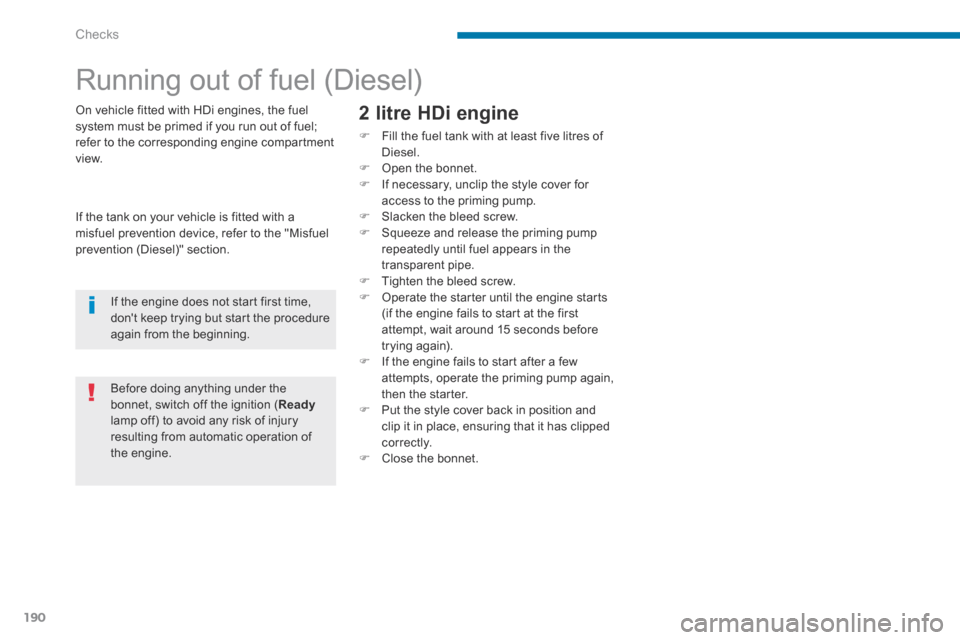
Running out of fuel (Diesel)
2 litre HDi engine
Fill the fuel tank with at least five litres of Diesel. Open the bonnet. If necessary, unclip the style cover for access to the priming pump. Slacken the bleed screw. Squeeze and release the priming pump repeatedly until fuel appears in the transparent pipe. Tighten the bleed screw. Operate the starter until the engine starts (if the engine fails to start at the first attempt, wait around 15 seconds before trying again). If the engine fails to start after a few attempts, operate the priming pump again, then the starter. Put the style cover back in position and clip it in place, ensuring that it has clipped
c o r r e c t l y. Close the bonnet.
On vehicle fitted with HDi engines, the fuel system must be primed if you run out of fuel; refer to the corresponding engine compartment view.
If the tank on your vehicle is fitted with a
misfuel prevention device, refer to the "Misfuel prevention (Diesel)" section.
Before doing anything under the bonnet, switch off the ignition ( Readylamp off) to avoid any risk of injury resulting from automatic operation of the engine.
If the engine does not start first time, don't keep trying but start the procedure again from the beginning.