Page 273 of 377

NOTE
l On
vehicles with
keyless entry system, when
the ignition key is removed with the doors
and the backdoor closed, the lamp is illumi-
nated for 15 seconds, then goes off.
The dimming period is also adjustable.
For further information, we recommend you
to consult a MITSUBISHI MOTORS Author-
ized Service Point.
3 ( ) -
The lamp goes off.
Foot lamps and ceiling lamp E00726600262
The front foot lamps (A), rear foot lamp (B) and
ceiling lamp (C)
operate when the interior lamp
switch is in the “DOOR” position.
The lamps go on in case of the followings:
l Any of the doors or the backdoor is opened.
l The ignition switch is turned to the “ON” po-
sition.
l All doors and backdoor are unlocked using
the central door lock function or the keyless
entry system (if so equipped).
Front foot lamps*
Rear foot lamp*
Ceiling lamp (Type 1)
Ceiling lamp (Type 2) NOTE
l When
the ignition
switch is turned from the
“ON” position to the “ACC” or “LOCK” po-
sition, the lamps illuminate for 15 seconds
and then go off.
l All doors and backdoor are unlocked using
the central door lock function or the keyless
entry system (if so equipped), the lamps illu-
minate for 15 seconds and then go off.
l When any of the doors or the backdoor is
opened without the ignition switch in the
“ON” position, the lamps illuminate. When it
is closed, the lamps stay on for 30 seconds
and then go off.
However, the lamps go off immediately
when all doors are closed and locked using
the central door lock function or the keyless
entry system (if so equipped).
l If you want to go off the foot lamps and ceil-
ing lamp while driving, select the interior
lamp switch in the “ ” position.For pleasant driving
5-90
5
OBKE12E1
Page 274 of 377

Door courtesy lamps
E00717500047
Each door courtesy
lamp illuminates when the rele-
vant door is opened and goes off when the door is
closed.
Front
Rear (5-door models) Lamps (room lamps, etc.) auto-cutout
function (Vehicles with keyless entry
system)
E00712900831
If any of
the interior lamps are left switched on
with the ignition switch in any position other than
“ON” or “ACC”, it goes off automatically after ap-
proximately 30 minutes.
The lamp goes on again if the ignition switch is
turned to the “ON” or “ACC” position, any door or
backdoor is opened and closed, or the keyless entry
remote control is operated.
NOTE
l The interior lamp auto-cut function period
can be adjusted or deactivated. We recom-
mend you to consult a MITSUBISHI
MOTORS Authorized Service Point for de-
tailed information and assistance. Storage spaces
E00713100885 CAUTION
l
Never leave
lighters,
cans of carbonated
drink, and spectacles in the cabin when
parking the vehicle in hot sunshine. The
cabin will become extremely hot, so light-
ers and other flammable items may catch
fire and unopened drink cans (including
beer cans) may rupture. The heat may al-
so deform or crack plastic spectacle len-
ses and other spectacle parts that are
made of plastic.
l Keep the lids of storage spaces closed
while driving the vehicle. A lid or the con-
tents of a storage space could otherwise
cause injuries.
NOTE l Do
not leave
valuables in any storage space
when leaving the vehicle. For pleasant driving
5-91 5
OBKE12E1
Page 275 of 377

1- Sunglasses holder*
2- Glove box
3-
Accessory box*
4-
Centre console box
5- Side box*
6- Luggage floor box
Glove box E00717601162
The glove box can be locked and unlocked using
the key. 1- To lock
2- To unlock
3-
To open, pull the lever NOTE
l When
the lamp
switch is in the “ ” or
“ ” position, the lower glove box lamp illu-
minates.
l The Auxiliary
Audio connector (RCA) (A)
or the Auxiliary Video connector (RCA) (A)
is located in the glove box (if so equipped).
For details, refer to “To use the external au-
dio input function” on page 5-56.
l The USB input terminal (B) is located in the
glove box (if so equipped). For details, refer
to “USB input terminal” on page 5-82.
l Small articles can be stored in the upper area
(C) of the glove box. Centre console box
E00722600105
Upper and lower boxes are located inside the cen-
tre console box. The centre console box can also be used as an arm-
rest. Refer to “Armrest” on page 2-08.
1- Upper box
2- Lower box
Upper box
To open
the upper box, lift the left upper release lev-
er (A) and raise the lid. For pleasant driving
5-92
5
OBKE12E1
Page 276 of 377
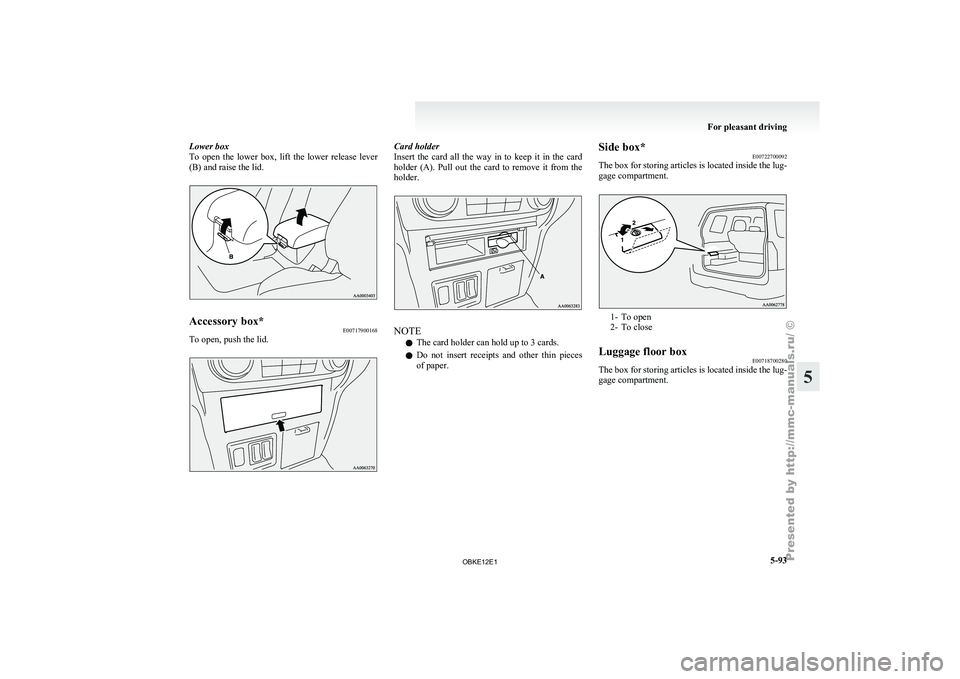
Lower box
To open the
lower box, lift the lower release lever
(B) and raise the lid. Accessory box*
E00717900168
To open, push the lid. Card holder
Insert the card
all the way in to keep it in the card
holder (A). Pull out the card to remove it from the
holder. NOTE
l The card holder can hold up to 3 cards.
l Do
not insert
receipts and other thin pieces
of paper. Side box*
E00722700092
The box for
storing articles is located inside the lug-
gage compartment. 1- To open
2- To close
Luggage floor box E00718700280
The box
for storing articles is located inside the lug-
gage compartment. For pleasant driving
5-93 5
OBKE12E1
Page 277 of 377
3-door models
To use the
box, raise the luggage floor board by pull-
ing up on the strap (A). 5-door models
To use the box, raise the luggage floor board.
NOTE
l On 5-door
models, the
luggage floor board
can be removed. This is useful for storing
large articles. Sunglasses holder*
E00718600322
To open, push the lid. CAUTION
l
The holder
should
not be used to store any-
thing heavier than sunglasses. These ob-
jects could drop out.
NOTE l The
holder may
not be able to accommodate
every possible size and shape of sunglasses;
it is advisable to check compatibility before
use. Cup holder
E00714500408 CAUTION
l
Do not
drink
beverages while driving the
vehicle; doing so could distract you and
result in an accident.
For the front seat
The cup holder
is located in front of the centre con-
sole box. For pleasant driving
5-94
5
OBKE12E1
Page 278 of 377
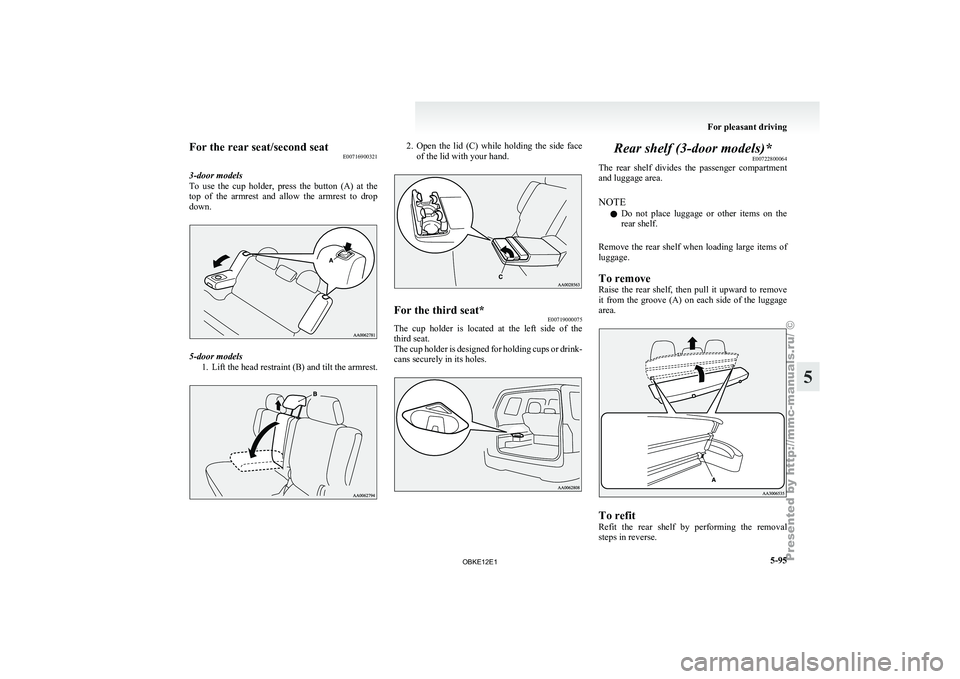
For the rear seat/second seat
E00716900321
3-door models
To use the
cup holder, press the button (A) at the
top of the armrest and allow the armrest to drop
down. 5-door models
1. Lift the head
restraint (B) and tilt the armrest. 2. Open the lid (C) while holding the side face
of the lid with your hand. For the third seat*
E00719000075
The cup holder is located at the left side of the
third seat.
The cup holder
is designed for holding cups or drink-
cans securely in its holes. Rear shelf (3-door models)*
E00722800064
The rear shelf
divides the passenger compartment
and luggage area.
NOTE
l Do not place luggage or other items on the
rear shelf.
Remove the rear shelf when loading large items of
luggage.
To remove
Raise the rear shelf, then pull it upward to remove
it from the groove (A) on each side of the luggage
area. To refit
Refit the rear
shelf by performing the removal
steps in reverse. For pleasant driving
5-95 5
OBKE12E1
Page 279 of 377
Cargo area cover (5-door
models)* E00715500421
The cargo area
cover divides the passenger compart-
ment and cargo area.
NOTE
l Do not put luggage on the cover.
To remove 1. Unhook the hooks (A) on the cover from themounting grooves (B) on the side of the car-
go area, and the cover will be rolled back in-
to the retracted position. 2. Pull up the cargo area cover (C) from the
mounting grooves (D). To refit
Refit the cover
by performing the removal steps in
reverse.
NOTE
l Gently shake the entire cover after fitting it
to make sure it is securely retained. Convenient hooks (5-door
models)* E00715600129
There are four
hooks (A) on the side of the luggage
compartment.
Light items of luggage can be hung from the hook. NOTE
l Do
not hang
heavy luggage (more than about
4 kg) on the hook.
Doing so could cause damage to the hook. For pleasant driving
5-96
5
OBKE12E1
Page 280 of 377
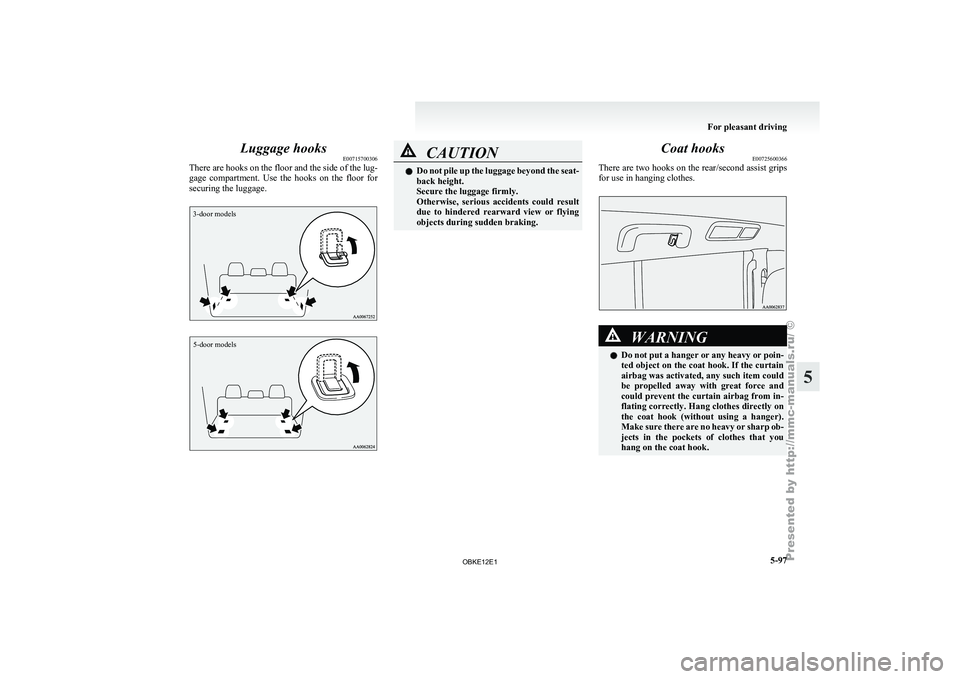
Luggage hooks
E00715700306
There are hooks
on the floor and the side of the lug-
gage compartment. Use the hooks on the floor for
securing the luggage.
3-door models
5-door models CAUTION
l
Do not pile
up the luggage beyond the seat-
back height.
Secure the luggage firmly.
Otherwise, serious accidents could result
due to hindered rearward view or flying
objects during sudden braking. Coat hooks
E00725600366
There are two
hooks on the rear/second assist grips
for use in hanging clothes. WARNING
l Do not
put
a hanger or any heavy or poin-
ted object on the coat hook. If the curtain
airbag was activated, any such item could
be propelled away with great force and
could prevent the curtain airbag from in-
flating correctly. Hang clothes directly on
the coat hook (without using a hanger).
Make sure there are no heavy or sharp ob-
jects in the pockets of clothes that you
hang on the coat hook. For pleasant driving
5-97 5
OBKE12E1