2006 DODGE RAM SRT-10 lock
[x] Cancel search: lockPage 727 of 5267

4.S/C SWITCH (RESUME/ACCEL)
Turn the ignition off.
Disconnect the S/C RESUME/ACCEL Switch harness connector.
NOTE: Check connectors - Clean/repair as necessary.
Ignition on, engine not running.
With the scan tool in Sensors, read the S/C Switch volts in the ECM.
Did the S/C Switch volts go above 4.0 volts?
Ye s>>
Replace the Resume/Accel Switch.
Perform POWERTRAIN VERIFICATION TEST VER - 1 (DIESEL). (Refer to 8 - ELECTRICAL/ELEC-
TRONIC CONTROL MODULES/ENGINE CONTROL MODULE - DIAGNOSIS AND TESTING)
No>>
Go To 5
5.CLOCKSPRING SHORTED TO GROUND
Turn the ignition off.
Disconnect the clockspring6-way harness connector (instrument panel
wiring side).
Turn the ignition on.
With the scan tool in Sensors, read the S/C Switch volts in the ECM.
Did the S/C Switch volts change to 5.0 volts?
Ye s>>
Replace the Clockspring.
Perform POWERTRAIN VERIFICATION TEST VER - 1
(DIESEL). (Refer to 8 - ELECTRICAL/ELECTRONIC CON-
TROL MODULES/ENGINE CONTROL MODULE - DIAG-
NOSIS AND TESTING)
No>>
Go To 6
6.S/C SWITCH SIGNAL CIRCUIT SHORTED TO GROUND
Turn the ignition off.
Disconnect the S/C ON/OFF Switch harness connector.
Disconnect the ECM harness connectors.
NOTE: Check connectors - Clean/repair as necessary.
Measure the resistance between the S/C Switch Signal circuit and
ground (B-) at S/C ON/OFF Switch harness connector.
Is the resistance below 5.0 ohms?
Ye s>>
Repair S/C Switch Signal Circuit for a short to ground.
Perform POWERTRAIN VERIFICATION TEST VER - 1
(DIESEL). (Refer to 8 - ELECTRICAL/ELECTRONIC CON-
TROL MODULES/ENGINE CONTROL MODULE - DIAG-
NOSIS AND TESTING)
No>>
Go To 7
Page 730 of 5267

When Monitored:
Key on or Engine running.
Set Condition:
Speed Control MUX switch above 11.5 volts for 5 seconds.
Possible Causes
S/C WIRING HARNESS OBSERVABLE PROBLEM
CLOCKSPRING SIGNAL/GROUND CIRCUIT OPEN
SPEED CONTROL ON/OFF SWITCH
S/C SWITCH SIGNAL CKT SHORTED TO VOLTAGE
S/C SWITCH SIGNAL CIRCUIT OPEN ECM TO CLOCK SPRING
S/C SWITCH SIGNAL CIRCUIT OPEN CLOCKSPRING TO S/C SWITCH
S/C SWITCH GROUND CIRCUIT OPEN CLOCKSPRING TO S/C SWITCH
S/C SWITCH GROUND CIRCUIT OPEN ECM TO CLOCKSPRING
ECM
Always perform the Pre-Diagnostic Troubleshooting procedure before proceeding. (Refer to 9 - ENGINE -
DIAGNOSIS AND TESTING)
Diagnostic Test
1.Scan tool SHOWS SPEED CONTROL SWITCH ON/OFF
Turn the ignition on.
With the scan tool in Inputs/Outputs, read the Speed Control inputs state inECM.
While monitoring the scan tool, push the Speed Control On/Off Switch several times, then leave it on.
Did the scan tool show Speed Control Switch off and on?
Ye s>>
Go To 2
No>>
Te s t C o m p l e t e .
2.S/C WIRING HARNESS OBSERVABLE PROBLEM
Turn the ignition off.
Using the Schematics as a guide, inspect the Wiring and Connectors.
Were any problems found?
Ye s>>
Repair as necessary.
Perform POWERTRAIN VERIFICATION TEST VER - 1 (DIESEL). (Refer to 8 - ELECTRICAL/ELEC-
TRONIC CONTROL MODULES/ENGINE CONTROL MODULE - DIAGNOSIS AND TESTING)
No>>
Go To 3
Page 731 of 5267

3.CLOCKSPRING SIGNAL/GROUND CIRCUIT OPEN
Disconnect the upper and lower clockspring harness connectors.
NOTE: Check connectors - Clean/repair as necessary.
Measure the resistance of the sensor ground circuit between the upper
and lower clockspring harness connectors.
Measure the resistance of the speed control switch signal circuit
between the upper and lower clockspring harness connectors.
Was the resistance above 5.0 ohms for either circuit?
Ye s>>
Replace the clockspring.
Perform POWERTRAIN VERIFICATION TEST VER - 1
(DIESEL). (Refer to 8 - ELECTRICAL/ELECTRONIC CON-
TROL MODULES/ENGINE CONTROL MODULE - DIAG-
NOSIS AND TESTING)
No>>
Go To 4
4.SPEED CONTROL ON/OFF SWITCH
Disconnect the Speed Control On/Off Switch 2-way harness connector only.
NOTE: Check connectors - Clean/repair as necessary.
Measure the resistance across the S/C On/Off Switch.
Is the resistance between 20.3K and 20.7K ohms?
Ye s>>
Go To 5
No>>
Replace the On/Off Switch.
Perform POWERTRAIN VERIFICATION TEST VER - 1 (DIESEL). (Refer to 8 - ELECTRICAL/ELEC-
TRONIC CONTROL MODULES/ENGINE CONTROL MODULE - DIAGNOSIS AND TESTING)
5.S/C SWITCH SIGNAL CKT SHORTED TO VOLTAGE
Turn the ignition on.
Measure the voltage of the S/C Switch Signal Circuit at the On/Off
Switch 2-way connector.
Is the voltage above 6.0 volts?
Ye s>>
Repair the Speed Control Switch Signal Circuit for a short
to voltage.
Perform POWERTRAIN VERIFICATION TEST VER - 1
(DIESEL). (Refer to 8 - ELECTRICAL/ELECTRONIC CON-
TROL MODULES/ENGINE CONTROL MODULE - DIAG-
NOSIS AND TESTING)
No>>
Go To 6
Page 732 of 5267

6.S/C SWITCH SIGNAL CIRCUIT OPEN ECM TO CLOCK SPRING
Turn the ignition off.
Disconnect the ECM harness connector.
NOTE: Check connectors - Clean/repair as necessary.
Measure the resistance of the S/C Switch Signal Circuit between the
ECM connector and the Clockspring Connector.
Is the resistance below 5.0 ohms?
Ye s>>
Go To 7
No>>
Repair open Speed Control Switch Signal Circuit ECM to
Clockspring.
Perform POWERTRAIN VERIFICATION TEST VER - 1
(DIESEL). (Refer to 8 - ELECTRICAL/ELECTRONIC CON-
TROL MODULES/ENGINE CONTROL MODULE - DIAG-
NOSIS AND TESTING)
7.S/C SWITCH SIGNAL CIRCUIT OPEN CLOCKSPRING TO S/C SWITCH
Measure the resistance of the S/C Switch Signal Circuit from the clock-
spring harness connector to the On/Off switch harness connector.
Is the resistance below 5.0 ohms?
Ye s>>
Go To 8
No>>
Repair the open Speed Control Switch Signal Circuit Clock-
spring to S/C switch.
Perform POWERTRAIN VERIFICATION TEST VER - 1
(DIESEL). (Refer to 8 - ELECTRICAL/ELECTRONIC CON-
TROL MODULES/ENGINE CONTROL MODULE - DIAG-
NOSIS AND TESTING)
Page 733 of 5267

8.S/C SWITCH GROUND CIRCUIT OPEN CLOCKSPRING TO S/C SWITCH
Measure the resistance of the S/C Switch Sensor Ground Circuit
between the On/Off Switch 2-way harness connector to the clockspring
harness connector.
Is the resistance below 5.0 ohms?
Ye s>>
Go To 9
No>>
Repair open ground circuit from clockspring to S/C switch.
Perform POWERTRAIN VERIFICATION TEST VER - 1
(DIESEL). (Refer to 8 - ELECTRICAL/ELECTRONIC CON-
TROL MODULES/ENGINE CONTROL MODULE - DIAG-
NOSIS AND TESTING)
9.S/C SWITCH GROUND CIRCUIT OPEN ECM TO CLOCKSPRING
Measure the resistance of the S/C Switch Sensor Ground Circuit
between the ECM harness connector to the clockspring harness con-
nector.
Is the resistance below 5.0 ohms?
Ye s>>
Replace and program the ECM in accordance with the Ser-
vice Information.
Perform POWERTRAIN VERIFICATION TEST VER - 1
(DIESEL). (Refer to 8 - ELECTRICAL/ELECTRONIC CON-
TROL MODULES/ENGINE CONTROL MODULE - DIAG-
NOSIS AND TESTING)
No>>
Repair open ground circuit from ECM to clockspring.
Perform POWERTRAIN VERIFICATION TEST VER - 1
(DIESEL). (Refer to 8 - ELECTRICAL/ELECTRONIC CON-
TROL MODULES/ENGINE CONTROL MODULE - DIAG-
NOSIS AND TESTING)
Page 749 of 5267

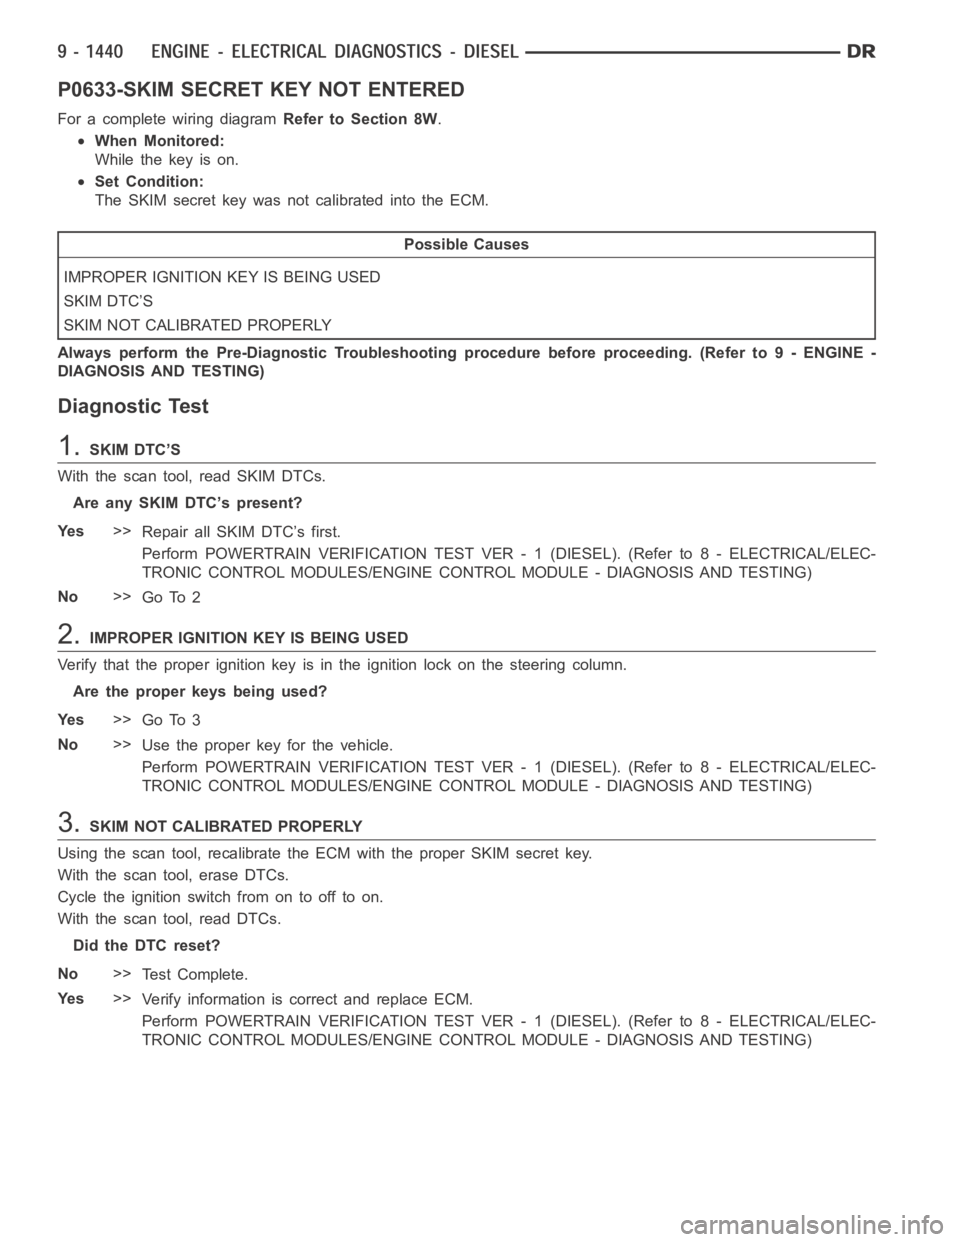
P0633-SKIM SECRET KEY NOT ENTERED
For a complete wiring diagramRefer to Section 8W.
When Monitored:
Whilethekeyison.
Set Condition:
TheSKIMsecretkeywasnotcalibratedintotheECM.
Possible Causes
IMPROPER IGNITION KEY IS BEING USED
SKIM DTC’S
SKIM NOT CALIBRATED PROPERLY
Always perform the Pre-Diagnostic Troubleshooting procedure before proceeding. (Refer to 9 - ENGINE -
DIAGNOSIS AND TESTING)
Diagnostic Test
1.SKIM DTC’S
With the scan tool, read SKIM DTCs.
Are any SKIM DTC’s present?
Ye s>>
Repair all SKIM DTC’s first.
Perform POWERTRAIN VERIFICATION TEST VER - 1 (DIESEL). (Refer to 8 - ELECTRICAL/ELEC-
TRONIC CONTROL MODULES/ENGINE CONTROL MODULE - DIAGNOSIS AND TESTING)
No>>
Go To 2
2.IMPROPER IGNITION KEY IS BEING USED
Verify that the proper ignition key is in the ignition lock on the steering column.
Are the proper keys being used?
Ye s>>
Go To 3
No>>
Use the proper key for the vehicle.
Perform POWERTRAIN VERIFICATION TEST VER - 1 (DIESEL). (Refer to 8 - ELECTRICAL/ELEC-
TRONIC CONTROL MODULES/ENGINE CONTROL MODULE - DIAGNOSIS AND TESTING)
3.SKIM NOT CALIBRATED PROPERLY
Using the scan tool, recalibrate the ECM with the proper SKIM secret key.
With the scan tool, erase DTCs.
Cycle the ignition switch from on to off to on.
With the scan tool, read DTCs.
Did the DTC reset?
No>>
Te s t C o m p l e t e .
Ye s>>
Verify information is correct and replace ECM.
Perform POWERTRAIN VERIFICATION TEST VER - 1 (DIESEL). (Refer to 8 - ELECTRICAL/ELEC-
TRONIC CONTROL MODULES/ENGINE CONTROL MODULE - DIAGNOSIS AND TESTING)
Page 859 of 5267

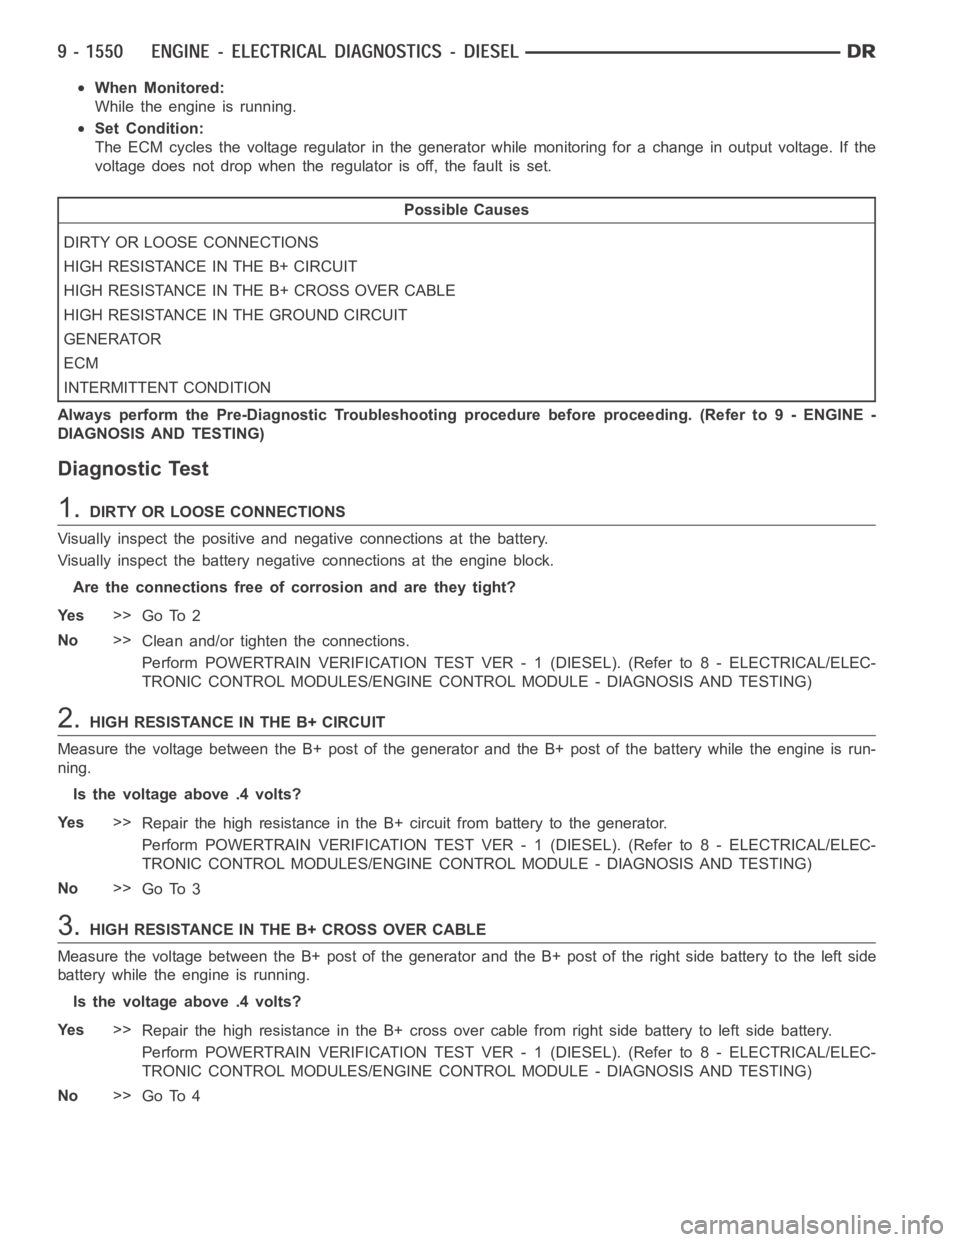
When Monitored:
While the engine is running.
Set Condition:
The ECM cycles the voltage regulator in the generator while monitoring fora change in output voltage. If the
voltage does not drop when the regulator is off, the fault is set.
Possible Causes
DIRTY OR LOOSE CONNECTIONS
HIGH RESISTANCE IN THE B+ CIRCUIT
HIGH RESISTANCE IN THE B+ CROSS OVER CABLE
HIGH RESISTANCE IN THE GROUND CIRCUIT
GENERATOR
ECM
INTERMITTENT CONDITION
Always perform the Pre-Diagnostic Troubleshooting procedure before proceeding. (Refer to 9 - ENGINE -
DIAGNOSIS AND TESTING)
Diagnostic Test
1.DIRTY OR LOOSE CONNECTIONS
Visually inspect the positive and negative connections at the battery.
Visually inspect the battery negative connections at the engine block.
Are the connections free of corrosion and are they tight?
Ye s>>
Go To 2
No>>
Clean and/or tighten the connections.
Perform POWERTRAIN VERIFICATION TEST VER - 1 (DIESEL). (Refer to 8 - ELECTRICAL/ELEC-
TRONIC CONTROL MODULES/ENGINE CONTROL MODULE - DIAGNOSIS AND TESTING)
2.HIGH RESISTANCE IN THE B+ CIRCUIT
Measure the voltage between the B+ post of the generator and the B+ post of the battery while the engine is run-
ning.
Is the voltage above .4 volts?
Ye s>>
Repair the high resistance in the B+ circuit from battery to the generator.
Perform POWERTRAIN VERIFICATION TEST VER - 1 (DIESEL). (Refer to 8 - ELECTRICAL/ELEC-
TRONIC CONTROL MODULES/ENGINE CONTROL MODULE - DIAGNOSIS AND TESTING)
No>>
Go To 3
3.HIGH RESISTANCE IN THE B+ CROSS OVER CABLE
Measure the voltage between the B+ post of the generator and the B+ post of the right side battery to the left side
battery while the engine is running.
Is the voltage above .4 volts?
Ye s>>
Repair the high resistance in the B+ cross over cable from right side battery to left side battery.
Perform POWERTRAIN VERIFICATION TEST VER - 1 (DIESEL). (Refer to 8 - ELECTRICAL/ELEC-
TRONIC CONTROL MODULES/ENGINE CONTROL MODULE - DIAGNOSIS AND TESTING)
No>>
Go To 4
Page 865 of 5267

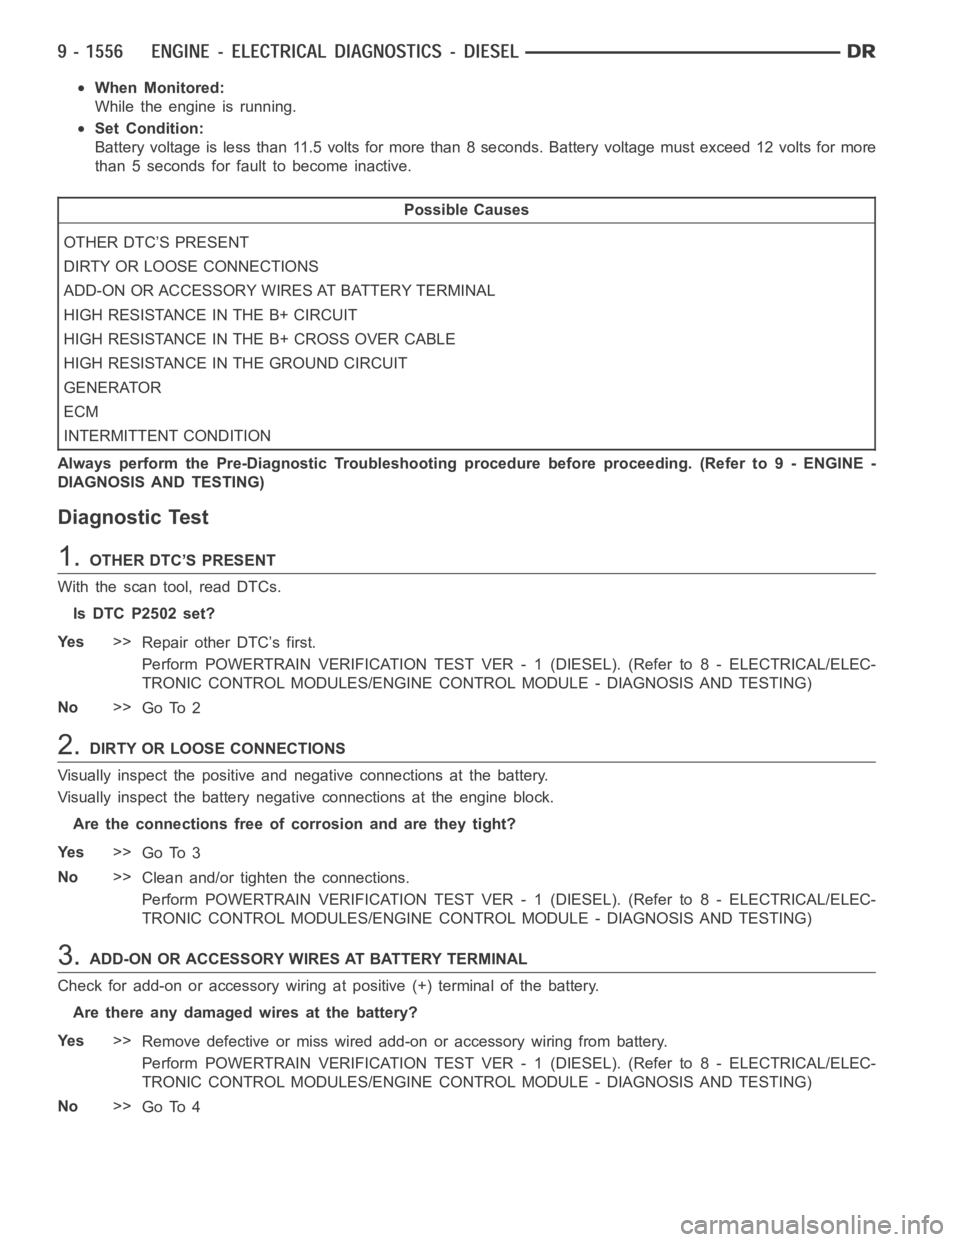
When Monitored:
While the engine is running.
Set Condition:
Battery voltage is less than 11.5 volts for more than 8 seconds. Battery voltage must exceed 12 volts for more
than 5 seconds for fault to become inactive.
Possible Causes
OTHER DTC’S PRESENT
DIRTY OR LOOSE CONNECTIONS
ADD-ON OR ACCESSORY WIRES AT BATTERY TERMINAL
HIGH RESISTANCE IN THE B+ CIRCUIT
HIGH RESISTANCE IN THE B+ CROSS OVER CABLE
HIGH RESISTANCE IN THE GROUND CIRCUIT
GENERATOR
ECM
INTERMITTENT CONDITION
Always perform the Pre-Diagnostic Troubleshooting procedure before proceeding. (Refer to 9 - ENGINE -
DIAGNOSIS AND TESTING)
Diagnostic Test
1.OTHER DTC’S PRESENT
With the scan tool, read DTCs.
Is DTC P2502 set?
Ye s>>
Repair other DTC’s first.
Perform POWERTRAIN VERIFICATION TEST VER - 1 (DIESEL). (Refer to 8 - ELECTRICAL/ELEC-
TRONIC CONTROL MODULES/ENGINE CONTROL MODULE - DIAGNOSIS AND TESTING)
No>>
Go To 2
2.DIRTY OR LOOSE CONNECTIONS
Visually inspect the positive and negative connections at the battery.
Visually inspect the battery negative connections at the engine block.
Are the connections free of corrosion and are they tight?
Ye s>>
Go To 3
No>>
Clean and/or tighten the connections.
Perform POWERTRAIN VERIFICATION TEST VER - 1 (DIESEL). (Refer to 8 - ELECTRICAL/ELEC-
TRONIC CONTROL MODULES/ENGINE CONTROL MODULE - DIAGNOSIS AND TESTING)
3.ADD-ON OR ACCESSORY WIRES AT BATTERY TERMINAL
Check for add-on or accessory wiring at positive (+) terminal of the battery.
Are there any damaged wires at the battery?
Ye s>>
Remove defective or miss wired add-on or accessory wiring from battery.
Perform POWERTRAIN VERIFICATION TEST VER - 1 (DIESEL). (Refer to 8 - ELECTRICAL/ELEC-
TRONIC CONTROL MODULES/ENGINE CONTROL MODULE - DIAGNOSIS AND TESTING)
No>>
Go To 4