2024 FORD F650/750 Port
[x] Cancel search: PortPage 128 of 386
•Do not dilute diesel exhaust fluid withwater or any other liquid.
•An ammonia odor may be smelledwhen the cap is removed or duringrefill. Refill diesel exhaust fluid in a wellventilated area.
Typical Diesel Exhaust Fluid UsageWhen Using the Power Take Off (PTO)
Continuous PTO use—Minimal PTO use
0–7,800 mi (0–12,550 km)
Contaminated Diesel ExhaustFluid or Inoperative SelectiveCatalytic Reduction System
Selective catalytic reduction systems aresensitive to contamination of the dieselexhaust fluid. Maintaining the purity of thefluid is important to avoid systemmalfunctions. Do not add fuel or anyadditive to the diesel exhaust fluid tank. Ifyou remove or drain the diesel exhaust fluidtank, do not use the same fluid to refill thetank. The system has a sensor to monitorfluid quality.
A warning lamp illuminates anda message appears in theinformation display if the systembecomes contaminated or inoperative.
Continued driving without replacing dieselexhaust fluid or having the selectivecatalytic reduction system repaired resultsin the following actions as required by theCalifornia Air Resources Board (CARB) andU.S. Environmental Protection Agency(EPA):
•Within a preset distance to empty,speed is limited upon vehicle restart.Prior to this occurring a messageappears in the information display.
•Further vehicle operation withoutreplacing contaminated diesel exhaustfluid causes the engine to enter anidle-only condition. This only occursupon vehicle refueling, vehicle idling inpark for 1 hour, or engine shutdown for10 minutes or more and is indicated bya message in the information displayindicating the required actions toresume normal operation.
Note:For vehicle speed limiting or idle-onlycondition, normal vehicle operation resumeswhen you repair the contaminated system.To service a contaminated or inoperativesystem, see an authorized dealer.
DIESEL PARTICULATE FILTER
Your vehicle has a diesel particulate filter.The diesel particulate filter is an inline filterin the exhaust system that reduces carbonemissions by trapping exhaust particlesbefore they reach the tailpipe. The dieselparticulate filter looks similar to atraditional exhaust catalyst, except larger,and is part of the exhaust system underyour vehicle. The filter couples to a dieseloxidation catalyst that reduces the amountof harmful exhaust emitted from thetailpipe. As soot gathers in the system, itbegins to restrict the filter. Periodically, youneed to clean the soot that gathers insidethe filter. You can clean the soot in twodifferent ways, passive regeneration andactive regeneration. Both methods occur
124
2024 F-650/750 (TBC) , enUSA, Edition date: 202210, First-PrintingEngine Emission ControlE163176
Page 140 of 386
GENERAL INFORMATION
WARNING: Exceeding these ratingsby overloading can cause componentfailure resulting in property damage,personal injury or death.
Fluid Temperature
If the operating temperature exceeds250°F (121°C), the rate of axle lubricationoxidation increases and shortens the lifeof the lubricant and seals, requiring axlelubrication changes to become morefrequent to preserve the axle. Do notconsistently run extreme pressure (EP)lubricants above 250°F (121°C).
Axle Conversions
WARNING: When operating aloaded vehicle, the driver must keep alladjustable axles on the ground at alltimes, supporting their share of thevehicle’s load. Failure to do so canoverload other axles, tires, wheels,springs, steering components, brakesand frames, resulting in early componentfailure, loss of vehicle control, possibleproperty damage and personal injury.
We do not recommend, or approve,performing axle conversions. However, weunderstand that, on occasion, others installaftermarket add-on axles on the truckchassis that allow operator control forweight transfer from other axles (such asair lift axles).
2-SPEED REAR AXLE (IF EQUIPPED)
WARNING: Never shift atwo-speed axle when descending asteep grade as this may cause loss ofvehicle control and result in personalinjury.
Note:Do not shift between ranges whenthe speed control is on.
A two-speed rear axle allows the driver toselect a low range for greater pulling powerand a high range for greater road speedand fuel economy. You can also use theseranges to provide extra steps betweentransmission shifts when driving on steepgrades or fuel economy may be factors.
Axle Shifting
Note:Do not shift the axle to LOW whenyour vehicle is moving. Use LOW when youdrive a fully loaded vehicle on a severe gradeor in congested traffic. Use HIGH for allnormal driving conditions with a lightlyloaded or partially loaded vehicle.
Note:The axle is set to HIGH by default.
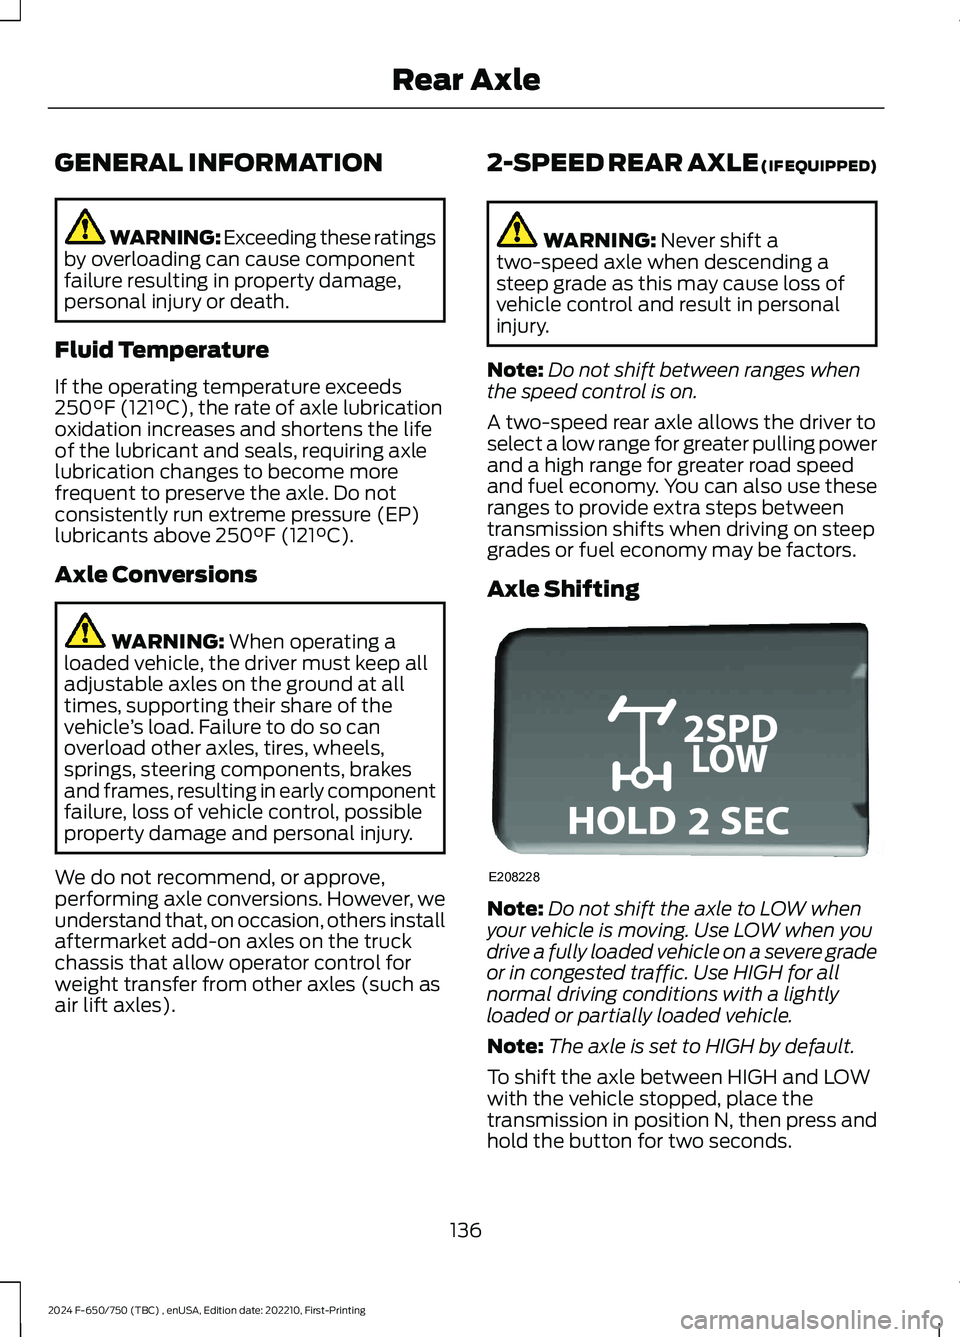
To shift the axle between HIGH and LOWwith the vehicle stopped, place thetransmission in position N, then press andhold the button for two seconds.
136
2024 F-650/750 (TBC) , enUSA, Edition date: 202210, First-PrintingRear AxleE208228
Page 166 of 386
Adaptive Cruise Control Gap Settings
DynamicBehaviorDistance GapGraphicDisplay,Bars Indic-atedBetweenVehicles
Sport.Closest.1
Normal.Close.2
Normal.Medium.3
Comfort.Far.4
Each time you switch the system on, itselects the last chosen gap setting.
Overriding the Set Speed
WARNING: If you override thesystem by pressing the acceleratorpedal, it does not automatically applythe brakes to maintain a gap from anyvehicle ahead.
When you press the accelerator pedal, youoverride the set speed and gap distance.
Use the accelerator pedalnormally to intentionally exceedthe set speed limit.
When you override the system, the greenindicator light illuminates and the vehicleimage does not appear in the informationdisplay.
The system resumes operation when yourelease the accelerator pedal. The vehiclespeed decreases to the set speed, or alower speed if following a slower vehicle.
Changing the Set Speed
Press and release to increase theset speed in small increments.
Press and release to decreasethe set speed in smallincrements.
Press and hold either button to change theset speed in large increments. Release thebutton when you reach your preferredspeed.
The system may apply the brakes to slowthe vehicle to the new set speed. The setspeed displays continuously in theinformation display when the system isactive.
Canceling the Set Speed
Press and release the button ortap the brake pedal.
The set speed does not erase.
Resuming the Set Speed
Press and release the button.
Your vehicle speed returns to thepreviously set speed and gap setting. Theset speed displays continuously in theinformation display when the system isactive.
Note:Only use resume if you are aware ofthe set speed and intend to return to it.
Automatic Cancellation
The system is not functional at vehiclespeeds below 12 mph (20 km/h). Theinformation display indicates low enginespeed, an audible alarm sounds and theautomatic braking releases if the vehicledrops below this speed.
Automatic cancellation can also occurwhen the tires lose traction or you applythe parking brake.
162
2024 F-650/750 (TBC) , enUSA, Edition date: 202210, First-PrintingCruise ControlE144529 E246884 E246885 E265298
Page 178 of 386
WARNING: The system does notdetect vehicles that are driving in adifferent direction, pedestrians, cyclistsor animals. Apply the brakes whennecessary. Failure to follow thisinstruction could result in the loss ofcontrol of your vehicle, personal injury ordeath.
WARNING: The system does notoperate during hard acceleration orsteering. Failure to take care may leadto a crash or personal injury.
WARNING: The system mayoperate with reduced function duringcold and inclement weather conditions.Snow, ice, rain, spray and fog canadversely affect the system. Keep thefront camera and radar free of snow andice. Failure to follow this instruction mayresult in the loss of control of yourvehicle, serious personal injury or death.
WARNING: Some situations andobjects prevent hazard detection. Forexample low or direct sunlight, inclementweather, unconventional vehicle types,and pedestrians. Apply the brakes whennecessary. Failure to follow thisinstruction could result in the loss ofcontrol of your vehicle, personal injury ordeath.
WARNING: The system cannothelp prevent all crashes. Do not rely onthis system to replace driver judgmentand the need to maintain a safe distanceand speed.
WARNING: Take additional care ifyour vehicle is heavily loaded or you aretowing a trailer. These conditions couldresult in reduced performance of thissystem. Failure to follow this instructioncould result in the loss of control of yourvehicle, personal injury or death.
Using the Pre-Collision AssistSystem
The pre-collision assist system is active atspeeds above 3 mph (5 km/h).
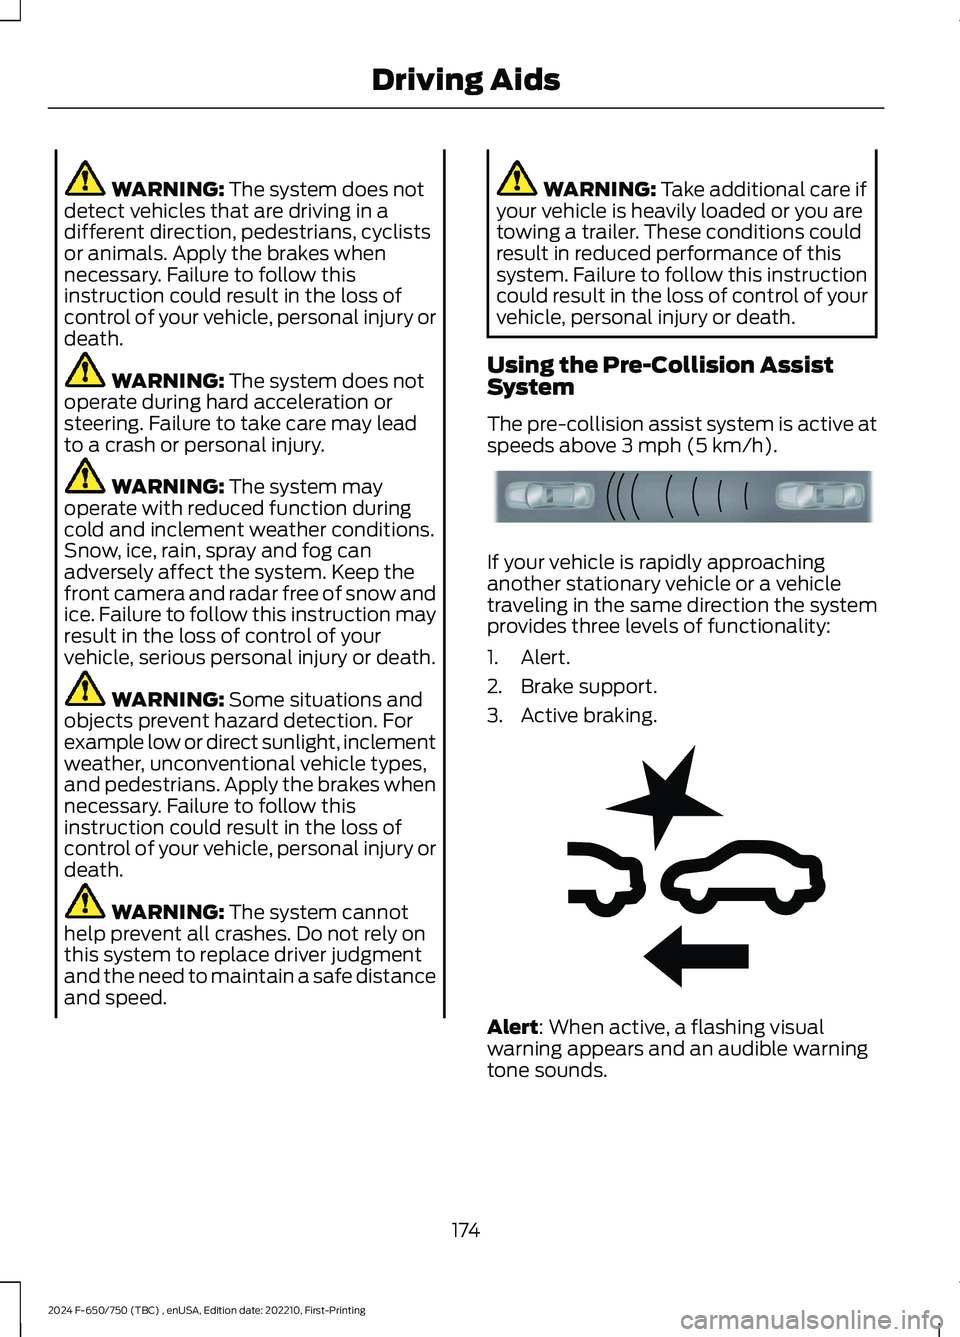
If your vehicle is rapidly approachinganother stationary vehicle or a vehicletraveling in the same direction the systemprovides three levels of functionality:
1.Alert.
2.Brake support.
3.Active braking.
Alert: When active, a flashing visualwarning appears and an audible warningtone sounds.
174
2024 F-650/750 (TBC) , enUSA, Edition date: 202210, First-PrintingDriving AidsE156130 E255268
Page 179 of 386
Brake support: Helps reduce the impactspeed by preparing the brakes for rapidbraking. The system does notautomatically apply the brakes. If you pressthe brake pedal, the system could applyadditional braking up to maximum brakingforce, even if you lightly press the brakepedal.
Active braking: May activate if the systemdetermines that a collision is imminent.The system may help the driver reduceimpact damage or avoid the crashcompletely.
Note:If you perceive pre-collision assistalerts as being too frequent, then you canreduce the alert sensitivity, though themanufacturer recommends using thehighest sensitivity setting where possible.Setting lower sensitivity would lead to fewerand later system warnings.
Distance Indication and Alert
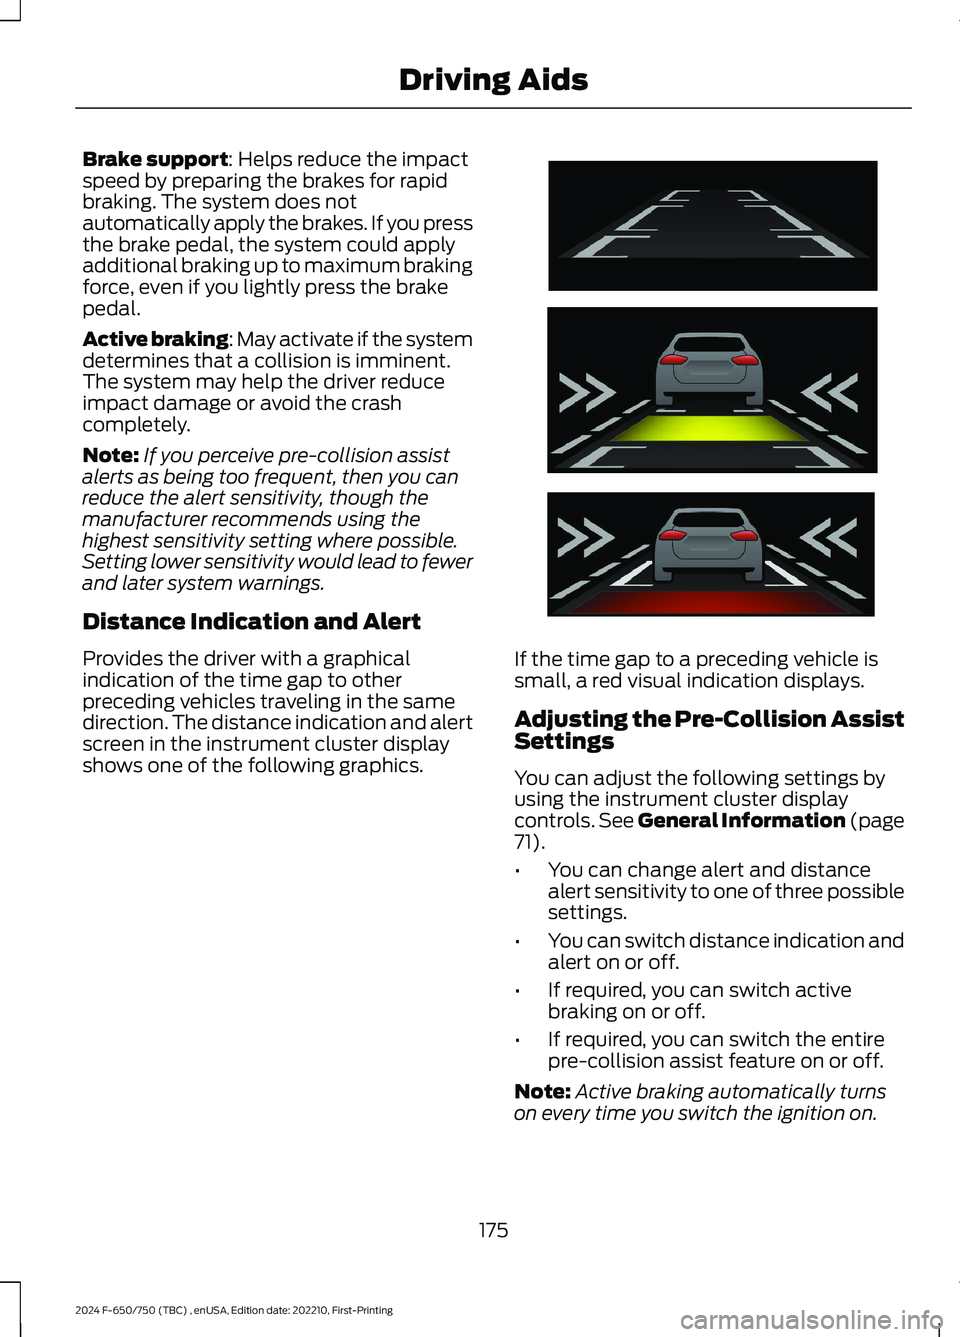
Provides the driver with a graphicalindication of the time gap to otherpreceding vehicles traveling in the samedirection. The distance indication and alertscreen in the instrument cluster displayshows one of the following graphics.
If the time gap to a preceding vehicle issmall, a red visual indication displays.
Adjusting the Pre-Collision AssistSettings
You can adjust the following settings byusing the instrument cluster displaycontrols. See General Information (page71).
•You can change alert and distancealert sensitivity to one of three possiblesettings.
•You can switch distance indication andalert on or off.
•If required, you can switch activebraking on or off.
•If required, you can switch the entirepre-collision assist feature on or off.
Note:Active braking automatically turnson every time you switch the ignition on.
175
2024 F-650/750 (TBC) , enUSA, Edition date: 202210, First-PrintingDriving AidsE254791
Page 183 of 386
AIR SUSPENSION
Note:Do not operate your vehicle withoutair in the suspension springs. Operating yourvehicle without air in the suspension springsdamages the suspension, degrades rideperformance and may cause propertydamage.
The air suspension system automaticallyadjusts to different loads to maintain aconstant frame height, allows for ease ofvehicle loading, provides improved vehicleride, and increased driver comfort.
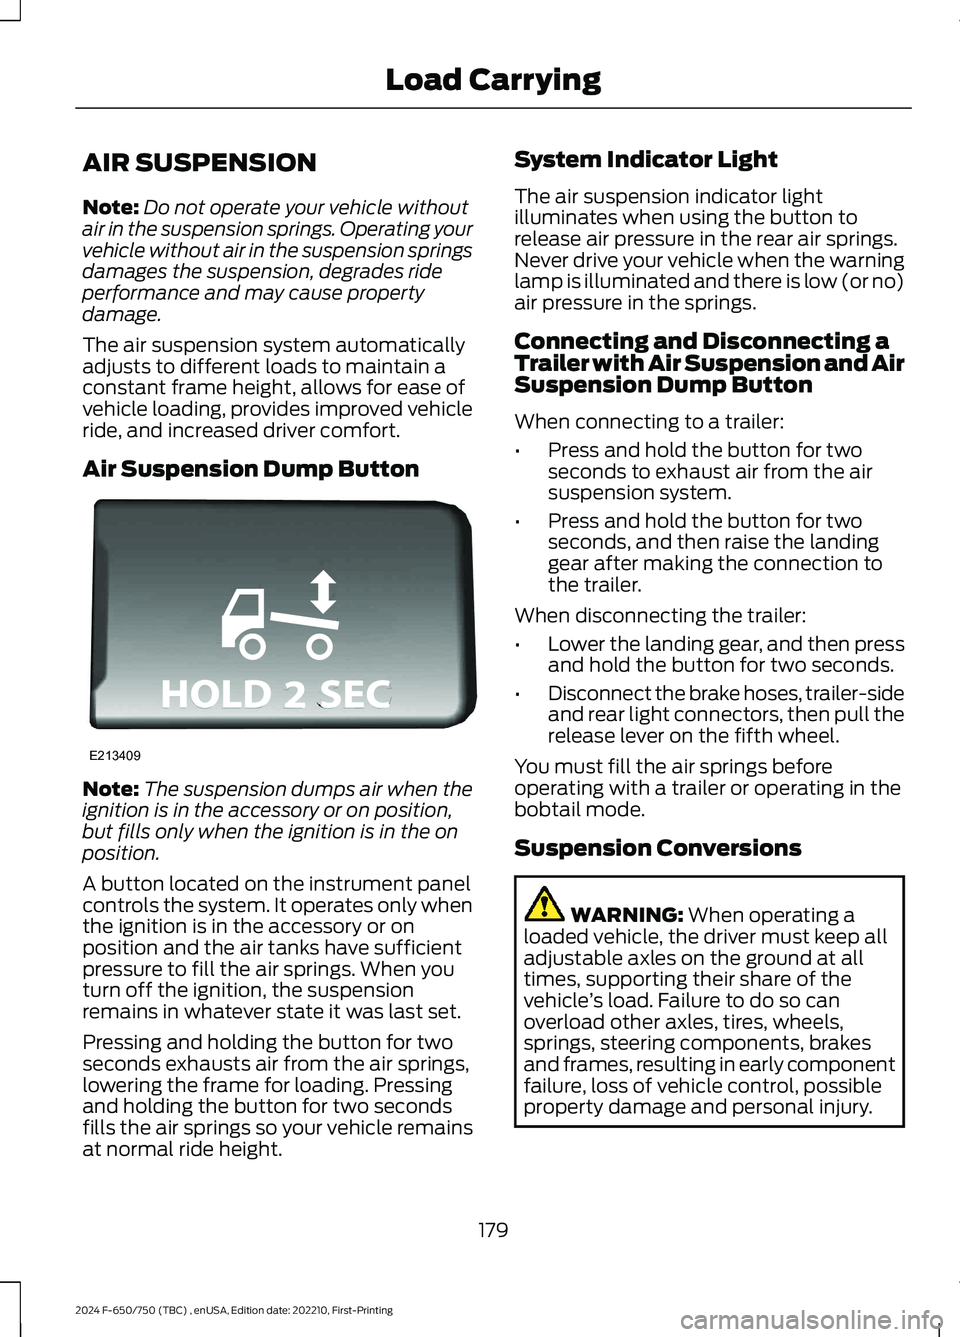
Air Suspension Dump Button
Note:The suspension dumps air when theignition is in the accessory or on position,but fills only when the ignition is in the onposition.
A button located on the instrument panelcontrols the system. It operates only whenthe ignition is in the accessory or onposition and the air tanks have sufficientpressure to fill the air springs. When youturn off the ignition, the suspensionremains in whatever state it was last set.
Pressing and holding the button for twoseconds exhausts air from the air springs,lowering the frame for loading. Pressingand holding the button for two secondsfills the air springs so your vehicle remainsat normal ride height.
System Indicator Light
The air suspension indicator lightilluminates when using the button torelease air pressure in the rear air springs.Never drive your vehicle when the warninglamp is illuminated and there is low (or no)air pressure in the springs.
Connecting and Disconnecting aTrailer with Air Suspension and AirSuspension Dump Button
When connecting to a trailer:
•Press and hold the button for twoseconds to exhaust air from the airsuspension system.
•Press and hold the button for twoseconds, and then raise the landinggear after making the connection tothe trailer.
When disconnecting the trailer:
•Lower the landing gear, and then pressand hold the button for two seconds.
•Disconnect the brake hoses, trailer-sideand rear light connectors, then pull therelease lever on the fifth wheel.
You must fill the air springs beforeoperating with a trailer or operating in thebobtail mode.
Suspension Conversions
WARNING: When operating aloaded vehicle, the driver must keep alladjustable axles on the ground at alltimes, supporting their share of thevehicle’s load. Failure to do so canoverload other axles, tires, wheels,springs, steering components, brakesand frames, resulting in early componentfailure, loss of vehicle control, possibleproperty damage and personal injury.
179
2024 F-650/750 (TBC) , enUSA, Edition date: 202210, First-PrintingLoad CarryingE213409
Page 196 of 386

Removing the Jumper Cables
Remove the jumper cables in the reverseorder that they were connected.
1.Remove the negative (-) jumper cablefrom the disabled vehicle.
2.Remove the jumper cable on thenegative (-) terminal of the boostervehicle battery.
3.Remove the jumper cable from thepositive (+) terminal of the boostervehicle battery.
4.Remove the jumper cable from thepositive (+) terminal of the disabledvehicle battery.
5.Allow the engine to idle for at least oneminute.
TRANSPORTING THE VEHICLE
WARNING: Block the wheels tohelp prevent the vehicle from moving.
WARNING: Unexpected andpossibly sudden vehicle movement mayoccur if you do not take theseprecautions.
If you need to have your vehicle towed,contact a professional towing service or,if you are a member of a roadsideassistance program, your roadsideassistance service provider.
192
2024 F-650/750 (TBC) , enUSA, Edition date: 202210, First-PrintingRoadside Emergencies4132E142665 E143886
Page 199 of 386
This program is separate from the NewVehicle Limited Warranty, but the coverageis concurrent with the powertrain coverageperiod of your vehicle. Canadian roadsidecoverage and benefits may differ from theU.S. coverage. For complete details, seeyour Warranty Guide atwww.ford.com/support/warranty/.
Download the Sykes4Ford RoadsideAssistance App for access to your roadsideassistance services.
If you require more information, please callus in Canada at 1-800-665-2006, or visitour website at www.ford.ca.
Ford Motor Company reserves the right tomodify or discontinue Roadside Assistanceat any time. Certain restrictions apply toRoadside Assistance benefits.
For further details, call1-800-241-3673 (United States)1-800-665-2006 (Canada)
AUTOMATIC CRASH SHUTOFF
WHAT IS AUTOMATIC CRASHSHUTOFF
The automatic crash shutoff is designedto stop the fuel going to the engine in theevent of a moderate or severe crash.
Note:Not every impact causes a shutoff.
AUTOMATIC CRASH SHUTOFFPRECAUTIONS
WARNING: If your vehicle has beeninvolved in a crash, have the fuel systemchecked. Failure to follow this instructioncould result in fire, personal injury ordeath.
RE-ENABLING YOUR VEHICLE
1.Switch the ignition off.
2.Attempt to start your vehicle.
3.Switch the ignition off.
4.Attempt to start your vehicle.
Note:If your vehicle does not start after thethird attempt, have your vehicle checked assoon as possible.
195
2024 F-650/750 (TBC) , enUSA, Edition date: 202210, First-PrintingCrash and Breakdown Information