Page 65 of 248
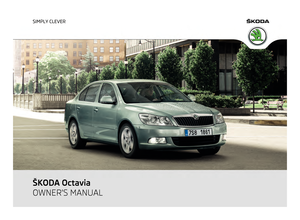
 Owners Manual ●
The assignment of the radio remote control to a memory button is retained,
however, after reassigning the seats and exterior mirrors.
● After the successful assignment, the turn signal lights fl")
●
The assignment of the radio remote control to a memory button is retained,
however, after reassigning the seats and exterior mirrors.
● After the successful assignment, the turn signal lights flash and an audible
signal will sound as a confirmation. The setting is stored with the memory button
which you have selected.
Retrieving settings of the seat and mirrors You can retrieve the stored settings either with the memory but-
tons or with the remote control.
Retrieving settings with memory buttons
– In order to retrieve the stored setting, you have two possibilities:
– By pressing briefly: briefly press the desired memory button B
⇒ fig. 44 . The
seat and exterior mirror are moved automatically into the stored positions (this
applies only if the ignition is switched on and the speed is less than 5 km/h).
– Memory keying : Press and hold the desired memory button B pressed long
enough until the seat and the exterior mirror are moved into the stored posi-
tions.
Retrieving settings with remote control
– If the driver door is closed and the ignition is switched off, briefly press the un-
lock button of the remote control ⇒ page 36
and then open the driver door.
– The seat and exterior mirrors now move automatically into the stored posi-
tions.
Retrieving setting of exterior mirror for reversing
– Turn the rotary knob for the exterior mirror setting into the position
⇒ page 57 before engaging the reverse gear.
The mirror returns into its initial position, after the rotary knob is moved out of the
position and put into another position or if the speed is more than 15 km/h.
Emergency Off
You can interrupt the setting operation at any time, if you operate any button of
the driver seat. Note
If the inclination angle of the seat backrest is more than 102° in relation to the
seat cushion, the backrest remains in this position, after reaching this angle, when
retrieving the setting by briefly pressing the memory button. Once the stored an-
gle is reached, it is necessary to press the memory button and hold it pressed until
the seat is in the stored position.
Head restraints Fig. 45 Head restraint: Adjusting/pulling out
Best protection is achieved if the top edge of the head restraint is at the same
level as the upper part of your head.
Adjusting the height of a head restraint
–
Grasp the side of the head restraint with both hands and push it in upward di-
rection as desired ⇒ fig. 45 - left.
– Move the head restraint downwards if required by pressing and holding the
safety button with one hand ⇒ fig. 45 - right and by pressing with the other
hand the head restraint downwards.
Removing and installing a head restraint
– Pull the head restraint up out of the seat backrest as far as the stop (on the
rear head restraints fold forward the seat backrest).
– Press the locking button in the direction of arrow ⇒
fig. 45 - right and pull the
head restraint out.
– To re-insert the head restraint, push it down into the seat backrest far enough
until you hear the locking button engage. £ 63
Seats and Stowage Using the system Safety Driving Tips General Maintenance Breakdown assistance Technical data
Page 66 of 248
 Owners Manual The position of the front and rear outer head restraints is adjustable in height.
The middle rear head restraint is adjustable in two positions.
The head restraints must be adjusted to match the size")
The position of the front and rear outer head restraints is adjustable in height.
The middle rear head restraint is adjustable in two positions.
The head restraints must be adjusted to match the size of the seat occupant. Cor-
rectly adjusted head restraints together with the seat belts offer effective protec-
tion for the occupants ⇒ page 132,
Correct seated position.WARNING
● The head restraints must be correctly adjusted in order to offer effective
protection for the occupants in the event of an accident.
● Do not drive under any circumstance with removed head restraints - risk of
injury!
● If the rear seats are occupied, the rear head restraint must not be in the
lower position.
Middle rear head restraint Fig. 46 Rear seats: middle head re-
straint
IIn certain countries national legal provisions also require the equipment of the
rear seat with fixing eyes for child seat using the
“Top Tether” system
⇒ page 153, Attaching child seat using the “Top Tether” system. For vehicles,
which are equipped with such fixing eyes, a deviating sequence for removing the
middle head restraint must be observed.
Removing and installing the rear middle head restraint
– Pull the head restraint out of the seat backrest as far as the stop.
– Press the locking button in the direction of arrow A , press simultaneously the
locking button into the opening B using a flat screwdriver with a width of
maximum 5 mm and pull out the head restraint. –
To re-insert the head restraint, push it down into the seat backrest far enough
until you hear the locking button engage. WARNING
● The head restraints must be correctly adjusted in order to offer effective
protection for the occupants in the event of an accident.
● Do not drive under any circumstance with removed head restraints - risk of
injury!
● If the rear seats are occupied, the rear head restraint must not be in the
lower position.
Rear seats Folding the rear seats forwards Fig. 47 Fold the seat cushion forwards/unlock the seat backrest
To enlarge the luggage compartment, the rear seats can be folded forwards, if
necessary remove the seat cushions. The rear seats can be folded forward individ-
ually on vehicles with divided rear seats.
Folding seats forwards
– Before folding the rear seats forwards, you must adapt the position of the
front seats in such a way that they are not damaged when the rear seats are
folded forwards.
– Pull up the seat cushion in direction of arrow 1 and fold forwards in direction
of arrow 2
⇒ fig. 47 . £64
Seats and Stowage
Page 67 of 248
 Owners Manual –
Press the unlocking knob A and fold the seat backrest forwards.
If the front seats are too far back, we recommend that you have the rear head re-
straints removed before the seat backrests are f")
–
Press the unlocking knob A and fold the seat backrest forwards.
If the front seats are too far back, we recommend that you have the rear head re-
straints removed before the seat backrests are folded forward. Store the removed
head restraints in such a way that they cannot be damaged or soiled. Please refer
to the guidelines ⇒ page 66
.
Move seats into the initial position Fig. 48 Lock the seat backrest
Move seats into the initial position
– Install the head restraint in the slightly lifted seat backrest.
– Place the rear lateral seat belt C
⇒ fig. 48 behind the edge of the side trim
panel.
– Then push the seat backrest back into the upright position until the securing
knob clicks into place - check by pulling on the seat backrest.
– Make sure that the red pin B is covered
⇒ fig. 47.
– Move the seat cushion into its original position. WARNING
● The belts and the belt locks must be in their original position after folding
back the seat cushions and the seat backrests - they must be ready to use.
● The seat backrests must be securely interlocked in position so that no ob-
jects in the luggage compartment can slide forwards if there is sudden brak-
ing - risk of injury! WARNING (Continued)
● Pay attention that the seat backrests are correctly interlocked. It is only
then that the three-point seat belt for the middle seat can reliably fulfil its
function.
● Before folding the seat backrest back into the secure position, place the
rear lateral seat belt behind the edge of the side trim panel. Take suitable
measures to prevent that the seat belt is jammed between the seat backrest
and the side trim panel and is thus damaged.
Removing the seats Fig. 49 Removing the seats
You can enlarge the luggage compartment on vehicles with divided rear seats by
removing the rear seat.
Removing
– Fold the seat cushion forwards completely.
– Press the wire clamps in the direction of the arrow
⇒ fig. 49
and remove the
seat cushion from its holder.
Install
– Press the wire clamps in the direction of the arrow and place it in its holder.
– Fold the seat cushion back into its original position. CAUTION
For vehicles with heated rear seats it is necessary to disconnect the plug connec-
tion for the power supply before removing the seat cushion. For reinstalling the
seat cushion it is necessary to re-connect the plug connection. 65
Seats and Stowage Using the system Safety Driving Tips General Maintenance Breakdown assistance Technical data
Page 68 of 248
 Owners Manual Rear seat armrest
Fig. 50 Rear seats: Armrest
– You can fold down the armrest at the loop to enhance occupant comfort
⇒ fig. 50 .
Seat heaters Fig. 51 Regulator for heating the front seats")
Rear seat armrest
Fig. 50 Rear seats: Armrest
– You can fold down the armrest at the loop to enhance occupant comfort
⇒ fig. 50 .
Seat heaters Fig. 51 Regulator for heating the front seats/rear seats
You can electrically heat the seat backrests and the surfaces of the front seats
and the two outer rear seats.
–
You can switch on and regulate the seat heating of the driver or front passen-
ger seat by pressing the surface of the regulator at the point at which the
symbol is located
⇒
fig. 51 - left.
– You can switch on and adjust the heaters of the left or right rear seats by
pressing the regulator
⇒ fig. 51 - right.
– With one press, you can switch the heating to highest intensity - 3rd stage,
which is indicated by the lighting up of the three warning lights in the switch. –
With repeated pressing of the switch, the intensity of the heating is down-
regulated up to the switch-off. The intensity of the heating is indicated by the
number of illuminated warning lights in the switch.
– If you set the heating of the rear seats to the highest intensity - 3rd stage, it is
automatically switched over to the 2nd stage after 10
minutes (two warning
lights light up in the switch). WARNING
If, as an occupant, you have a subdued pain and/or temperature sensitivity,
e.g. through medication, paralysis or because of chronic illness (e.g. diabetes),
we recommend not to use the seat heating. This can lead to burns on the
back, the posterior and the legs which are difficult to heal. If the seat heating
is used, we recommend to make regular breaks in your journey when driving
long distances, so that in specific cases as mentioned above the body can re-
cuperate from the stress of the journey. Please consult your doctor, who can
evaluate your specific condition. CAUTION
● You should not kneel on the seats or otherwise apply pressure at specific
points in order to avoid damaging the heating elements of the seat heaters.
● Do not use the seat heating if the seats are not occupied by persons or if ob-
jects are fastened or stored on them, for example a child seat, a bag etc. A fault of
the heating elements in the seat heating can occur.
● Do not clean the seats moist ⇒ page 174. Note
● The seat heating should only be switched on when the engine is running. This
has a significant effect of saving on the battery capacity.
● If the on-board voltage drops, the seat heating is switched off automatically,
in order to provide sufficient electrical energy for the engine control ⇒
page 190,
Automatic consumer shut-off.
luggage compartment
Loading the luggage compartment Please observe the following in the interest of having good handling characteris-
tics of your vehicle: £66
Seats and Stowage
Page 69 of 248
 Owners Manual –
Distribute the items of luggage as evenly as possible.
– Place heavy objects as far forward as possible.
– Attach the items of luggage to the lashing eyes or the fixing net ⇒ page 67.
In")
–
Distribute the items of luggage as evenly as possible.
– Place heavy objects as far forward as possible.
– Attach the items of luggage to the lashing eyes or the fixing net ⇒ page 67.
In the event of an accident, there is such a high kinetic energy which is produced
by small and light objects that they can cause severe injuries. The magnitude of
the kinetic energy depends on the speed at which the vehicle is travelling and on
the weight of the object. The speed at which the vehicle is travelling is in this case
the more significant factor.
Example: In the event of a frontal collision at a speed of 50 km/h, an unsecured
object with a weight of 4.5 kg produces an energy, which corresponds to 20 times
its own weight. This means that it results in a weight of approx. 90 kg. You can
imagine the injuries that can occur, if this
“bullet” is flying through the interior
compartment and hits an occupant. WARNING
● Store the objects in the luggage compartment and attach them to the
lashing eyes.
● Loose objects in the passenger compartment can be thrown forward dur-
ing a sudden manoeuvre or in case of an accident and can injure the occupants
or other oncoming traffic. This risk is still increased, if the objects which are
flying around are hit by a deployed airbag. In this case, the objects which are
thrown back can injure the occupants - hazard.
● Please note that the handling properties of your vehicle may be affected
when transporting heavy objects as a result of the displacement of the centre
of gravity. The speed and style of driving must be adjusted accordingly.
● The items carried in the luggage compartment should be stored in such a
way that no objects are able to slip forward if there are any sudden driving or
braking manoeuvres undertaken - risk of injury!
● Never drive with the boot lid fully opened or slightly ajar otherwise ex-
haust gases may get into the interior of the vehicle - risk of poisoning!
● On no account exceed the permissible axle loads and the permissible gross
weight of the vehicle - risk of accident!
● Never transport occupants in the luggage compartment! CAUTION
Make sure that transported objects with sharp edges do not damage the follow-
ing:
● heating elements in the rear window,
● elements of the aerial integrated in the rear window (Octavia),
● elements of the aerial integrated in the rear side windows (Estate car). Note
Tyre pressure must be adjusted to the load ⇒ page 192
.
Vehicles of category N1 On vehicles of the category N1, which are not fitted with a protective grille, a lash-
ing set which complies with the standard EN
12195 (1 - 4) must be used for fasten-
ing the load.
Lashing eyes Fig. 52 Luggage compartment: Lashing eyes Octavia/Estate car
Eyes are located on the sides of the luggage compartment for lashing the goods
to be loaded.
You can also attach a floor fixing net to these eyes for holding small objects.
The floor fixing net and the installation instruction are located in a container un-
der the floor covering of the luggage compartment behind the spare wheel. £ 67
Seats and Stowage Using the system Safety Driving Tips General Maintenance Breakdown assistance Technical data
Page 70 of 248
 Owners Manual WARNING
● The load to be transported must be fixed in place in such a way that it can-
not move during the journey and when braking.
● If the items of luggage or objects are attached to the lashin")
WARNING
● The load to be transported must be fixed in place in such a way that it can-
not move during the journey and when braking.
● If the items of luggage or objects are attached to the lashing eyes with un-
suitable or damaged lashing straps, injuries can occur in the event of braking
manoeuvres or accidents. In order to prevent the items of luggage being
thrown forward, always use suitable lashing straps which are firmly attached
to the lashing eyes. Note
The upper front lashing eyes are located underneath the folding rear seat back-
rest ⇒
fig. 52.
Fixing nets - Net programme Octavia Fig. 53 Fixing net: Horizontal pocket/vertical pocket
Fixing examples of the fixing net as a horizontal pocket
⇒ fig. 53
- left and a verti-
cal pocket ⇒ fig. 53 - right.
The fixing net is stowed in a storage compartment behind the spare wheel under
the floor covering of the luggage compartment. WARNING
● The whole strength of the net makes it possible to load the pocket with
objects of up to 1.5 kg in weight. Heavy objects are not secured sufficiently -
risk of injury and net damage!
● The load to be transported must be fixed in place in such a way that it can-
not move during the journey and when braking. CAUTION
Do not place any objects with sharp edges in the nets - risk of net damage.
Fixing nets - Net programme Estate car Fig. 54 Fixing net: Vertical pocket/division of the luggage compartment
Fixing examples of the fixing net as a horizontal pocket
⇒ fig. 54 - left and as a
division of the luggage compartment with the aid of the net ⇒ fig. 54 - right.
The fixing net is stowed in a storage compartment behind the spare wheel under
the floor covering of the luggage compartment. WARNING
● The whole strength of the net makes it possible to load the pocket with
objects of up to 1.5 kg in weight. Heavy objects are not secured sufficiently -
risk of injury and net damage!
● The load to be transported must be fixed in place in such a way that it can-
not move during the journey and when braking. CAUTION
Do not place any objects with sharp edges in the nets - risk of net damage. 68
Seats and Stowage
Page 71 of 248
 Owners Manual Folding double hooks (Octavia)
Fig. 55 Luggage compartment: Folding
double hooks
Folding double hooks for attaching small items of luggage, such as bags etc. are
provided on one or both sides of the")
Folding double hooks (Octavia)
Fig. 55 Luggage compartment: Folding
double hooks
Folding double hooks for attaching small items of luggage, such as bags etc. are
provided on one or both sides of the luggage compartment depending on the
equipment installed in the vehicle ⇒
fig. 55. CAUTION
An item of luggage weighing up to 5 kg can be attached to each side of the double
hook.
Folding hooks (Estate car) Fig. 56 Luggage compartment: folding
hooks
Folding hooks for attaching small items of luggage, such as bags etc., are provided
on both sides of the luggage compartment ⇒ fig. 56 . CAUTION
An item of luggage weighing up to 7.5 kg can be attached to the hook. Fixing floor covering of the luggage compartment
Fig. 57 Luggage compartment: Fixing of the floor covering Octavia/Estate car
There is a loop (Octavia) or there are hooks (Estate car) located on the floor cover-
ing of the luggage compartment. You can fix the raised floor cover with a hook to
the luggage compartment cover (Octavia) ⇒ fig. 57 - left, as if one needs to reach
the spare wheel or to the frame of the boot lid (Estate car) ⇒
fig. 57 - right.
Luggage net (Octavia) Fig. 58 Luggage compartment: Luggage
net
The luggage net is designed for the transportation of lighter objects. WARNING
● In the storage net you must only stow objects (up to a total weight of 1.5
kg). Heavy objects are not secured sufficiently - risk of injury!
● No objects with sharp edges should be stored in the luggage net, because
they can damage the luggage net. 69
Seats and Stowage Using the system Safety Driving Tips General Maintenance Breakdown assistance Technical data
Page 72 of 248
 Owners Manual Luggage compartment cover (Octavia)
You can use the luggage compartment cover behind the head re-
straints for storing light and soft items.
Fig. 59 Removing the luggage compart-
ment cover
The lugga")
Luggage compartment cover (Octavia)
You can use the luggage compartment cover behind the head re-
straints for storing light and soft items.
Fig. 59 Removing the luggage compart-
ment cover
The luggage compartment cover can be removed as required if one must trans-
port bulky goods.
– Unhook the support straps 1
⇒ fig. 59 .
– Place the cover in the horizontal position.
– Pull the cover out of the holder 2 horizontally to the rear.
– Install again by pushing the luggage compartment cover forwards into the
holder 2 and hanging the support straps
1 on the boot lid.
You can stow the removed luggage compartment cover behind the rear seat back-
rest. WARNING
No objects should be placed on the luggage compartment cover, the vehicle
occupants could be endangered if there is sudden braking or the vehicle col-
lides with something. CAUTION
Please ensure that the heating elements of the rear window heater are not dam-
aged as a result of objects placed in this area. Note
Opening the tailgate also lifts up the luggage compartment cover. Foldable luggage compartment cover (Estate car)
Fig. 60 Luggage compartment: foldable luggage compartment cover/removing foldable lug-
gage compartment cover
Pulling out
– Pull the foldable luggage compartment cover in direction of arrow 1 as far as
the stop into the secured position ⇒ fig. 60 .
Folding
– Press the cover in the handle area in direction of arrow 2 , the cover rolls up
automatically.
Removing
– Have the completely rolled up luggage compartment cover removed to trans-
port bulky goods by pressing on the side of the cross rod in direction of arrow 3 and taking it out by moving it in direction of arrow
4 .
WARNING
No objects should be placed on the luggage compartment cover. 70
Seats and Stowage
 1
1 2
2 3
3 4
4 5
5 6
6 7
7 8
8 9
9 10
10 11
11 12
12 13
13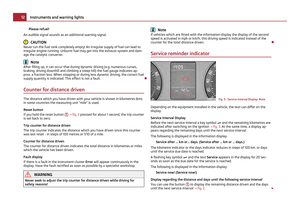 14
14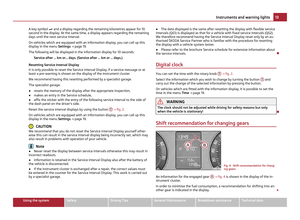 15
15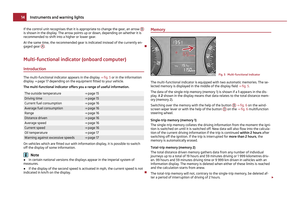 16
16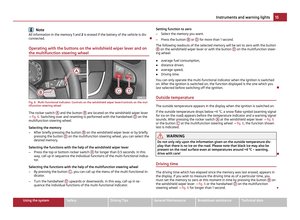 17
17 18
18 19
19 20
20 21
21 22
22 23
23 24
24 25
25 26
26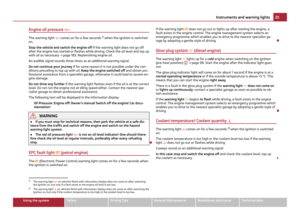 27
27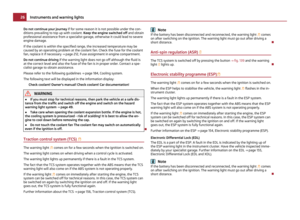 28
28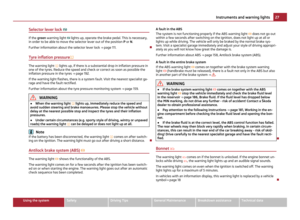 29
29 30
30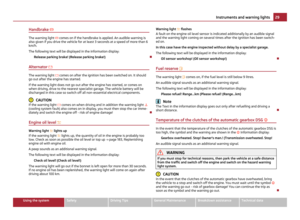 31
31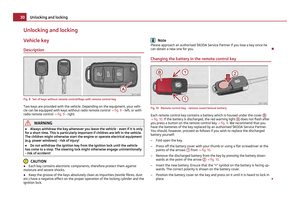 32
32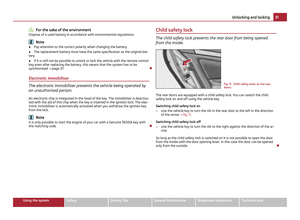 33
33 34
34 35
35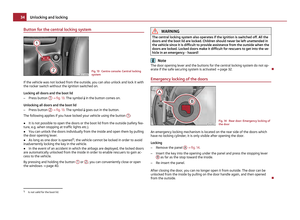 36
36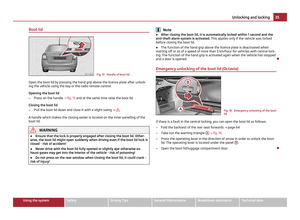 37
37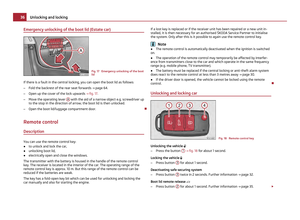 38
38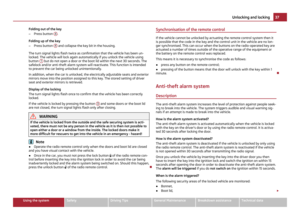 39
39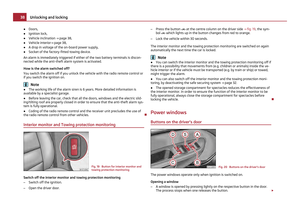 40
40 41
41 42
42 43
43 44
44 45
45 46
46 47
47 48
48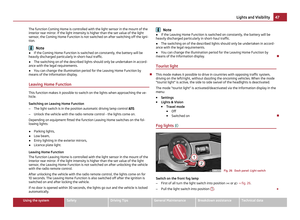 49
49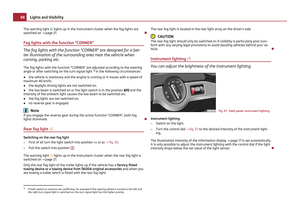 50
50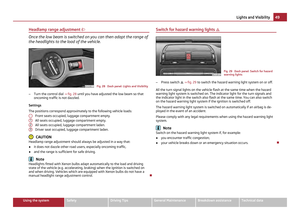 51
51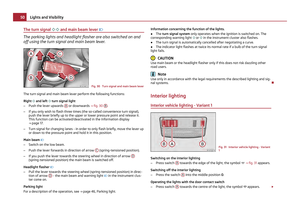 52
52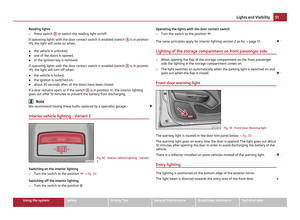 53
53 54
54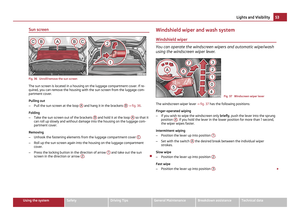 55
55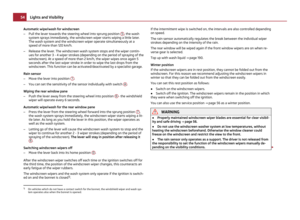 56
56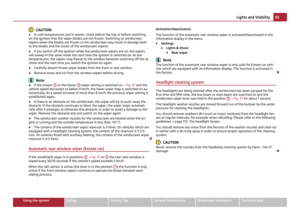 57
57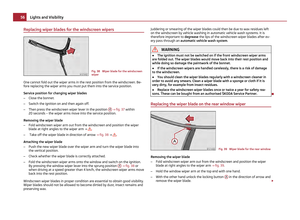 58
58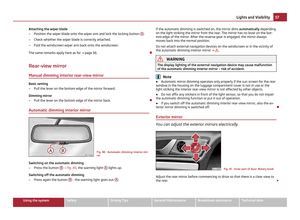 59
59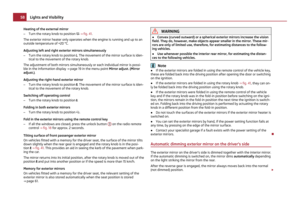 60
60 61
61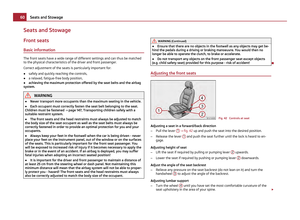 62
62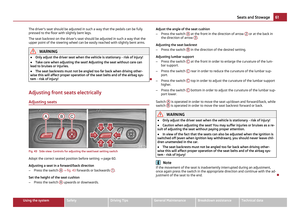 63
63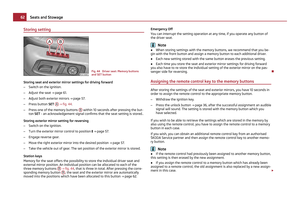 64
64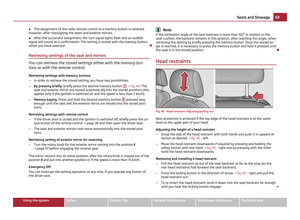 65
65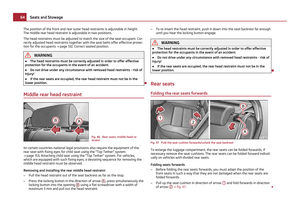 66
66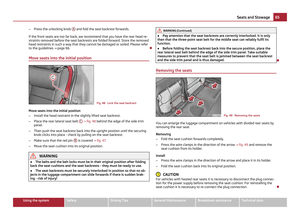 67
67 68
68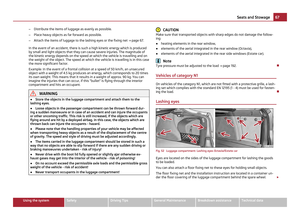 69
69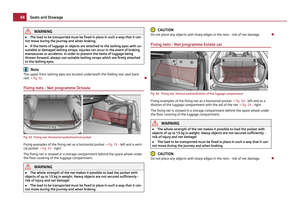 70
70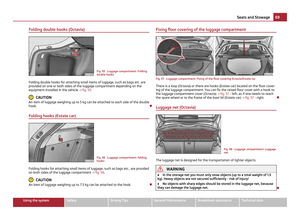 71
71 72
72 73
73 74
74 75
75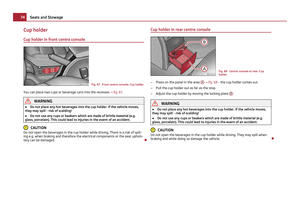 76
76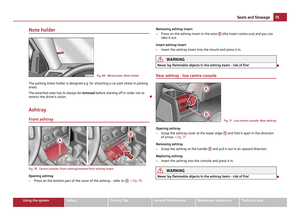 77
77 78
78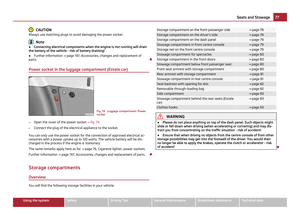 79
79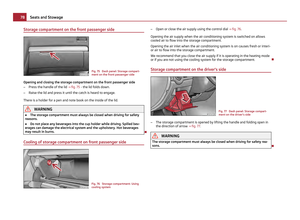 80
80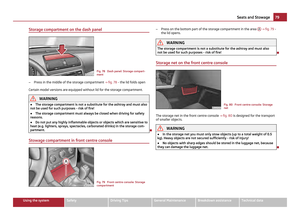 81
81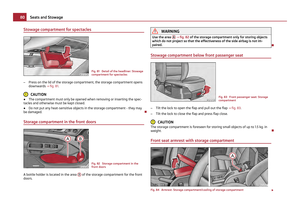 82
82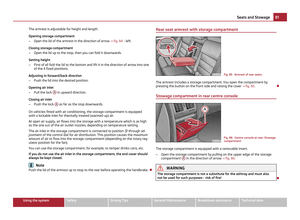 83
83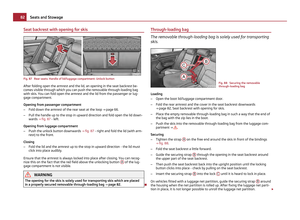 84
84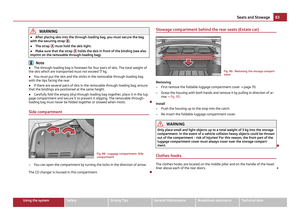 85
85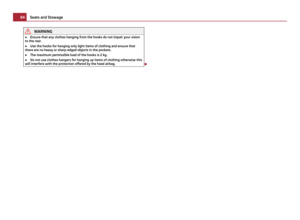 86
86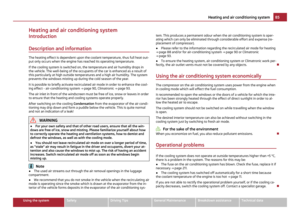 87
87 88
88 89
89 90
90 91
91 92
92 93
93 94
94 95
95 96
96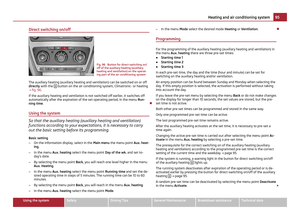 97
97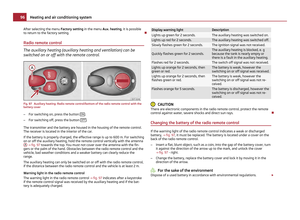 98
98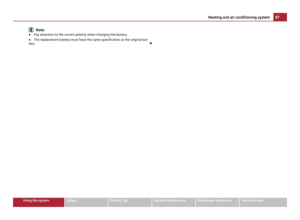 99
99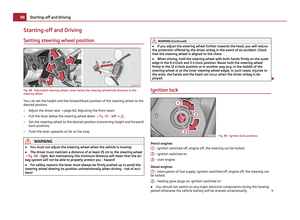 100
100 101
101 102
102 103
103 104
104 105
105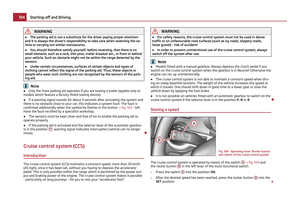 106
106 107
107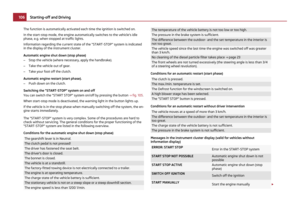 108
108 109
109 110
110 111
111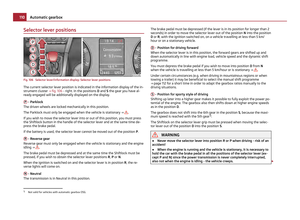 112
112 113
113 114
114 115
115 116
116 117
117 118
118 119
119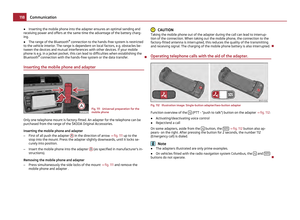 120
120 121
121 122
122 123
123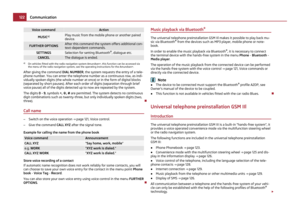 124
124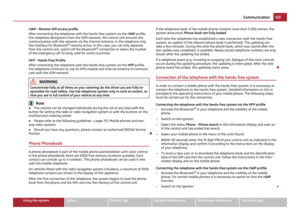 125
125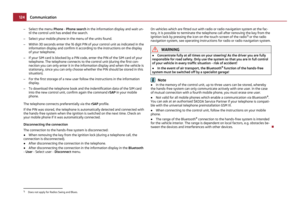 126
126 127
127 128
128 129
129 130
130 131
131 132
132 133
133 134
134 135
135 136
136 137
137 138
138 139
139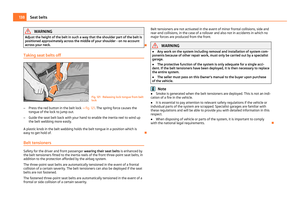 140
140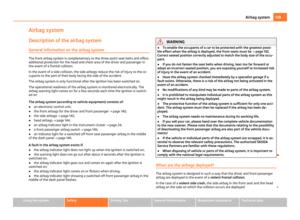 141
141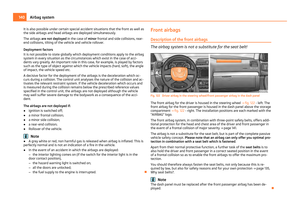 142
142 143
143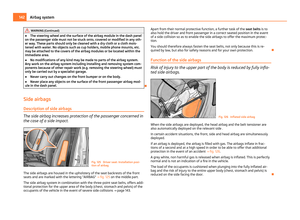 144
144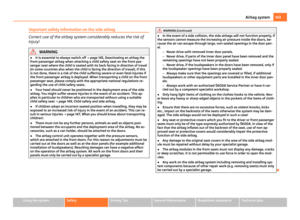 145
145 146
146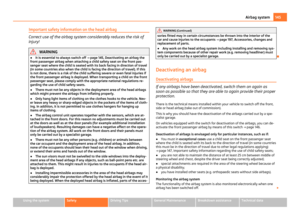 147
147 148
148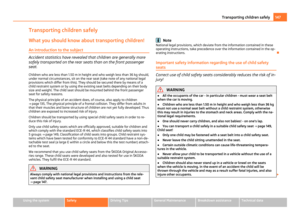 149
149 150
150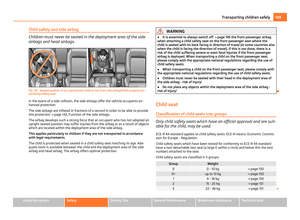 151
151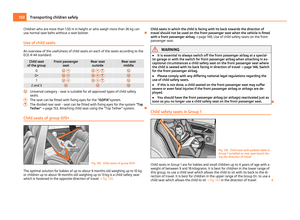 152
152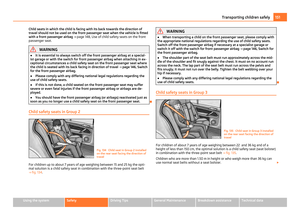 153
153 154
154 155
155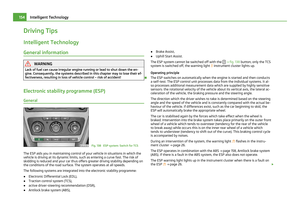 156
156 157
157 158
158 159
159 160
160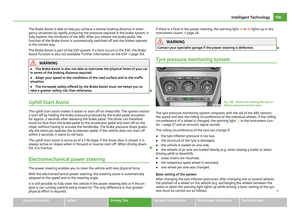 161
161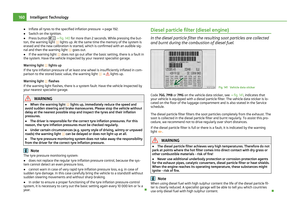 162
162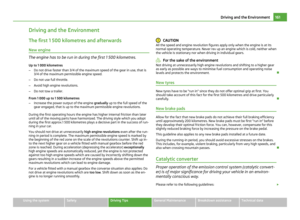 163
163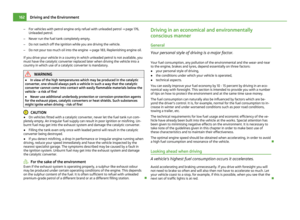 164
164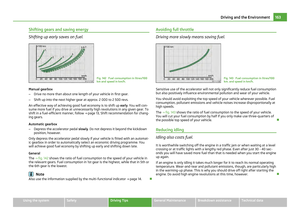 165
165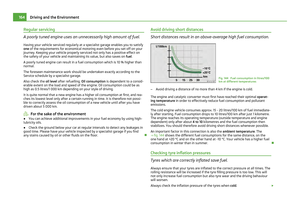 166
166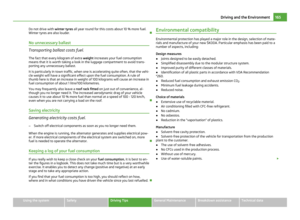 167
167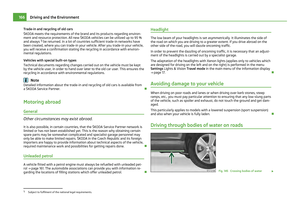 168
168 169
169 170
170 171
171 172
172 173
173 174
174 175
175 176
176 177
177 178
178 179
179 180
180 181
181 182
182 183
183 184
184 185
185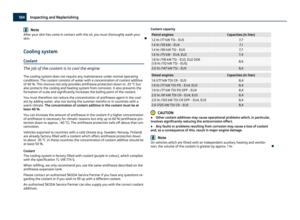 186
186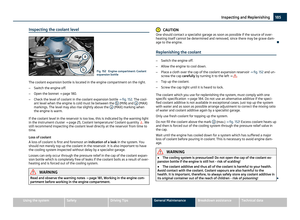 187
187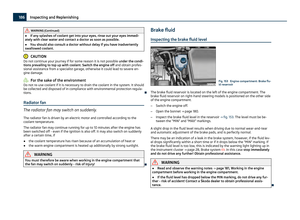 188
188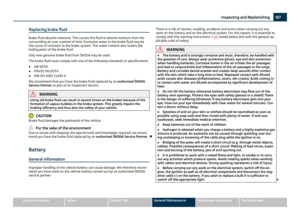 189
189 190
190 191
191 192
192 193
193 194
194 195
195 196
196 197
197 198
198 199
199 200
200 201
201 202
202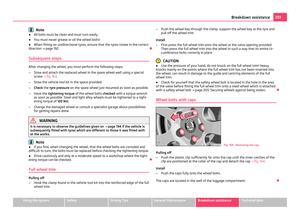 203
203 204
204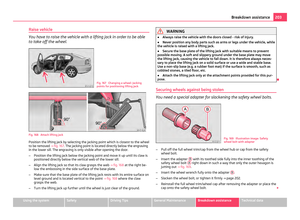 205
205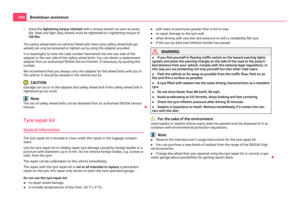 206
206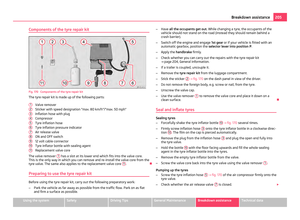 207
207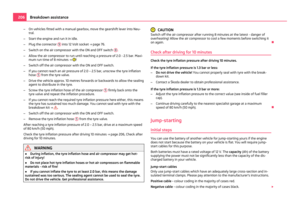 208
208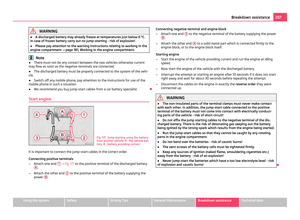 209
209 210
210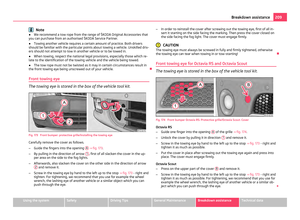 211
211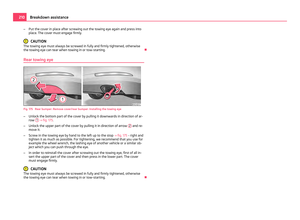 212
212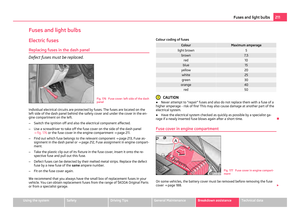 213
213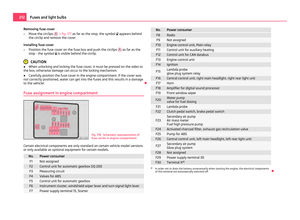 214
214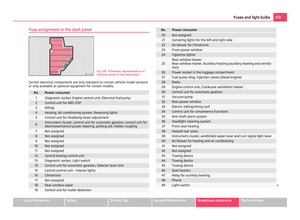 215
215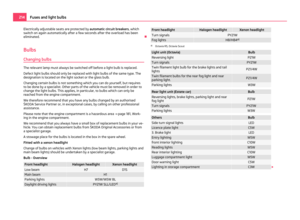 216
216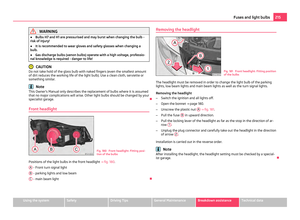 217
217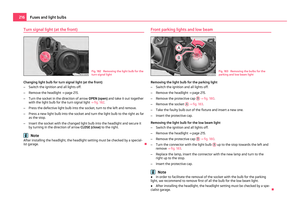 218
218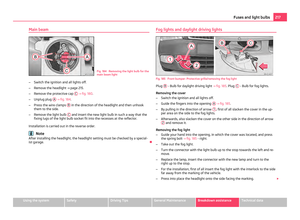 219
219 220
220 221
221 222
222 223
223 224
224 225
225 226
226 227
227 228
228 229
229 230
230 231
231 232
232 233
233 234
234 235
235 236
236 237
237 238
238 239
239 240
240 241
241 242
242 243
243 244
244 245
245 246
246 247
247