Page 49 of 248
 Owners Manual The function Coming Home is controlled with the light sensor in the mount of the
interior rear mirror. If the light intensity is higher than the set value of the light
sensor, the Coming Home Function")
The function Coming Home is controlled with the light sensor in the mount of the
interior rear mirror. If the light intensity is higher than the set value of the light
sensor, the Coming Home Function is not switched on after switching off the igni-
tion. Note
● If the Coming Home Function is switched on constantly, the battery will be
heavily discharged particularly in short-haul traffic.
● The switching on of the described lights should only be undertaken in accord-
ance with the legal requirements.
● You can change the illumination period for the Leaving Home Function by
means of the Information display.
Leaving Home Function This function makes it possible to switch on the lights when approaching the ve-
hicle.
Switching on Leaving Home Function
–
The light switch is in the position automatic driving lamp control .
– Unlock the vehicle with the radio remote control - the lights come on.
Depending on equipment fitted the function Leaving Home switches on the fol-
lowing lights:
● Parking lights,
● Low beam,
● Entry lighting in the exterior mirrors,
● Licence plate light.
Leaving Home Function
The function Leaving Home is controlled with the light sensor in the mount of the
interior rear mirror. If the light intensity is higher than the set value of the light
sensor, the Leaving Home Function is not switched on after unlocking the vehicle
with the radio remote control.
After unlocking the vehicle with the radio remote control, the lights come on for
10 seconds. The Leaving Home Function is also switched off after the ignition is
switched on and after locking the vehicle.
If no door is opened within 30 seconds, the lights go out and the vehicle is locked
automatically. Note
● If the Leaving Home Function is switched on constantly, the battery will be
heavily discharged particularly in short-haul traffic.
● The switching on of the described lights should only be undertaken in accord-
ance with the legal requirements.
● You can change the illumination period for the Leaving Home Function by
means of the Information display.
Tourist light This mode makes it possible to drive in countries with opposing traffic system,
driving on the left/right, without dazzling the oncoming vehicles. When the mode
“tourist light
” is active, the side to side swivel of the headlights is deactivated.
The mode “tourist light” is activated/deactivated via the Information display in the
menu:
■ Settings
■ Lights & Vision
■ Travel mode
■ Off
■ Switched on
Fog lights Fig. 26 Dash panel: Light switch
Switch on the front fog lamp
– First of all turn the light switch into position or ⇒
fig. 26 .
– Pull the light switch into position 1 .
£ 47
Lights and Visibility Using the system Safety Driving Tips General Maintenance Breakdown assistance Technical data
Page 50 of 248
 Owners Manual The warning light
lights up in the instrument cluster when the fog lights are
switched on ⇒
page 21.
Fog lights with the function “CORNER” The fog lights with the function “CORNER")
The warning light
lights up in the instrument cluster when the fog lights are
switched on ⇒
page 21.
Fog lights with the function “CORNER” The fog lights with the function “CORNER” are designed for a bet-
ter illumination of the surrounding area near the vehicle when
corning, parking etc.
The fog lights with the function
“CORNER” are adjusted according to the steering
angle or after switching on the turn signal light 1)
in the following circumstances:
● the vehicle is stationary and the engine is running or it moves with a speed of
maximum 40 km/h;
● the daylight driving lights are not switched on;
● the low beam is switched on or the light switch is in the position
and the
intensity of the ambient light causes the low beam to be switched on;
● the fog lights are not switched on;
● no reverse gear is engaged. Note
If you engage the reverse gear during the active function “CORNER”, both fog
lights illuminate.
Rear fog light Switching on the rear fog light
–
First of all turn the light switch into position or ⇒
fig. 26 .
– Pull the switch into position 2 .
The warning light
lights up in the instrument cluster when the rear fog light is
switched on ⇒ page 21.
Only the rear fog light of the trailer lights up if the vehicle has a factory-fitted
towing device or a towing device from ŠKODA original accessories and when you
are towing a trailer which is fitted with the rear fog light. The rear fog light is located in the rear light array on the driver's side. CAUTION
The rear fog light should only be switched on if visibility is particularly poor (con-
form with any varying legal provisions) to avoid dazzling vehicles behind your ve-
hicle.
Instrument lighting You can adjust the brightness of the instrument lighting.
Fig. 27 Dash panel: Instrument lighting
Instrument lighting
– Switch on the light.
– Turn the control dial ⇒
fig. 27 to the desired intensity of the instrument light-
ing.
The illumination intensity of the Information display ⇒ page 17 is set automatically.
It is only possible to adjust the instrument lighting with the control dial if the light
intensity drops below the set value of the light sensor. 1)
If both switch on versions are conflicting, for example if the steering wheel is turned to the left and
the right turn signal light is switched on, the turn signal light has the higher priority. 48
Lights and Visibility
Page 51 of 248
 Owners Manual Headlamp range adjustment
Once the low beam is switched on you can then adapt the range of
the headlights to the load of the vehicle. Fig. 28 Dash panel: Lights and Visibility
– Turn the contro")
Headlamp range adjustment
Once the low beam is switched on you can then adapt the range of
the headlights to the load of the vehicle. Fig. 28 Dash panel: Lights and Visibility
– Turn the control dial ⇒ fig. 28 until you have adjusted the low beam so that
oncoming traffic is not dazzled.
Settings
The positions correspond approximately to the following vehicle loads: Front seats occupied, luggage compartment empty.
All seats occupied, luggage compartment empty.
All seats occupied, luggage compartment laden.
Driver seat occupied, luggage compartment laden. CAUTION
Headlamp range adjustment should always be adjusted in a way that:
● it does not dazzle other road users, especially oncoming traffic,
● and the range is sufficient for safe driving. Note
Headlights fitted with Xenon bulbs adapt automatically to the load and driving
state of the vehicle (e.g. accelerating, braking) when the ignition is switched on
and when driving. Vehicles which are equipped with Xenon bulbs do not have a
manual headlight range adjustment control.
- 1
2
3 Switch for hazard warning lights
Fig. 29 Dash panel: Switch for hazard
warning lights
– Press switch ⇒ fig. 29 to switch the hazard warning light system on or off.
All the turn signal lights on the vehicle flash at the same time when the hazard
warning light system is switched on. The indicator light for the turn signals and
the indicator light in the switch also flash at the same time. You can also switch
on the hazard warning light system if the ignition is switched off.
The hazard warning light system is switched on automatically if an airbag is de-
ployed in the event of an accident.
Please comply with any legal requirements when using the hazard warning light
system. Note
Switch on the hazard warning light system if, for example:
● you encounter traffic congestion;
● your vehicle breaks down or an emergency situation occurs. 49
Lights and Visibility Using the system Safety Driving Tips General Maintenance Breakdown assistance Technical data
Page 52 of 248
 Owners Manual The turn signal
and main beam lever The parking lights and headlight flasher are also switched on and
off using the turn signal and main beam lever.
Fig. 30 Turn signal and main beam lev")
The turn signal
and main beam lever The parking lights and headlight flasher are also switched on and
off using the turn signal and main beam lever.
Fig. 30 Turn signal and main beam lever
The turn signal and main beam lever perform the following functions:
Right and left turn signal light
– Push the lever upwards A or downwards
⇒ fig. 30 B .
– If you only wish to flash three times (the so-called convenience turn signal),
push the lever briefly up to the upper or lower pressure point and release it.
This function can be activated/deactivated in the Information display
⇒ page 17.
– Turn signal for changing lanes - in order to only flash briefly, move the lever up
or down to the pressure point and hold it in this position.
Main beam
– Switch on the low beam.
– Push the lever forwards in direction of arrow C (spring-tensioned position).
– If you push the lever towards the steering wheel in direction of arrow D(spring-tensioned position) the main beam is switched off.
Headlight flasher
– Pull the lever towards the steering wheel (spring-tensioned position) in direc-
tion of arrow D - the main beam and warning light
in the instrument clus-
ter come on.
Parking light
For a description of the operation, see ⇒ page 46
, Parking light. Information concerning the function of the lights.
● The turn signal system only operates when the ignition is switched on. The
corresponding warning light or in the instrument cluster also flashes.
● The turn signal is automatically cancelled after negotiating a curve.
● The indicator light flashes at twice its normal rate if a bulb of the turn signal
light fails. CAUTION
Use main beam or the headlight flasher only if this does not risk dazzling other
road users. Note
Use only in accordance with the legal requirements the described lighting and sig-
nal systems.
Interior lighting Interior vehicle lighting - Variant 1 Fig. 31 Interior vehicle lighting - Variant
1
Switching on the interior lighting
– Press switch A towards the edge of the light, the symbol
⇒
fig. 31 appears.
Switching off the interior lighting
– Press the switch A into the middle position
O.
Operating the lights with the door contact switch
– Press switch A towards the centre of the light, the symbol
appears. £50
Lights and Visibility
Page 53 of 248
 Owners Manual Reading lights
–
Press switch B to switch the reading light on/off.
If operating lights with the door contact switch is enabled (switch A is in position
), the light will come on when:
● th")
Reading lights
–
Press switch B to switch the reading light on/off.
If operating lights with the door contact switch is enabled (switch A is in position
), the light will come on when:
● the vehicle is unlocked,
● one of the doors is opened,
● or the ignition key is removed.
If operating lights with the door contact switch is enabled (switch A is in position
), the light will turn off when:
● the vehicle is locked,
● the ignition is switched on,
● about 30 seconds after all the doors have been closed.
If a door remains open, or if the switch A is in position
, the interior lighting
goes out after 10
minutes to prevent the battery from discharging. Note
We recommend having these bulbs replaced by a specialist garage.
Interior vehicle lighting - Variant 2 Fig. 32 Interior vehicle lighting - Variant
2
Switching on the interior lighting
– Turn the switch to the position ⇒ fig. 32 .
Switching off the interior lighting
– Turn the switch to the position O. Operating the lights with the door contact switch
– Turn the switch to the position .
The same principles apply for interior lighting version 2 as for ⇒
page 51.
Lighting of the storage compartment on front passenger side –
When opening the flap of the storage compartment on the front passenger
side the lighting in the storage compartment comes on.
– The light switches on automatically when the parking light is switched on and
goes out when the flap is closed.
Front door warning light Fig. 33 Front door: Warning light
The warning light is located in the door trim panel below ⇒
fig. 33.
The warning light goes on every time the door is opened. The light goes out about
10 minutes after opening the door in order to avoid discharging the battery of the
vehicle.
There is a reflector installed on some vehicles instead of the warning light.
Entry lighting The lighting is positioned on the bottom edge of the exterior mirror.
The light beam is directed towards the entry area of the front door.
£ 51
Lights and Visibility Using the system Safety Driving Tips General Maintenance Breakdown assistance Technical data
Page 54 of 248
 Owners Manual The light comes on after the doors have been locked or on opening the boot lid.
The light goes out after switching on the ignition or up to 30 seconds after closing
all the doors and the boot lid.
If")
The light comes on after the doors have been locked or on opening the boot lid.
The light goes out after switching on the ignition or up to 30 seconds after closing
all the doors and the boot lid.
If a door or the boot lid remains open, the light goes out within 2 minutes if the
ignition is switched off. WARNING
If the entry light comes on, do not touch its cover - risk of burns!
Luggage compartment light The lighting comes on automatically when the boot lid is opened. If the lid remains
open for more than about 10 minutes, the luggage compartment lighting switches
off automatically.
Visibility Rear window heater Fig. 34 Switch for rear window heater
– You can switch the rear window heater on or off by pressing the switch ⇒
fig. 34 - the indicator light in the switch comes on or goes out.
The rear window heater only operates when the engine is running.
The rear window heater switches off automatically after 10 minutes. For the sake of the environment
As soon as the window is de-iced or free from mist, the heating should be switch-
ed off. The reduced current consumption will have a favourable effect on fuel
economy ⇒ page 165, Saving electricity. Note
● If the on-board voltage drops, the rear window heater switches off automati-
cally, in order to provide sufficient electrical energy for the engine control
⇒
page 190, Automatic consumer shut-off.
● The position and the shape of the switch can differ depending on equipment
installed in the vehicle.
Sun visors Fig. 35 Sun visor: Swivelling out/double sun visor
You can pull the sun visor for the driver or front passenger out of the fixture and
swivel it toward the door in the direction of the arrow
1
⇒
fig. 35.
The vanity mirrors in the sun visors are provided with covers. Push the cover in di-
rection of arrow 2 .
On vehicles which are equipped with double sun visor, you can also unfold the
auxiliary visor in direction of arrow 3 after swivelling the sun visor.
WARNING
The sun visors must not be swivelled to the side windows into the deploy-
ment area of the head airbags if any objects, such as ball-point pens etc. are
attached to them. This might result in injuries to the occupants if the head air-
bag is deployed. 52
Lights and Visibility
Page 55 of 248
 Owners Manual Sun screen
Fig. 36 Unroll/remove the sun screen
The sun screen is located in a housing on the luggage compartment cover. If re-
quired, you can remove the housing with the sun screen from the luggage")
Sun screen
Fig. 36 Unroll/remove the sun screen
The sun screen is located in a housing on the luggage compartment cover. If re-
quired, you can remove the housing with the sun screen from the luggage com-
partment cover.
Pulling out
– Pull the sun screen at the loop A and hang it in the brackets
B
⇒ fig. 36.
Folding
– Take the sun screen out of the brackets B and hold it at the loop
A so that it
can roll up slowly and without damage into the housing on the luggage com-
partment cover.
Removing
– Unhook the fastening elements from the luggage compartment cover C .
– Roll up the sun screen again into the housing on the luggage compartment
cover.
– Press the locking button in the direction of arrow 1 and take out the sun
screen in the direction or arrow 2 .
Windshield wiper and wash system
Windshield wiper You can operate the windscreen wipers and automatic wipe/wash
using the windscreen wiper lever. Fig. 37 Windscreen wiper lever
The windscreen wiper lever ⇒ fig. 37 has the following positions:
Finger-operated wiping
– If you wish to wipe the windscreen only briefly, push the lever into the sprung
position 4 . If you hold the lever in the lower position for more than 1 second,
the wiper wipes faster.
Intermittent wiping
– Position the lever up into position 1 .
– Set with the switch A the desired break between the individual wiper
strokes.
Slow wipe
– Position the lever up into position 2 .
Fast wipe
– Position the lever up into position 3 .
£ 53
Lights and Visibility Using the system Safety Driving Tips General Maintenance Breakdown assistance Technical data
Page 56 of 248
 Owners Manual Automatic wipe/wash for windscreen
–
Pull the lever towards the steering wheel into sprung position 5 , the wash
system sprays immediately, the windscreen wiper starts wiping a little later.
The wa")
Automatic wipe/wash for windscreen
–
Pull the lever towards the steering wheel into sprung position 5 , the wash
system sprays immediately, the windscreen wiper starts wiping a little later.
The wash system and the windscreen wiper operate simultaneously at a
speed of more than 120 km/h.
– Release the lever. The windscreen wash system stops and the wiper contin-
ues for another 3 - 4 wiper strokes (depending on the period of spraying of the
windscreen). At a speed of more than 2 km/h, the wiper wipes once again 5
seconds after the last wiper stroke in order to wipe the last drops from the
windscreen. This function can be activated/deactivated by a specialist garage.
Rain sensor
– Move the lever into position 1 .
– You can set the sensitivity of the sensor individually with switch A .
Wiping the rear window pane
– Push the lever away from the steering wheel into position 6 - the windshield
wiper will operate every 6 seconds.
Automatic wipe/wash for the rear window pane
– Press the lever from the steering wheel forward into the sprung position 7 ,
the wash system sprays immediately, the windscreen wiper starts wiping a lit-
tle later. As long as you hold the lever in this position, the wiper operates as
well as the wash system.
– Letting go of the lever will cause the windscreen wash system to stop and the
wiper to continue for another 2 - 3 wiper strokes (depending on the period of
spraying of the windscreen). The lever will stay in position after releasing it
6 .
Switching windscreen wipers off
– Move the lever back into its home position 0 .
After the windscreen wiper switches off each time or the ignition switches off for
the third time, the position of the windscreen wiper changes, this counteracts an
early fatigue of the wiper rubbers.
The windscreen wipers and the wash system only operate if the ignition is switch-
ed on and the bonnet is closed 1)
. If the intermittent wipe is switched on, the intervals are also controlled depending
on speed.
The rain sensor automatically regulates the break between the individual wiper
strokes depending on the intensity of the rain.
The rear window will be wiped again if the front window wipers are on when re-
verse gear is selected.
Top up with wash liquid ⇒ page 190
.
Winter position
If the windscreen wipers are in rest position, they cannot be folded out from the
windscreen. For this reason we recommend adjusting the windscreen wipers in
winter so that they can be folded out from the windscreen easily.
You can set this rest position as follows:
● Switch on the windscreen wipers.
● Switch off the ignition. The windscreen wipers remain in the position in which
they were when switching off the ignition.
You can also use the service position ⇒
page 56 as a winter position. WARNING
● Properly maintained windscreen wiper blades are essential for clear visibil-
ity and safe driving ⇒
page 56.
● Do not use the windscreen washer system at low temperatures, without
heating the windscreen beforehand. Otherwise the window cleaner could
freeze on the windscreen and restrict the view to the front.
● The rain sensor only operates as a support. The driver is not released from
the responsibility to set the function of the windscreen wipers manually de-
pending on the visibility conditions. £1)
On vehicles which do not have a contact switch for the bonnet, the windshield wiper and wash sys-
tem operates also when the bonnet is opened. 54
Lights and Visibility
 1
1 2
2 3
3 4
4 5
5 6
6 7
7 8
8 9
9 10
10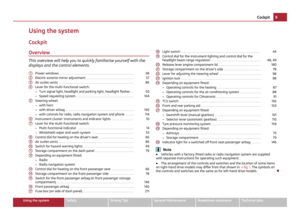 11
11 12
12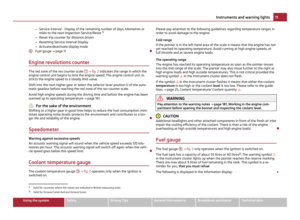 13
13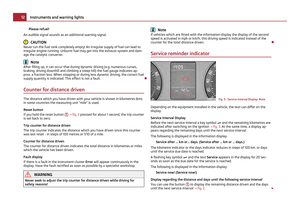 14
14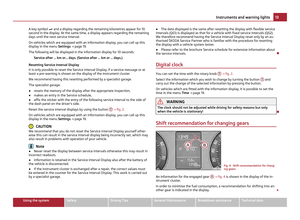 15
15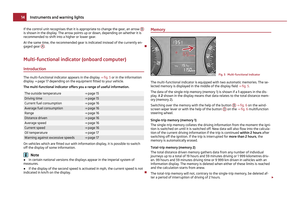 16
16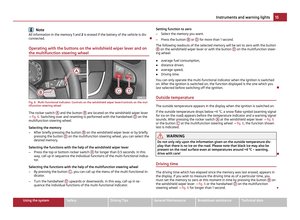 17
17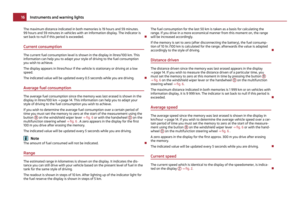 18
18 19
19 20
20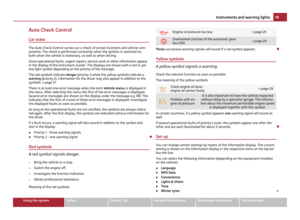 21
21 22
22 23
23 24
24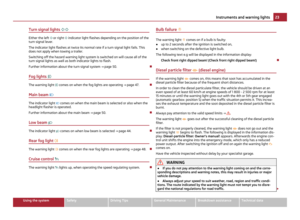 25
25 26
26 27
27 28
28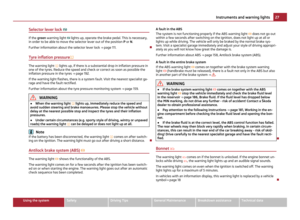 29
29 30
30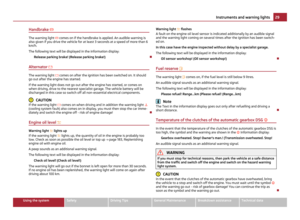 31
31 32
32 33
33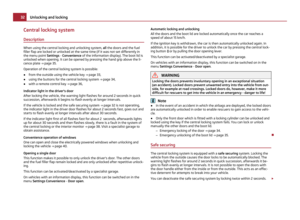 34
34 35
35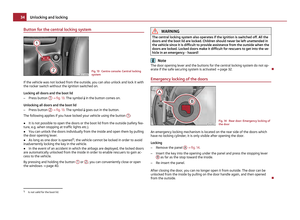 36
36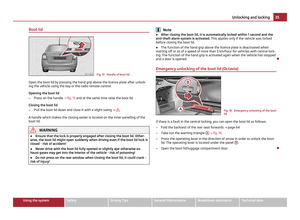 37
37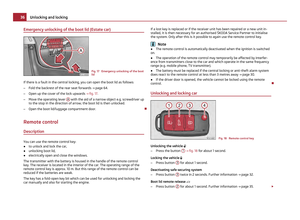 38
38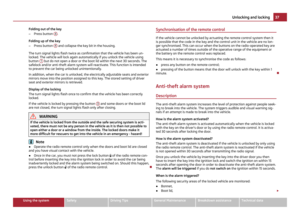 39
39 40
40 41
41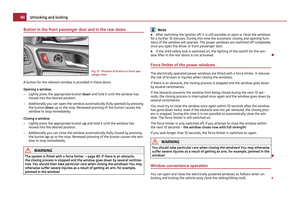 42
42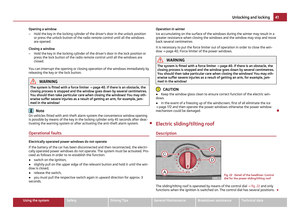 43
43 44
44 45
45 46
46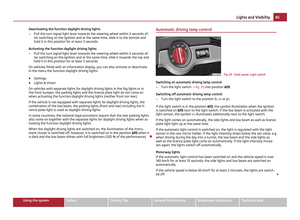 47
47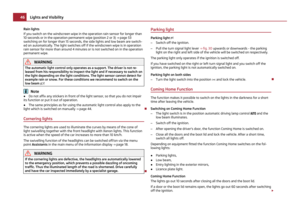 48
48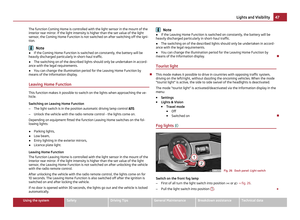 49
49 50
50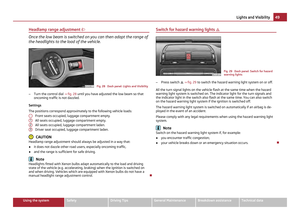 51
51 52
52 53
53 54
54 55
55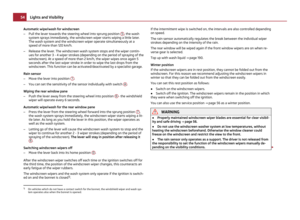 56
56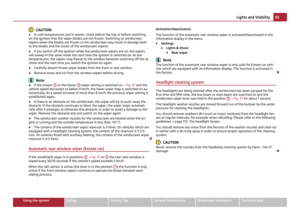 57
57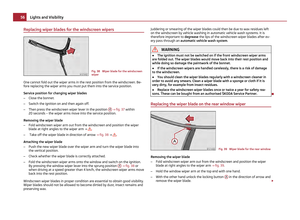 58
58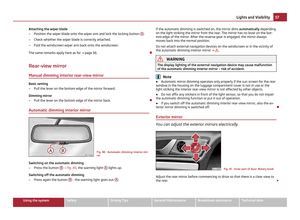 59
59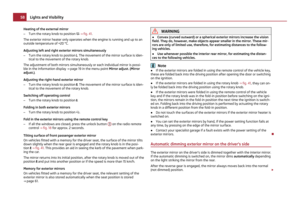 60
60 61
61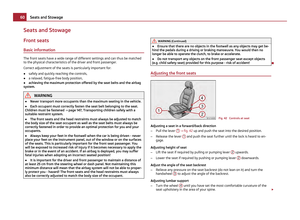 62
62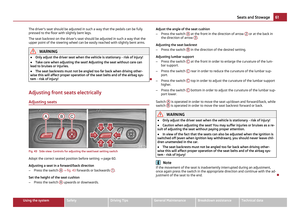 63
63 64
64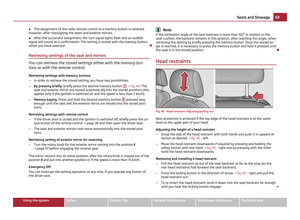 65
65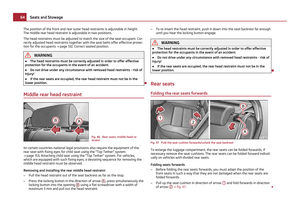 66
66 67
67 68
68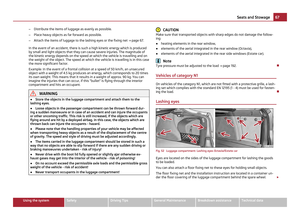 69
69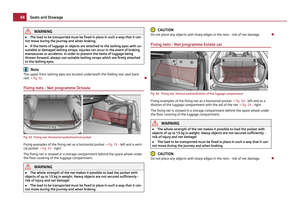 70
70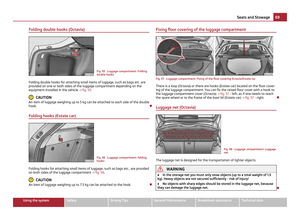 71
71 72
72 73
73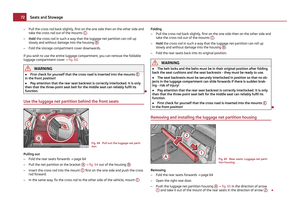 74
74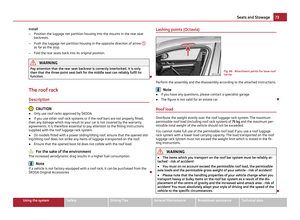 75
75 76
76 77
77 78
78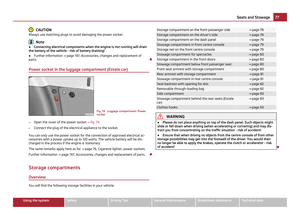 79
79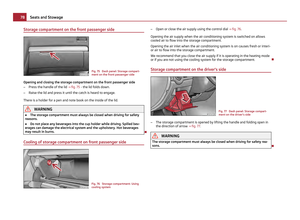 80
80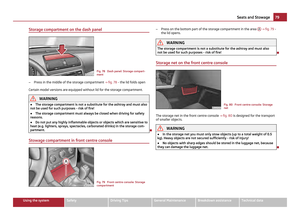 81
81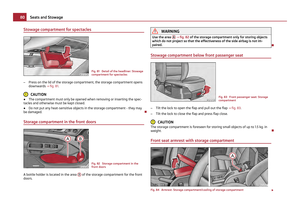 82
82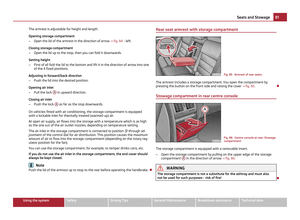 83
83 84
84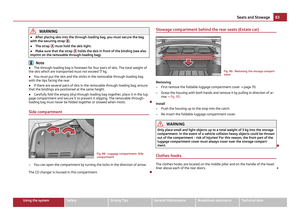 85
85 86
86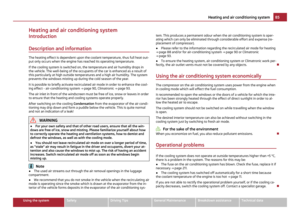 87
87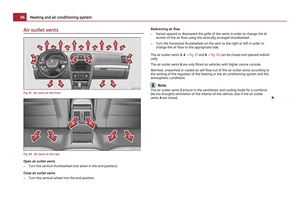 88
88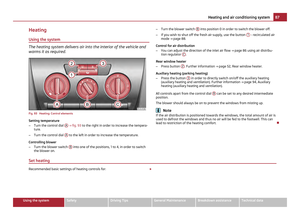 89
89 90
90 91
91 92
92 93
93 94
94 95
95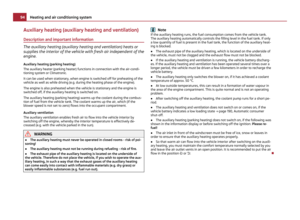 96
96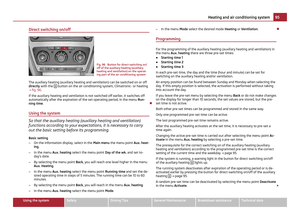 97
97 98
98 99
99 100
100 101
101 102
102 103
103 104
104 105
105 106
106 107
107 108
108 109
109 110
110 111
111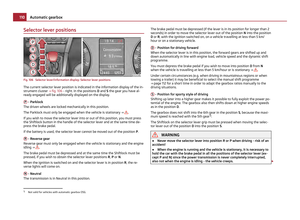 112
112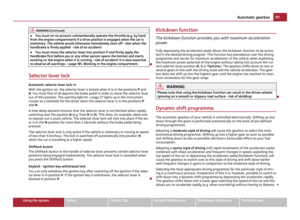 113
113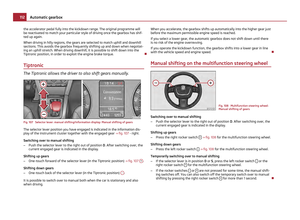 114
114 115
115 116
116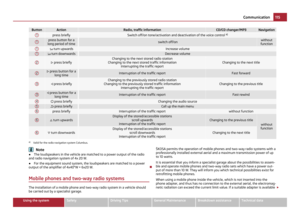 117
117 118
118 119
119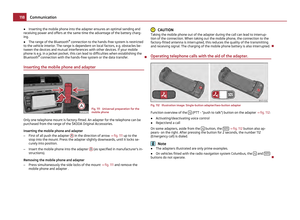 120
120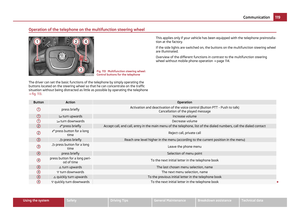 121
121 122
122 123
123 124
124 125
125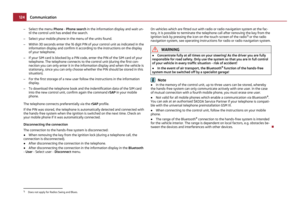 126
126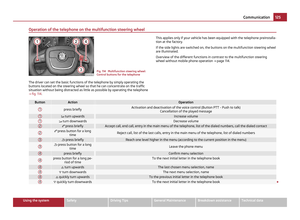 127
127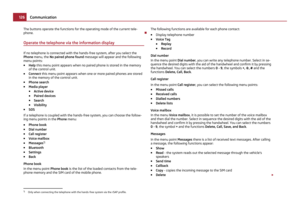 128
128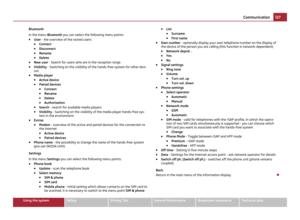 129
129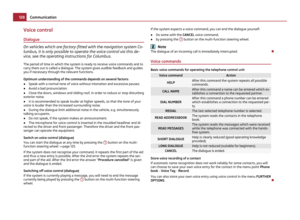 130
130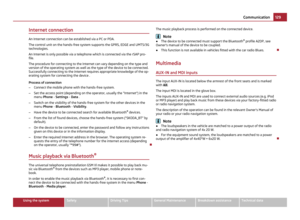 131
131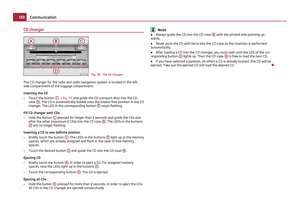 132
132 133
133 134
134 135
135 136
136 137
137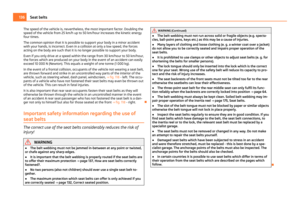 138
138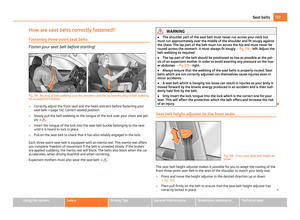 139
139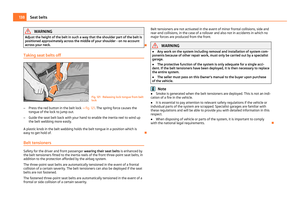 140
140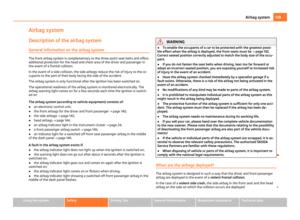 141
141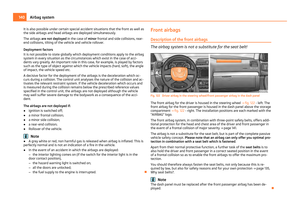 142
142 143
143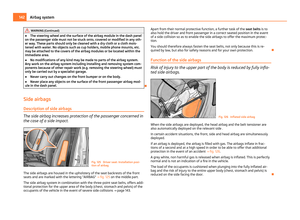 144
144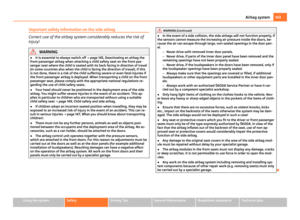 145
145 146
146 147
147 148
148 149
149 150
150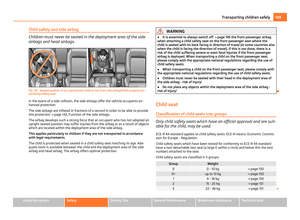 151
151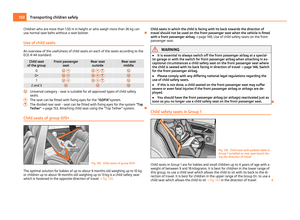 152
152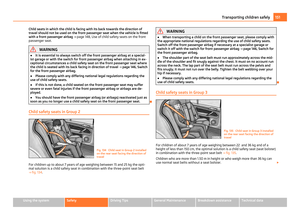 153
153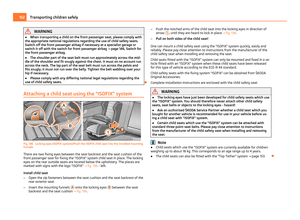 154
154 155
155 156
156 157
157 158
158 159
159 160
160 161
161 162
162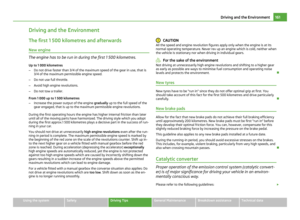 163
163 164
164 165
165 166
166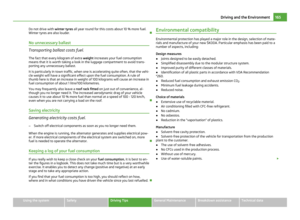 167
167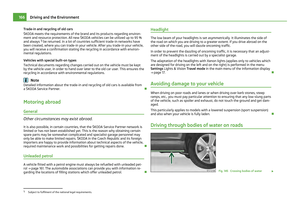 168
168 169
169 170
170 171
171 172
172 173
173 174
174 175
175 176
176 177
177 178
178 179
179 180
180 181
181 182
182 183
183 184
184 185
185 186
186 187
187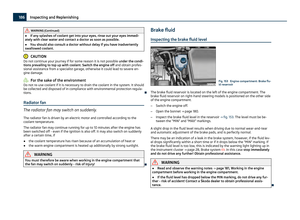 188
188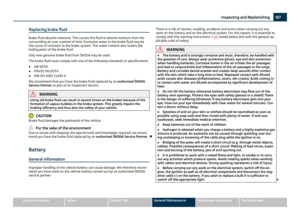 189
189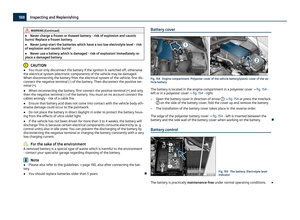 190
190 191
191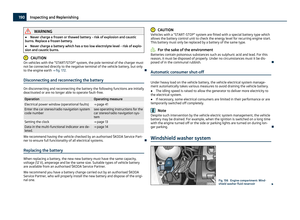 192
192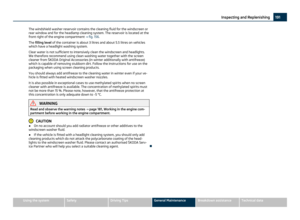 193
193 194
194 195
195 196
196 197
197 198
198 199
199 200
200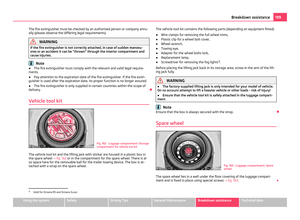 201
201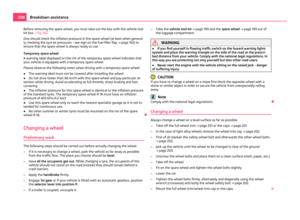 202
202 203
203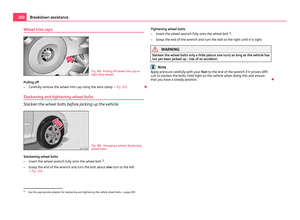 204
204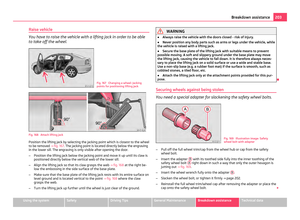 205
205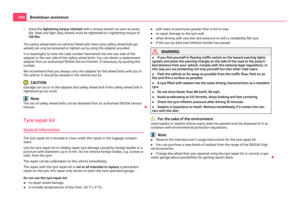 206
206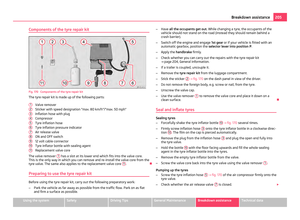 207
207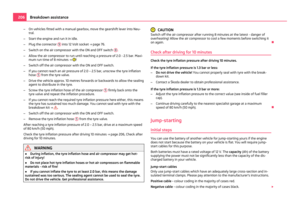 208
208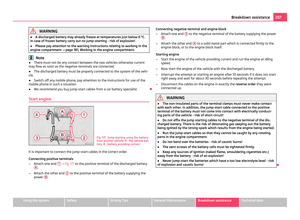 209
209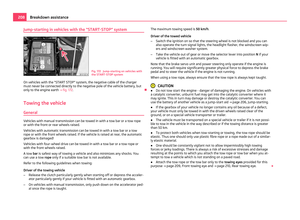 210
210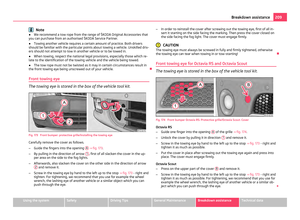 211
211 212
212 213
213 214
214 215
215 216
216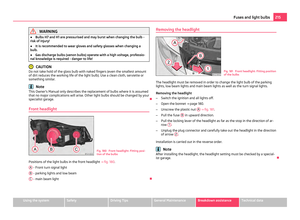 217
217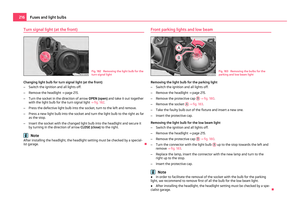 218
218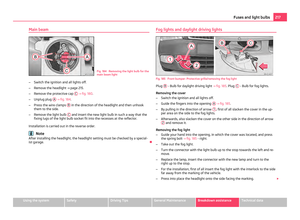 219
219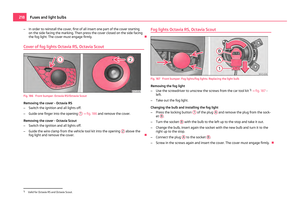 220
220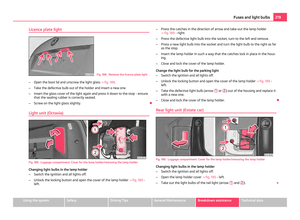 221
221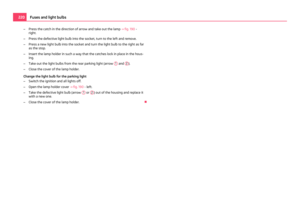 222
222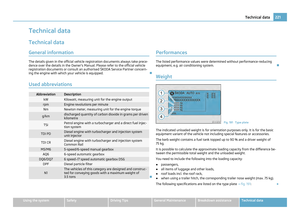 223
223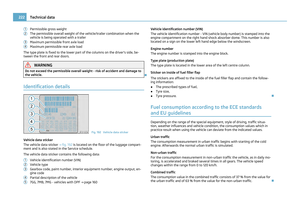 224
224 225
225 226
226 227
227 228
228 229
229 230
230 231
231 232
232 233
233 234
234 235
235 236
236 237
237 238
238 239
239 240
240 241
241 242
242 243
243 244
244 245
245 246
246 247
247