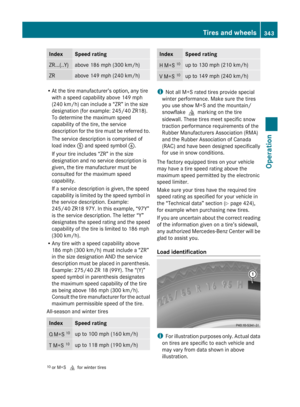
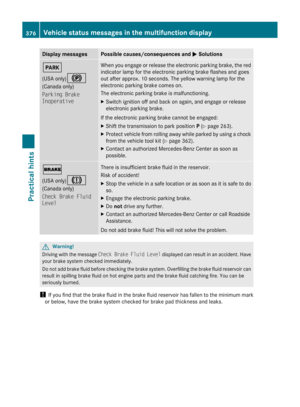
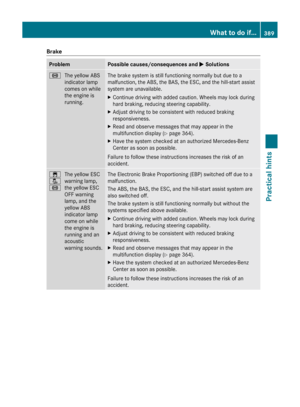
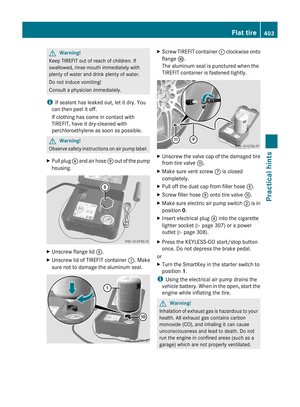
Page 89 of 436

A possible option:XTo switch predictive speller language
(character set): Select !.
With Number Keypad
Alternatively, you can enter characters using
the number keypad (direct input).
Example:
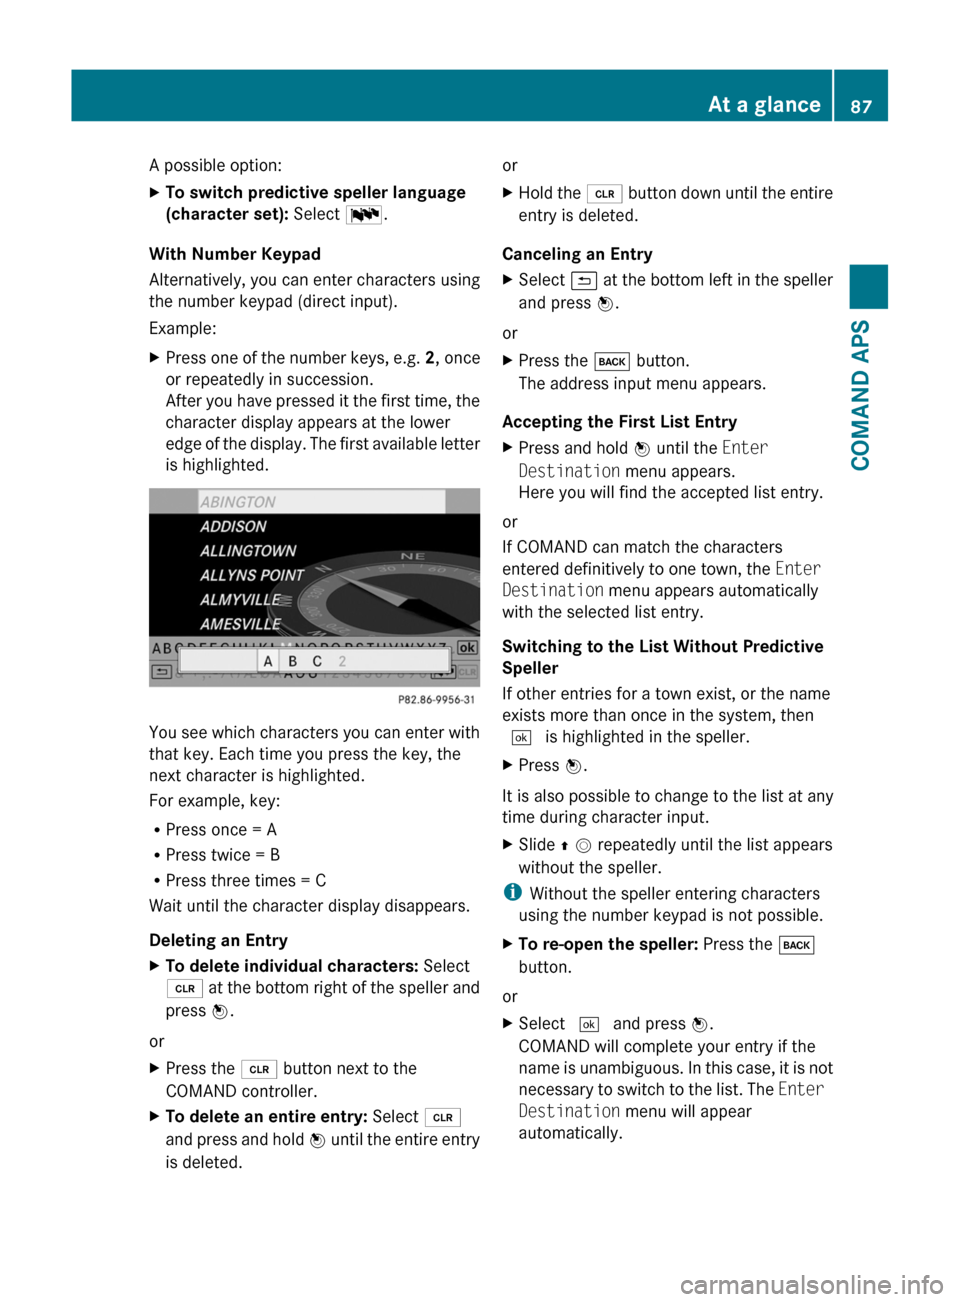
XPress one of the number keys, e.g. 2, once
or repeatedly in succession.
After you have pressed it the first time, the
character display appears at the lower
edge of the display. The first available letter
is highlighted.
You see which characters you can enter with
that key. Each time you press the key, the
next character is highlighted.
For example, key:
RPress once = A
RPress twice = B
RPress three times = C
Wait until the character display disappears.
Deleting an Entry
XTo delete individual characters: Select
õ at the bottom right of the speller and
press n.
or
XPress the 2 button next to the
COMAND controller.
XTo delete an entire entry: Select õ
and press and hold n until the entire entry
is deleted.
orXHold the 2 button down until the entire
entry is deleted.
Canceling an Entry
XSelect á at the bottom left in the speller
and press n.
or
XPress the k button.
The address input menu appears.
Accepting the First List Entry
XPress and hold n until the Enter
Destination menu appears.
Here you will find the accepted list entry.
or
If COMAND can match the characters
entered definitively to one town, the Enter
Destination menu appears automatically
with the selected list entry.
Switching to the List Without Predictive
Speller
If other entries for a town exist, or the name
exists more than once in the system, then
d is highlighted in the speller.
XPress n.
It is also possible to change to the list at any
time during character input.
XSlide q m repeatedly until the list appears
without the speller.
iWithout the speller entering characters
using the number keypad is not possible.
XTo re-open the speller: Press the k
button.
or
XSelect d and press n.
COMAND will complete your entry if the
name is unambiguous. In this case, it is not
necessary to switch to the list. The Enter
Destination menu will appear
automatically.
At a glance87COMAND APSBA 197 USA, CA Edition A 2011; 1; 27, en-UShereepeVersion: 3.0.3.52010-03-24T15:31:10+01:00 - Seite 87Z
Page 90 of 436

Selecting a list entry
Town list in navigation mode
: G symbol for additional optionsXTo select a town: Rotate y m z or slide
q m r.
XTo confirm selection: Press n.
A town with the G symbol exists more
than once in the selected state/province
or it has subentries. Confirming this type of
town will result in a further selection. The
G symbol then switches to I.
Operating Example
Switching to Radio Mode and Calling up
the Station List
Initial situation: You would like to switch, for
example, from the phone function to radio
mode and request the Presets list from
there.
iIn this guide, the path to a menu item is
shown as an action in a special typeface.
Audio £ Audio £ FM/AM Radio £
Radio £ Presets.
iDepending on the initial situation, this
sequence of actions may be shorter.
If radio mode was active last, it is sufficient
to select Audio £ Radio £ Presets.
The individual steps for the above example
are described below.
Switching to the Current Audio Mode
iYou can also call up the current audio
mode using the buttons $ or h.
XTo move to the main function line:
Slide q m.
XTo select the audio main function:
Rotate y m z or slide o m p.
XTo confirm your selection: Press n.
The main display of the previous audio
operating mode, e.g. CD audio, appears.
The selection bar is in the display/selection
window.
1 Selection bar
Switching to Radio Mode
XTo select Audio again: Slide q m.XTo confirm selection: Press n.
The Audio menu appears.
XTo select FM/AM Radio: Rotate y m z or
slide q m.
XTo confirm selection: Press n.
The radio main display appears.
88At a glanceCOMAND APS
BA 197 USA, CA Edition A 2011; 1; 27, en-UShereepeVersion: 3.0.3.52010-03-24T15:31:10+01:00 - Seite 88
Page 91 of 436

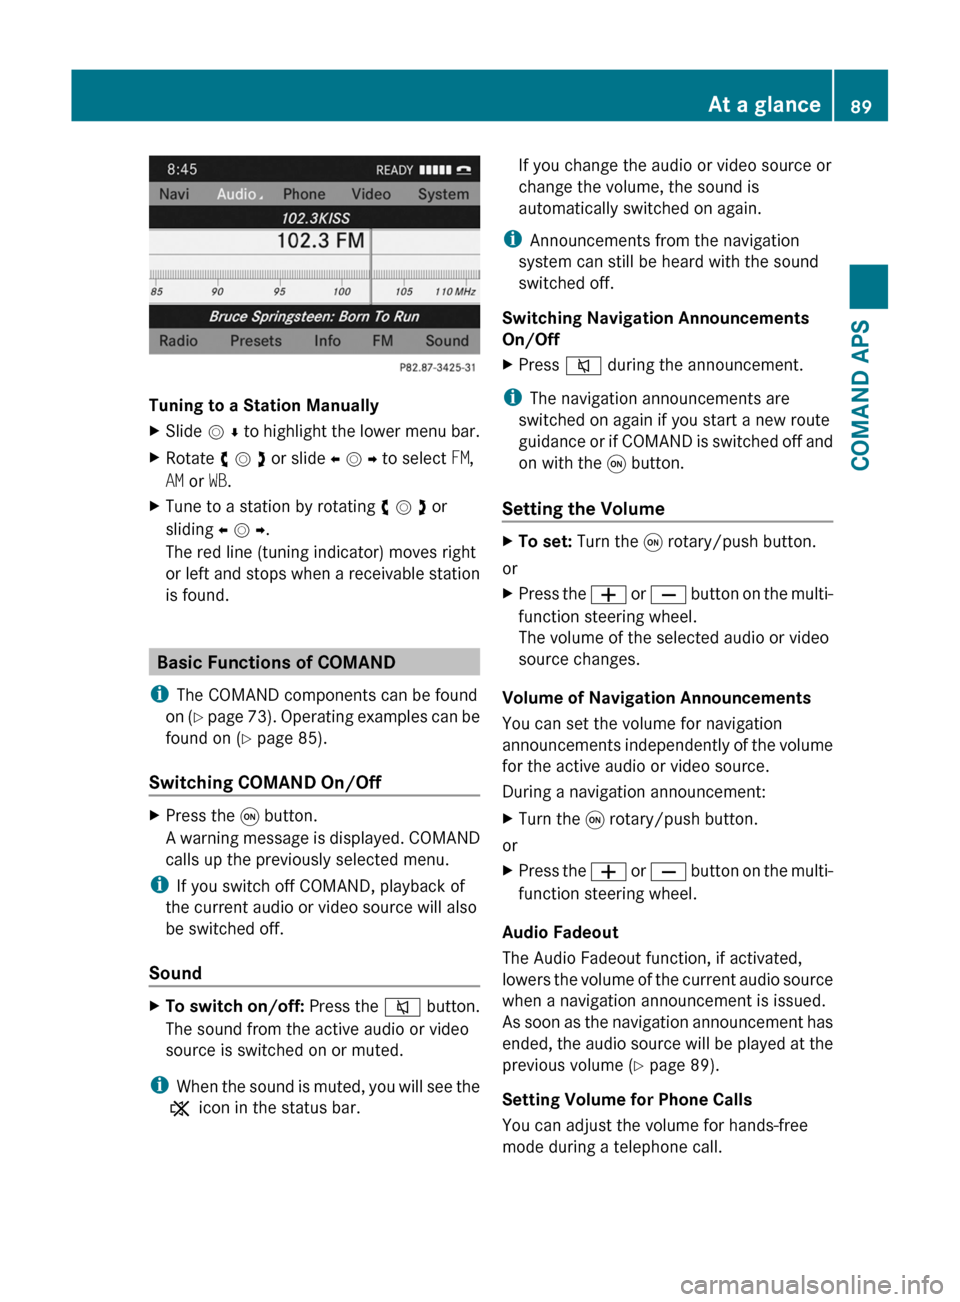
Tuning to a Station Manually
XSlide m r to highlight the lower menu bar.XRotate y m z or slide o m p to select FM,
AM or WB.
XTune to a station by rotating y m z or
sliding o m p.
The red line (tuning indicator) moves right
or left and stops when a receivable station
is found.
Basic Functions of COMAND
iThe COMAND components can be found
on (Y page 73). Operating examples can be
found on (Y page 85).
Switching COMAND On/Off
XPress the q button.
A warning message is displayed. COMAND
calls up the previously selected menu.
iIf you switch off COMAND, playback of
the current audio or video source will also
be switched off.
Sound
XTo switch on/off: Press the 8 button.
The sound from the active audio or video
source is switched on or muted.
iWhen the sound is muted, you will see the
X icon in the status bar.
If you change the audio or video source or
change the volume, the sound is
automatically switched on again.
iAnnouncements from the navigation
system can still be heard with the sound
switched off.
Switching Navigation Announcements
On/Off
XPress 8 during the announcement.
iThe navigation announcements are
switched on again if you start a new route
guidance or if COMAND is switched off and
on with the q button.
Setting the Volume
XTo set: Turn the q rotary/push button.
or
XPress the W or X button on the multi-
function steering wheel.
The volume of the selected audio or video
source changes.
Volume of Navigation Announcements
You can set the volume for navigation
announcements independently of the volume
for the active audio or video source.
During a navigation announcement:
XTurn the q rotary/push button.
or
XPress the W or X button on the multi-
function steering wheel.
Audio Fadeout
The Audio Fadeout function, if activated,
lowers the volume of the current audio source
when a navigation announcement is issued.
As soon as the navigation announcement has
ended, the audio source will be played at the
previous volume (Y page 89).
Setting Volume for Phone Calls
You can adjust the volume for hands-free
mode during a telephone call.
At a glance89COMAND APSBA 197 USA, CA Edition A 2011; 1; 27, en-UShereepeVersion: 3.0.3.52010-03-24T15:31:10+01:00 - Seite 89Z
Page 92 of 436

During a telephone call:XTurn the q rotary/push button.
or
XPress the W or X button on the multi-
function steering wheel.
Sound Settings
You can select different sound settings for
each audio and video source. The sound
menu can be opened from the submenu of the
desired operating mode.
Examples:
RAudio £ FM/AM Radio £ Sound
RAudio £ Disc £ Sound
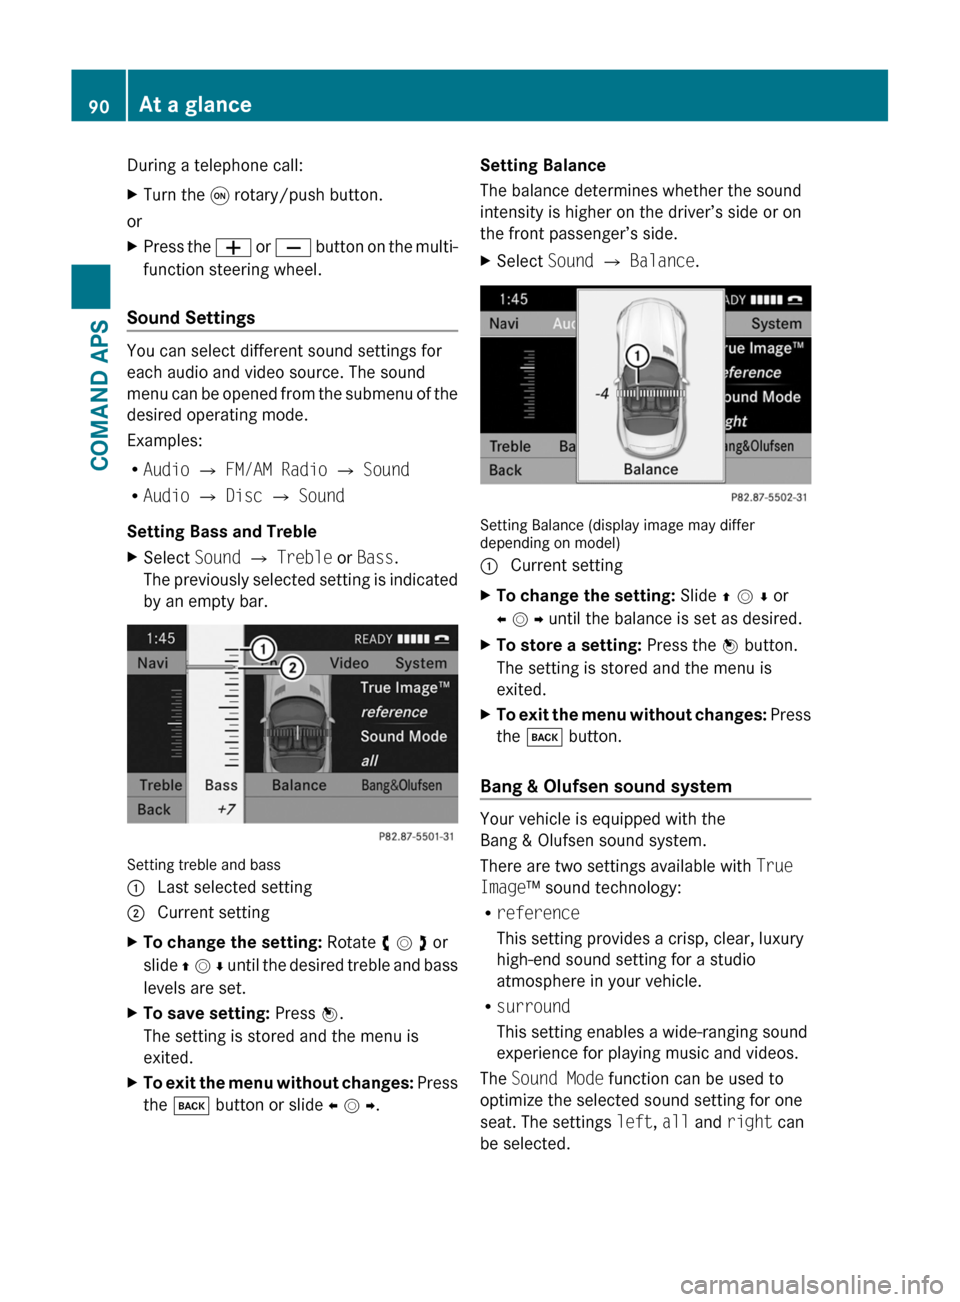
Setting Bass and Treble
XSelect Sound £ Treble or Bass.
The previously selected setting is indicated
by an empty bar.
Setting treble and bass
1 Last selected setting2 Current settingXTo change the setting: Rotate y m z or
slide q m r until the desired treble and bass
levels are set.
XTo save setting: Press n.
The setting is stored and the menu is
exited.
XTo exit the menu without changes: Press
the k button or slide o m p.
Setting Balance
The balance determines whether the sound
intensity is higher on the driver’s side or on
the front passenger’s side.
XSelect Sound £ Balance.
Setting Balance (display image may differdepending on model)
1 Current settingXTo change the setting: Slide q m r or
o m p until the balance is set as desired.
XTo store a setting: Press the n button.
The setting is stored and the menu is
exited.
XTo exit the menu without changes: Press
the k button.
Bang & Olufsen sound system
Your vehicle is equipped with the
Bang & Olufsen sound system.
There are two settings available with True
Image™ sound technology:
Rreference
This setting provides a crisp, clear, luxury
high-end sound setting for a studio
atmosphere in your vehicle.
Rsurround
This setting enables a wide-ranging sound
experience for playing music and videos.
The Sound Mode function can be used to
optimize the selected sound setting for one
seat. The settings left, all and right can
be selected.
90At a glanceCOMAND APS
BA 197 USA, CA Edition A 2011; 1; 27, en-UShereepeVersion: 3.0.3.52010-03-24T15:31:10+01:00 - Seite 90
Page 93 of 436

The Bang & Olufsen sound system provides
the following operating modes:
RRadio (FM only)
RSat radio
RAudio CD
RAudio DVD (MLP, DTS, PCM and Dolby
Digital audio formats)
RMP3 (including PCMCIA memory card)
RMedia Interface
RVideo DVD (PCM, DTS and Dolby Digital
audio formats)
RAUX
Since many DVDs contain both stereo and
multi-channel audio formats, it may be
necessary to set the audio format
(Y page 189).
Discs which support the audio formats
mentioned have the following logos:
Dolby® Digital
DTS™
MLP™
Selecting settings for the
Bang & Olufsen sound system
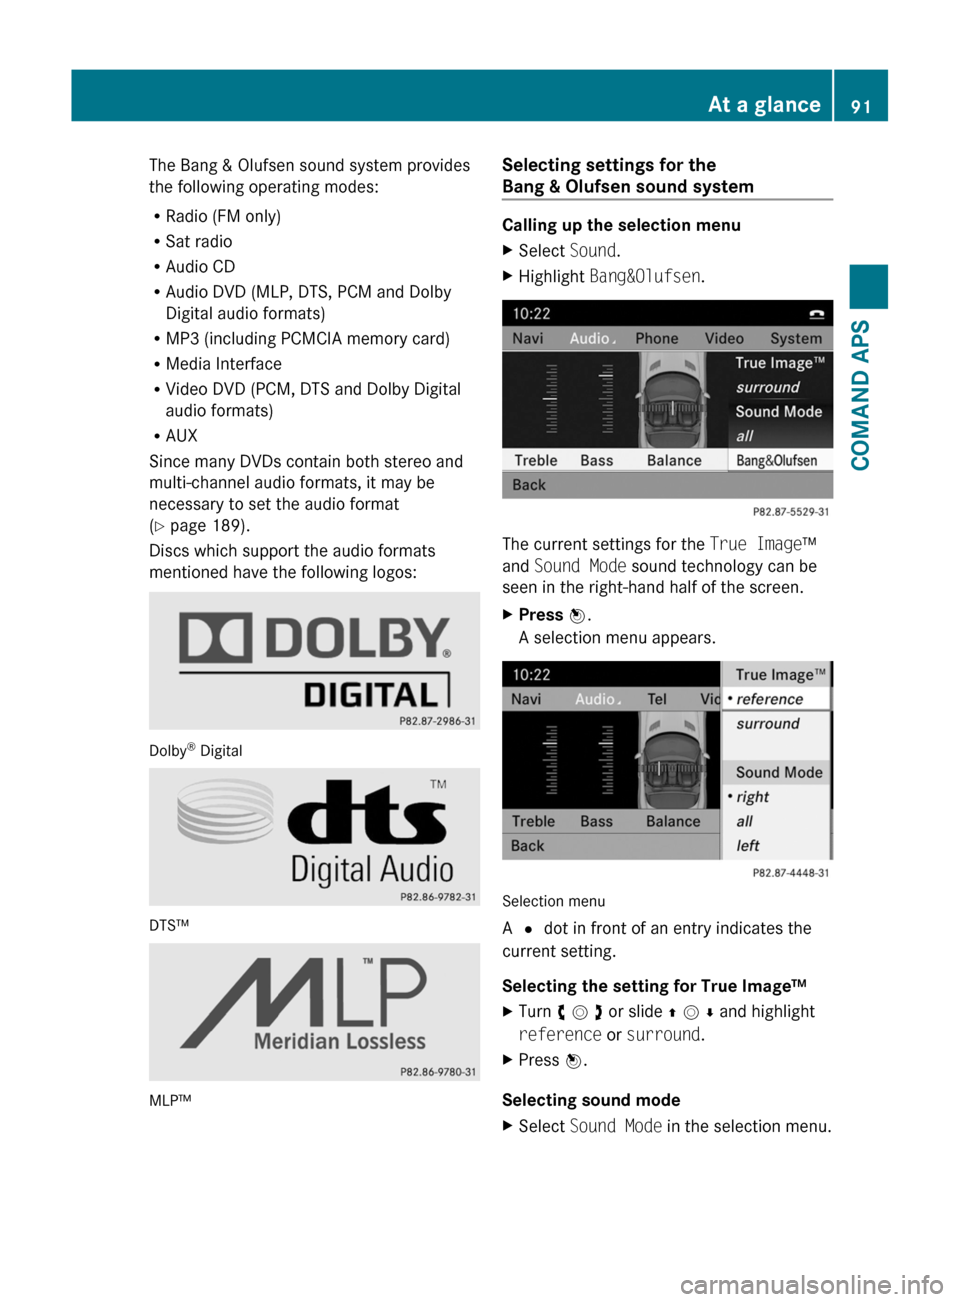
Calling up the selection menu
XSelect Sound.XHighlight Bang&Olufsen.
The current settings for the True Image™
and Sound Mode sound technology can be
seen in the right-hand half of the screen.
XPress W.
A selection menu appears.
Selection menu
A # dot in front of an entry indicates the
current setting.
Selecting the setting for True Image™
XTurn c V d or slide Z V Æ and highlight
reference or surround.
XPress W.
Selecting sound mode
XSelect Sound Mode in the selection menu.At a glance91COMAND APSBA 197 USA, CA Edition A 2011; 1; 27, en-UShereepeVersion: 3.0.3.52010-03-24T15:31:10+01:00 - Seite 91Z
Page 94 of 436

: Current settingXTurn c V d or slide Z V Æ and highlight
left, all or right.
XPress W.XTo exit the menu: press the % back
button beside the COMAND controller.
or
XSlide X V Y.
iPlease bear the following in mind:
You will achieve the best sound results on
your Bang & Olufsen sound system by
playing high-quality audio DVDs and CDs.
MP3 tracks should have a bit rate of at least
224 kbit/s.
When playing using an iPod®, the bit rate
should also be at least 224 kbit/s.
For optimum playback quality:
XDeactivate the EQ setting on the
iPod®.
Surround-sound playback does not work
for mono signal sources, such as the AM
waveband in radio mode.
On some stereo recordings, the sound
characteristics may differ from
conventional stereo playback.
System Settings
System Menu Overview
Vehicle Equipment
iThis Operator’s manual describes all
features, standard or optional, potentially
available for your vehicle at the time of
purchase. Please be aware that your
vehicle might not be equipped with all
features described in this manual.
Opening System Menu
XPress the ö function button.
or
XSelect System in the main function line.
The system menu appears.1 Settings menu2 Switching the display off92System SettingsCOMAND APS
BA 197 USA, CA Edition A 2011; 1; 27, en-UShereepeVersion: 3.0.3.52010-03-24T15:31:10+01:00 - Seite 92
Page 95 of 436

SettingsDisplay OffDisplay
(Y page 93)
Time (Y page 93)
Text reader speed
(Y page 94)
Voice
Control(Y page
95)
Setting the language
(Y page 99)
Bluetooth®
(Y page 96)
Rear View Camera
(Y page 99)
Reset COMAND
(Y page 99)
iUse this function
to delete your
personal data,
e.g. before selling
your vehicle.
Display Settings
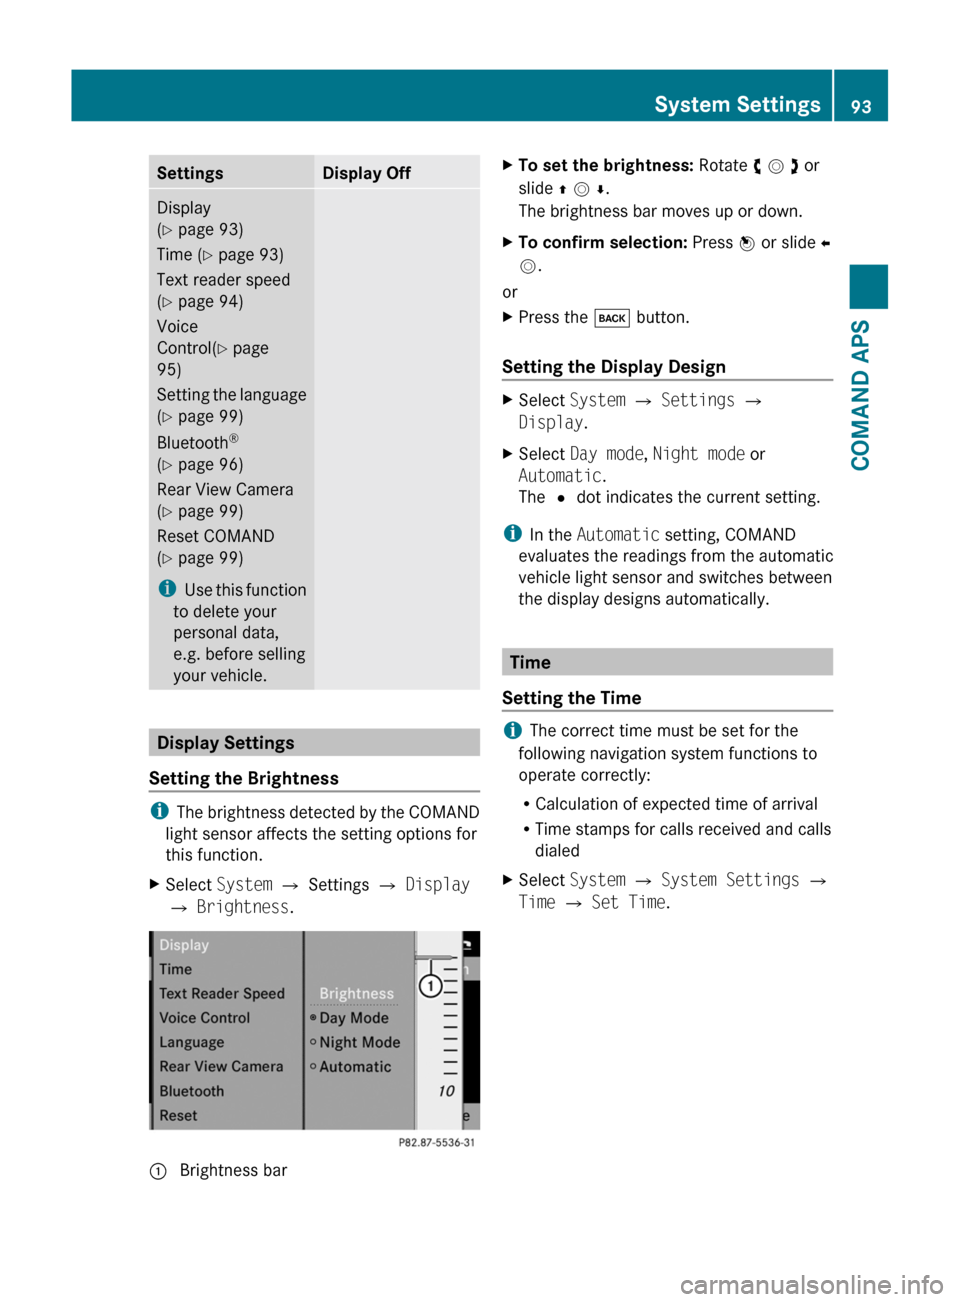
Setting the Brightness
iThe brightness detected by the COMAND
light sensor affects the setting options for
this function.
XSelect System £ Settings £ Display
£ Brightness.
1 Brightness barXTo set the brightness: Rotate y m z or
slide q m r.
The brightness bar moves up or down.
XTo confirm selection: Press n or slide o
m.
or
XPress the k button.
Setting the Display Design
XSelect System £ Settings £
Display.
XSelect Day mode, Night mode or
Automatic.
The R dot indicates the current setting.
iIn the Automatic setting, COMAND
evaluates the readings from the automatic
vehicle light sensor and switches between
the display designs automatically.
Time
Setting the Time
iThe correct time must be set for the
following navigation system functions to
operate correctly:
RCalculation of expected time of arrival
RTime stamps for calls received and calls
dialed
XSelect System £ System Settings £
Time £ Set Time.
System Settings93COMAND APSBA 197 USA, CA Edition A 2011; 1; 27, en-UShereepeVersion: 3.0.3.52010-03-24T15:31:10+01:00 - Seite 93Z
Page 96 of 436

1 Sets the time2 Current dateXTo set value: Rotate y m z or slide
q m r.
XTo save setting: Press n.
iIf you adjust the time in 30-minute
increments, the previously selected time
zone and automatic time-zone switching
between daylight saving time and standard
time settings are lost (Y page 94).
iThe increment value for setting the
minutes depends on the equipment
installed. They are 30-minute increments in
vehicles equipped with a navigation
system. They are minute increments in
vehicles without a navigation system. The
following operational steps depend on
whether the navigation system has GPS
reception.
Setting the Date/Time Format
XSelect System £ System settings £
Time £ Format.
The format list appears. The R dots show
the current settings.
iThe abbreviations mean:
Date format: DD - Day, MM - Month, YY/
YYYY - Year
Time format: HH - Hour, MM - Minute for
either 24-hour clock or AM/PM format
XTo change the format: Rotate y m z or
slide q m r.
XTo confirm the change: Press n.XTo store the setting and exit the menu:
Slide o m p.
Setting the Time Zone and Switching
Between Daylight Saving Time and
Standard Time
iThe correct time zone and daylight
saving/standard time must be set for the
following navigation system functions to
operate correctly:
RCalculation of expected time of arrival
RTime stamps for calls received and calls
dialed
XTo set the time zone: Select System £
Settings £ Time £ Time Zone.
A time zone list appears. The R dot
indicates the current setting.
XSelect the appropriate time zone.XTo switch between Daylight Saving and
standard time: Select Daylight Saving
Time (Summer) or Standard Time
(Winter).
The R dot indicates the current setting.
XTo store setting and exit menu:
Slide o m p.
Read-Out
Setting Reading Speed
XSelect System £ Settings £ Text
Reader Speed.
The list of possible settings appears. The
R dot indicates the current setting.
XTo select the setting: Rotate y m z or
slide q m r.
XTo confirm your selection: Press n.94System SettingsCOMAND APS
BA 197 USA, CA Edition A 2011; 1; 27, en-UShereepeVersion: 3.0.3.52010-03-24T15:31:10+01:00 - Seite 94