Page 286 of 5267

12.(F856) 5-VOLT SUPPLY CIRCUIT SHORTED TO GROUND
Measure the resistance between ground and the (F856) 5-volt Supply
circuit in the MAP Sensor harness connector.
Is the resistance above 100k ohms?
Ye s>>
Go To 13
No>>
Repair the short to ground in the (F856) 5-volt Supply cir-
cuit.
Perform the POWERTRAIN VERIFICATION TEST. (Refer to
9 - ENGINE - STANDARD PROCEDURE)
13.MAP SENSOR
Connect the C1 PCM harness connector.
Ignition on, engine not running.
With a scan tool, monitor the MAP Sensor voltage.
Connect a jumper wire between the (K1) MAP Signal circuit and the
(K900) Sensor ground circuit in the MAP Sensor harness connector.
Cycle the ignition switch from off to on.
With a scan tool, monitor the MAP Sensor voltage.
Does the scan tool display MAP voltage from approximately 4.9
volts to below 0.5 volt with the jumper wire installed?
Ye s>>
Replace the MAP Sensor.
Perform the POWERTRAIN VERIFICATION TEST. (Refer to
9 - ENGINE - STANDARD PROCEDURE)
No>>
Go To 14
NOTE: Remove the jumper wire before continuing.
Page 296 of 5267

12.(F856) 5-VOLT SUPPLY CIRCUIT SHORTED TO GROUND
Measure the resistance between ground and the (F856) 5-volt Supply
circuit in the MAP Sensor harness connector.
Is the resistance above 100k ohms?
Ye s>>
Go To 13
No>>
Repair the short to ground in the (F856) 5-volt Supply cir-
cuit.
Perform the POWERTRAIN VERIFICATION TEST. (Refer to
9 - ENGINE - STANDARD PROCEDURE)
13.MAP SENSOR
Connect the PCM harness connectors.
Ignition on, engine not running.
With a scan tool, monitor the MAP Sensor voltage.
Connect a jumper wire between the (K1) MAP Signal circuit and the
(K900) Sensor ground circuit.
Cycle the ignition switch from off to on.
With a scan tool, monitor the MAP Sensor voltage.
Does the scan tool display MAP voltage from approximately 4.9
volts to below 0.5 volt with the jumper wire installed?
Ye s>>
Replace the MAP Sensor.
Perform the POWERTRAIN VERIFICATION TEST. (Refer to
9 - ENGINE - STANDARD PROCEDURE)
No>>
Go To 14
NOTE: Remove the jumper wire before continuing.
Page 306 of 5267

12.(F856) 5-VOLT SUPPLY CIRCUIT SHORTED TO GROUND
Measure the resistance between ground and the (F856) 5-volt Supply
circuit in the MAP Sensor harness connector.
Is the resistance above 100k ohms?
Ye s>>
Go To 13
No>>
Repair the short to ground in the (F856) 5-volt Supply cir-
cuit.
Perform the POWERTRAIN VERIFICATION TEST. (Refer to
9 - ENGINE - STANDARD PROCEDURE)
13.MAP SENSOR
Connect the C1 PCM harness connector.
Ignition on, engine not running.
With a scan tool, monitor the MAP Sensor voltage.
Connect a jumper wire between the (K1) MAP Signal circuit and the
(K900) Sensor ground circuit.
Cycle the ignition switch from off to on.
With a scan tool, monitor the MAP Sensor voltage.
Does the scan tool display MAP voltage from approximately 4.9
volts to below 0.5 volt with the jumper wire installed?
Ye s>>
Replace the MAP Sensor.
Perform the POWERTRAIN VERIFICATION TEST. (Refer to
9 - ENGINE - STANDARD PROCEDURE)
No>>
Go To 14
NOTE: Remove the jumper wire before continuing.
Page 316 of 5267

For a complete wiring diagramRefer to Section 8W.
When Monitored:
Ignition on. No Break or APPS faults present.
Set Condition:
The PCM recognizes a brake application following the APPS showing a fixed pedal opening. Temporary or
permanent. Internally the PCM will reduce throttle opening below driver demand. One trip fault and the code
will be set within 5 seconds. ETC light will illuminate, the light will onlystay illuminated while DTC is active.
Possible Causes
CUSTOMER PRESSING ACCLERATOR PEDAL, THEN PRESSING BRAKE PEDAL, AND CONTINUES
HOLDING THEM DOWN SIMULTANEOUSLY
STOP LAMP SWITCH
APP SENSOR
Always perform the Pre-Diagnostic Troubleshooting procedure before proceeding. (Refer to 9 - ENGINE -
DIAGNOSIS AND TESTING).
Diagnostic Test
1.DTC INFORMATION
NOTE: If a pedal assembly becomes mechanically stuck the voltage output will stay fixed, if this is also
Followed by a long application of the brakes this code will set.
NOTE: When this code sets the pedal position in the PCM software will ramp toidle. If the Pedal voltage
changes OR the brake pedal is released, the pedal position in the PCM software will ramp up to the pedal
position and the ETC light will go out.
With a scan tool, read DTCs and record the related Freeze Frame data.
Diagnose all other Stop Lamp Switch and APP Sensor codes before continuing.
This code can be set by a driver who uses both feet while driving, one for the Accelerator Pedal and the other for
the Brake Pedal.
NOTE: The most likely cause of this DTC is caused by the customer Brake Torquing the engine by pressing
the Accelerator pedal and the pressing the Brake Pedal.
Ask the driver of the vehicle if these conditions apply to their driving habits.
Are the listed conditions part of the customers driving habits?
Ye s>>
Advise the customer of what caused the DTC. This is normal operation of a ETCequipped vehicle
because of safety issues.
Perform the POWERTRAIN VERIFICATION TEST. (Refer to 9 - ENGINE - STANDARD PROCEDURE)
No>>
Go To 2
2.STOP LAMP SWITCH OPERATION
With a scan tool, read both Stop Lamp Switch statuses while pressing and releasing the Brake Pedal.
Does the scan tool display the Pressed and Released while pressing and releasing the Pedal?
Ye s>>
Go To 3
No>>
Check the Stop Lamp Switch for proper installation and check the related circuits for opens and shorts
using the appropriate wiring diagram. If OK, replace the Stop Lamp Switch assembly.
Perform the POWERTRAIN VERIFICATION TEST. (Refer to 9 - ENGINE - STANDARD PROCEDURE)
Page 396 of 5267
3.PCI BUS UNABLE TO COMMUNICATE WITH THE SCAN TOOL
NOTE: Determine which modules this vehicle is equipped with before beginning.
NOTE: When attempting to communicate with any of the modules on this vehicle, the scan tool will display
1 of 2 different communication errors: a NO RESPONSE message or a BUS +/- SIGNALS OPEN MESSAGE.
Ignition on, engine not running.
Use the scan tool, attempt to communicate with the remaining control modules.
Was the scan tool able to communicate with one or more of the Modules?
Ye s>>
Replace and program the Powertrain Control Module per Service Information.
Perform the POWERTRAIN VERIFICATION TEST. (Refer to 9 - ENGINE - STANDARD PROCEDURE)
No>>
Refer to 8 - ELECTRICAL/ELECTRONIC CONTROL MODULES - DIAGNOSIS AND TESTING for diag-
nostic procedures and for further possible causes.
Perform the POWERTRAIN VERIFICATION TEST. (Refer to 9 - ENGINE - STANDARD PROCEDURE)
Page 401 of 5267

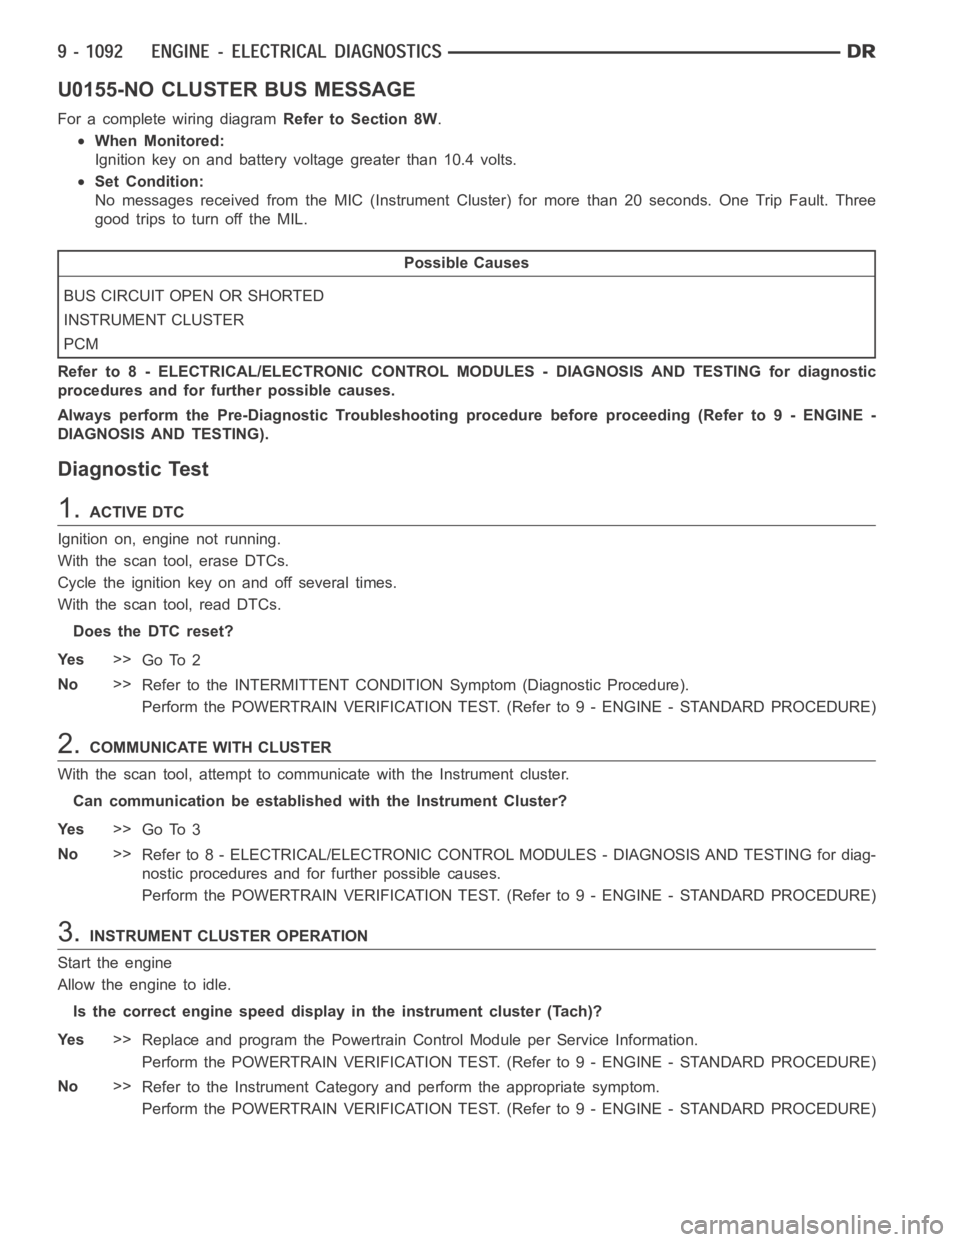
U0155-NO CLUSTER BUS MESSAGE
For a complete wiring diagramRefer to Section 8W.
When Monitored:
Ignition key on and battery voltage greater than 10.4 volts.
Set Condition:
No messages received from the MIC (Instrument Cluster) for more than 20 seconds. One Trip Fault. Three
good trips to turn off the MIL.
Possible Causes
BUS CIRCUIT OPEN OR SHORTED
INSTRUMENT CLUSTER
PCM
Refer to 8 - ELECTRICAL/ELECTRONIC CONTROL MODULES - DIAGNOSIS AND TESTING for diagnostic
procedures and for further possible causes.
Always perform the Pre-Diagnostic Troubleshooting procedure before proceeding (Refer to 9 - ENGINE -
DIAGNOSIS AND TESTING).
Diagnostic Test
1.ACTIVE DTC
Ignition on, engine not running.
With the scan tool, erase DTCs.
Cycle the ignition key on and off several times.
With the scan tool, read DTCs.
Does the DTC reset?
Ye s>>
Go To 2
No>>
Refer to the INTERMITTENT CONDITIONSymptom (Diagnostic Procedure).
Perform the POWERTRAIN VERIFICATION TEST. (Refer to 9 - ENGINE - STANDARD PROCEDURE)
2.COMMUNICATE WITH CLUSTER
With the scan tool, attempt to communicate with the Instrument cluster.
Can communication be established with the Instrument Cluster?
Ye s>>
Go To 3
No>>
Refer to 8 - ELECTRICAL/ELECTRONIC CONTROL MODULES - DIAGNOSIS AND TESTING for diag-
nostic procedures and for further possible causes.
Perform the POWERTRAIN VERIFICATION TEST. (Refer to 9 - ENGINE - STANDARD PROCEDURE)
3.INSTRUMENT CLUSTER OPERATION
Start the engine
Allow the engine to idle.
Is the correct engine speed display in the instrument cluster (Tach)?
Ye s>>
Replace and program the Powertrain Control Module per Service Information.
Perform the POWERTRAIN VERIFICATION TEST. (Refer to 9 - ENGINE - STANDARD PROCEDURE)
No>>
Refer to the Instrument Category and perform the appropriate symptom.
Perform the POWERTRAIN VERIFICATION TEST. (Refer to 9 - ENGINE - STANDARD PROCEDURE)
Page 525 of 5267
When Monitored:
While the engine is running.
Set Condition:
Water in fuel light was on for a calibrated amount of time.
Possible Causes
OTHER DTC’S PRESENT
WATER IN FUEL
Always perform the Pre-Diagnostic Troubleshooting procedure before proceeding. (Refer to 9 - ENGINE -
DIAGNOSIS AND TESTING)
Diagnostic Test
1.OTHER DTC’S PRESENT
With the scan tool, read DTCs.
Is P2269 displayed?
Ye s>>
Repair P2269 DTC first.
Perform POWERTRAIN VERIFICATION TEST VER - 1 (DIESEL). (Refer to 8 - ELECTRICAL/ELEC-
TRONIC CONTROL MODULES/ENGINE CONTROL MODULE - DIAGNOSIS AND TESTING)
No>>
Drain water in fuel.
Page 678 of 5267

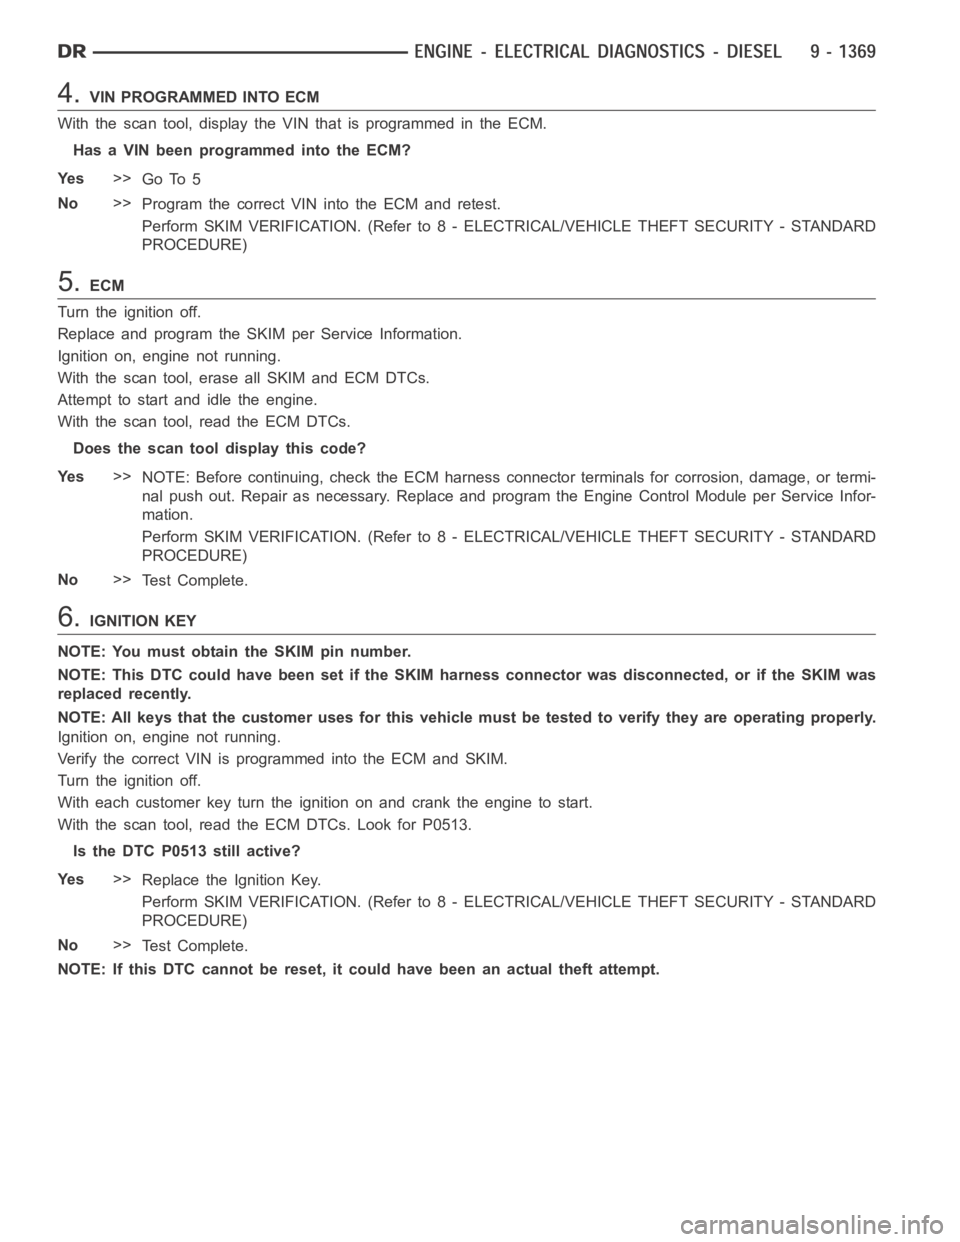
4.VIN PROGRAMMED INTO ECM
With the scan tool, display the VIN that is programmed in the ECM.
Has a VIN been programmed into the ECM?
Ye s>>
Go To 5
No>>
Program the correct VIN into the ECM and retest.
Perform SKIM VERIFICATION. (Refer to 8 - ELECTRICAL/VEHICLE THEFT SECURITY - STANDARD
PROCEDURE)
5.ECM
Turn the ignition off.
Replace and program the SKIM per Service Information.
Ignition on, engine not running.
With the scan tool, erase all SKIM and ECM DTCs.
Attempt to start and idle the engine.
With the scan tool, read the ECM DTCs.
Does the scan tool display this code?
Ye s>>
NOTE: Before continuing, check the ECM harness connector terminals for corrosion, damage, or termi-
nal push out. Repair as necessary. Replace and program the Engine Control Module per Service Infor-
mation.
Perform SKIM VERIFICATION. (Refer to 8 - ELECTRICAL/VEHICLE THEFT SECURITY - STANDARD
PROCEDURE)
No>>
Te s t C o m p l e t e .
6.IGNITION KEY
NOTE: You must obtain the SKIM pin number.
NOTE: This DTC could have been set if the SKIM harness connector was disconnected, or if the SKIM was
replaced recently.
NOTE: All keys that the customer uses for this vehicle must be tested to verify they are operating properly.
Ignition on, engine not running.
Verify the correct VIN is programmed into the ECM and SKIM.
Turn the ignition off.
With each customer key turn the ignition on and crank the engine to start.
With the scan tool, read the ECM DTCs. Look for P0513.
Is the DTC P0513 still active?
Ye s>>
Replace the Ignition Key.
Perform SKIM VERIFICATION. (Refer to 8 - ELECTRICAL/VEHICLE THEFT SECURITY - STANDARD
PROCEDURE)
No>>
Te s t C o m p l e t e .
NOTE: If this DTC cannot be reset, it could have been an actual theft attempt.