Page 1911 of 3870
2004 DRIVE AXLES
Axle Shafts - Front - Endeavor
DESCRIPTION The axle shafts consist Birfield Joint (BJ)-Pillow Tripod Joint (PTJ), Birfield Joint
(BJ)-Double Offset Joint (DOJ), and Birfield Joint (BJ)-Tripod Joint (TJ) Constant
Velocity (CV) joints with solid metal shafts. Due to the use of the inner shaft and
bracket assembly, the right and left drive shafts are approximately the same length.
This reduces noise, vibration, and torque steer. LUBRICATION AWD For lubrication
points, see Fig. 1
or Fig. 2
.
2004 Mitsubishi Endeavor LS
2004 DRIVE AXLES Axle Shafts - Front - Endeavor
2004 Mitsubishi Endeavor LS
2004 DRIVE AXLES Axle Shafts - Front - Endeavor
Page 1923 of 3870
2. Install the axle shaft washer as shown. See Fig. 9
. Using End Yoke Holder
(MB990767), tighten the axle shaft nut. See TORQUE SPECIFICATIONS
.
Fig. 9: Installing Axle Shaft Nut
Courtesy of MITSUBISHI MOTOR SALES OF AMERICA.
DISASSEMBLY & REASSEMBLY AXLE SHAFTS Disassembly & Reassembly For disassembl
y and reassembl
y of axle shafts, see Fig. 11
or Fig. 10
.
2004 Mitsubishi Endeavor LS
2004 DRIVE AXLES Axle Shafts - Front - Endeavor
Page 1937 of 3870
Fig. 20: Installing Inner Shaft
Courtesy of MITSUBISHI MOTOR SALES OF AMERICA.
TORQUE SPECIFICATIONS For tor
que s
pecifications, see Fig. 4
.
2004 Mitsubishi Endeavor LS
2004 DRIVE AXLES Axle Shafts - Front - Endeavor
Page 1947 of 3870

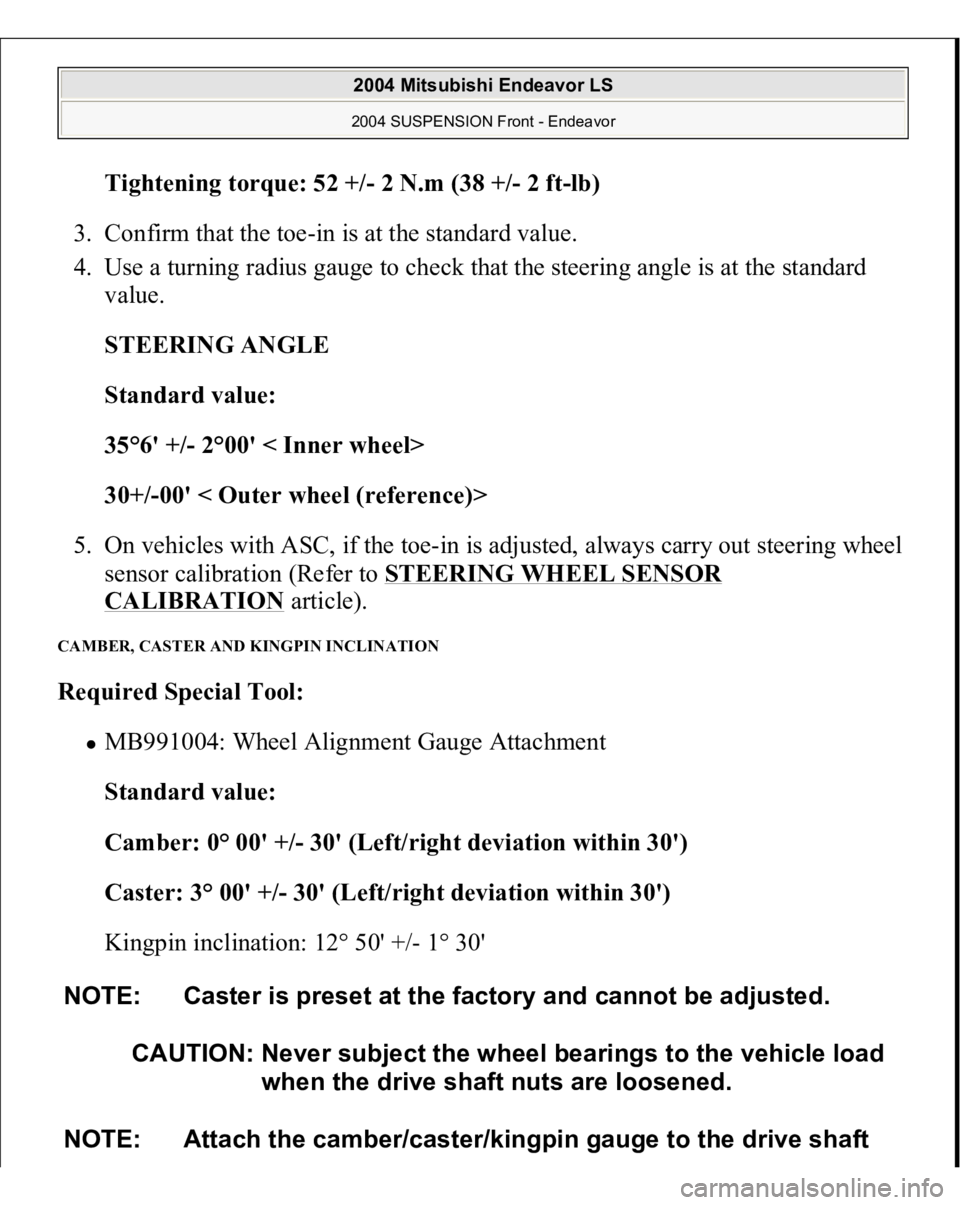
Tightening torque: 52 +/- 2 N.m (38 +
/-2 f
t-lb)
3. Confirm that the toe-in is at the standard value.
4. Use a turning radius gauge to check that the steering angle is at the standard
value.
STEERING ANGLE
Standard value:
35°6' +/- 2°00' < Inner wheel>
30+/-00' < Outer wheel (reference)>
5. On vehicles with ASC, if the toe-in is adjusted, always carry out steering wheel
sensor calibration (Refer to STEERING WHEEL SENSOR
CALIBRATION
article).
CAMBER, CASTER AND KINGPIN INCLINATION Required Special Tool:
MB991004: Wheel Alignment Gauge Attachment
Standard value:
Camber: 0° 00' +/- 30' (Left/right deviation within 30')
Caster: 3° 00' +/- 30' (Left/right deviation within 30')
Kingpin inclination: 12° 50' +/- 1° 30'
NOTE: Caster is preset at the factory and cannot be adjusted.
CAUTION: Never subject the wheel bearings to the vehicle load
when the drive shaft nuts are loosened.
NOTE: Attach the camber/caster/kingpin gauge to the drive shaft
2004 Mitsubishi Endeavor LS 2004 SUSPENSION Front - Endeavor
Page 1948 of 3870
Fig. 6: Attaching Camber/Caster/Kingpin Gauge
Courtesy of MITSUBISHI MOTOR SALES OF AMERICA.
If the camber is outside of the standard value, perform the following adjustment
procedures.
1. Estimate how much additional camber adjustment is required. Using the table
below, select the camber adjusting bolt, and then replace the knuckle and strut
assembl
y connection bolts
(upper bolt
, lower bolt
) with the selected bolts.
by using special tool MB991004. Tighten special tool
MB991004 to the same torque 236 +/- 19 N.m (174 +/- 14 ft-
lb) as the driveshaft nut.
2004 Mitsubishi Endeavor LS 2004 SUSPENSION Front - Endeavor
Page 1964 of 3870
Fig. 22: Removing & Installing Lower Arm
Courtesy of MITSUBISHI MOTOR SALES OF AMERICA.
INSPECTION
Check the bushing for wear and deterioration. Check the lower arm assembly for bend or breakage. Check all bolts for condition and straightness.
LOWER ARM BALL JOINT BREAKAWAY TORQUE CHECK Required Special Tool:
MB991006: Preload Socket
2004 Mitsubishi Endeavor LS 2004 SUSPENSION Front - Endeavor
Page 1965 of 3870
1. After shaking the ball joint stud several times, use special tool MB991006 to
measure the breakaway torque of the ball joint.
Fig. 23: Measuring Ball Joint Breakaway Torque
Courtesy of MITSUBISHI MOTOR SALES OF AMERICA.
Standard value: 2.5 - 6.1 N.m (22 - 54 in-lb)
2. If the measured value is not within the standard value, or if the ball joint is
difficult to turn or does not turn smoothly, replace the lower arm assembly.
LOWER ARM BALL JOINT DUST COVER CHECK 1. Check the dust cover for cracks or damage by pushing it with your finger.
2. If the dust cover is cracked or damaged, replace the lower arm. BALL JOINT DUST COVER REPLACEMENT
NOTE: Cracks or damage to the dust cover may cause damage
to the ball joint. When it is damaged during service
work, replace the dust cover.
2004 Mitsubishi Endeavor LS 2004 SUSPENSION Front - Endeavor
Page 1981 of 3870
Fig. 39: Installing Front Axle Crossmember Stay
Courtesy of MITSUBISHI MOTOR SALES OF AMERICA.
INSPECTION
Check the stabilizer bushings for wear and deterioration. Check the stabilizer bar for deterioration or damage. Check all bolts for condition and straightness.
STABILIZER LINK BALL JOINT BREAKAWAY TORQUE CHECK Required Special Tool:
MB990326: Preload Socket
1. After shaking the ball joint stud several times, install the nut to the stud and use
special tool MB990326 to measure the breakawa
y tor
que of the ball
joint.
2004 Mitsubishi Endeavor LS 2004 SUSPENSION Front - Endeavor