Page 177 of 410

Downloaded from www.Manualslib.com manuals search engine Heated Windshield (Option)
Front De-Ice
Here’s how to use your heated windshield in cold weather to remove ice
or frost quickly:
1. If any snow is piled up on the windshield, brush it away.
2. Start your Cadillac and leave it in PARK (P).
w
DE-ICEa
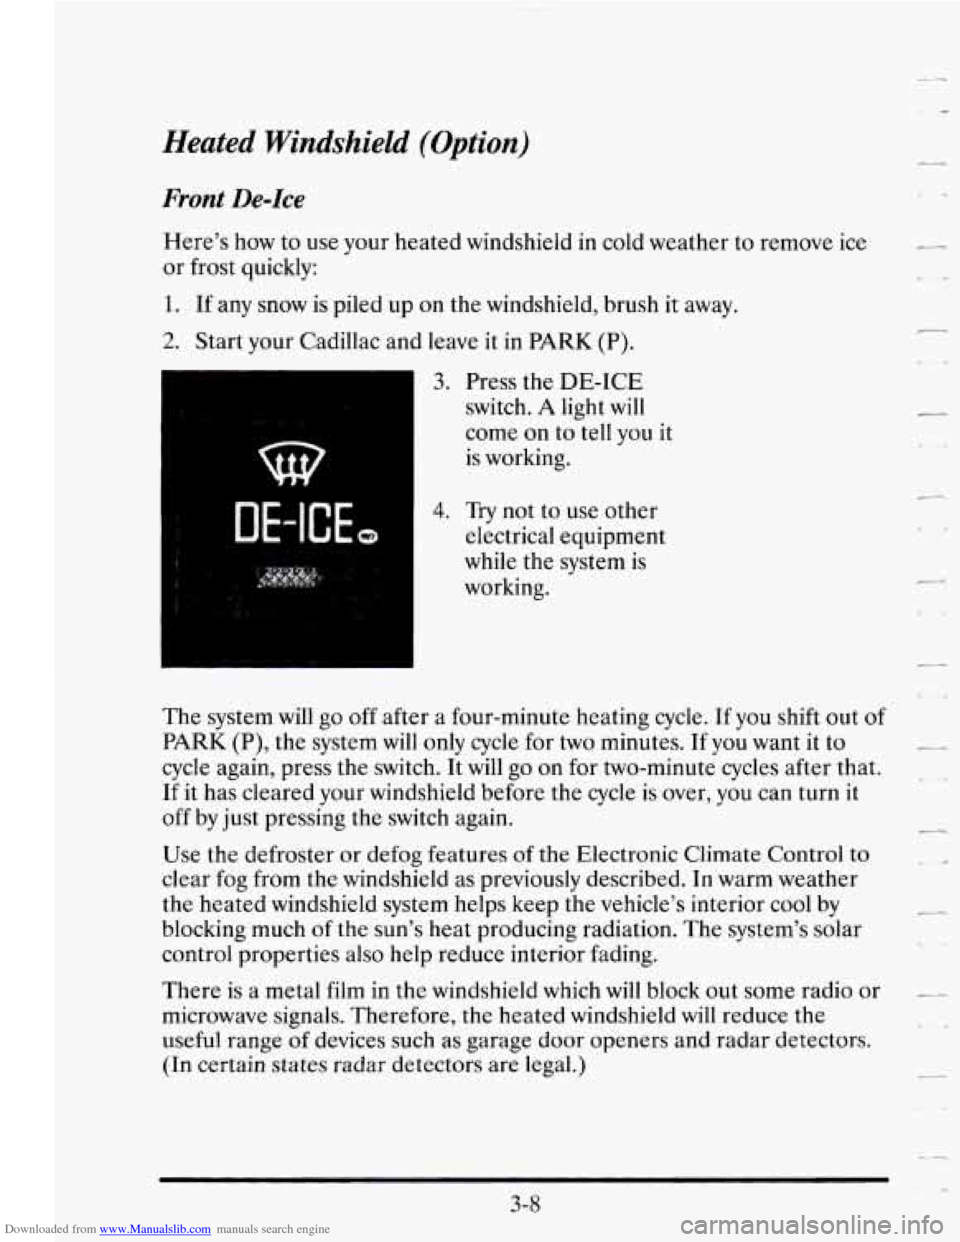
3. Press the DE-ICE
switch.
A light will
come
on to tell you it
is working.
4. Try not to use other
electrical equipment
while the system is
working.
The system will go off after a four-minute heating cycle. If you shift out
of
PARK (P), the system will only cycle for two minutes. If you want it to
cycle again, press the switch. It will go on for two-minute cycles after that.
If it has cleared your windshield before the cycle is over, you can turn it
off by
just pressing the switch again.
Use the defroster or defog features of the Electronic Climate Control
to
clear fog from the windshield as previously described. In warm weather
the heated windshield system helps keep the vehicle’s interior cool by
blocking much
of the sun’s heat producing radiation. The system’s solar
control properties also help reduce interior fading.
There is
a metal film in the windshield which will block out some radio or
microwave signals. Therefore, the heated windshield will reduce the
useful range
of devices such as garage door openers and radar detectors.
(In certain
states radar detectors are legal.)
3-8
r
Page 178 of 410

Downloaded from www.Manualslib.com manuals search engine - AUDIO SYSTEMS
Your Delco@ audio system has been designed to operate easily and give
years
of listening pleasure. You will get the most enjoyment out of your
Delco system can do and
how to operate all its controls, to be sure you’re
getting the most out
of the advanced engineering that went into it.
___ audio s stem if you acquaint yourself with it .first. Find out what your
J
FM Stereo
FM stereo will give you the best sound, however, FM signals will only
reach about
10 to 40 miles (16 to 65 km). Tall buildings or hills may
interfere with
FM signals causing sounds to fade and may also cause
popping, crackling or momentary hissing noises.
AM
-9 The range for most AM stations is greater than for EM, especially at
night. The longer range, however, can cause stations to interfere
with
each other. (FCC regulations require some AM radio stations to reduce
signal strength at night to minimize interference.) AM can pick up noise
from things like storms and power lines.
Try reducing the treble to reduce
this noise
if you ever get it.
This means your radio can produce quality AM sound comparable to
FM
stereo. AMAX@ reduces noise without reducing the high frequencies you
need for the best sound. In addition to improved sound quality,
AMAX@includes more stations on the AM band. You don’t have to
do
anything to your radio because AMAX@ is automatic.
3-9
Page 179 of 410
Downloaded from www.Manualslib.com manuals search engine AM Stereo
This means the Delco@ system can receive C-QUAM@ stereo broadcasts.
Many
AM stations around the country use C-QUAM@ to produce stereo,
though some
do not. (C-QUAM@ is a registered trademark of Motorola,
Inc.)
If your Delco@ system can get C-QUAM@, your ST stereo light will
come on when you’re receiving it.
Setting the Clock
Turn the ignition on and the radio off. Then:
To Set the Hour:
1. Press SET, and within five seconds,
2. Press and hold SEEK. When the clock gets to the correct hour,
To Set the Minutes:
1. Press SET, and within five seconds,
2. Press and hold SCAN. When the clock gets to the correct minute,
Your clock is set.
release.
release.
How to Operate Your Audio System
Your Cadillac will have one of the following Delco@ Radio Systems.
Please read about the system that pertains to your vehicle.
-.
-.
3-10
Page 180 of 410
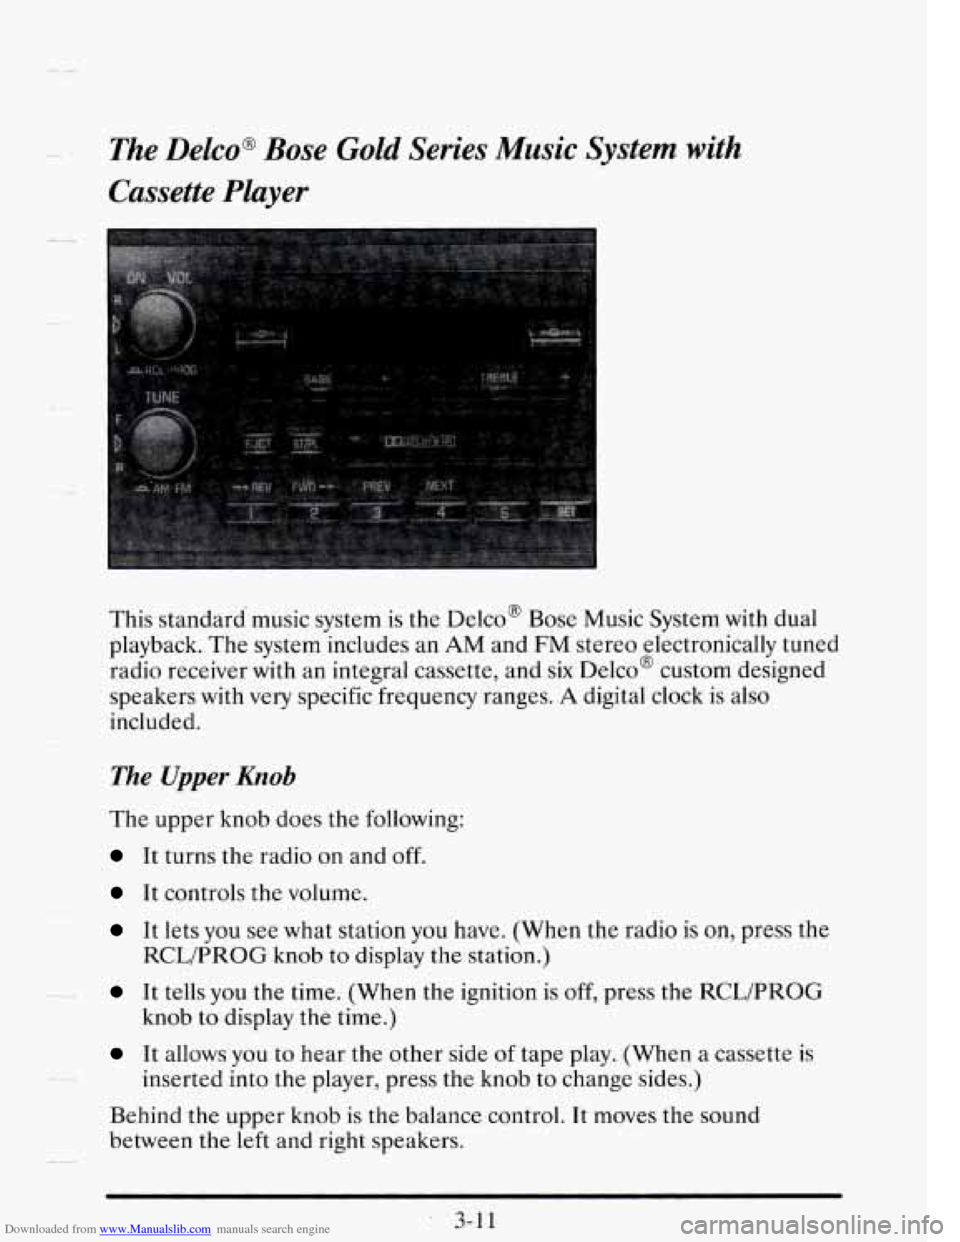
Downloaded from www.Manualslib.com manuals search engine t- The Delco@ Bose Gold Series Music System with
Cassette Player
This standard music system is the Delco' Bose Music System with dual
playback. The system includes an AM and
FM stereo electronically tuned
radio receiver with an integral cassette, and
six Delco@ custom designed
speakers with very specific frequency ranges.
A digital clock is also
included.
The Upper Knob
The upper knob does the following:
It turns the radio on and off.
It controls the volume.
It lets you see what station you have. (When the radio is on, press the
It tells you the time. (When the ignition is off, press the RCWPROG
It allows you to hear the other side of tape play. (When a cassette is
Behind the upper knob is
the balance control. It moves the sound
between the
left and right speakers.
RCL/PROG knob to display the station.)
knob
to display the time.)
inserted into the player, press the knob to change sides.)
3-1 1
Page 181 of 410

Downloaded from www.Manualslib.com manuals search engine The Lower Knob
Turn the lower knob to choose radio stations. Press the knob to switch
between
AM and FM.
Behind the lower knob is the fade control. It moves the sound between
the front and rear speakers.
Finding a Station
SCAN When you press this button, up or down, the SCAN indicator in
the display will light and the radio will find the next station and stay there
for about five seconds. Then it will go to the next station and pause, and
keep doing that until you press either the
SCAN button again or the
upper knob.
SEEK This button selects stations, but it doesn’t keep moving as SCAN
does. When you press SEEK, up or down, the radio will automatically go
to the next station and stay there.
-
Pushbuttons: You can set the pushbuttons to get up to 10 favorite stations
(five on FM and five more on
AM).
1. Choose either AM or FM.
2. Tune in a desired station.
3. Press the SET button.
4. Press one of the five pushbuttons within five seconds.
5. Repeat these steps for each of the five pushbuttons.
Setting the Tone
BASS: The slide control increases or decreases the bass response tone.
Moving the control to the right increases bass while moving it
to the left
decreases it.
TREB: The slide control increases or decreases the treble response tone.
Moving the control to the right increases treble while moving it to the left
decreases it.
\,
3-12
Page 182 of 410

Downloaded from www.Manualslib.com manuals search engine --
Your Cassette Tape Player
Your cassette tape player works best with tapes that are 30 to 45 minutes
long on each side. Tapes longer than that are
so thin that they may not
work well in this player.
If you look at the tape, or on its label
or box, it should say whether its bias,
or “equalization,” is
70 microseconds (70 p) or 120 microseconds (120 p).
Chrome and metal tapes are 70 p sec and standard iron tapes are 120 p sec.
Your tape player will adjust automatically for either type of cassette tape.
To Play a Cassette Tape
1. Turn the radio on.
2. Insert the cassette through the tape door. (The TAPE indicator in the
display
will light.)
If you hear nothing or hear just a garbled sound, the cassette may not be
in squarely. Press the EJCT button to remove the tape and start over. The
tape equalization
is automatically sensed and set. Inserting the cassette
also activates DOLBY
@ noise reduction.
DNR@ is the Dynamic Noise Reduction. It helps remove background hiss
noise from the radio.
“DNR’ is a registered trademark of National Semiconductor
Corporation.
3. Once the tape is playing, use the upper and lower knobs to adjust the
volume and balance, just as you do for the radio. Press the upper knob
to change tape direction. The arrow in the display shows which
direction the tape is being played.
FWD: Press this button to go forward rapidly to another part of the tape.
The radio will play during fast forward.
To stop the tape, press the same
button and
the tape will start to play.
REV: Press this button to reverse the tape. To stop the tape, press the
same button lightly or any
of the other buttons. The radio will play during
this reverse function.
3-13
Page 183 of 410

Downloaded from www.Manualslib.com manuals search engine PREk Press this button to go back to the beginning of the last selection.
If the player has played less than
10 seconds into the current selection,
pressing the PREV button
will cause the player to find the beginning of
the previous selection and resume play from that point. If the player is
more
than 10 seconds into the current selection, pressing the PREV
button
will cause the player to find the beginning of the current selection
and resume play from that point. If PREV is pressed while the first
selection
on the tape is being played, the player will return to the
beginning
of that side of the tape.
NEXT Press this button to advance to the next selection. If the selection
is at the end of the tape, the tape will reverse directions and begin playing
at a normal speed.
ST/PL Press this button to switch back to the radio without ejecting the
tape. Press
it a second time to start playing the tape again.
EJCT Press this button to remove the tape.
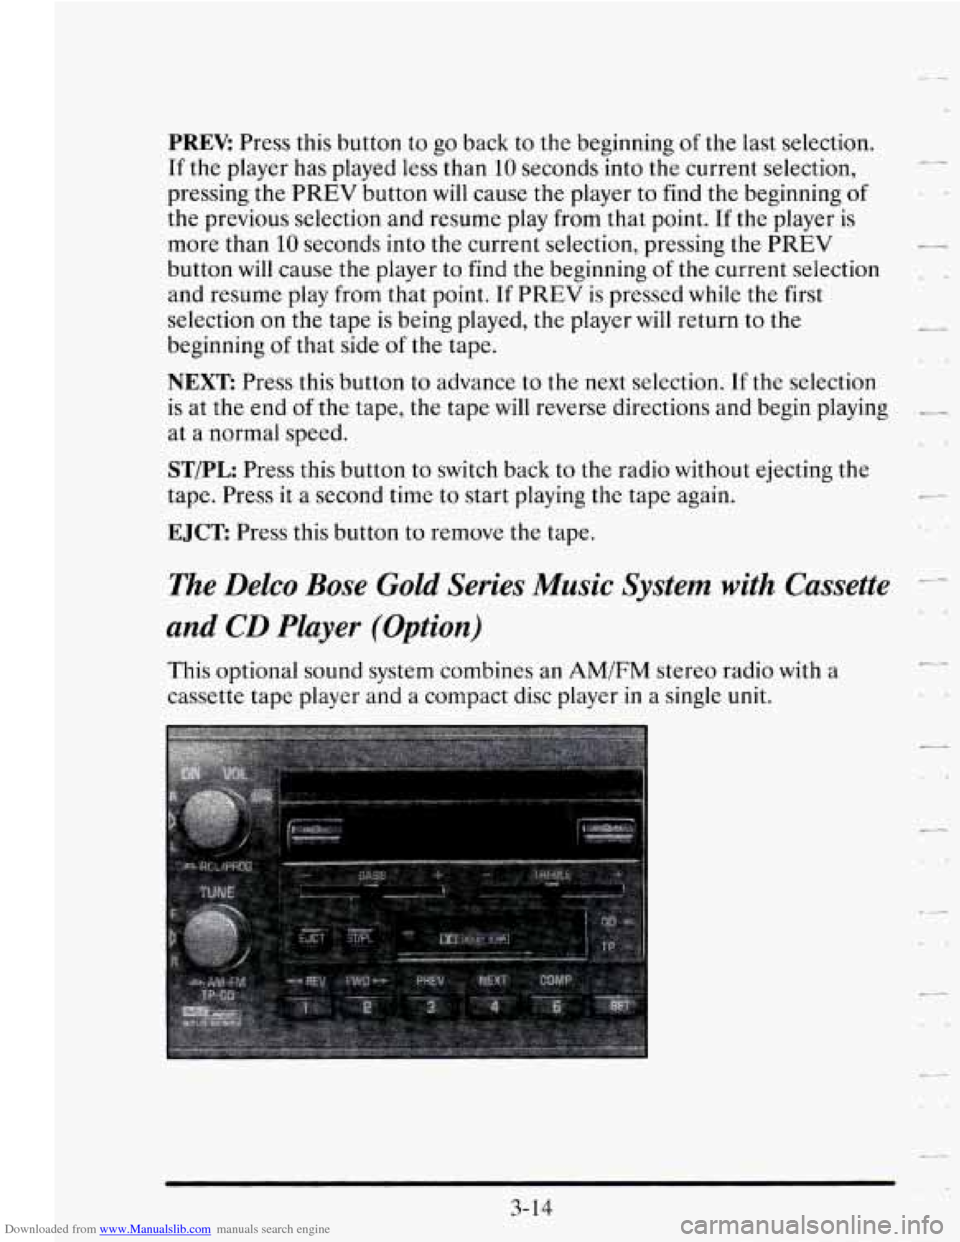
The Delco Bose Gold Series Music System with Cassette
and
CD Player (Option)
This optional sound system combines an AM/FM stereo radio with a
cassette tape player and a compact disc player
in a single unit.
c-
b
3- 14
Page 184 of 410

Downloaded from www.Manualslib.com manuals search engine ---
I-
The Upper Knob
The upper knob does the following:
It turns the radio on and off.
It controls the volume.
0 It lets you see what station you have. (When the radio is
RCWPROG knob to display the station.) on,
press the
It tells you the time. (When the ignition is off, press the RCWPROG
0 It allows you to hear the other side of tape play. (When a cassette is
knob
to display the time.)
inserted into the player, press the knob to change sides.)
The Lower Knob
Turn the lower knob to choose radio stations. Press the knob to switch
between
AM and FM.
Behind the lower knob is the fade control. It moves the sound between
the front and rear speakers.
Finding a Station
SCAN When you press this button, the SCAN indicator in the display will
light and the radio will find the next station and stay there for about five
seconds. Then it
will go to the next station and pause, and keep doing that
until
you press either the SCAN button again or the upper knob.
SEEK This button selects stations, but it doesn’t keep moving as SCAN
does. When you press SEEK the radio will automatically go to the next
station and stay there.
Pushbuttons: You can set the pushbuttons to get up to 10 favorite stations
(five
on FM and five more on AM.)
1. Choose either AM or FM.
2. Tune in the station.
3. Press the SET button.
4. Press one of the five pushbuttons within five seconds.
5. Repeat these steps for each of the five pushbuttons.
3- 15