1995 CADILLAC SEVILLE garage door opener
[x] Cancel search: garage door openerPage 140 of 410
Downloaded from www.Manualslib.com manuals search engine HomeLink TM Universal Transmitter (Option) L
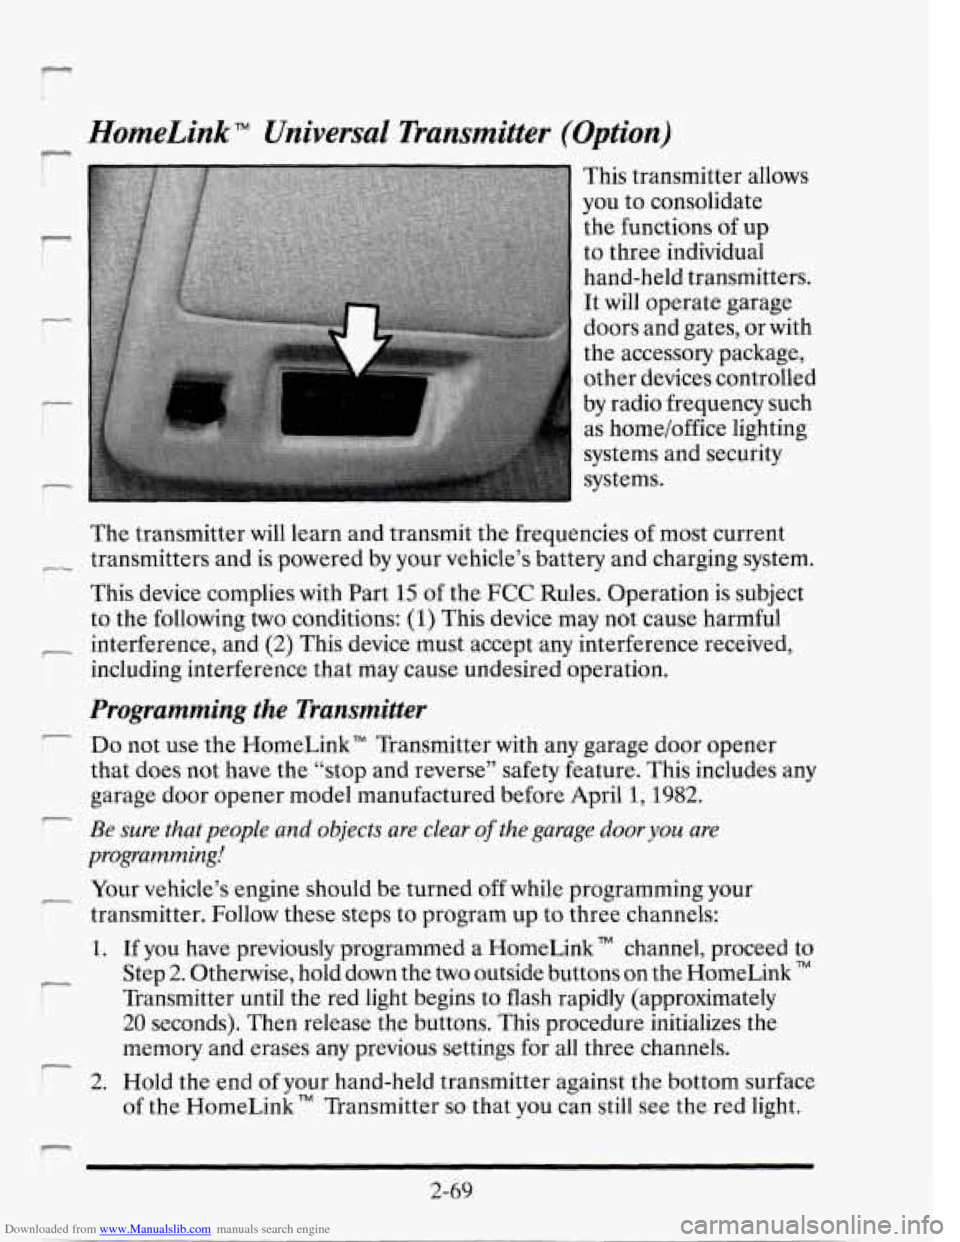
This transmitter allows
you to consolidate
to three individual
hand-held transmitters. It will operate garage
doors and gates, or with
the accessory package,
other devices controlled
as home/office lighting
r the functions of up
I
I by radio frequency such
systems and security
systems.
The transmitter will learn and transmit the frequencies
of most current
- transmitters and is powered by your vehicle’s battery and charging system.
This device complies with Part
15 of the FCC Rules. Operation is subject
to the following
two conditions: (1) This device may not cause harmful
including interference that may cause undesired operation.
- interference, and (2) This device must accept any interference received,
Programming the Transmitter
Do not use the HomeLink” Transmitter with any garage door opener
that does not have the “stop and reverse” safety feature. This includes any
garage door opener model manufactured before April
1,1982.
Be sure that people and objects are clear of the garage dooryou are
programming!
-
r
r Your vehicle’s engine should be turned off while programming your
transmitter. Follow these steps
to program up to three channels:
r
1. If you have previously programmed a HomeLink TM channel, proceed to
Step
2. Otherwise, hold down the two outside buttons on the HomeLink TM
Transmitter until the red light begins to flash rapidly (approximately
20 seconds). Then release the buttons. This procedure initializes the
memory and erases any previous settings for all three channels.
2. Hold the end of your hand-held transmitter against the bottom surface
of the HomeLink“ Transmitter so that you can still see the red light.
r
2-69
Page 141 of 410
Downloaded from www.Manualslib.com manuals search engine 3. Decide which one of the three channels you want to program. Using
both hands, press the hand-held transmitter button and the desired
button on the HomeLink
TM Transmitter. Continue to hold both
buttons through Step
4.
4. Hold down both buttons until you see the red light on the HomeLink“ -
Transmitter flash rapidly. The rapid flashing, which could take up to
90 seconds, indicates that the HomeLink” Transmitter has been
programmed. Release both buttons once
the light starts to flash rapidly. -
If you have trouble programming the HomeLink TM Transmitter, make
sure that you have followed the directions exactly as described and that the
batteries in the hand-held transmitter are not dead. If you still cannot
program it, rotate your hand-held transmitter end over end and try again.
The HomeLink TM Transmitter may not work with older garage door
openers that do not meet current Federal Consumer Safety Standards. If
you cannot program the transmitter after repeated attempts, consult your
Cadillac dealer or call
1-800-355-35 15.
Be sure to keep your original hand-held transmitter in case you need to -
erase and reprogram the HomeLink TM transmitter. -1
Note to Canadian Owners: During programming, your hand-held transmitter
may stop transmitting after one or
two seconds. If you are programming -
from one of these transmitters, the HomeLink indicator light may prompt
you to re-activate your hand-held transmitter
with a series of double blinks.
After you re-activate your hand-held transmitter,
the HomeLink TM light
should flash rapidly.
If it flashes slowly, continue to periodically re-activate
your hand-held transmitter
until the light flashes rapidly.
Operating the Transmitter
Press the appropriate button on the HomeLink TM Universal Transmitter.
The red light comes
on while the signal is being transmitted.
Note that the effective transmission range
of the HomeLink” Transmitter
may differ from your hand-held transmitter and from one channel to another.
-
Emsing Channels
To erase all three programmed channels, hold down the two outside
buttons until the red light begins to flash. Individual channels cannot be
erased,
but can be reprogrammed using the procedure for programming
the transmitter explained earlier.
-
2-70
Page 177 of 410
Downloaded from www.Manualslib.com manuals search engine Heated Windshield (Option)
Front De-Ice
Here’s how to use your heated windshield in cold weather to remove ice
or frost quickly:
1. If any snow is piled up on the windshield, brush it away.
2. Start your Cadillac and leave it in PARK (P).
w
DE-ICEa
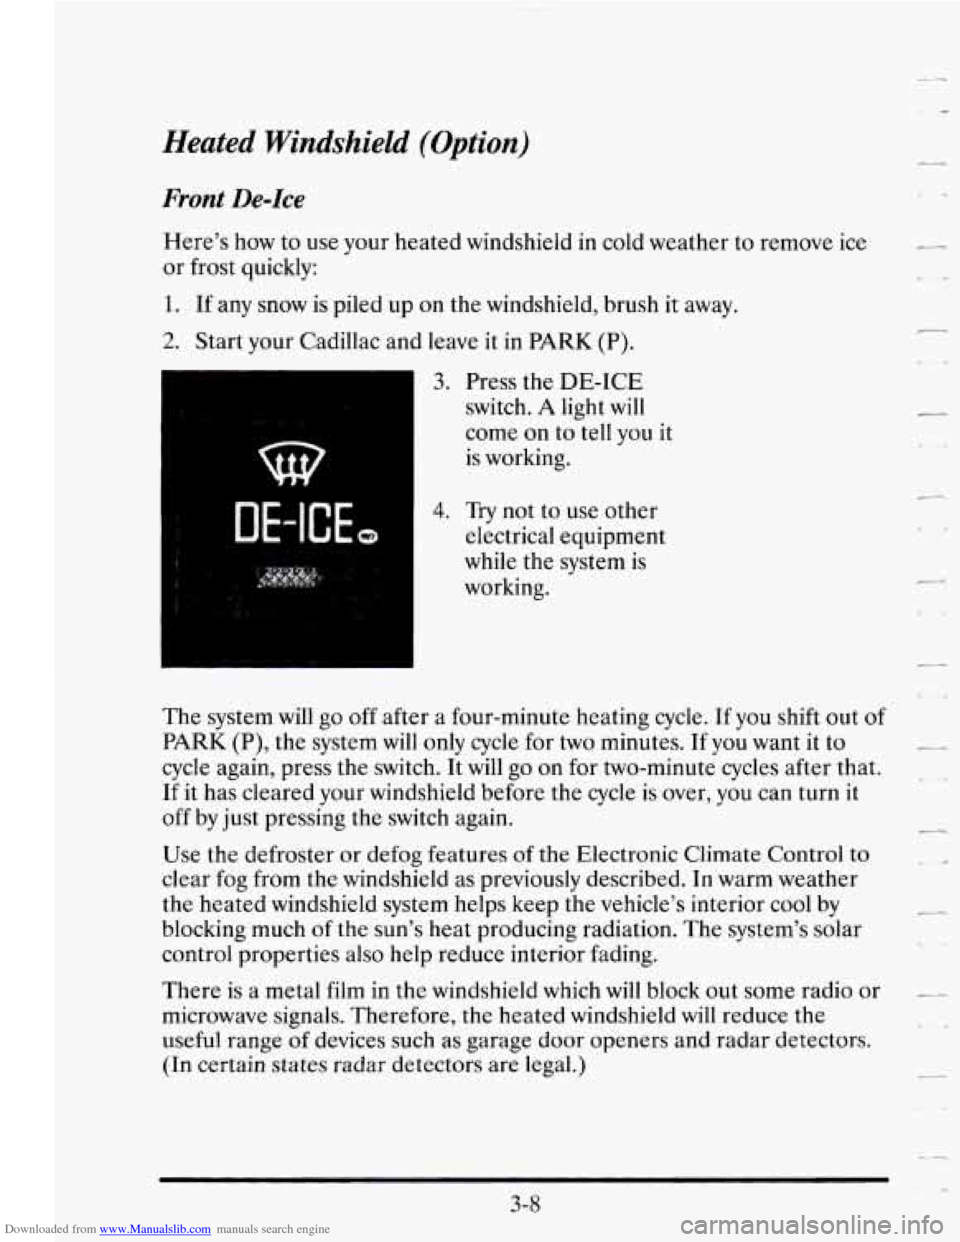
3. Press the DE-ICE
switch.
A light will
come
on to tell you it
is working.
4. Try not to use other
electrical equipment
while the system is
working.
The system will go off after a four-minute heating cycle. If you shift out
of
PARK (P), the system will only cycle for two minutes. If you want it to
cycle again, press the switch. It will go on for two-minute cycles after that.
If it has cleared your windshield before the cycle is over, you can turn it
off by
just pressing the switch again.
Use the defroster or defog features of the Electronic Climate Control
to
clear fog from the windshield as previously described. In warm weather
the heated windshield system helps keep the vehicle’s interior cool by
blocking much
of the sun’s heat producing radiation. The system’s solar
control properties also help reduce interior fading.
There is
a metal film in the windshield which will block out some radio or
microwave signals. Therefore, the heated windshield will reduce the
useful range
of devices such as garage door openers and radar detectors.
(In certain
states radar detectors are legal.)
3-8
r
Page 342 of 410
Downloaded from www.Manualslib.com manuals search engine wmpartment Fuse Block (Continued) 1
c-
I FOG LP
F
CNSL FAN
CIGAR
BODY
2
BODY 1
READ LP
L PRK LP
R PRK LP
RAD (BAT)
ANT/TRK PLD
ELC
R HTD
SEAT
L HTD SEAT r
Headlamps
Fog Lamp Relays A and F
Rear Blower Motor; Rear Blower Relay
Left and Right Cigarette Lighters; Front Cigarette Lighter; Chime
Module
Power Mirror Switch;
RAP Relay; Lock-out Inhibit Relay “B” (Trunk
Comp.
1 Micro Relay Center ; Panel Lights Inhibit Relay “F” (Trunk
Comp.
3 Micro Relay Center 1 (Export); Courtesy Lamps Relay “C”
(Trunk Comp.
2 Micro Relay Center); RAP Relay “E’ (Trunk Comp.
2 Micro Relay Center); Keyless Entry Module; Trunk Lamp
Rear Door Lock Switches; Front Door Lock Switches; Glove
Box
Lamp; Left and Right Footwell Courtesy Lamps; Headlamp Switch .- -
Left and Right Front Header Lamp; Left and Right Vanity Mirror;
Garage Door Opener; Left and Right Rear Header Lamps
- -
Left Rear Tail/Stop/Turn Lamps; Left Front Parkflurn Lamps;
Front and Rear Left Side Marker Lamps; Radio Control Head;
Headlamp Switch; Instrument Panel Cluster
Right Tail/Stop/Turn Lamps; Right Front and Rear Side Marker
Lamps; Right Front Park and Turn Lamps; Engine Comp. Lamp;
License Plate Lamps
Radio
Trunk Lid Pull Down Motor; Power Antenna
Electronic Level Control (ELC)
Passengers Heated Seat
Driver’s Heated Seat
The headlamp wiring has an individual fuse which is powered by a MAXI TM fuse.
An electrical overload in the headlamp wiring may cause your headlamps to go
off and remain off. You will need to have your Cadillac serviced immediately.
Windshield Wipers
The windshield wiper motor is powered by a MAXI fuse. An electrical
overload in the motor wiring may cause your wipers to stop working.
If
this happens you will need to have your Cadillac serviced.
Power Windows and Other Power Options
Circuit breakers in the fuse panel protect the power windows and other power
accessories. When the current load is too heavy (such as a switch being held on
with the window completely up), the circuit breaker opens and closes,
protecting the circuit until the problem is fixed or the load is removed.
6-71
Page 402 of 410
Downloaded from www.Manualslib.com manuals search engine N
Net. Convenience .................................. 2-67
Neutral (N) Position. Automatic Transaxle .............. 2-26
New Vehicle “Break-In’’ ............................. 2-19
Night Vision ....................................... 4-20
Odometer ......................................... 2-75
Odometer. Trip .................................... 2-76
Off-Road Recovery ................................. 4-14
Engine ......................................... 6-10
Life Indicator ................................... 2-96
Life Left Reset. Driver Information Center .......... 2-89
Opener. Garage Door ............................... 2-69
Ordering. Service Information ......... See Owner Assistance
Outlet, Rear Seat Air
................................ 3-7
Outside Air ........................................ 3-1
Overdrive (0) Position. Automatic Transaxle ........... 2-27
Overheated Engine ................................. 5-12
Overheated Engine Protection Operating Mode ......... 5-12
Oil
Paint Spotting. Chemical
............................ 6-60
Park (P) Position. Automatic Transaxle ................ 2-24
Shifting Into .................................... 2-30
Shifting Out of .................................. 2-34
AtNight ....................................... 2-15
Lots ........................................... 2-16
On Hills While Towing a Trailer .................... 4-47
Over Things That Burn ........................... 2-35
Parking Brake ..................................... 2-29
PASS-Key I1 ....................................... 2-18
Passing ........................................... 4-15
Antenna Mast Care .............................. 3-21
Door Locks ...................................... 2-5
Folding Mirror .................................. 2-65
Lumbar ......................................... 1-4
Remote Control Mirrors .......................... 2-64
Parking
Power
c
.
.
-I)
.
.
.
.
10