Page 617 of 650
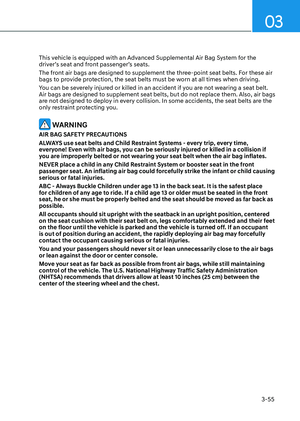
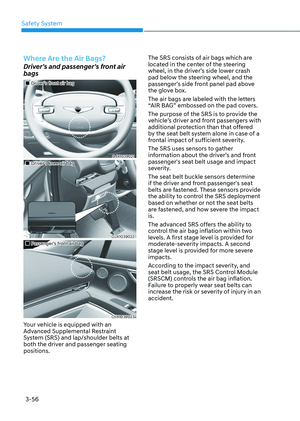
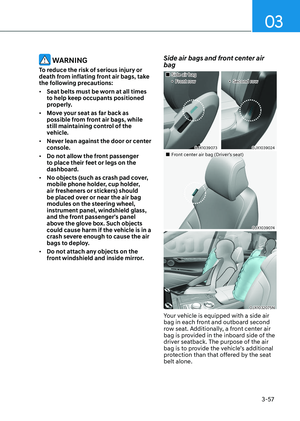
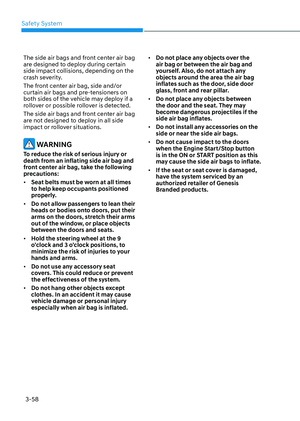
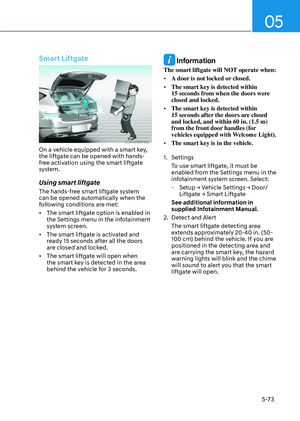
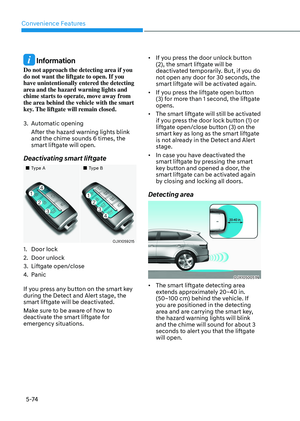
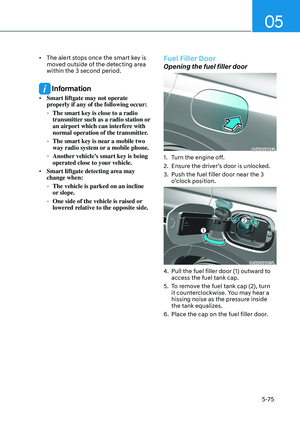
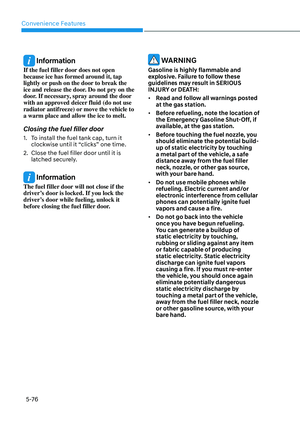
Maintenance
9-62
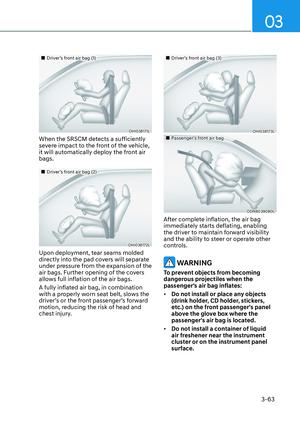
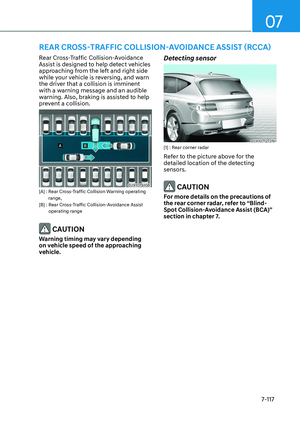
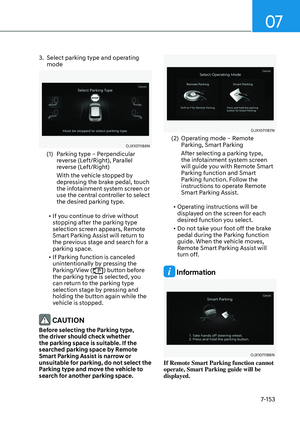
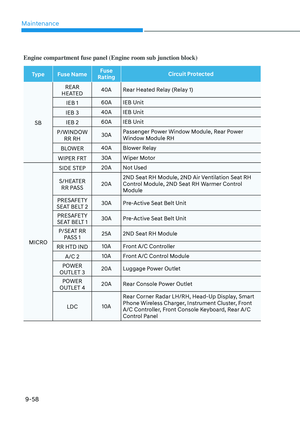
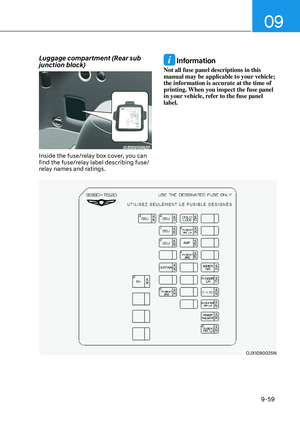
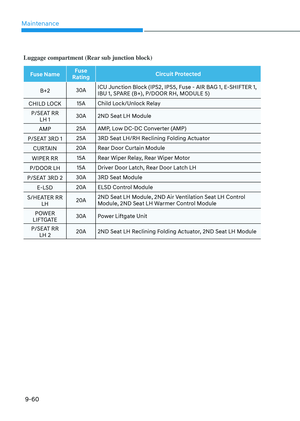
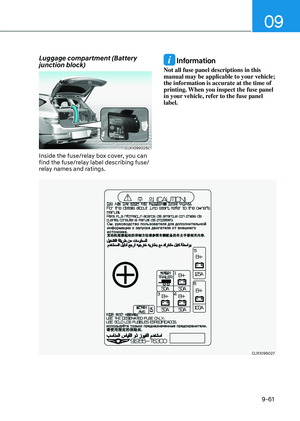
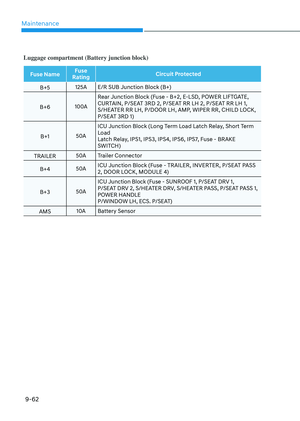
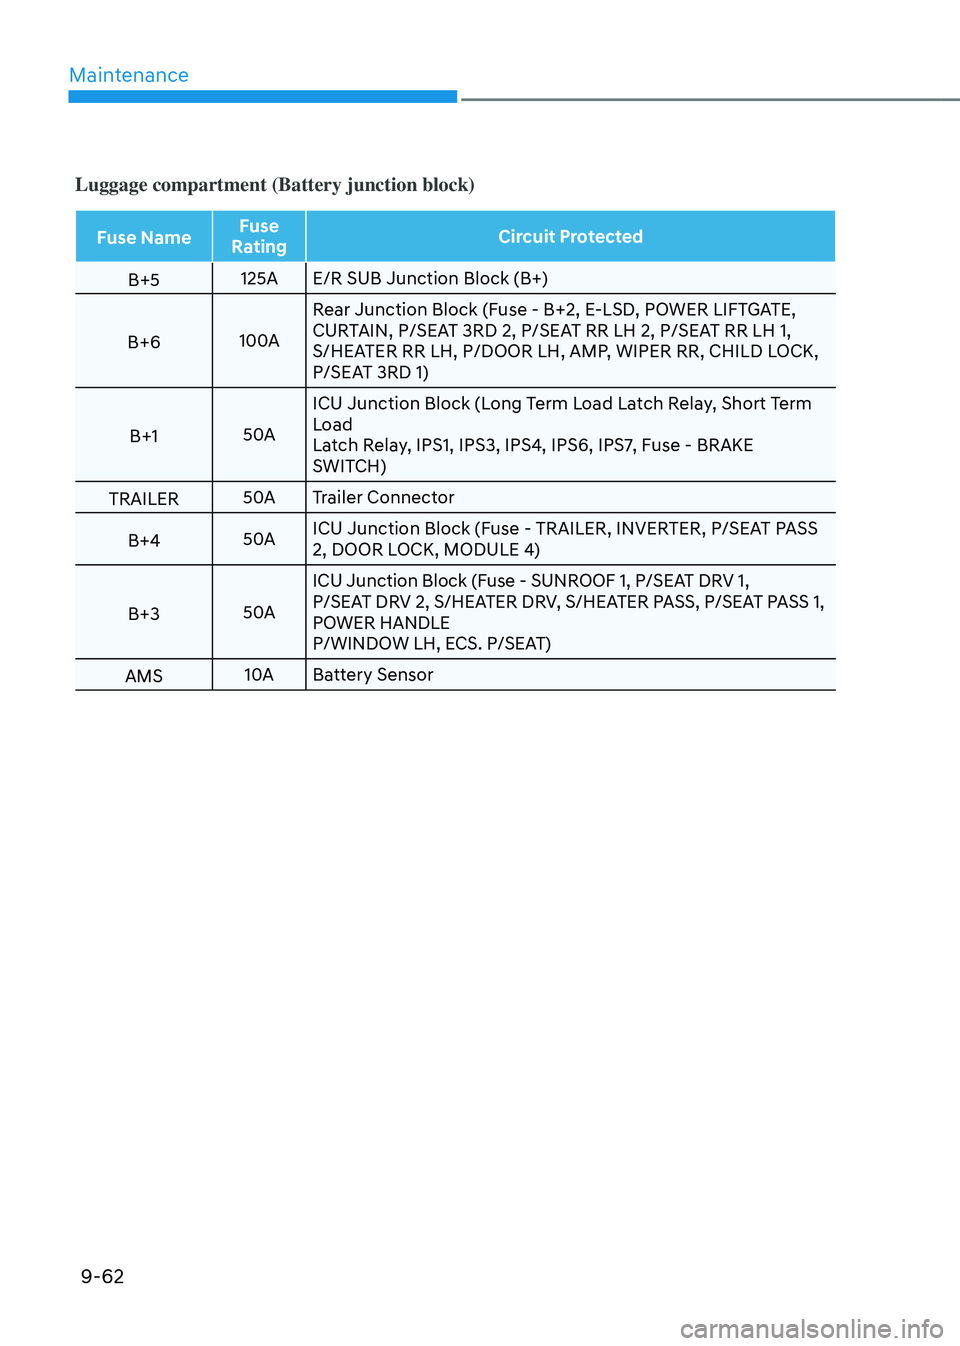
Luggage compartment (Battery junction block)
Fuse NameFuse
Rating Circuit Protected
B+5 125A
E/R SUB Junction Block (B+)
B+6 100ARear Junction Block (Fuse - B+2, E-LSD, POWER LIFTGATE,
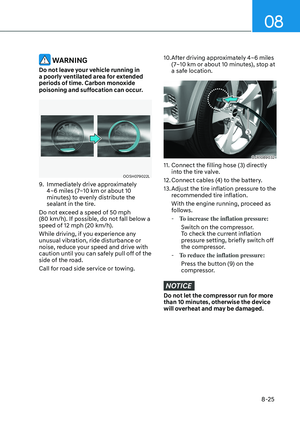
CURTAIN, P/SEAT 3RD 2, P/SEAT RR LH 2, P/SEAT RR LH 1,
S/HEATER RR LH, P/DOOR LH, AMP, WIPER RR, CHILD LOCK,
P/SEAT 3RD 1)
B+1 50AICU Junction Block (Long Term Load Latch Relay, Short Term
Load
Latch Relay, IPS1, IPS3, IPS4, IPS6, IPS7, Fuse - BRAKE
SWITCH)
TRAILER 50A
Trailer Connector
B+4 50AICU Junction Block (Fuse - TRAILER, INVERTER, P/SEAT PASS
2, DOOR LOCK, MODULE 4)
B+3 50AICU Junction Block (Fuse - SUNROOF 1, P/SEAT DRV 1,
P/SEAT DRV 2, S/HEATER DRV, S/HEATER PASS, P/SEAT PASS 1,
POWER HANDLE
P/WINDOW LH, ECS. P/SEAT)
AMS 10A
Battery Sensor
Page 618 of 650

09
9-63
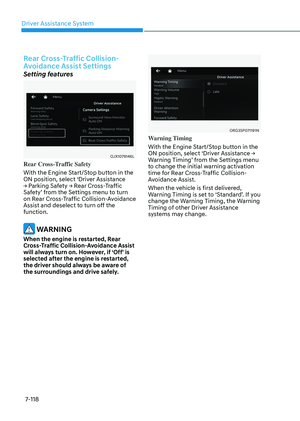
Consult an authorized retailer of
Genesis Branded products to replace
most vehicle light bulbs. It is difficult
to replace vehicle light bulbs because
other parts of the vehicle must be
removed before you can get to the bulb.
This is especially true for removing the
headlamp assembly to get to the bulb(s).
Removing/installing the headlamp
assembly can result in damage to the
vehicle.
WARNING
• Prior to working on a light, depress
the foot brake, shift to P (Park), apply
the parking brake, press the Engine
Start/Stop button to the OFF position
and take the key with you when
leaving the vehicle to avoid sudden
movement of the vehicle and to
prevent possible electric shock.
• Be aware the bulbs may be hot and
may burn your fingers.
NOTICE
Be sure to replace the burned-out bulb
with one of the same wattage rating.
Otherwise, it may cause damage to the
fuse or electrical wiring system.
NOTICE
To prevent damage, do not clean the
headlamp lens with chemical solvents
or strong detergents.
Information - Headlamp
desiccant (if equipped)
This vehicle is equipped with desiccant to
reduce fogging inside the headlamp due
to moisture. The desiccant is consumable
and its performance may change based on
the used period or environment. If fogging
inside the headlamp due to moisture
continues for a long time, consult an
authorized retailer of Genesis Branded
products.
Information
The headlamp and tail lamp lenses could
appear frosty if the vehicle is washed after
driving or the vehicle is driven at night in
wet weather. This condition is caused by
temperature difference between the lamp
inside and outside and, it does not indicate
a problem with your vehicle. When
moisture condenses in the lamp, it will be
removed after driving with the headlamp
on. The removable level may differ
depending on lamp size, lamp position
and environmental condition. However, if
moisture is not removed, have the vehicle
inspected by an authorized retailer of
Genesis Branded products.
LIGHT BULBS
Page 619 of 650

Maintenance
9-64
Information
• A normally functioning lamp may
flicker momentarily to stabilize the
vehicle’s electrical control system.
However, if the lamp goes out after
flickering momentarily, or continues to
flicker, have the system checked by an
authorized retailer of Genesis Branded
products.
• The position lamp may not turn on
when the position lamp switch is turned
on, but the position lamp and headlamp
switch may turn on when the headlamp
switch is turned on. This may be caused
by network failure or vehicle electrical
control system malfunction. If this
occurs, have the system checked by an
authorized retailer of Genesis Branded
products.
Information
The headlamp aiming should be adjusted
after an accident or after the headlamp
assembly is reinstalled at an authorized
retailer of Genesis Branded products.
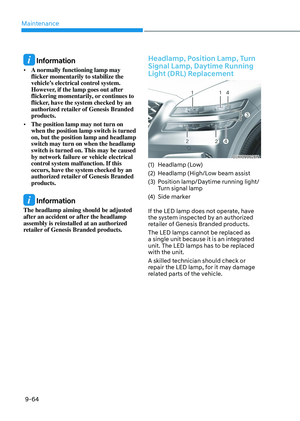
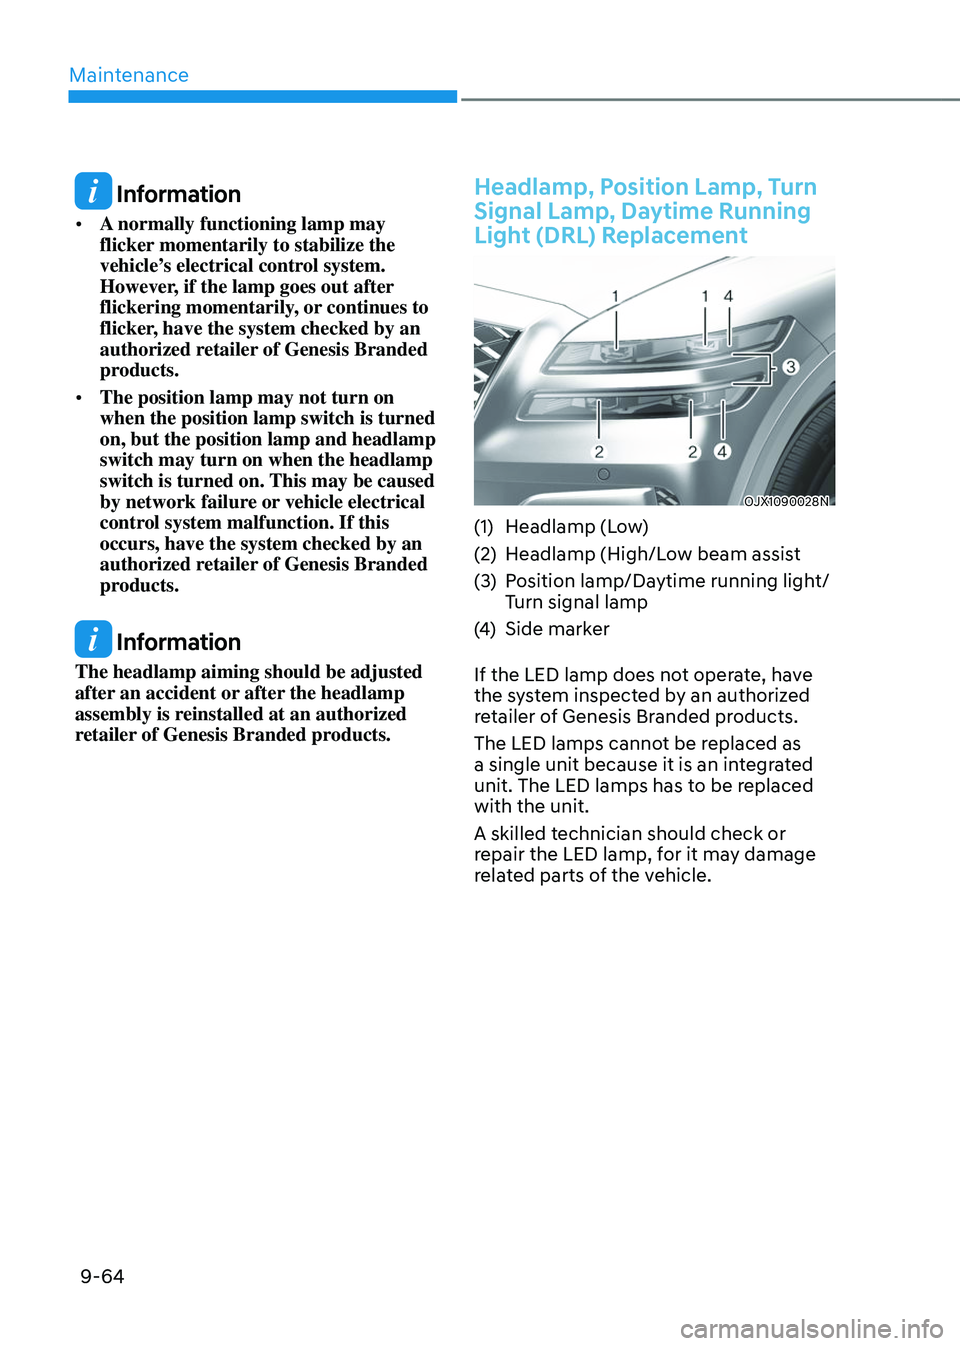
Headlamp, Position Lamp, Turn
Signal Lamp, Daytime Running
Light (DRL) Replacement
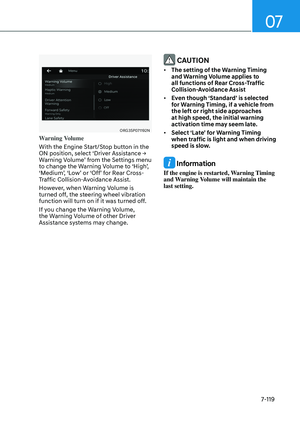
OJX1090028NOJX1090028N
(1) Headlamp (Low)
(2) Headlamp (High/Low beam assist
(3) Position lamp/Daytime running light/
Turn signal lamp
(4) Side marker
If the LED lamp does not operate, have
the system inspected by an authorized
retailer of Genesis Branded products.
The LED lamps cannot be replaced as
a single unit because it is an integrated
unit. The LED lamps has to be replaced
with the unit.
A skilled technician should check or
repair the LED lamp, for it may damage
related parts of the vehicle.
Page 620 of 650
09
9-65
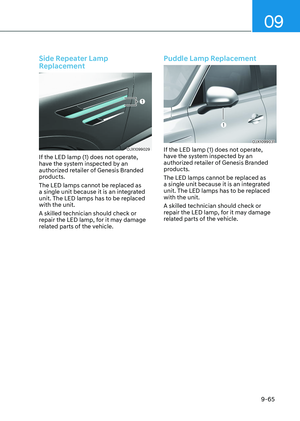
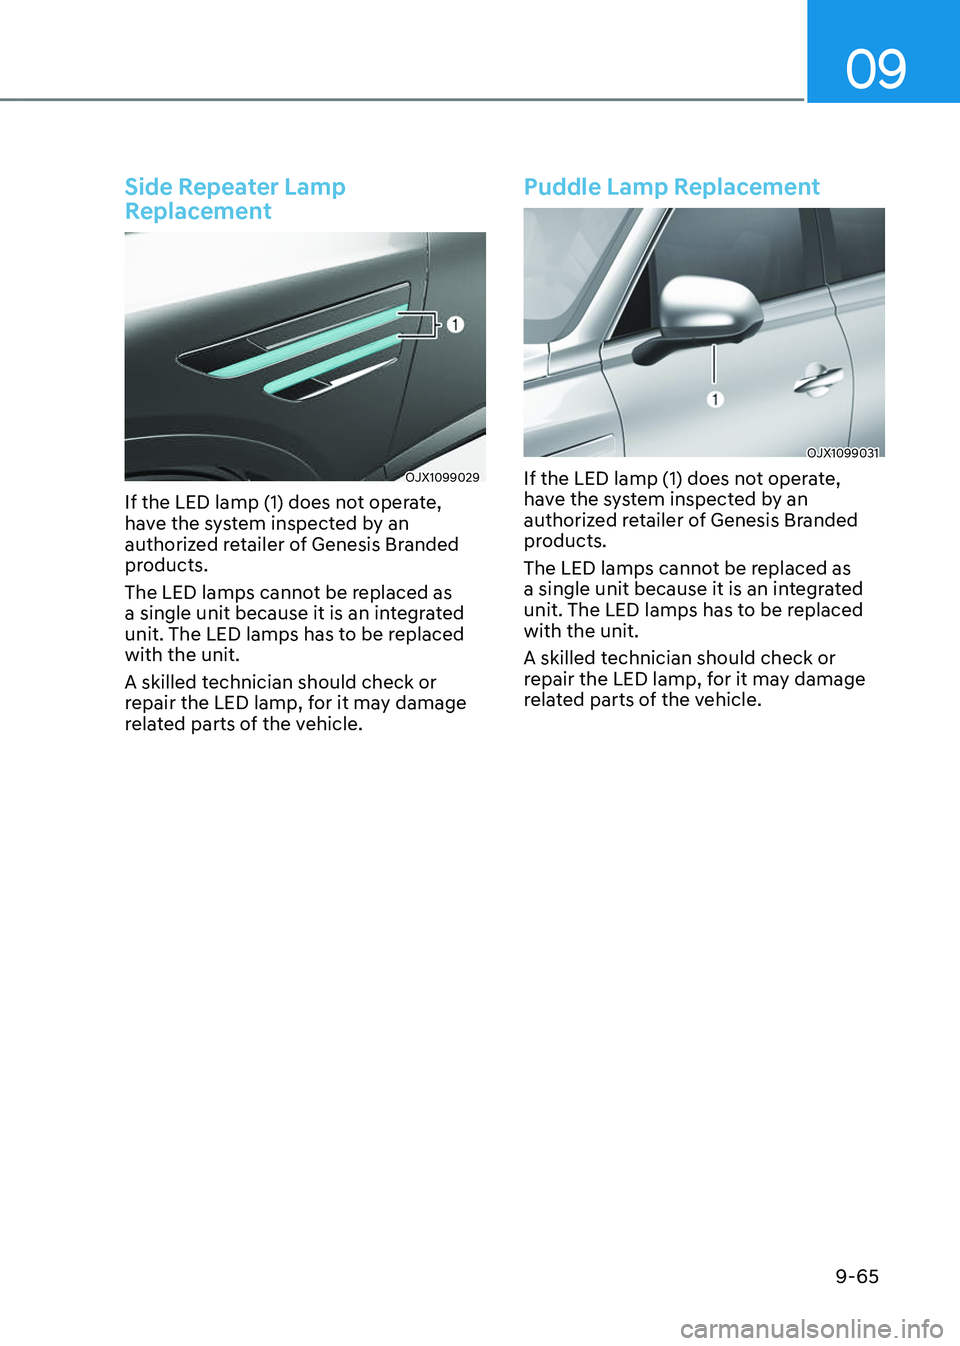
Side Repeater Lamp
Replacement
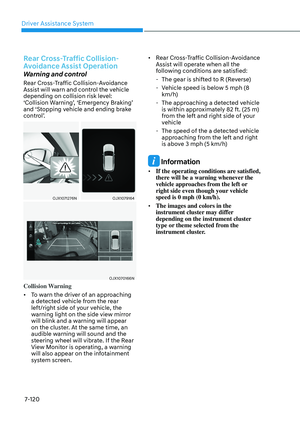
OJX1099029OJX1099029
If the LED lamp (1) does not operate,
have the system inspected by an
authorized retailer of Genesis Branded
products.
The LED lamps cannot be replaced as
a single unit because it is an integrated
unit. The LED lamps has to be replaced
with the unit.
A skilled technician should check or
repair the LED lamp, for it may damage
related parts of the vehicle.
Puddle Lamp Replacement
OJX1099031OJX1099031
If the LED lamp (1) does not operate,
have the system inspected by an
authorized retailer of Genesis Branded
products.
The LED lamps cannot be replaced as
a single unit because it is an integrated
unit. The LED lamps has to be replaced
with the unit.
A skilled technician should check or
repair the LED lamp, for it may damage
related parts of the vehicle.
Page 621 of 650
Maintenance
9-66
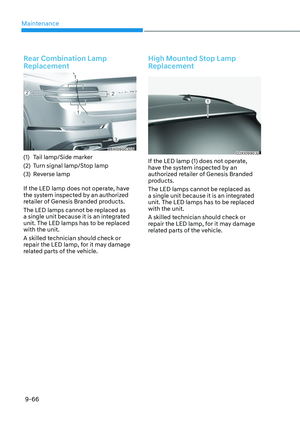
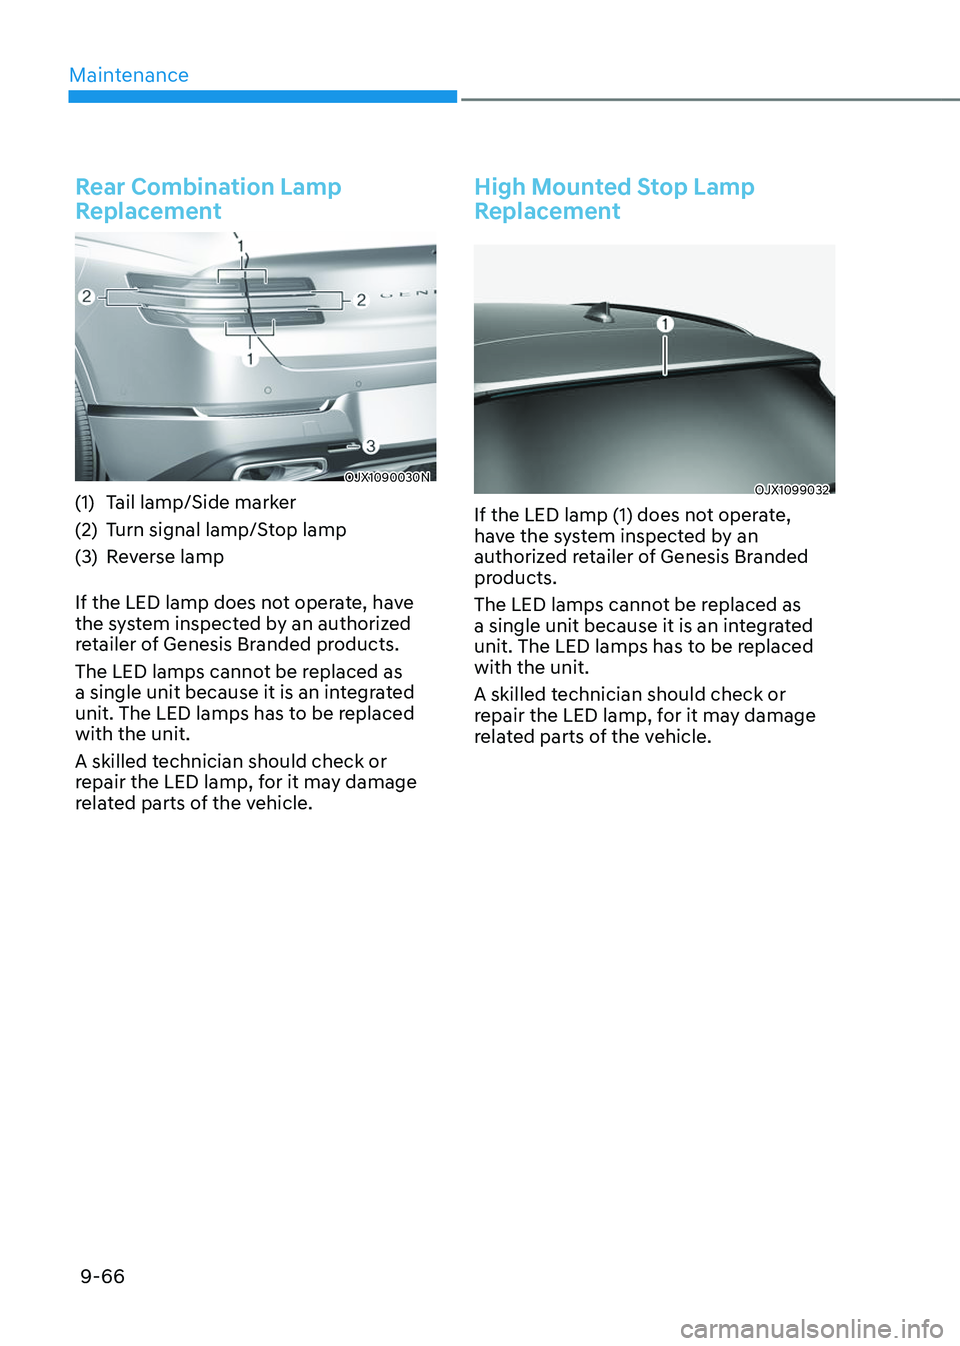
Rear Combination Lamp
Replacement
OJX1090030NOJX1090030N
(1) Tail lamp/Side marker
(2) Turn signal lamp/Stop lamp
(3) Reverse lamp
If the LED lamp does not operate, have
the system inspected by an authorized
retailer of Genesis Branded products.
The LED lamps cannot be replaced as
a single unit because it is an integrated
unit. The LED lamps has to be replaced
with the unit.
A skilled technician should check or
repair the LED lamp, for it may damage
related parts of the vehicle.
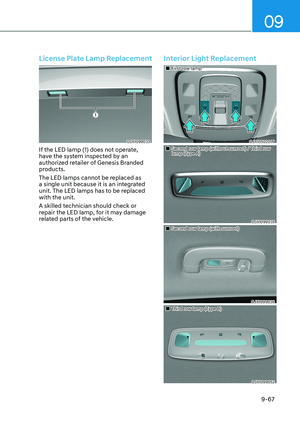
High Mounted Stop Lamp
Replacement
OJX1099032OJX1099032
If the LED lamp (1) does not operate,
have the system inspected by an
authorized retailer of Genesis Branded
products.
The LED lamps cannot be replaced as
a single unit because it is an integrated
unit. The LED lamps has to be replaced
with the unit.
A skilled technician should check or
repair the LED lamp, for it may damage
related parts of the vehicle.
Page 622 of 650
09
9-67
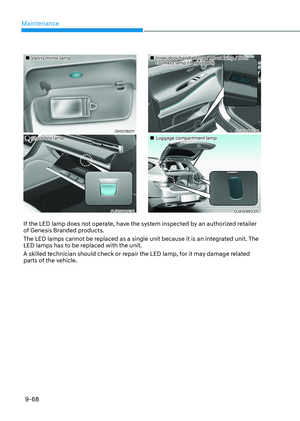
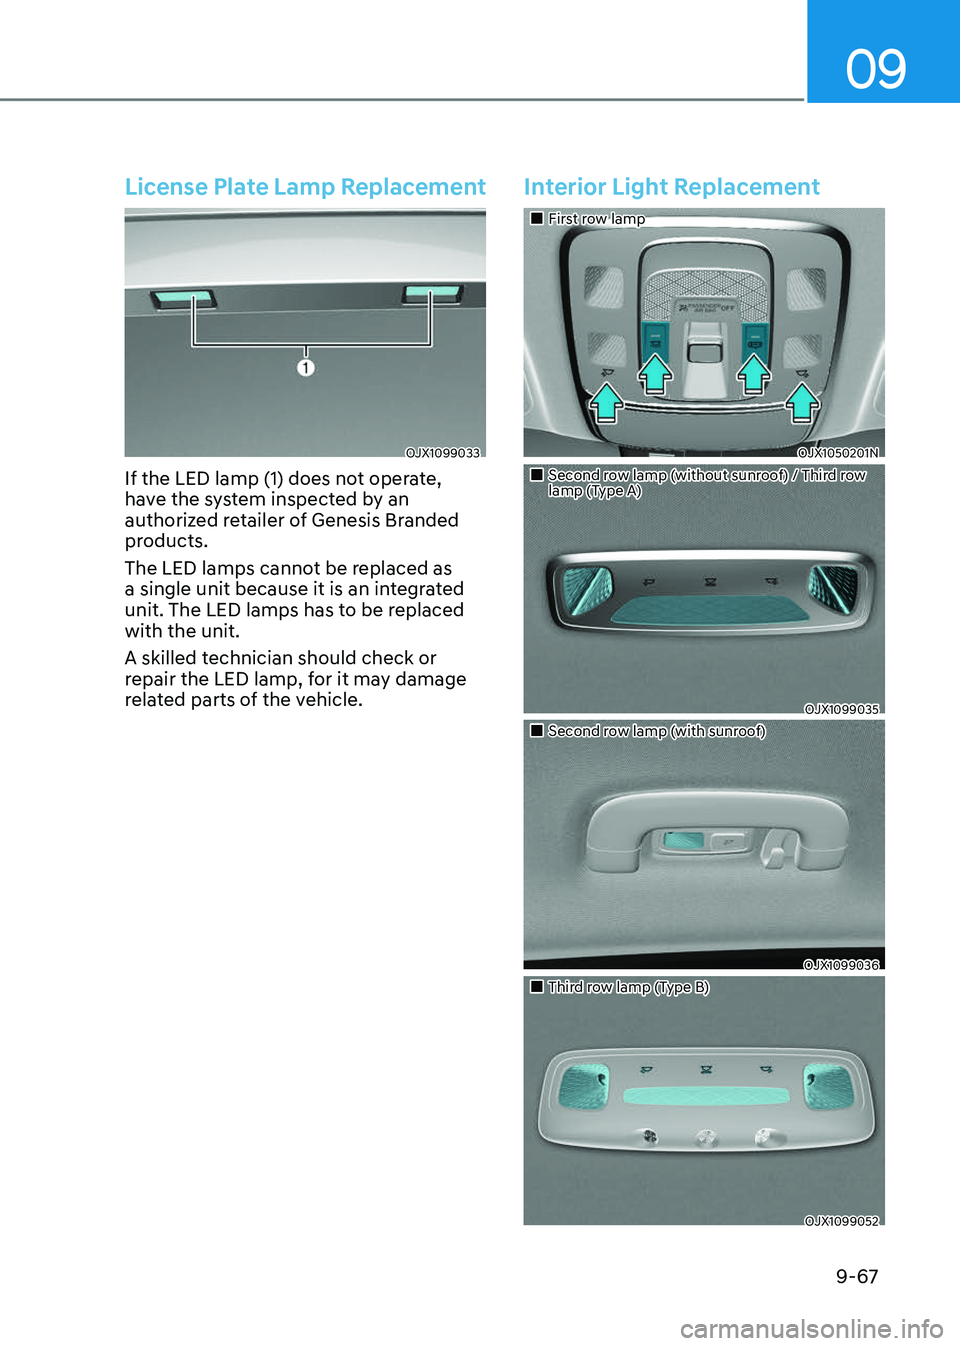
License Plate Lamp Replacement
OJX1099033OJX1099033
If the LED lamp (1) does not operate,
have the system inspected by an
authorized retailer of Genesis Branded
products.
The LED lamps cannot be replaced as
a single unit because it is an integrated
unit. The LED lamps has to be replaced
with the unit.
A skilled technician should check or
repair the LED lamp, for it may damage
related parts of the vehicle.
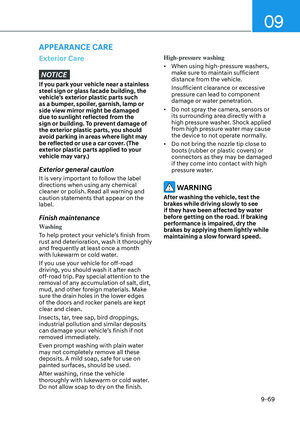
Interior Light Replacement
Page 623 of 650
Maintenance
9-68
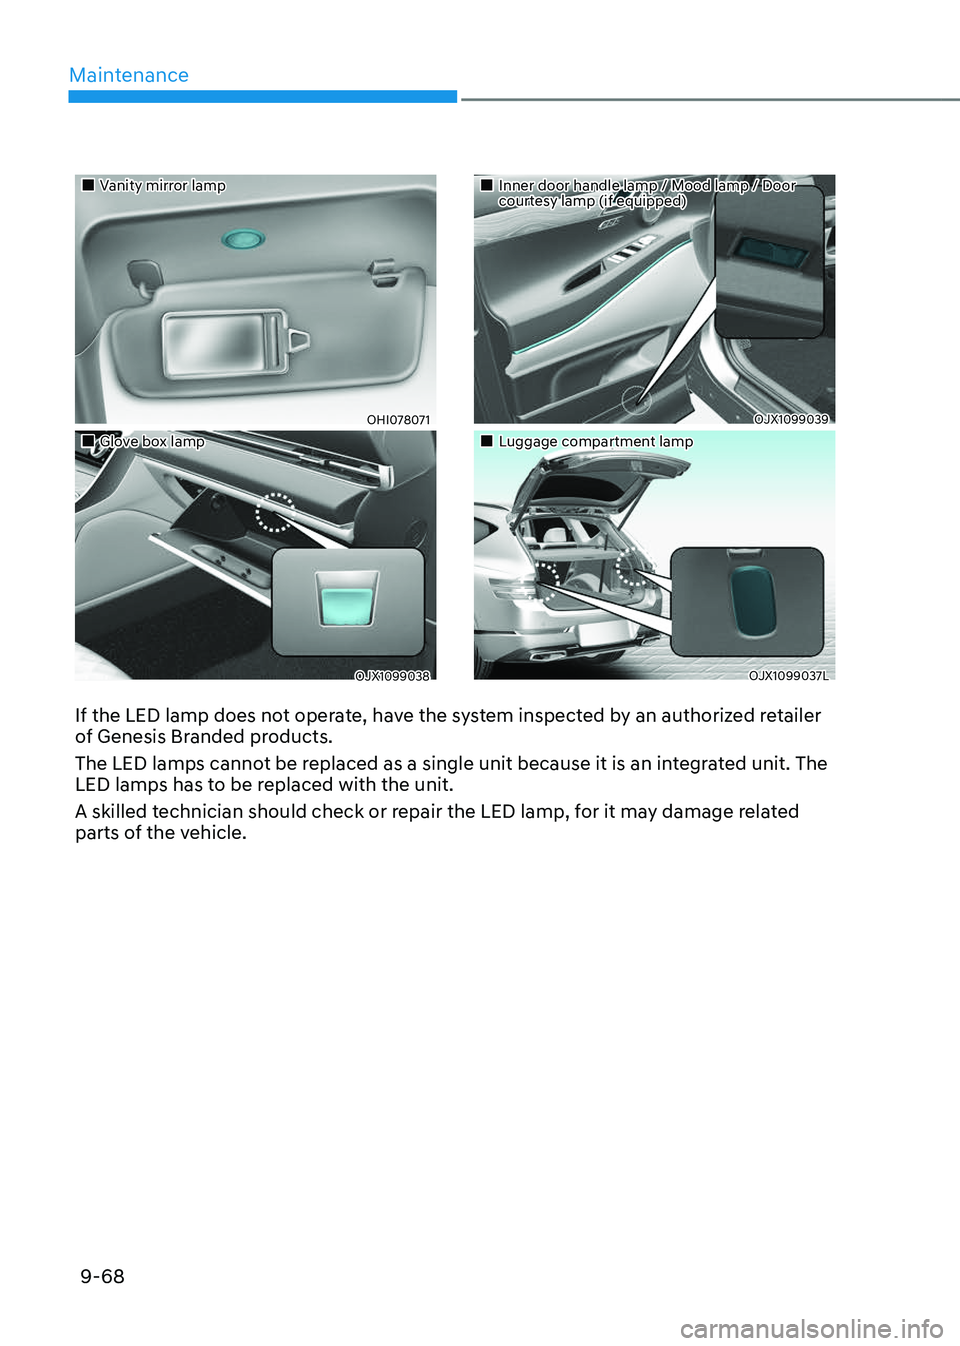
If the LED lamp does not operate, have the system inspected by an authorized retailer
of Genesis Branded products.
The LED lamps cannot be replaced as a single unit because it is an integrated unit. The
LED lamps has to be replaced with the unit.
A skilled technician should check or repair the LED lamp, for it may damage related
parts of the vehicle.
Page 624 of 650

09
9-69
Exterior CareNOTICE
If you park your vehicle near a stainless
steel sign or glass facade building, the
vehicle’s exterior plastic parts such
as a bumper, spoiler, garnish, lamp or
side view mirror might be damaged
due to sunlight reflected from the
sign or building. To prevent damage of
the exterior plastic parts, you should
avoid parking in areas where light may
be reflected or use a car cover. (The
exterior plastic parts applied to your
vehicle may vary.)
Exterior general caution
It is very important to follow the label
directions when using any chemical
cleaner or polish. Read all warning and
caution statements that appear on the
label.
Finish maintenance
Washing
To help protect your vehicle’s finish from
rust and deterioration, wash it thoroughly
and frequently at least once a month
with lukewarm or cold water.
If you use your vehicle for off-road
driving, you should wash it after each
off-road trip. Pay special attention to the
removal of any accumulation of salt, dirt,
mud, and other foreign materials. Make
sure the drain holes in the lower edges
of the doors and rocker panels are kept
clear and clean.
Insects, tar, tree sap, bird droppings,
industrial pollution and similar deposits
can damage your vehicle’s finish if not
removed immediately.
Even prompt washing with plain water
may not completely remove all these
deposits. A mild soap, safe for use on
painted surfaces, should be used.
After washing, rinse the vehicle
thoroughly with lukewarm or cold water.
Do not allow soap to dry on the finish. High-pressure washing
• When using high-pressure washers,
make sure to maintain sufficient
distance from the vehicle.
Insufficient clearance or excessive
pressure can lead to component
damage or water penetration.
• Do not spray the camera, sensors or
its surrounding area directly with a
high pressure washer. Shock applied
from high pressure water may cause
the device to not operate normally.
• Do not bring the nozzle tip close to
boots (rubber or plastic covers) or
connectors as they may be damaged
if they come into contact with high
pressure water.
WARNING
After washing the vehicle, test the
brakes while driving slowly to see
if they have been affected by water
before getting on the road. If braking
performance is impaired, dry the
brakes by applying them lightly while
maintaining a slow forward speed.
APPEARANCE CARE