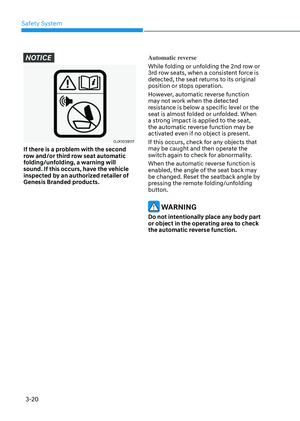
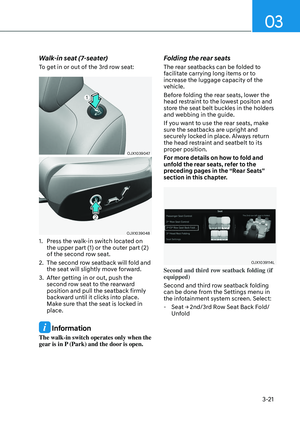
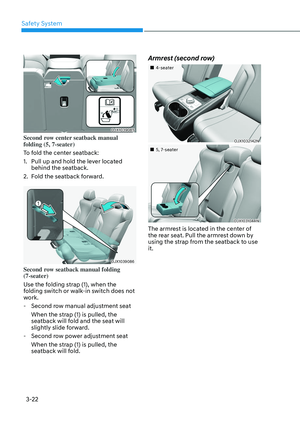
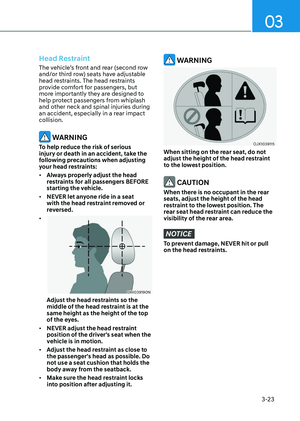
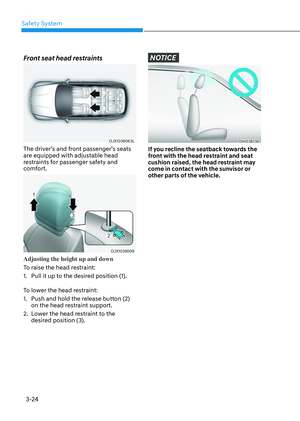
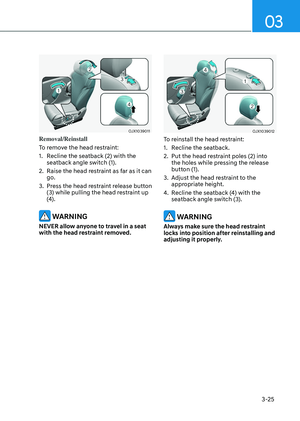
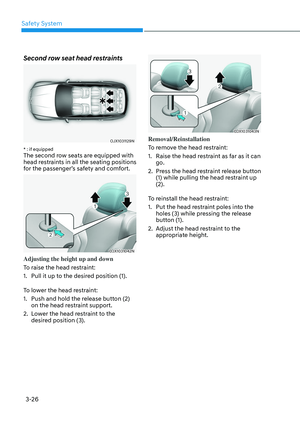
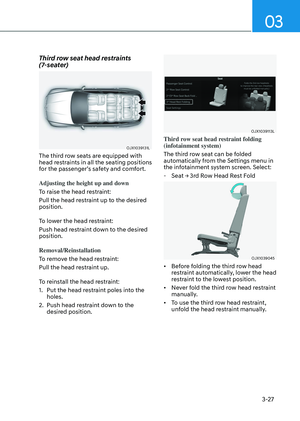
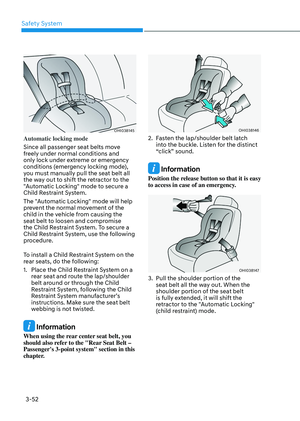
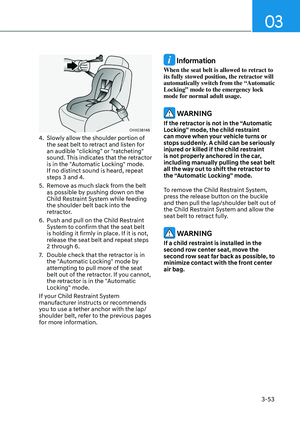
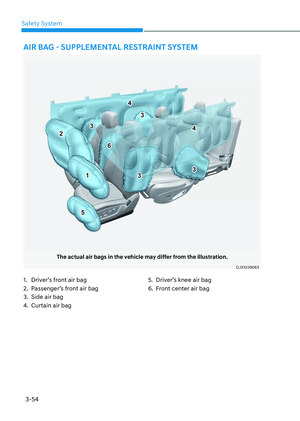
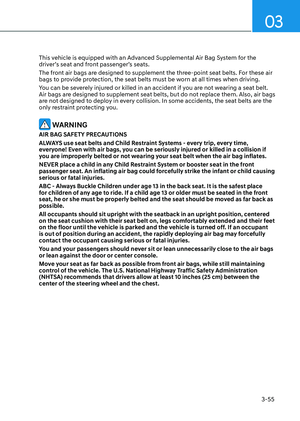
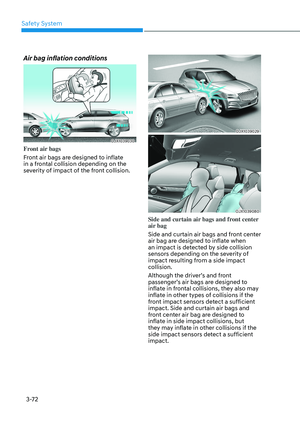
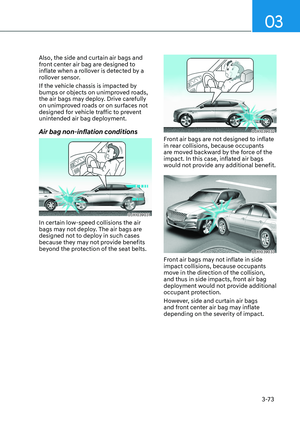
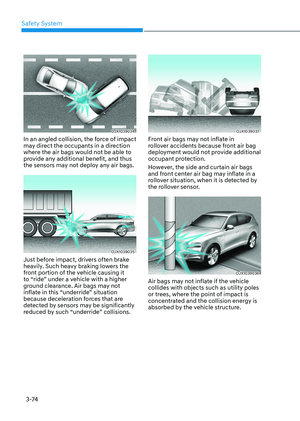
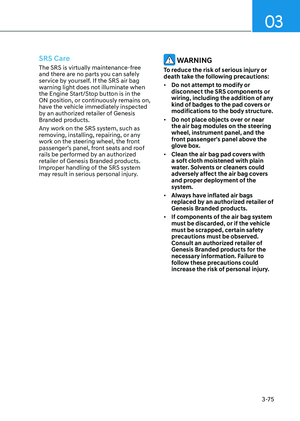
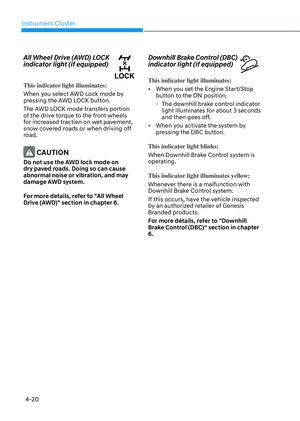
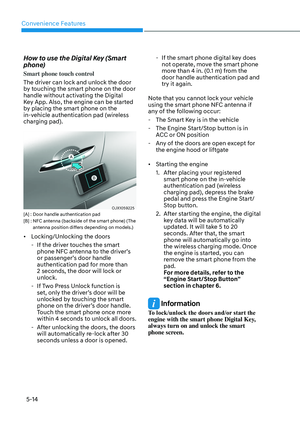
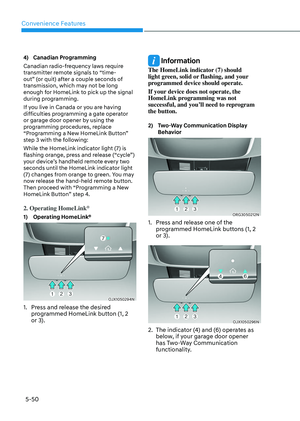
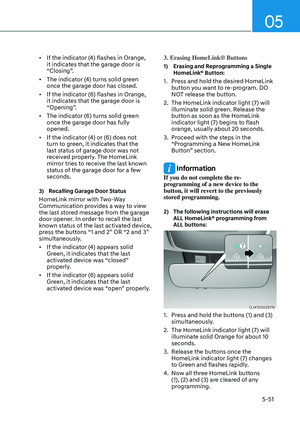
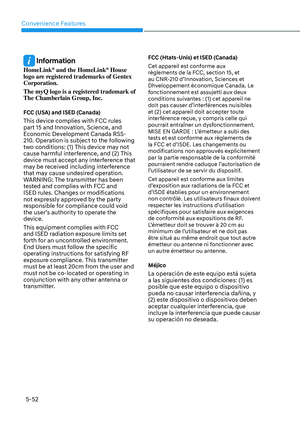
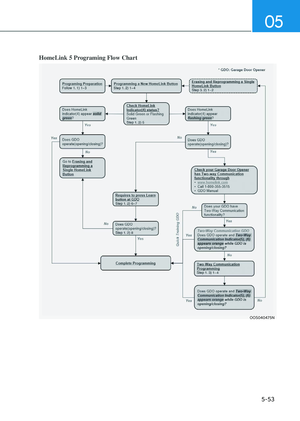
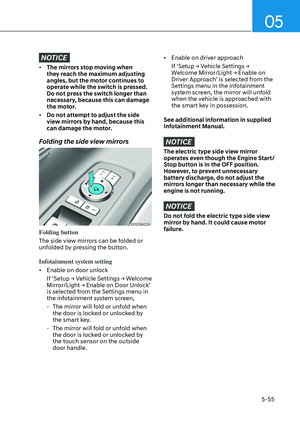
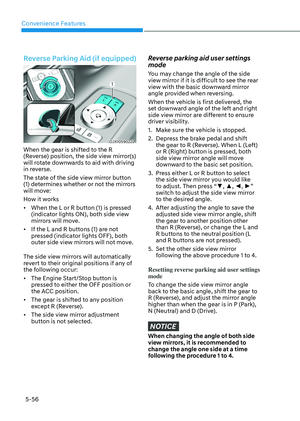
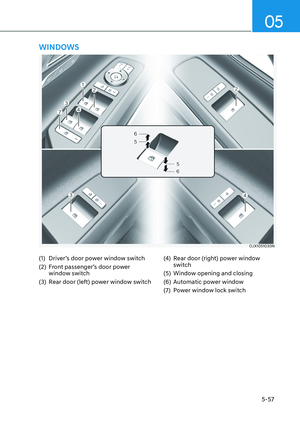
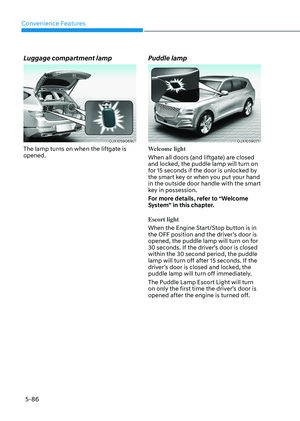
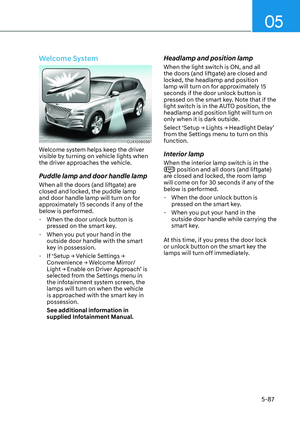
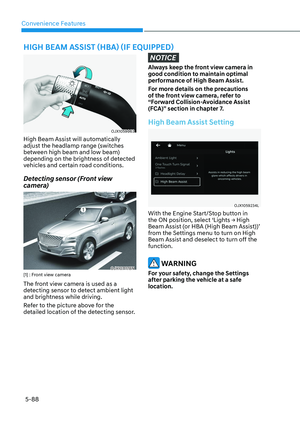
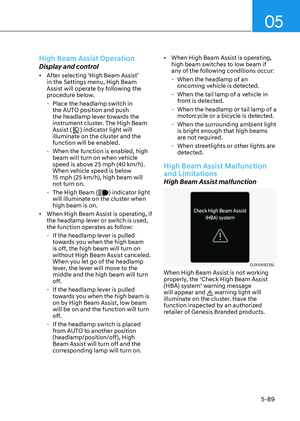
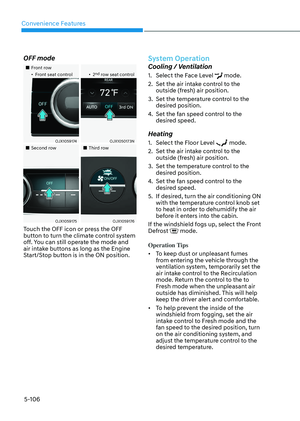
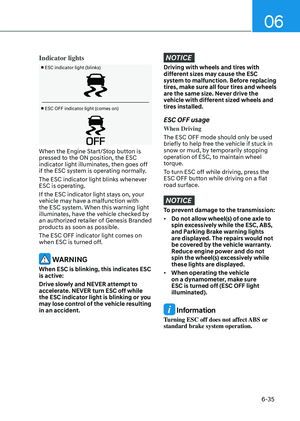
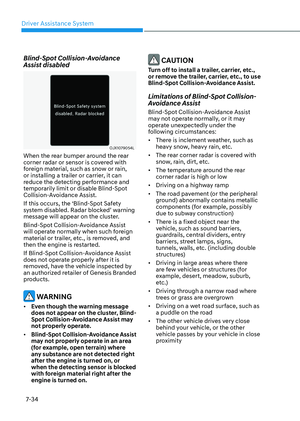
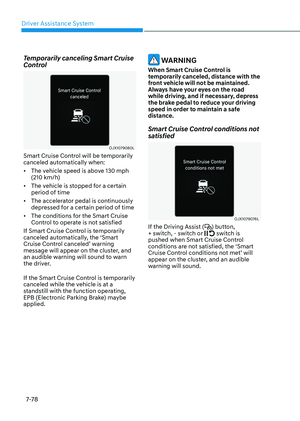
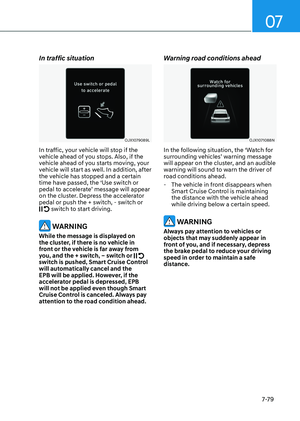
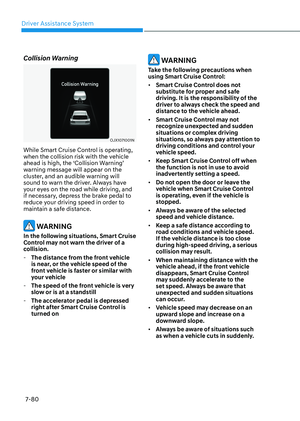
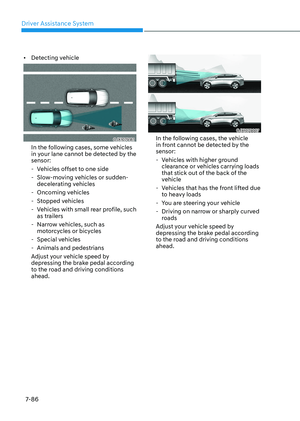
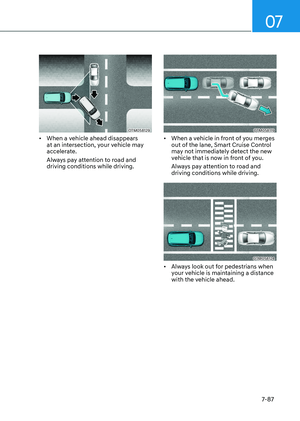
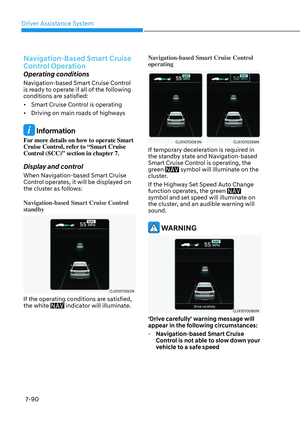
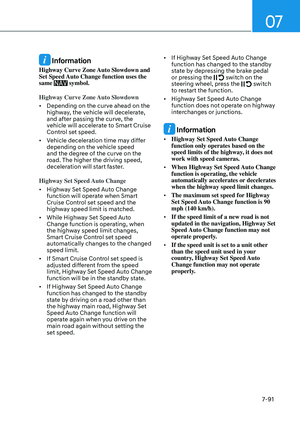
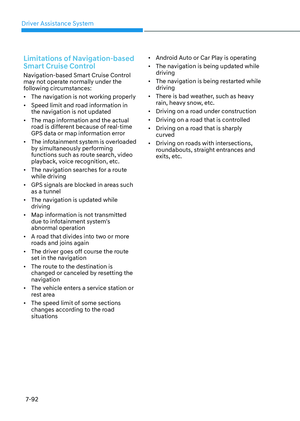
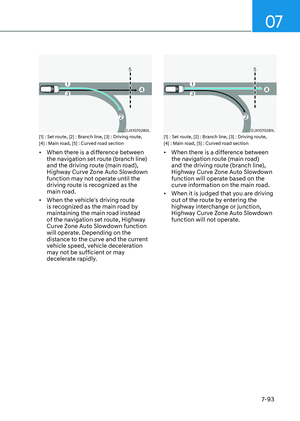
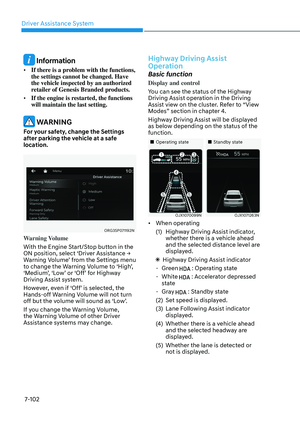
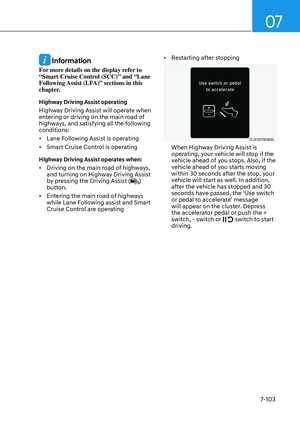
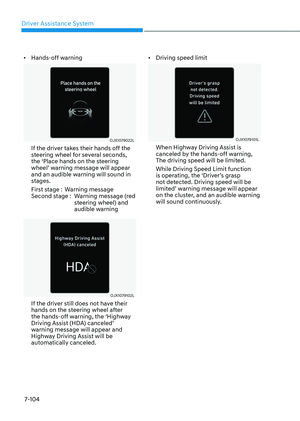
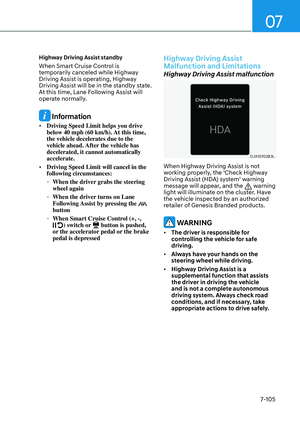
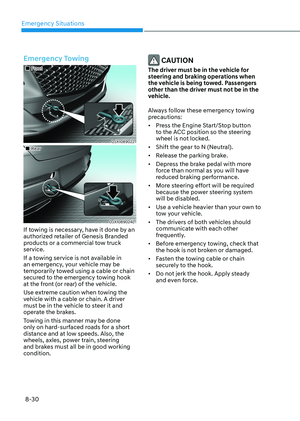
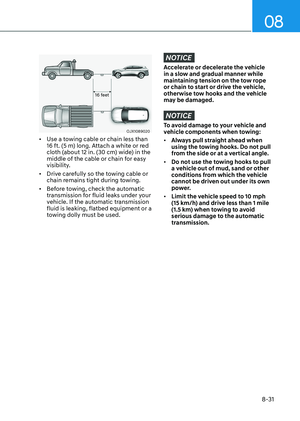
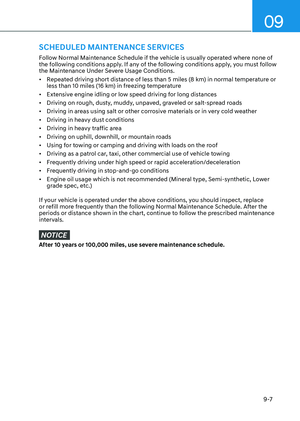
Page 177 of 650

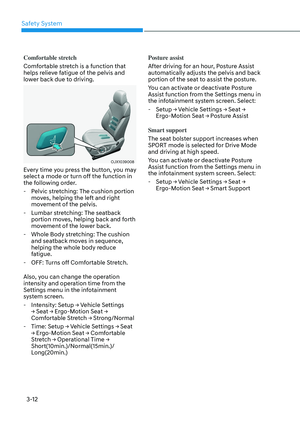
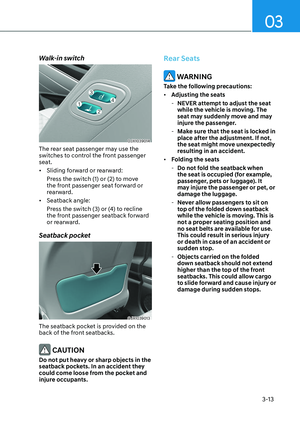
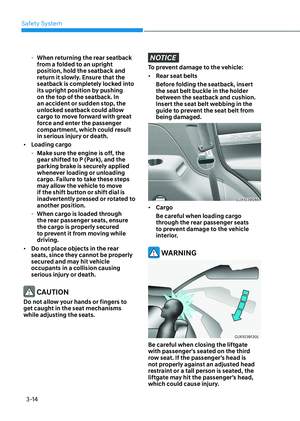
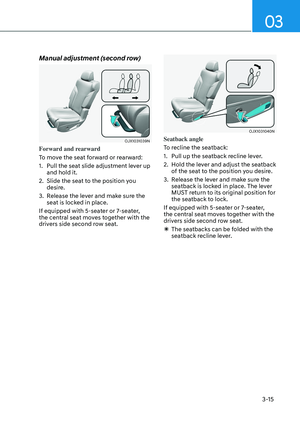
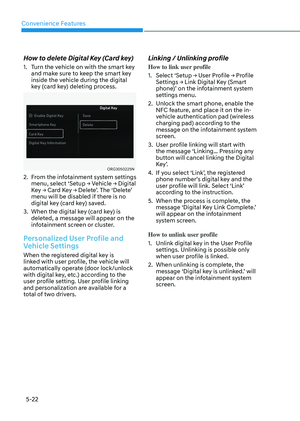
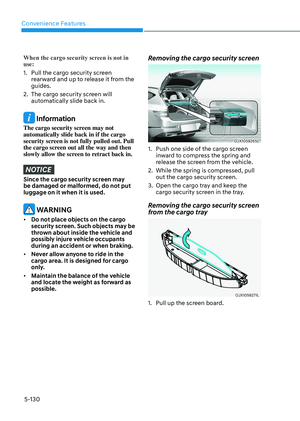
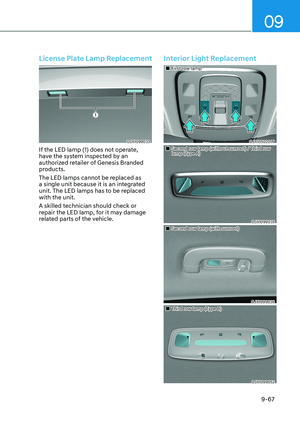
05
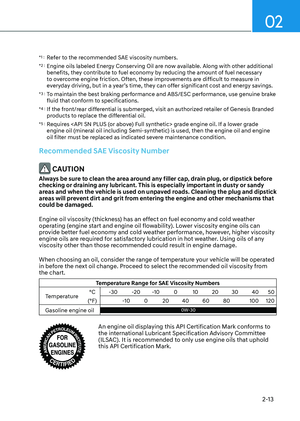
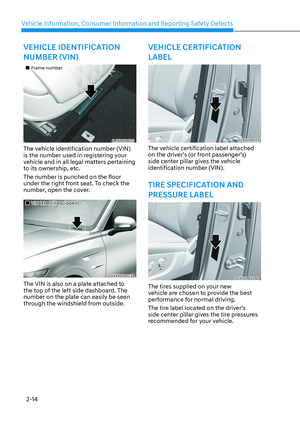
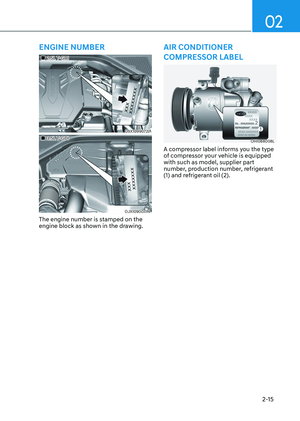
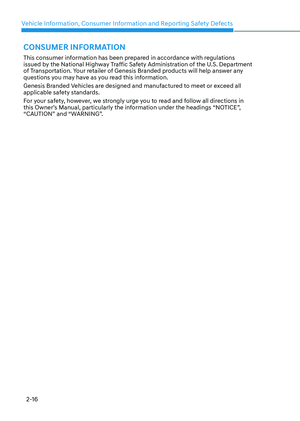
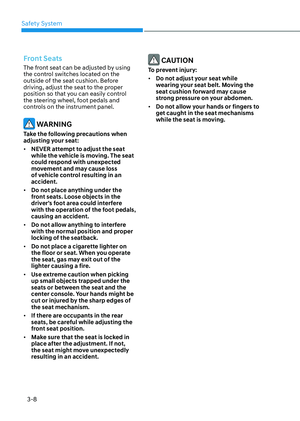
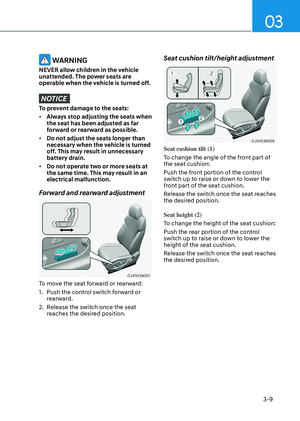
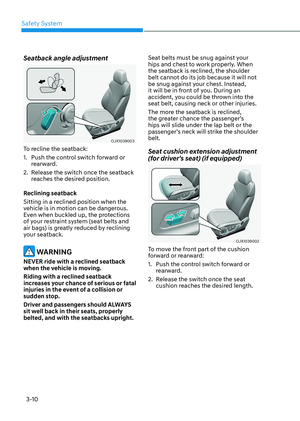
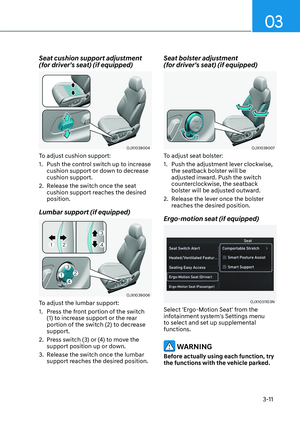
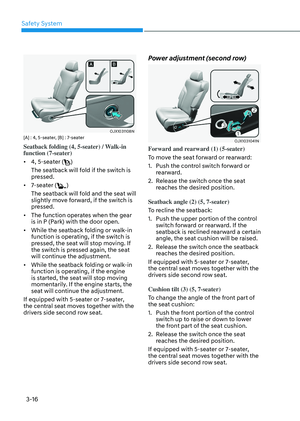
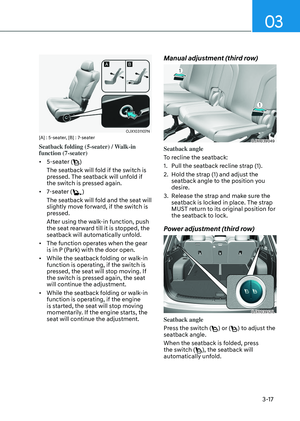
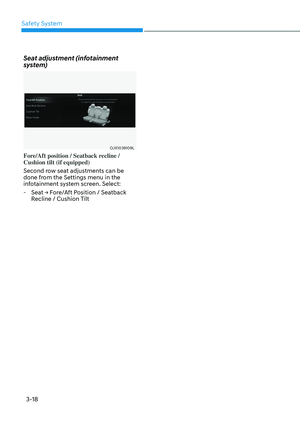
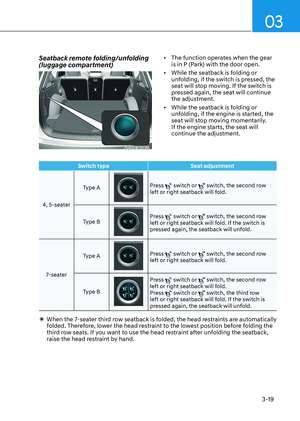
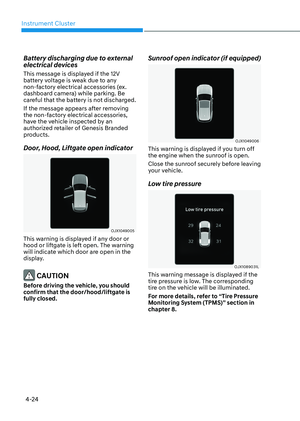
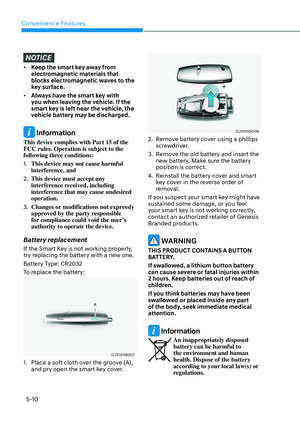
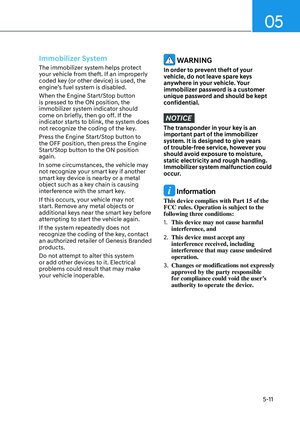
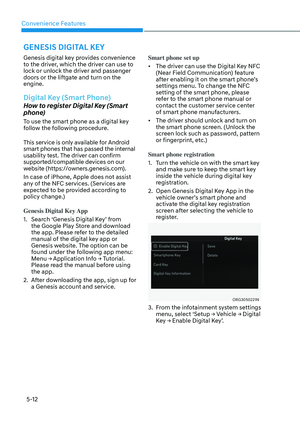
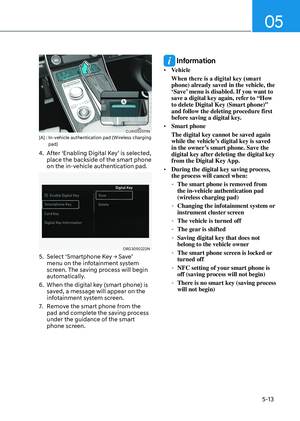
5-33
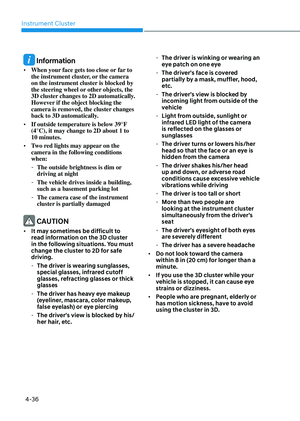
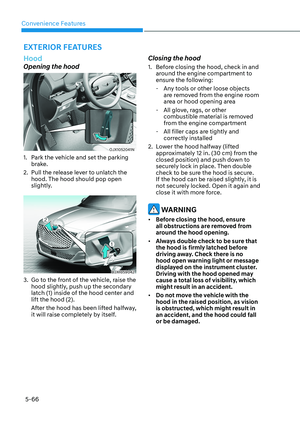
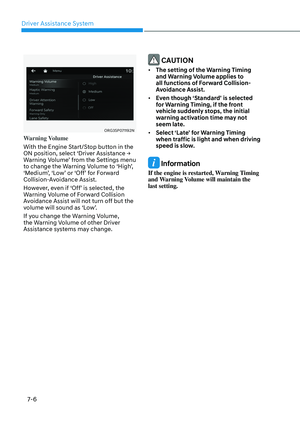
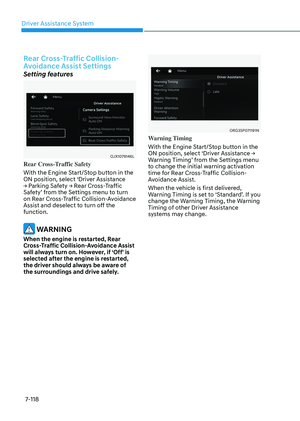
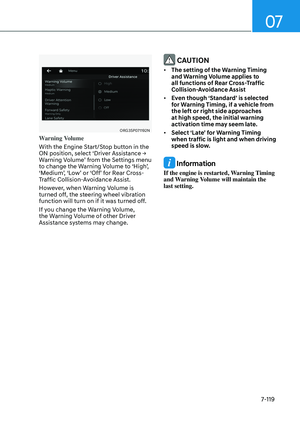
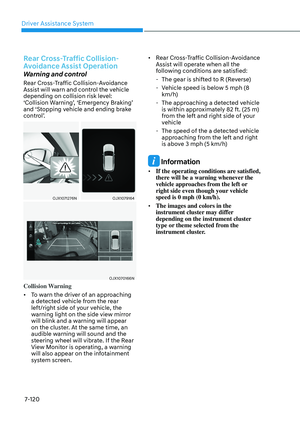
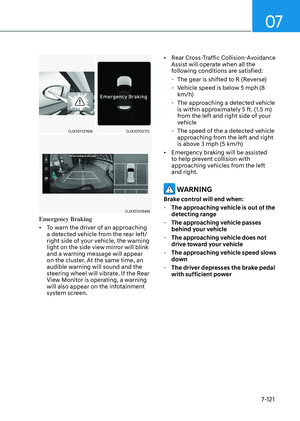
VEHICLE AUTO-SHUT OFF
If your parked vehicle is in a garage and
engine is left on for a period of time, the
engine will turn off automatically to help
reduce fuel consumption, etc.
System Setting
You can activate or deactivate Vehicle
Auto-Shut Off from the Settings menu in
the infotainment system screen. Select:
-Setup → Vehicle Settings →
Convenience → Vehicle Auto-Shut Off
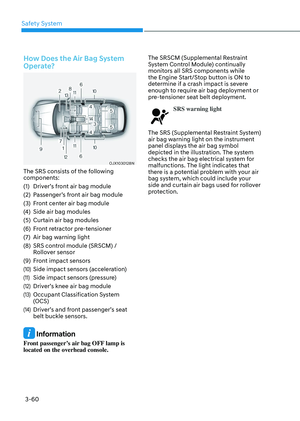
Operating Conditions
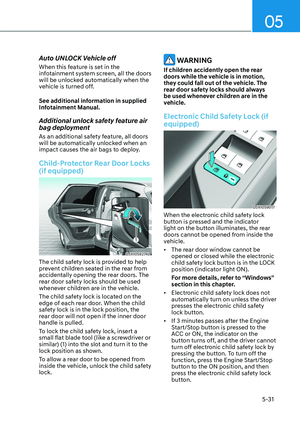
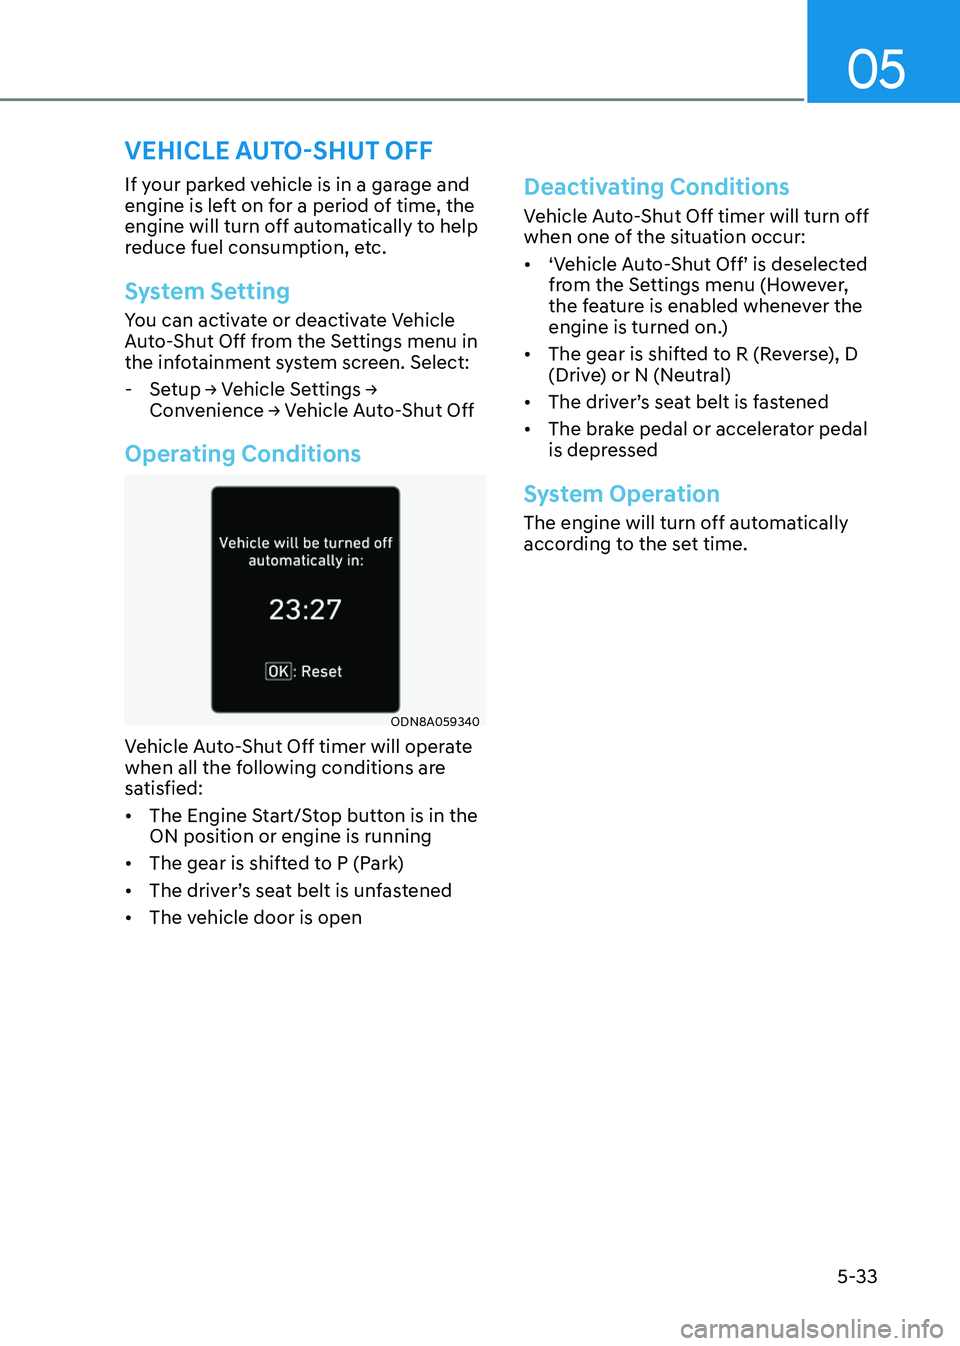
ODN8A059340ODN8A059340
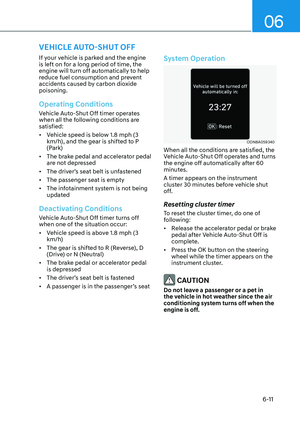
Vehicle Auto-Shut Off timer will operate
when all the following conditions are
satisfied:
• The Engine Start/Stop button is in the
ON position or engine is running
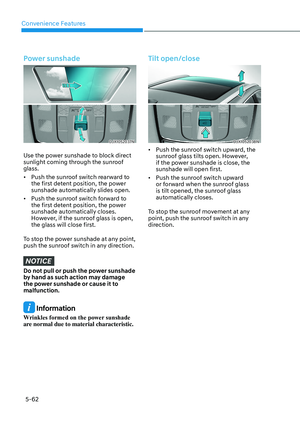
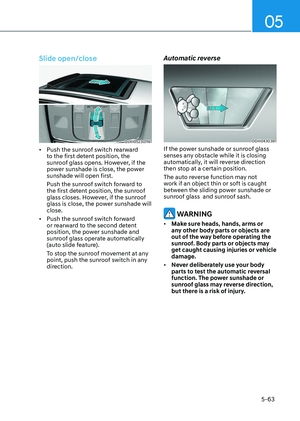
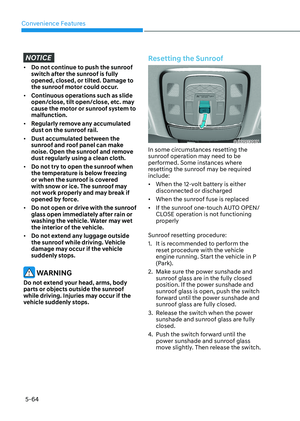
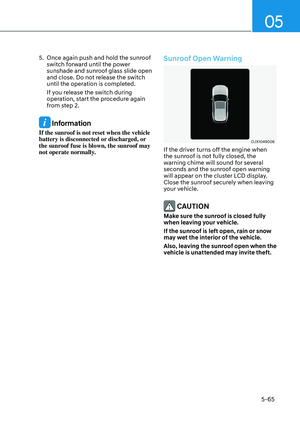
• The gear is shifted to P (Park)
• The driver’s seat belt is unfastened
• The vehicle door is open
Deactivating Conditions
Vehicle Auto-Shut Off timer will turn off
when one of the situation occur:
• ‘Vehicle Auto-Shut Off’ is deselected
from the Settings menu (However,
the feature is enabled whenever the
engine is turned on.)
• The gear is shifted to R (Reverse), D
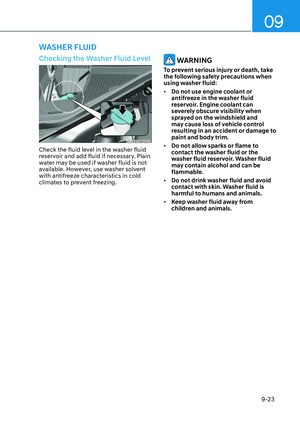
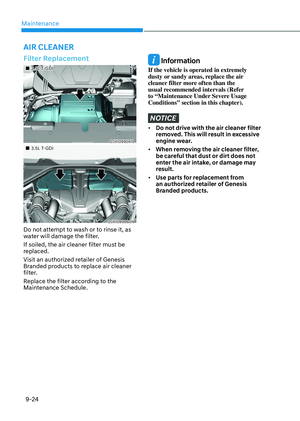
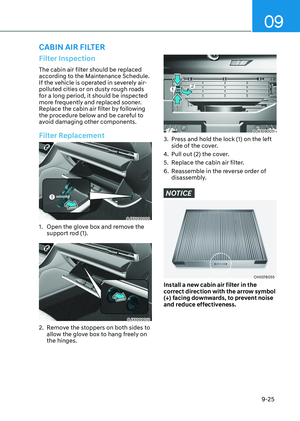
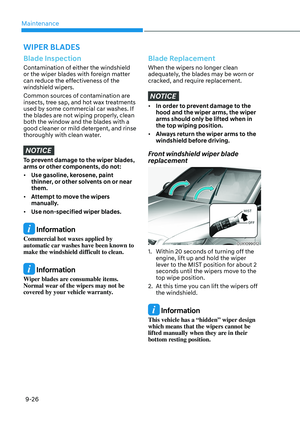
(Drive) or N (Neutral)
• The driver’s seat belt is fastened
• The brake pedal or accelerator pedal
is depressed
System Operation
The engine will turn off automatically
according to the set time.
Page 178 of 650

Convenience Features
5-34
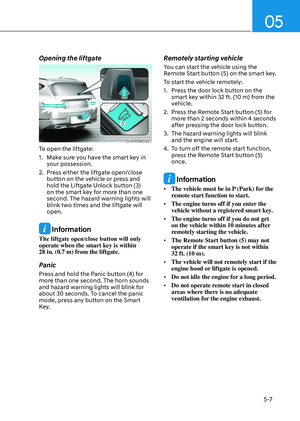
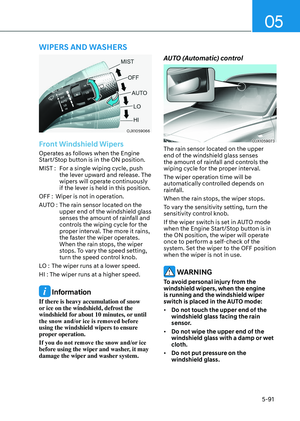
This system helps to protect your vehicle
and valuables. The horn will sound and
the hazard warning lights will blink
continuously if any of the following
occur:
-A door is opened without using the
smart key.
-The liftgate is opened without using
the smart key.
-The engine hood is opened.
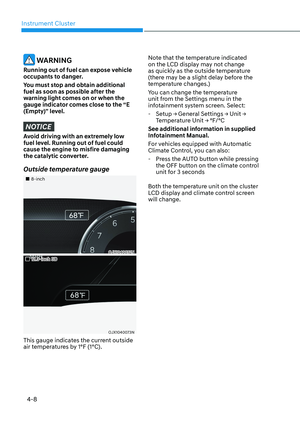
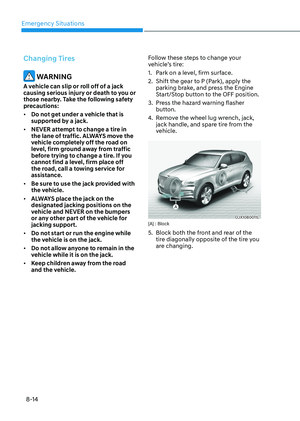
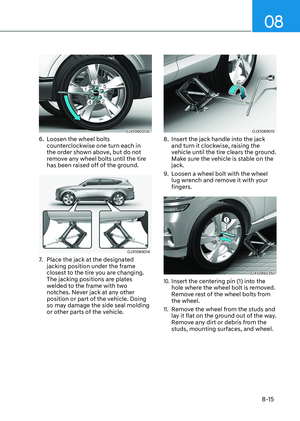
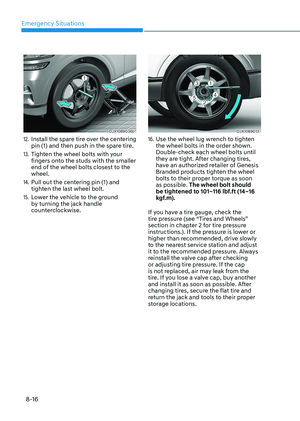
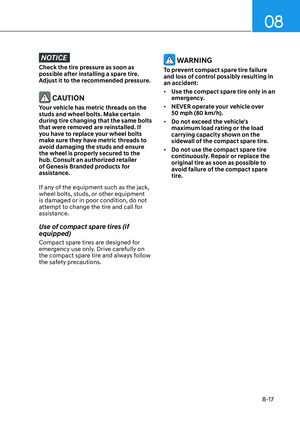
The alarm continues for 30 seconds, then
the system resets. To turn off the alarm,
unlock the doors with the smart key.
The Theft Alarm System automatically
sets 30 seconds after you lock the
doors and the liftgate. For the system to
activate, you must lock the doors and
the liftgate from outside the vehicle with
the smart key or by touching the touch
sensor on the outside of the door handle
with the smart key in your possession.
The hazard warning lights will blink and
the chime will sound once to indicate the
system is armed.
Once the security system is set, opening
any door, the liftgate, or the hood
without using the smart key will cause
the alarm to activate.
The Theft Alarm System will not set if the
hood, the liftgate, or any door is not fully
closed. If the system will not set, check
the hood, the liftgate, or the doors are
fully closed.
Do not attempt to alter this system or
add other devices to it.
Information
• Do not lock the doors until all
passengers have left the vehicle. If the
remaining passenger leaves the vehicle
when the system is armed, the alarm
will be activated.
• If the vehicle is not disarmed with the
smart key, open the doors by using the
mechanical key and start the engine by
directly pressing the Engine Start/Stop
button with the smart key.
• If the system is disarmed by unlocking
the vehicle, but neither a door or the
liftgate is opened within 30 seconds, the
doors will re-lock and the system will
rearm automatically.
• It is not recommended to install any
secondary aftermarket theft-alarm
systems into the vehicle factory
electrical system.
THEFT-ALARM SYSTEM
Page 179 of 650

05
5-35
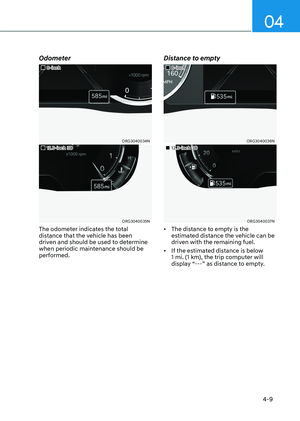
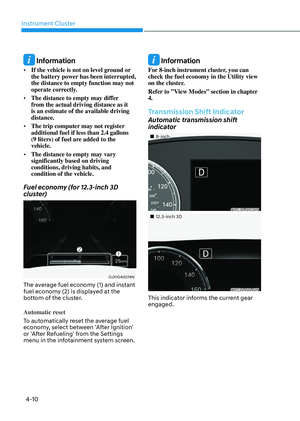
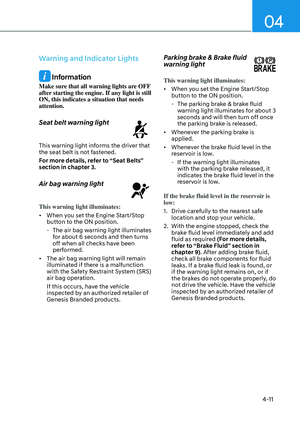
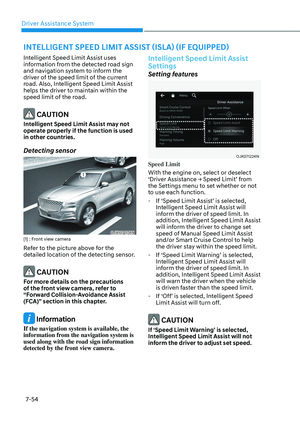
Rear Occupant Alert is provided to help
prevent the driver from leaving the
vehicle with the rear passenger left in the
vehicle.
System Setting
To use Rear Occupant Alert, it must be
enabled from the Settings menu in the
infotainment system screen. Select:
-Setup → Vehicle Settings →
Convenience → Rear Occupant Alert
See additional information in supplied
Infotainment Manual.
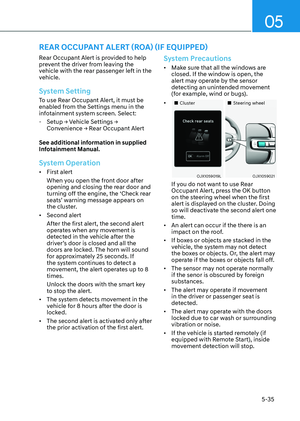
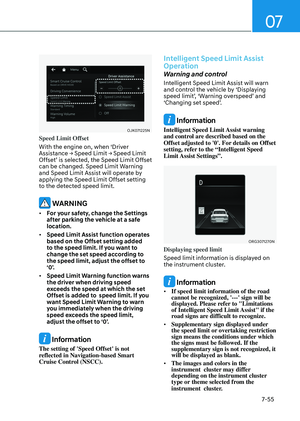
System Operation
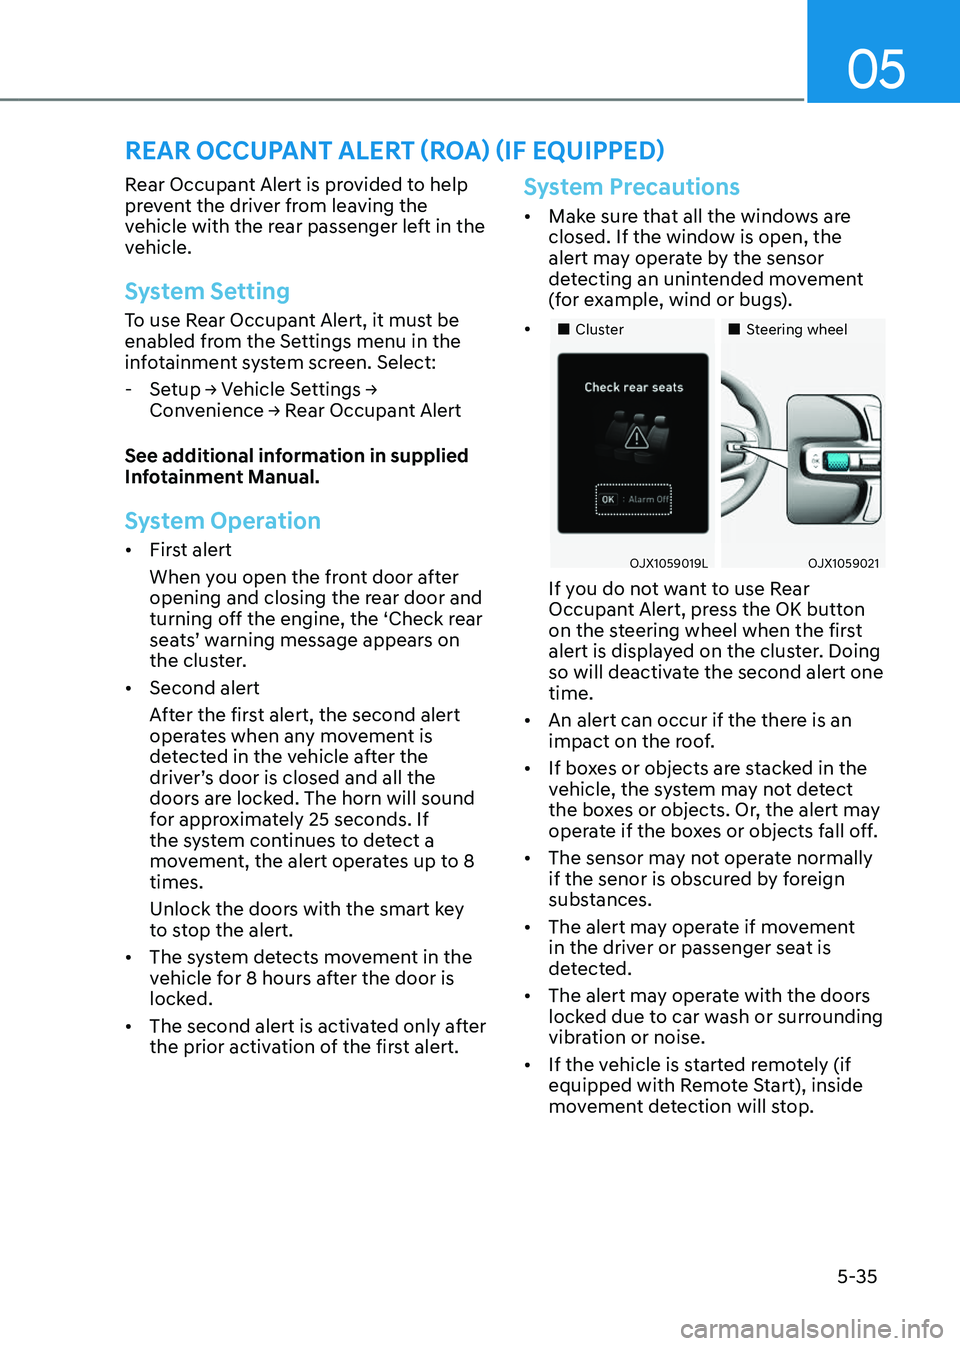
• First alert
When you open the front door after
opening and closing the rear door and
turning off the engine, the ‘Check rear
seats’ warning message appears on
the cluster.
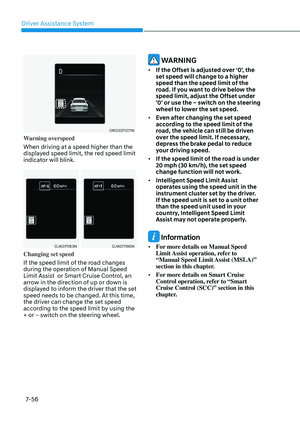
• Second alert
After the first alert, the second alert
operates when any movement is
detected in the vehicle after the
driver’s door is closed and all the
doors are locked. The horn will sound
for approximately 25 seconds. If
the system continues to detect a
movement, the alert operates up to 8
times.
Unlock the doors with the smart key
to stop the alert.
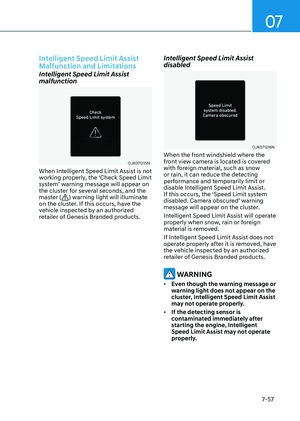
• The system detects movement in the
vehicle for 8 hours after the door is
locked.
• The second alert is activated only after
the prior activation of the first alert.
System Precautions
• Make sure that all the windows are
closed. If the window is open, the
alert may operate by the sensor
detecting an unintended movement
(for example, wind or bugs).
•
Page 180 of 650
Convenience Features
5-36
WARNING
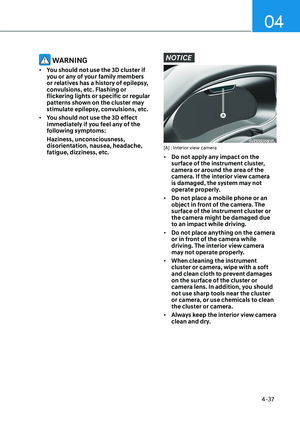
Even if your vehicle is equipped with
Rear Occupant Alert, always make sure
to check the rear seat before you leave
the vehicle.
Rear Occupant Alert may not operate
when:
• Movement does not continue for
a certain period of time or the
movement is small.
• The rear passenger is covered with
an object such as a blanket.
• Always be cautious of the
passenger’s safety as the detection
function and second alert may
not operate depending on the
surrounding environment and
certain conditions.
Page 181 of 650

05
5-37
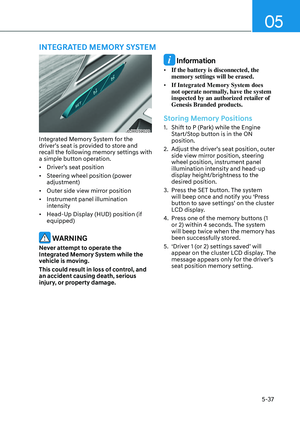
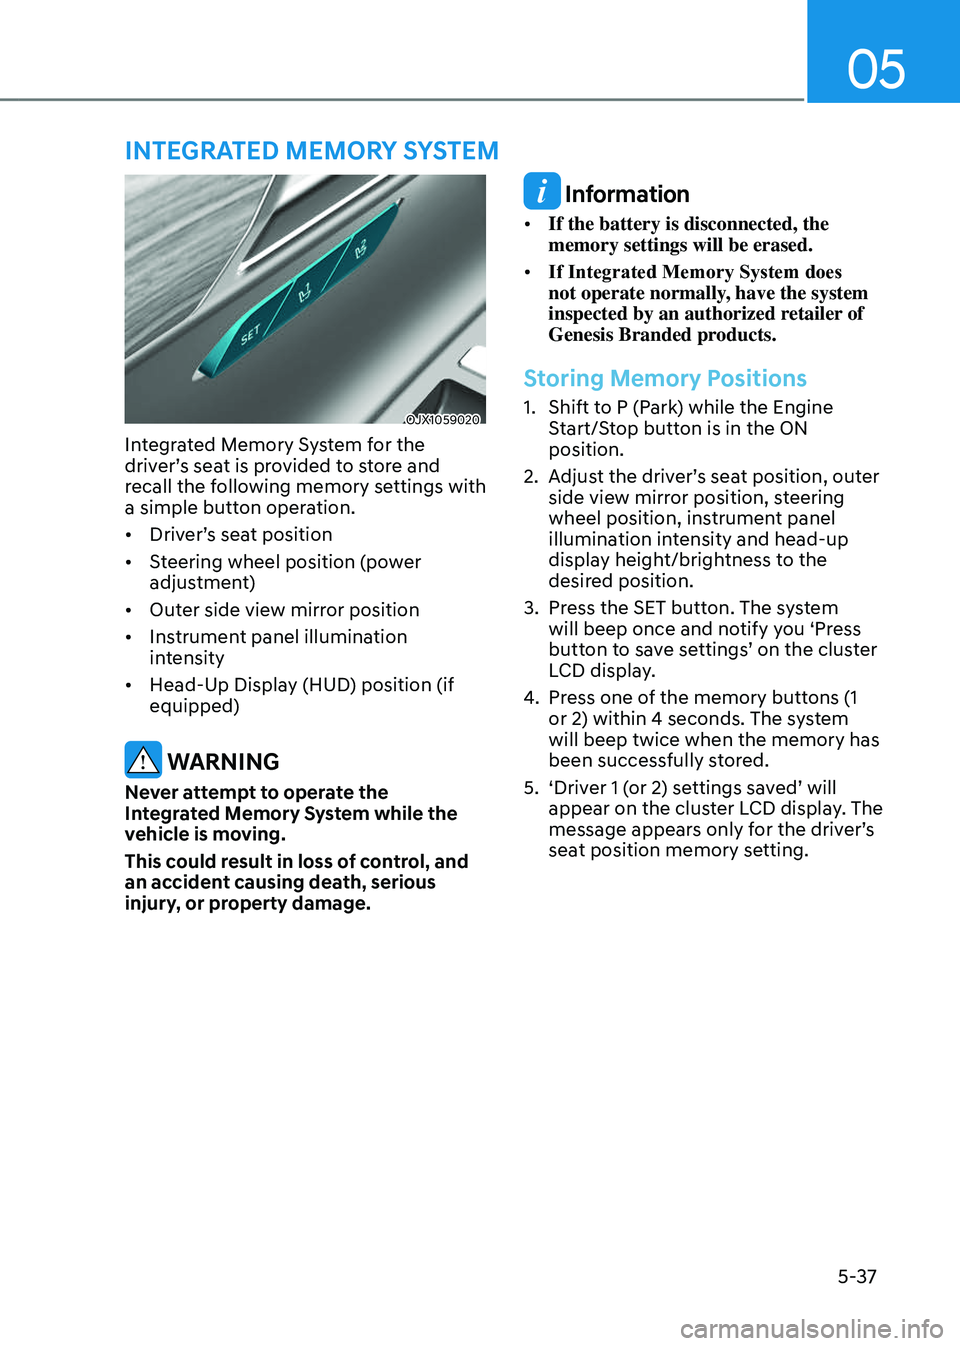
OJX1059020OJX1059020
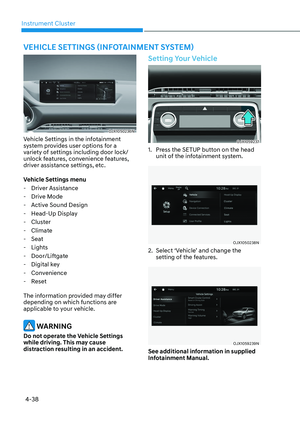
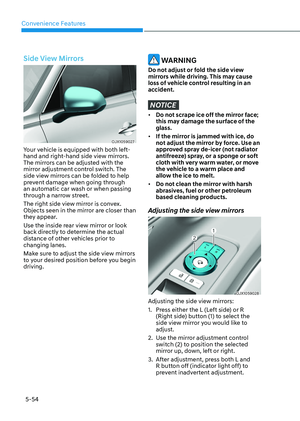
Integrated Memory System for the
driver’s seat is provided to store and
recall the following memory settings with
a simple button operation.
• Driver’s seat position
• Steering wheel position (power
adjustment)
• Outer side view mirror position
• Instrument panel illumination
intensity
• Head-Up Display (HUD) position (if
equipped)
WARNING
Never attempt to operate the
Integrated Memory System while the
vehicle is moving.
This could result in loss of control, and
an accident causing death, serious
injury, or property damage.
Information
• If the battery is disconnected, the
memory settings will be erased.
• If Integrated Memory System does
not operate normally, have the system
inspected by an authorized retailer of
Genesis Branded products.
Storing Memory Positions
1. Shift to P (Park) while the Engine
Start/Stop button is in the ON
position.
2. Adjust the driver’s seat position, outer
side view mirror position, steering
wheel position, instrument panel
illumination intensity and head-up
display height/brightness to the
desired position.
3. Press the SET button. The system
will beep once and notify you ‘Press
button to save settings’ on the cluster
LCD display.
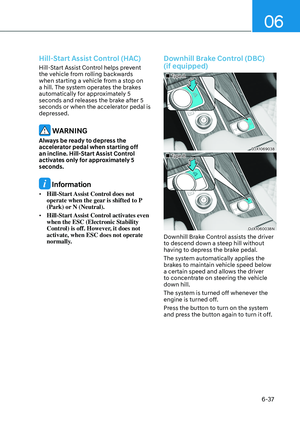
4. Press one of the memory buttons (1
or 2) within 4 seconds. The system
will beep twice when the memory has
been successfully stored.
5. ‘Driver 1 (or 2) settings saved’ will
appear on the cluster LCD display. The
message appears only for the driver’s
seat position memory setting.
INTEGRATED MEMORY SYSTEM
Page 182 of 650

Convenience Features
5-38
Recalling Memory Positions
1. Shift to P (Park) while the Engine
Start/Stop button is in the ON
position.
2. Press the desired memory button (1
or 2). The system will beep once, and
then the driver’s seat position, outer
side view mirror position, steering
wheel position, instrument panel
illumination intensity and head-
up display height/brightness will
automatically adjust to the stored
positions.
3. ‘Driver 1 (or 2) settings applied’ will
appear on the cluster LCD display.
Information
• If you press the SET button or the
corresponding button which the
setting is being recalled, the setting will
temporarily deactivate. If you press the
other buttons, the setting of the pressed
button will activate.
For example, if you press the SET
button or number 1 button with the
number 1 setting in operation, the
setting will temporarily deactivate. If
you press the number 2 button, the
number 2 setting will activate.
• If you adjust the seat, side view mirror,
steering wheel, instrument panel
illumination or head-up display while
recalling the stored positions, the pre-
set settings will become ineffective.
Resetting the System
Take the following procedures to reset
Integrated Memory System, when it does
not operate properly.
Resetting Integrated Memory
System
1. Stop the vehicle and open the driver’s
door with the vehicle shifted to P
(Park).
2. Adjust the driver’s seat and seatback
to the foremost position.
3. Press the SET button and push
forward the driver’s seat movement
switch over 2 seconds simultaneously.
While resetting Integrated Memory
System
1. Resetting starts with a notification
sound.
2. The driver’s seat and seatback is
adjusted to the rearward position with
the notification sound.
3. The driver’s seat and seatback is
re-adjusted to the default position
(central position) with the notification
sound.
However, in the following cases, the
resetting procedure and the notification
sound may stop.
• The memory button is pressed.
• The seat control switch is operated.
• The driving speed exceeds
2 mph (3 km/h).
• The driver’s door is closed.
Page 183 of 650

05
5-39
NOTICE
• While Integrated Memory System
is being reset, if the resetting
and notification sound stops
incompletely, restart the resetting
procedure again.
• Make sure that there is no objects
around the driver’s seat in advance
of resetting the Integrated Memory
System.
Seat Easy Access
Seat easy access will move the driver’s
seat and steering wheel automatically as
follows:
• Exiting the vehicle:
The driver’s seat, steering wheel and
seat bolster will move as follows when
the Engine Start/Stop button is in the
OFF position with the gear in P (Park)
and the driver’s door open.
-Driver seat: Moves rearward
depending on the distance selected
from the Settings menu in the
infotainment system.
-Steering wheel: Moves upward
-Seat bolster (if equipped): Adjusted
to the default position.
However, the driver’s seat may not
move rearward if there is not enough
space between the driver’s seat and
the rear seats.
Also, on a regular basis, the steering
wheel will also move forward to adjust
its location by itself.
• Entering the vehicle:
The driver’s seat, steering wheel and
seat bolster will move as follows
when the Engine Start/Stop button
is pressed to the ACC, ON or START
position or while carrying the smart
key, the driver’s door is closed with
the Engine Start/Stop button in the
OFF position.
- Driver seat: Moves back to its
original position.
-Steering wheel: Moves back to its
original position.
-Seat bolster (if equipped): Adjusted
to the default position.
• You can set the Seat Easy Access
function from the Settings menu
in the infotainment system screen.
Select:
-Driver seat
Setup → Vehicle Settings → Seat →
Seating Easy Access → Driver Seat
Easy Access → Normal/Extended/Off
-Steering wheel
Setup → Vehicle Settings → Seat
→ Seating Easy Access → Steering
wheel easy access
See additional information in
supplied Infotainment Manual.
Page 184 of 650

Convenience Features
5-40
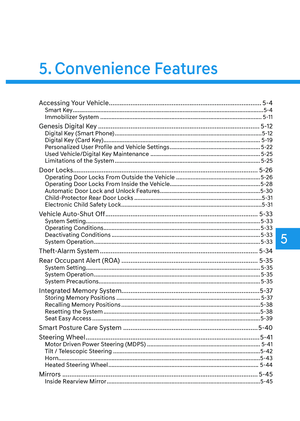
The Smart Posture Care system
automatically provides a healthy posture
(position) for the driver’s back, and sets
the steering wheel, side view mirrors,
head-up display positions according to
the driver’s body measurements.
Information
If the Seat Posture Care system does
not operate normally, have the system
checked by an authorized retailer of
Genesis Branded products.
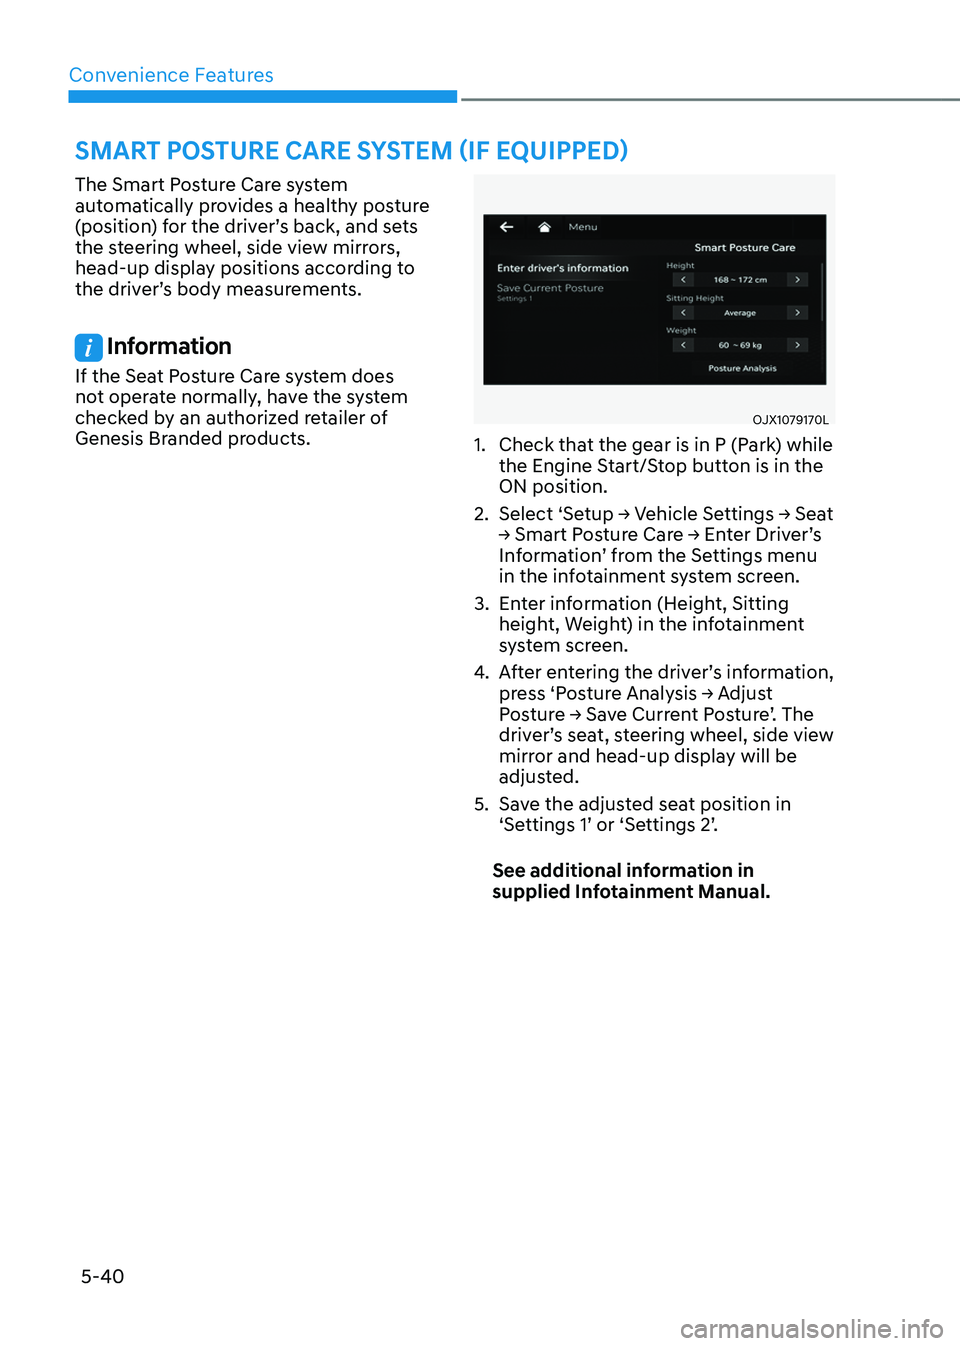
OJX1079170LOJX1079170L
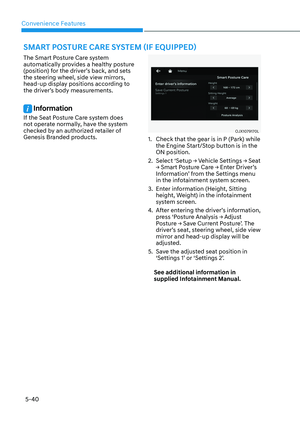
1. Check that the gear is in P (Park) while
the Engine Start/Stop button is in the
ON position.
2. Select ‘Setup → Vehicle Settings → Seat
→ Smart Posture Care → Enter Driver’s
Information’ from the Settings menu
in the infotainment system screen.
3. Enter information (Height, Sitting
height, Weight) in the infotainment
system screen.
4. After entering the driver’s information,
press ‘Posture Analysis → Adjust
Posture → Save Current Posture’. The
driver’s seat, steering wheel, side view
mirror and head-up display will be
adjusted.
5. Save the adjusted seat position in
‘Settings 1’ or ‘Settings 2’.
See additional information in
supplied Infotainment Manual.
SMART POSTURE CARE SYSTEM (IF EQUIPPED)