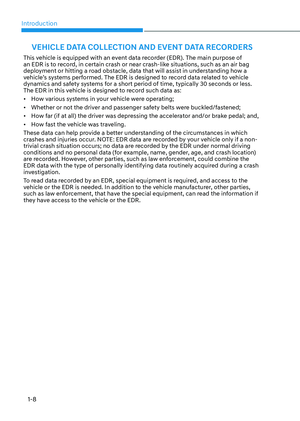
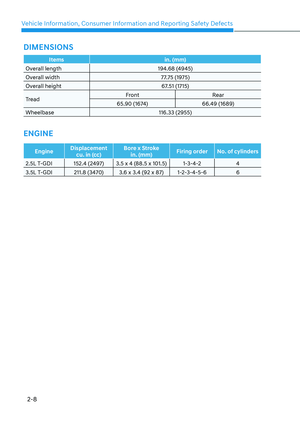
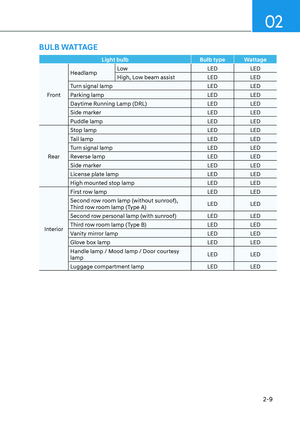
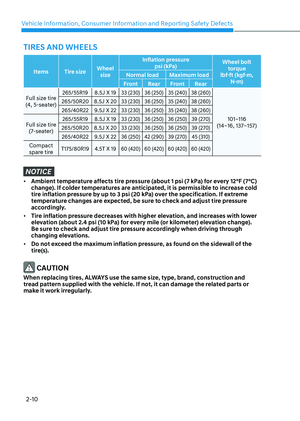
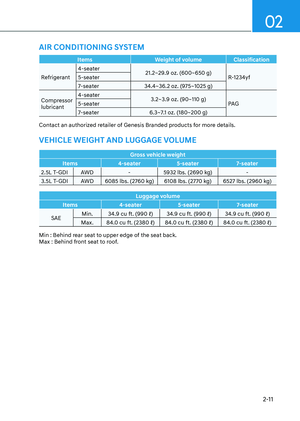
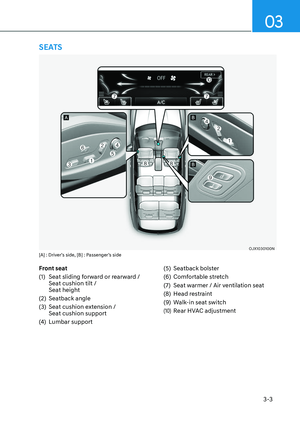
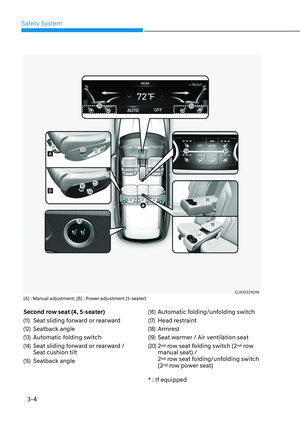
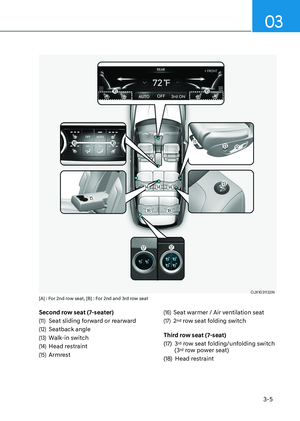
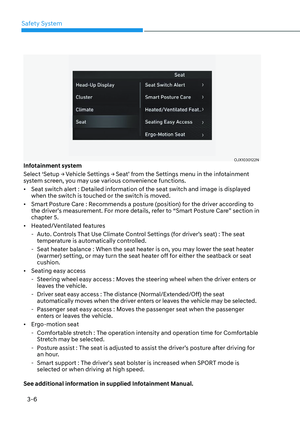
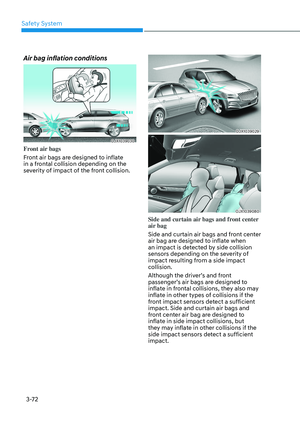
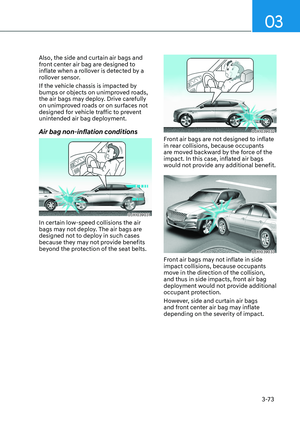
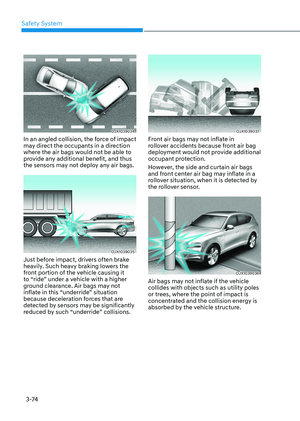
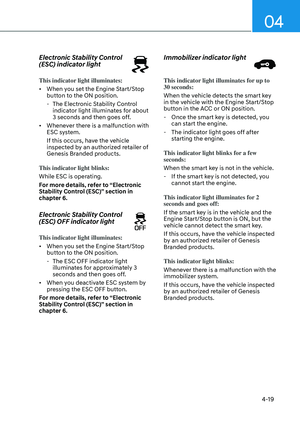
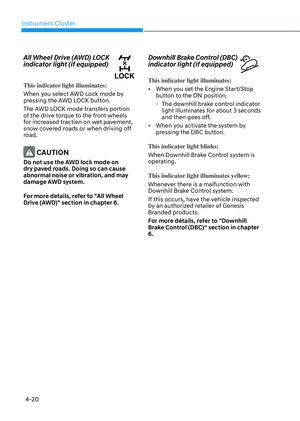
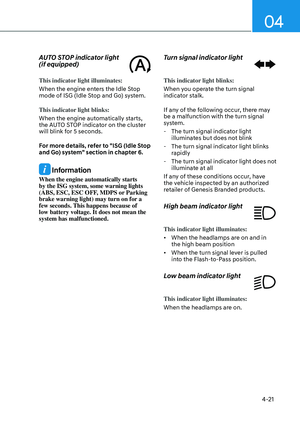
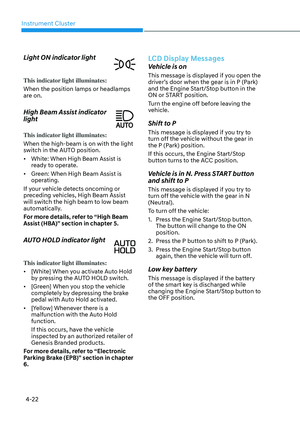
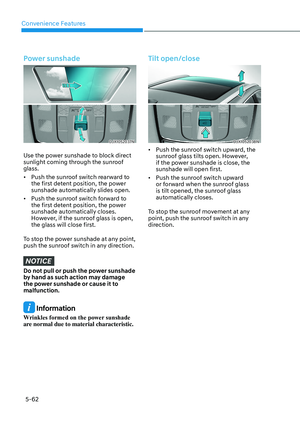
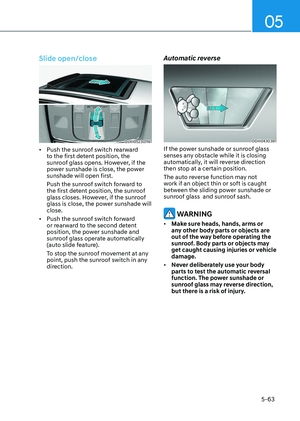
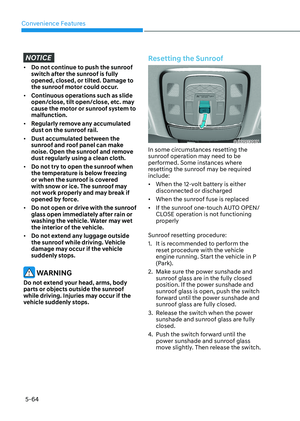
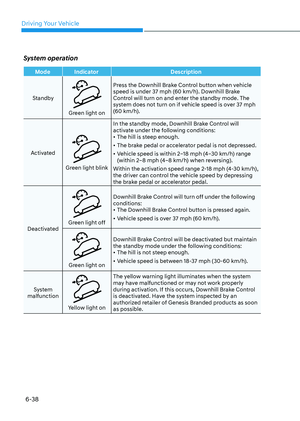
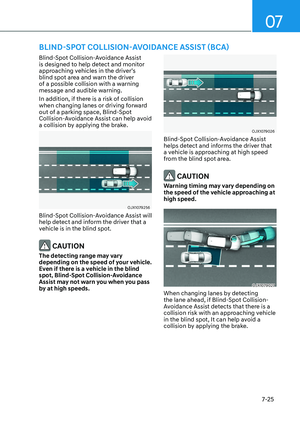
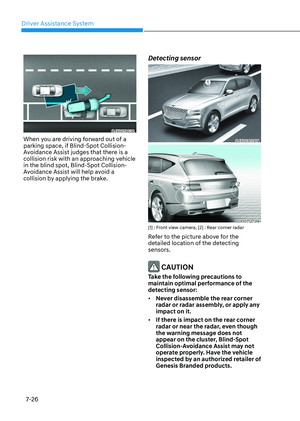
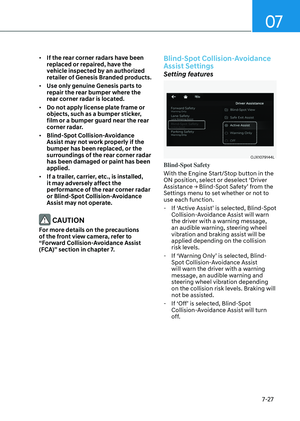
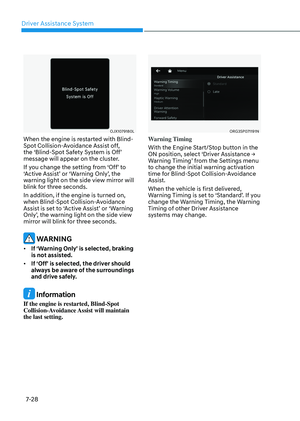
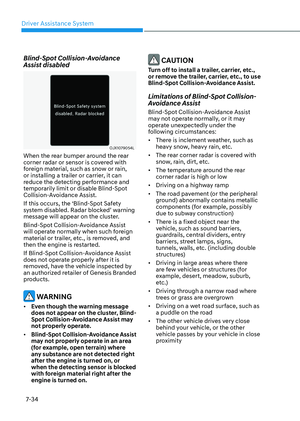
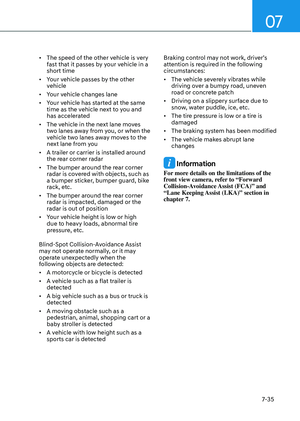
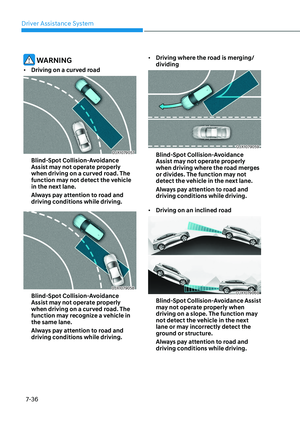
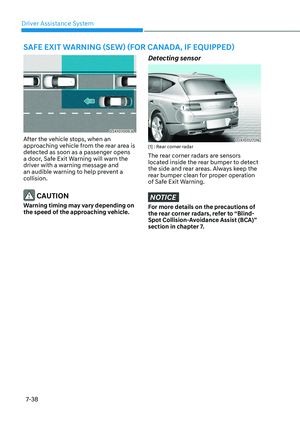
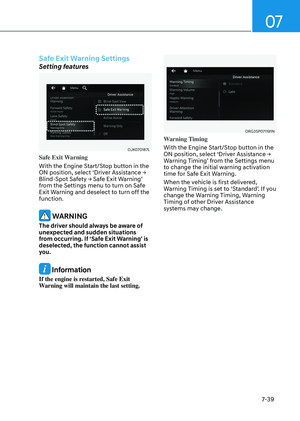
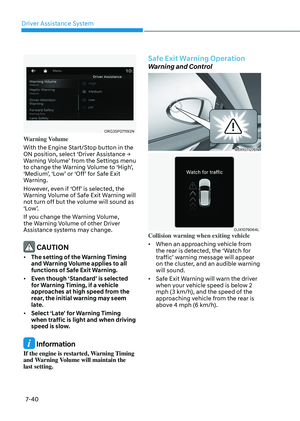
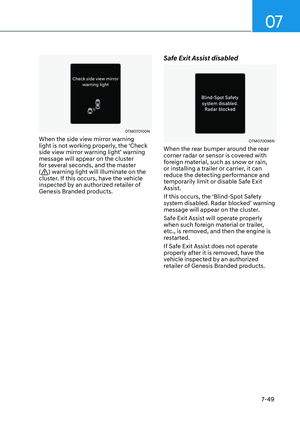
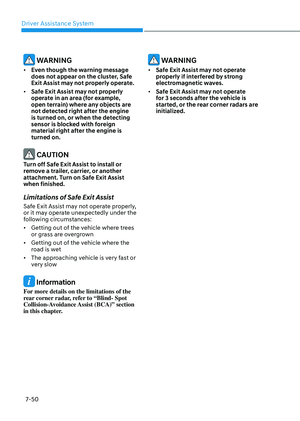
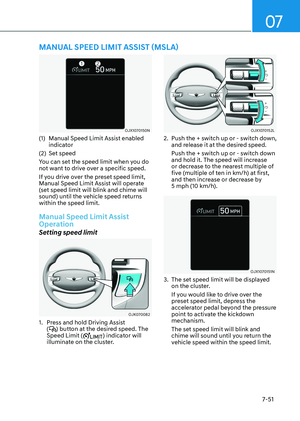
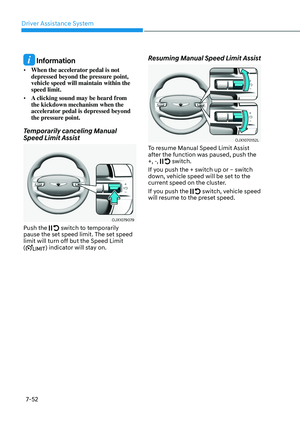
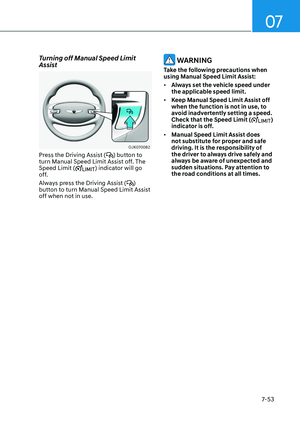
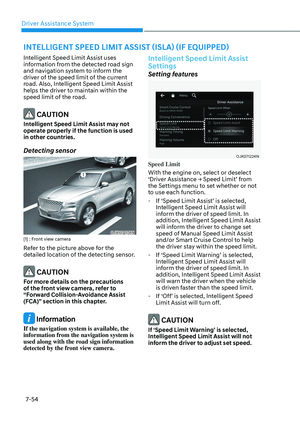
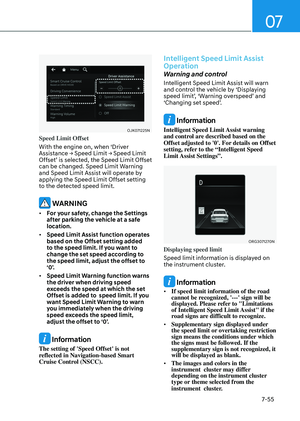
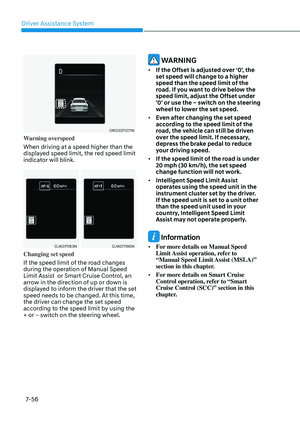
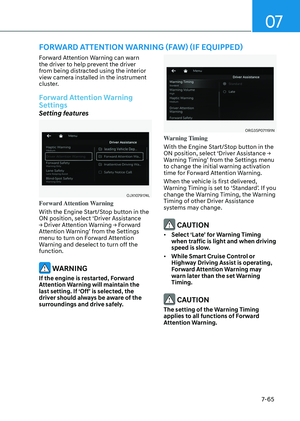
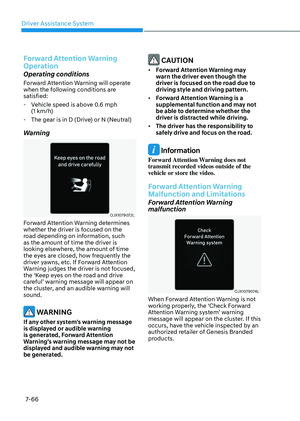
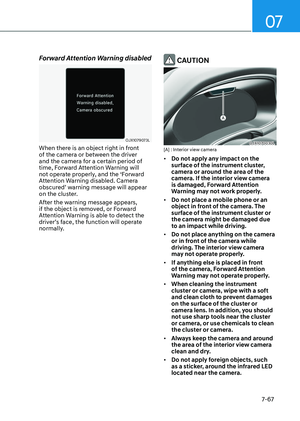
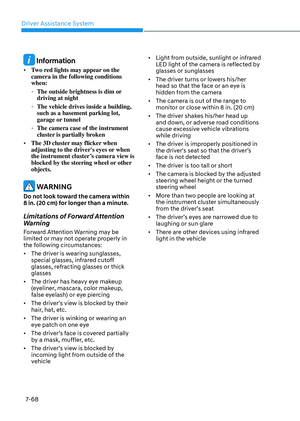
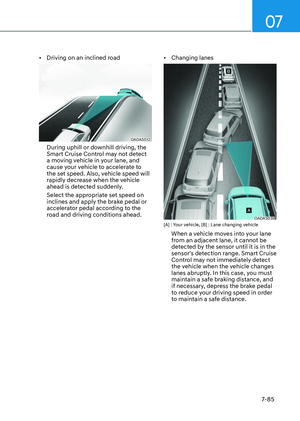
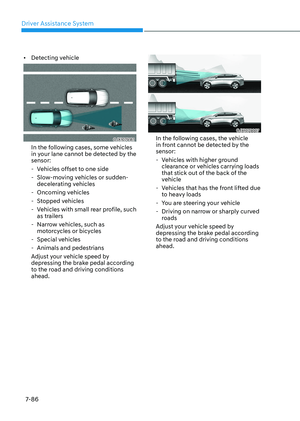
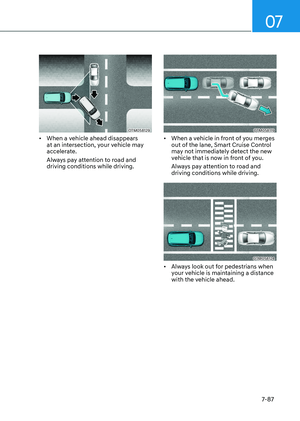
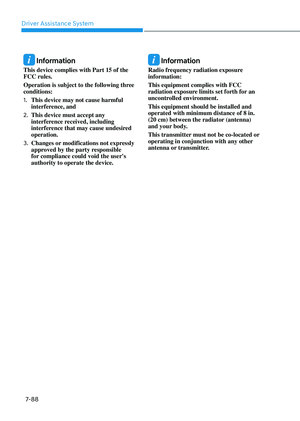
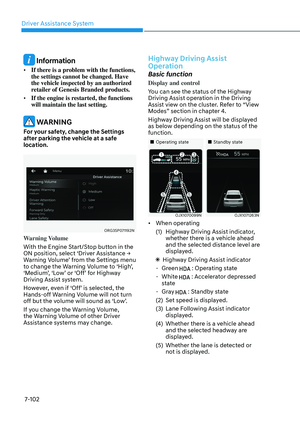
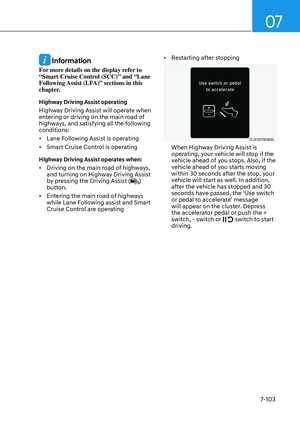
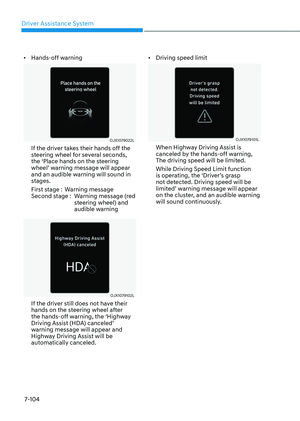
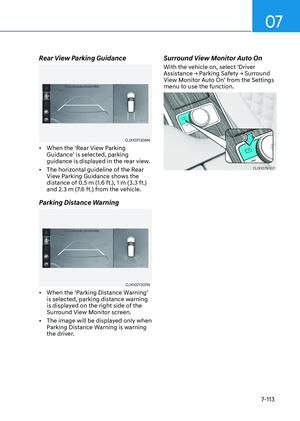
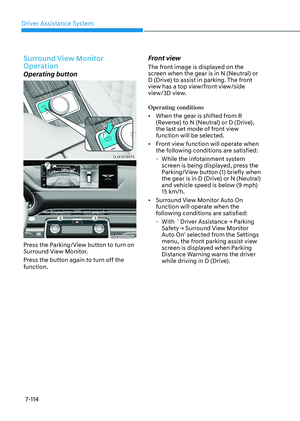
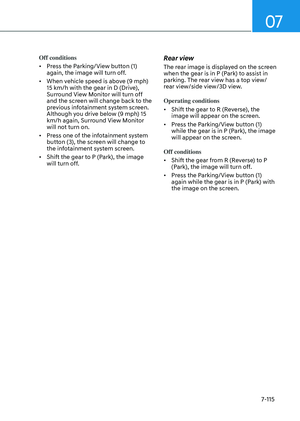
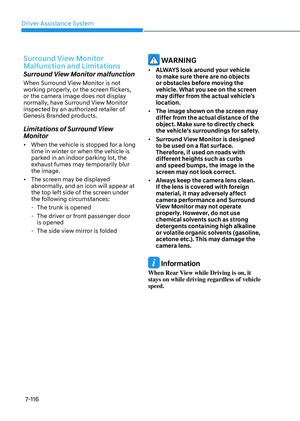
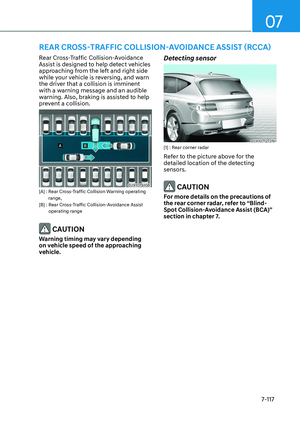
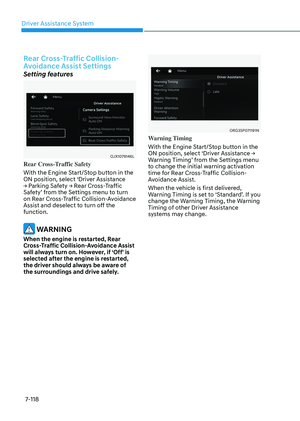
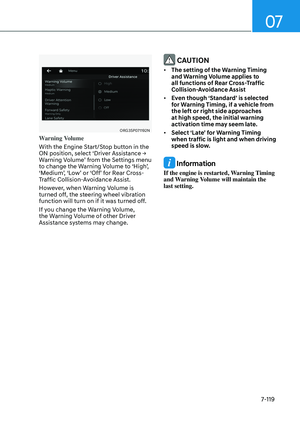
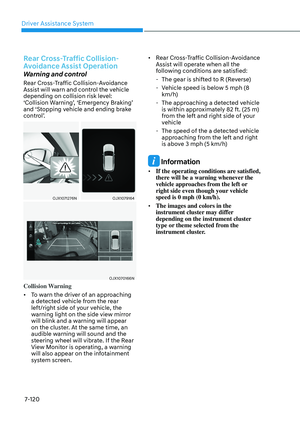
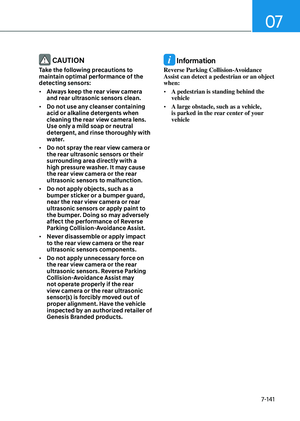
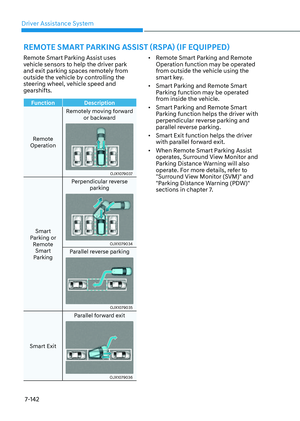
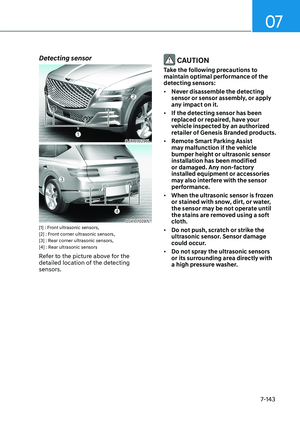
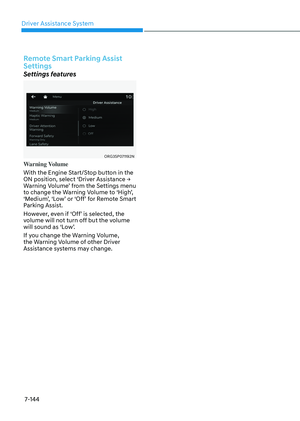
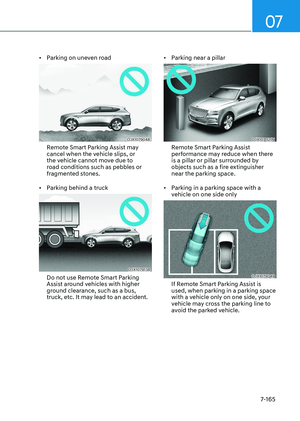
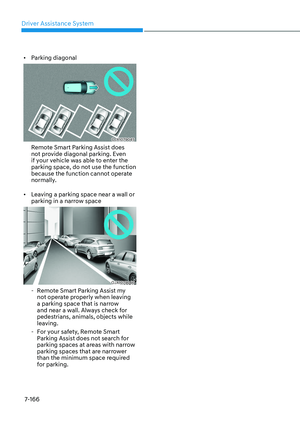
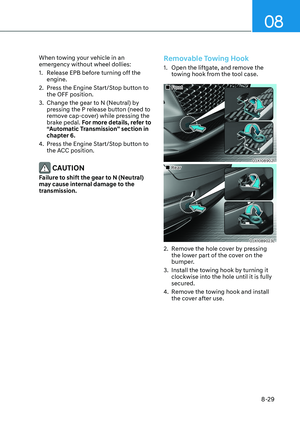
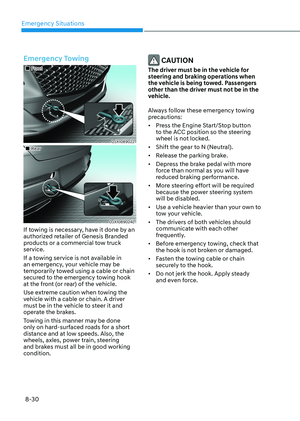
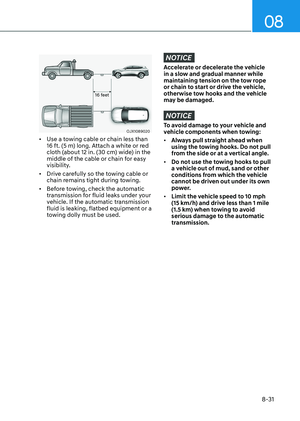
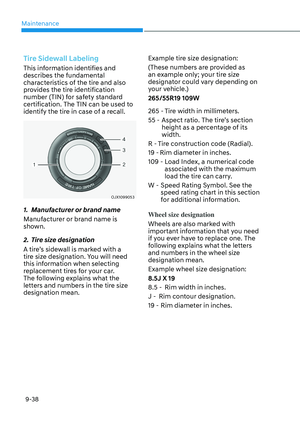
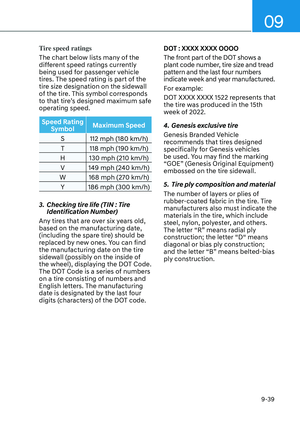
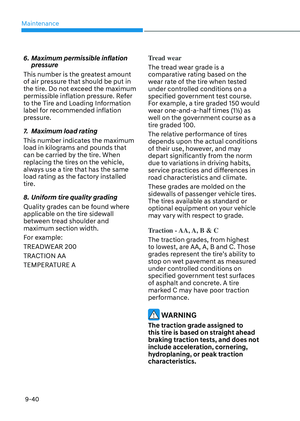
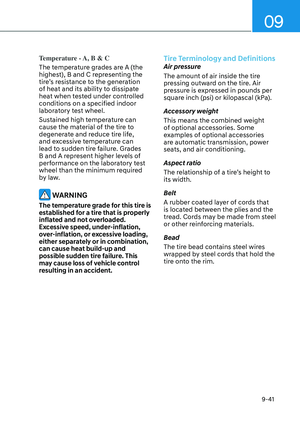
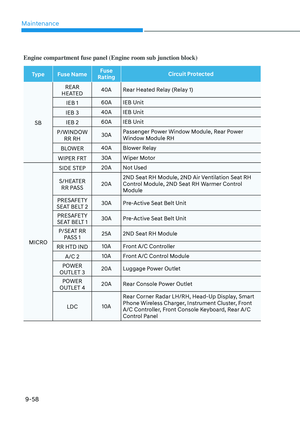
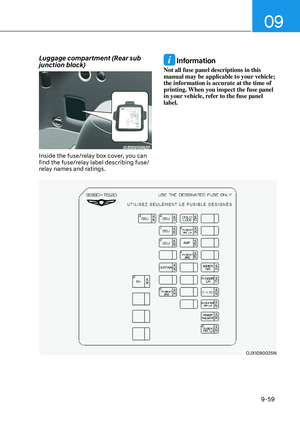
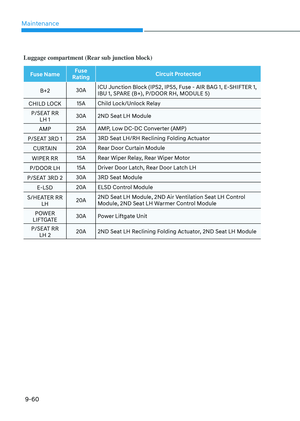
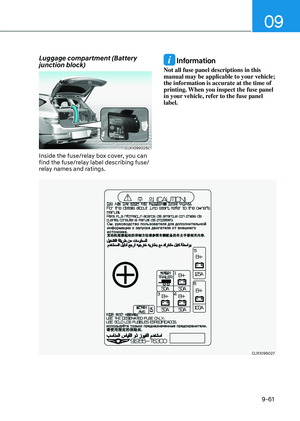
Page 545 of 650

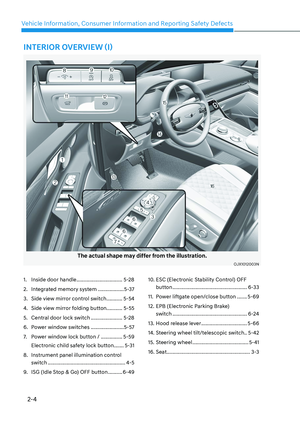
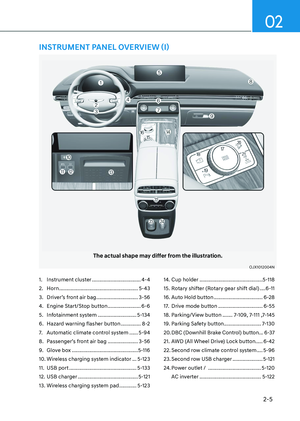
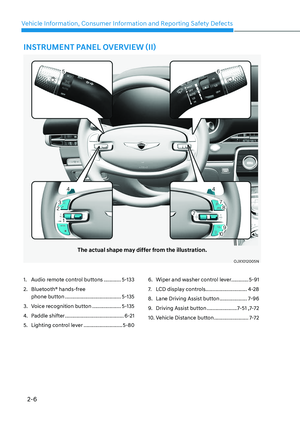
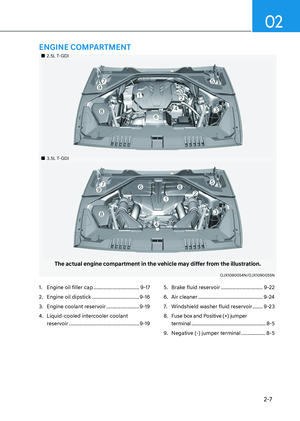
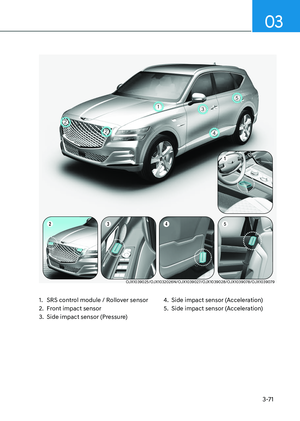
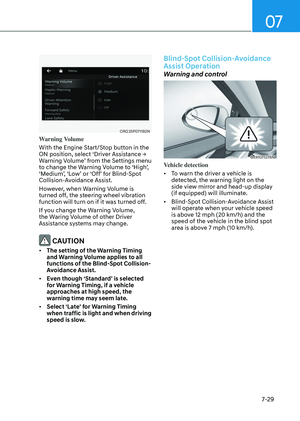
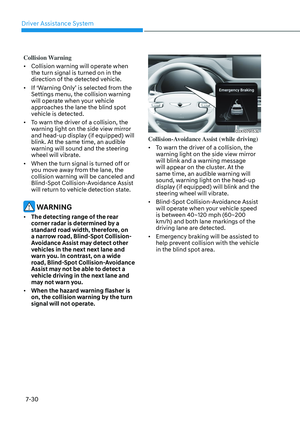
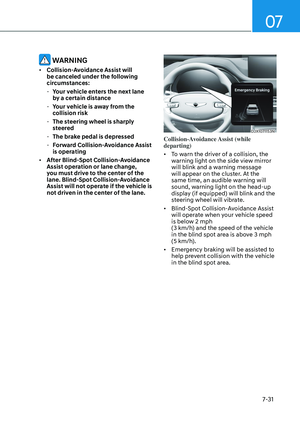
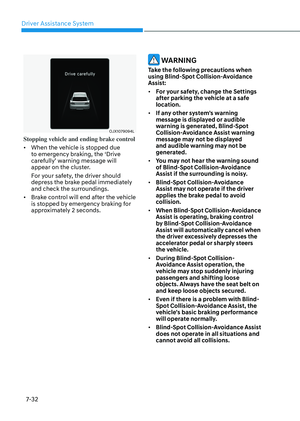
08
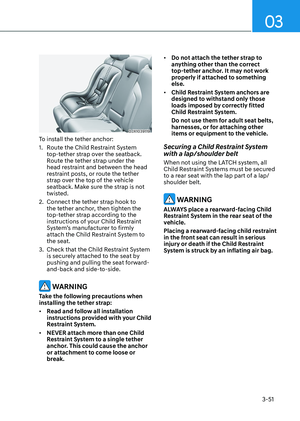
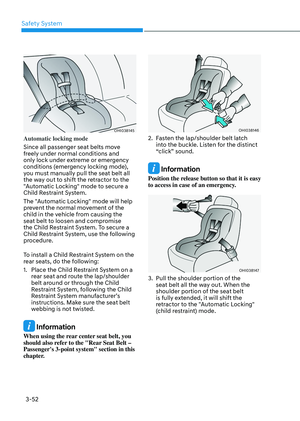
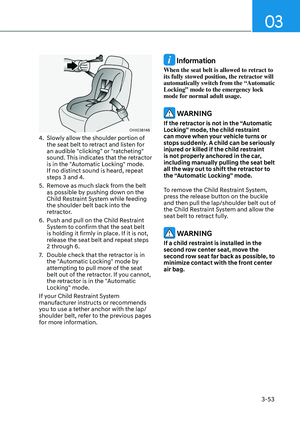
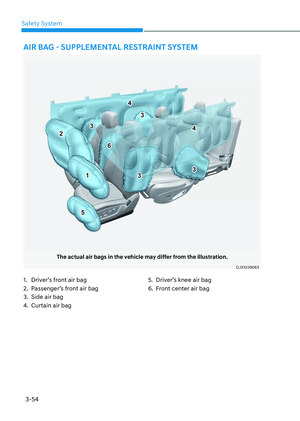
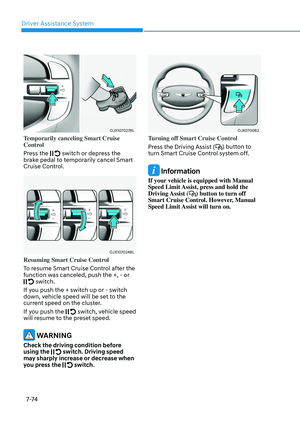
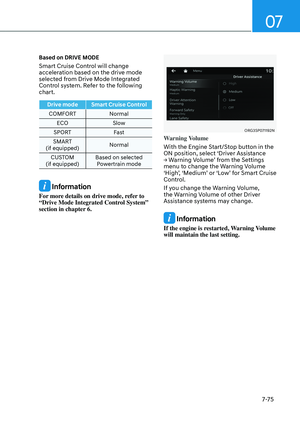
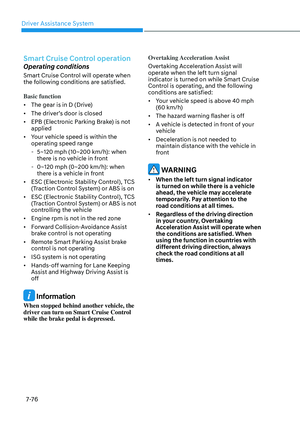
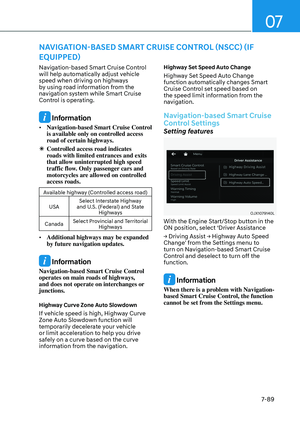
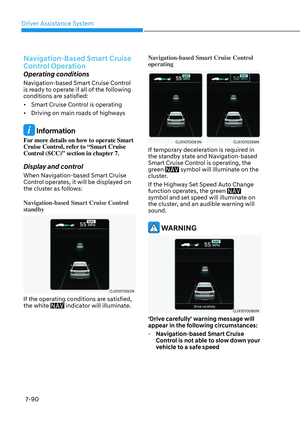
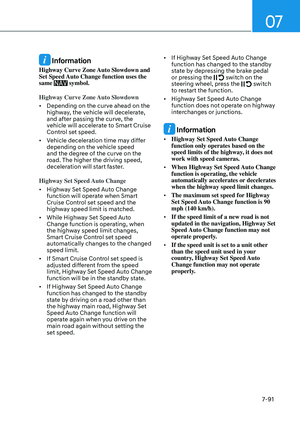
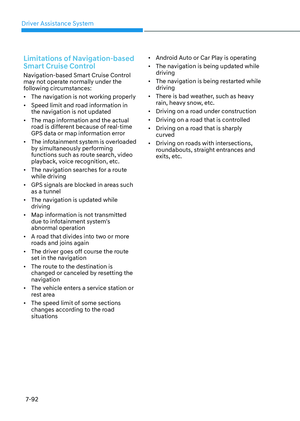
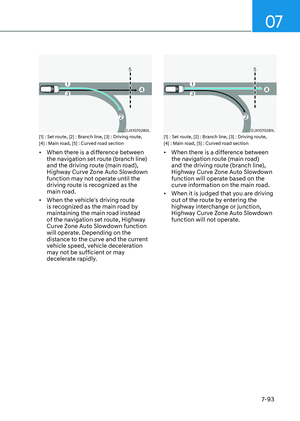
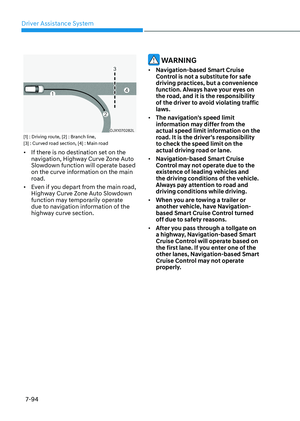
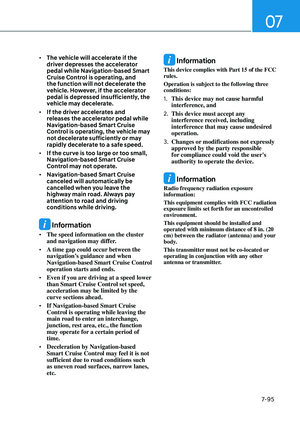
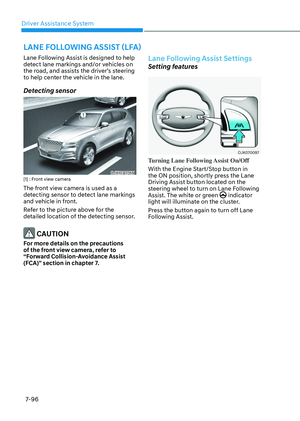
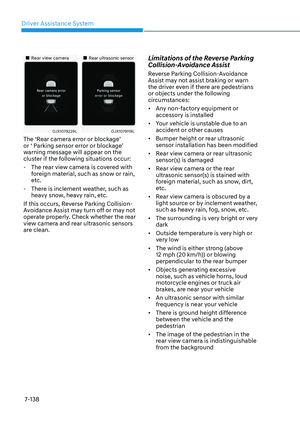
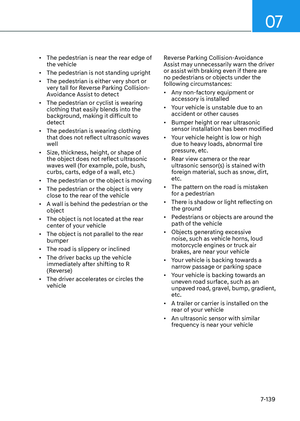
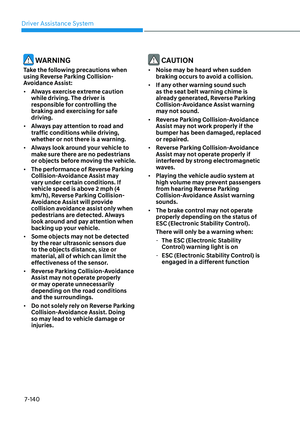
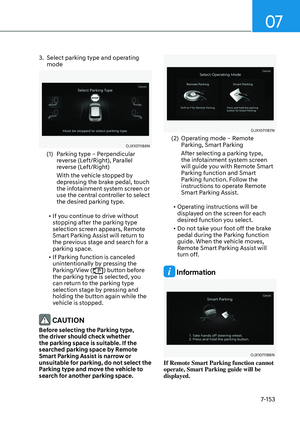
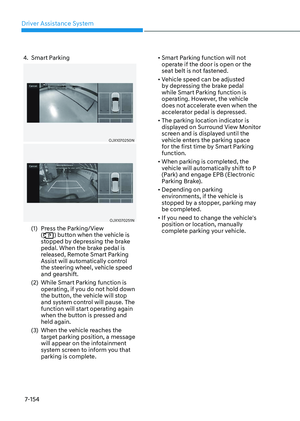
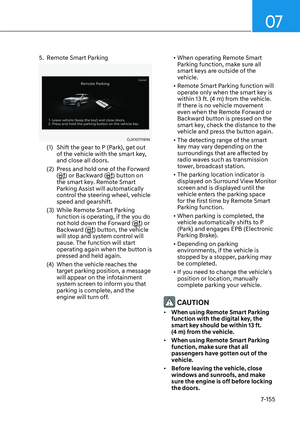
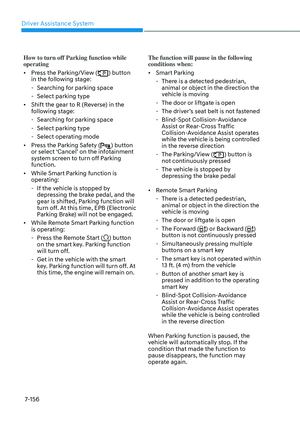
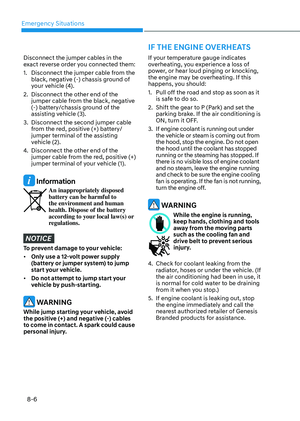
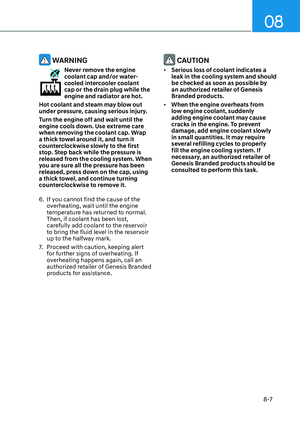
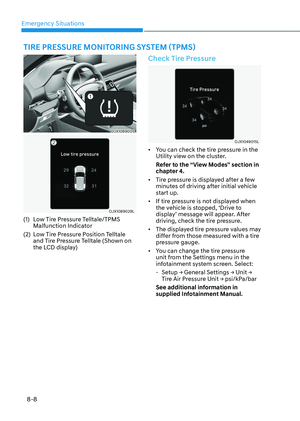
8-21
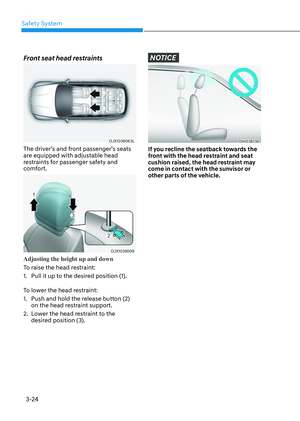
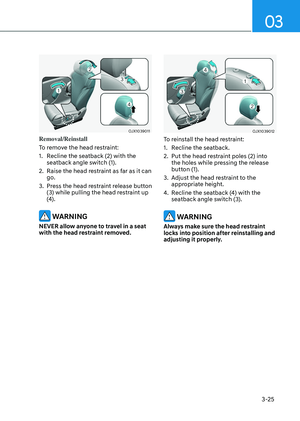
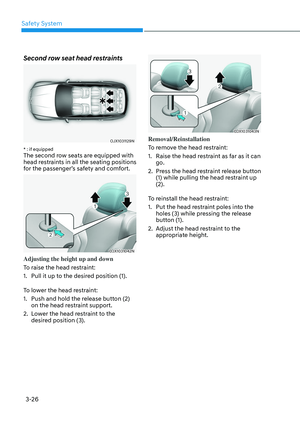
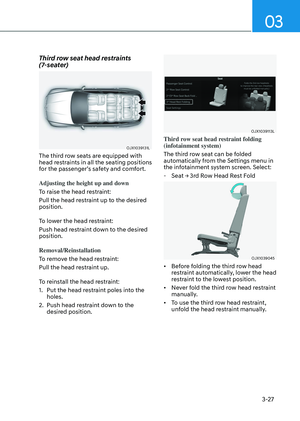
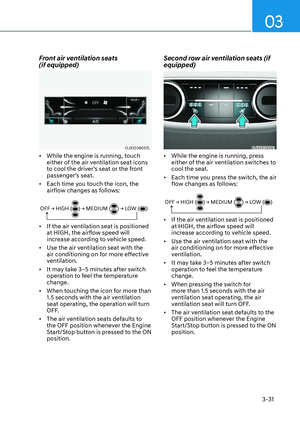
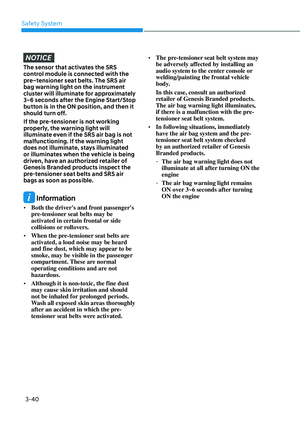
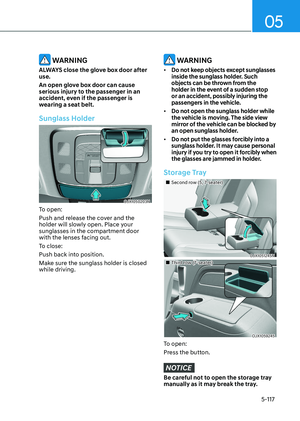
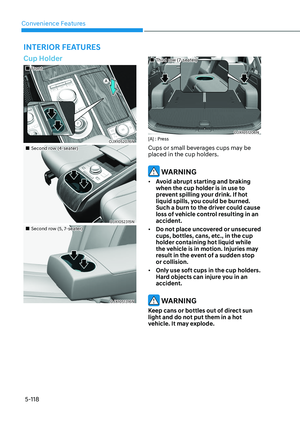
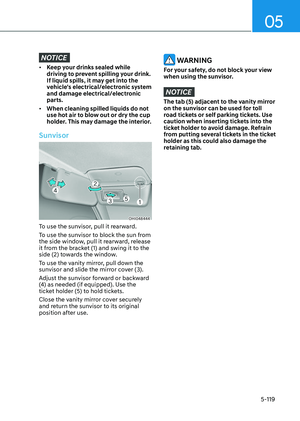
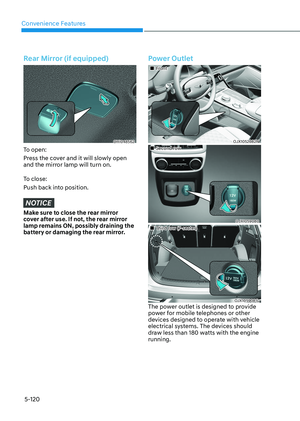
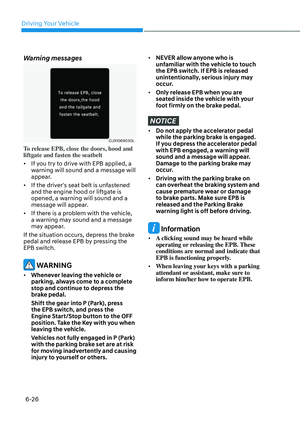
WARNING
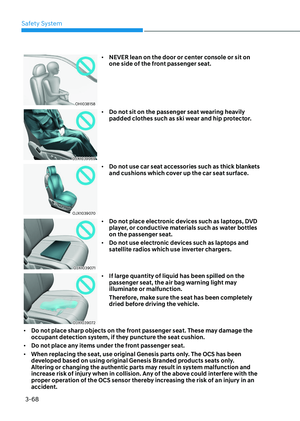
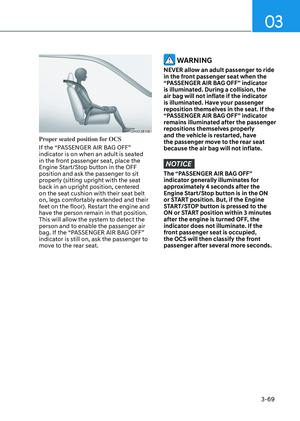
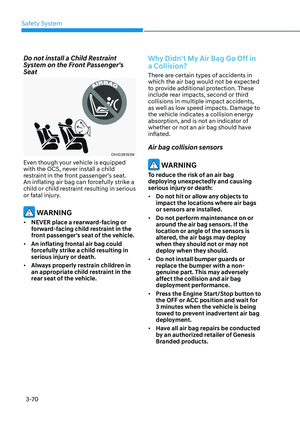
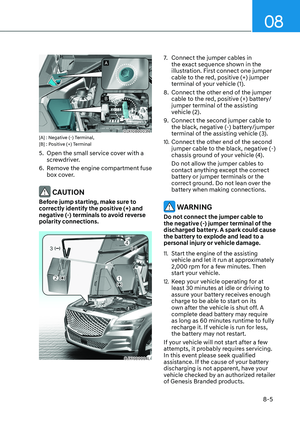
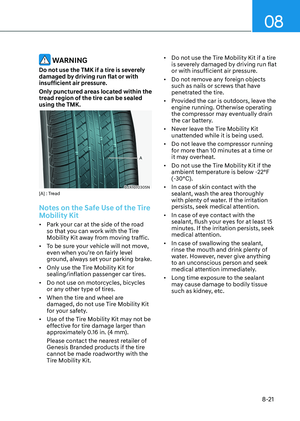
Do not use the TMK if a tire is severely
damaged by driving run flat or with
insufficient air pressure.
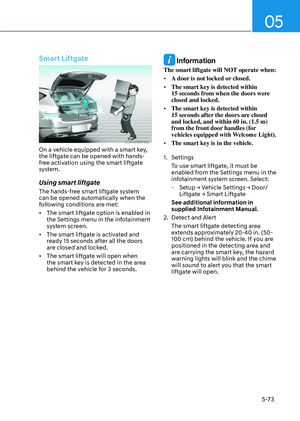
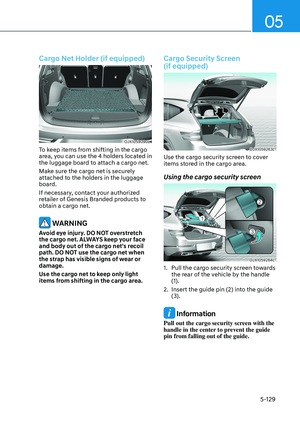
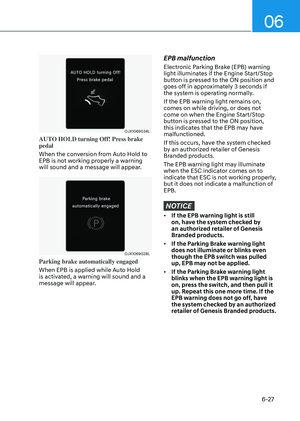
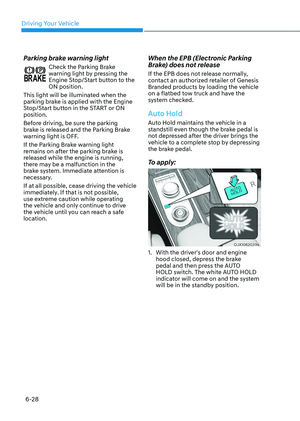
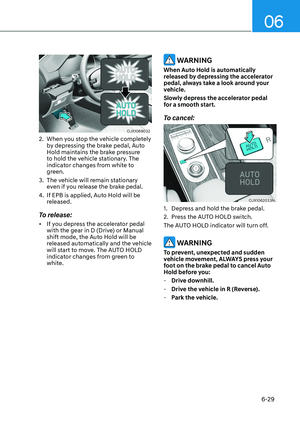
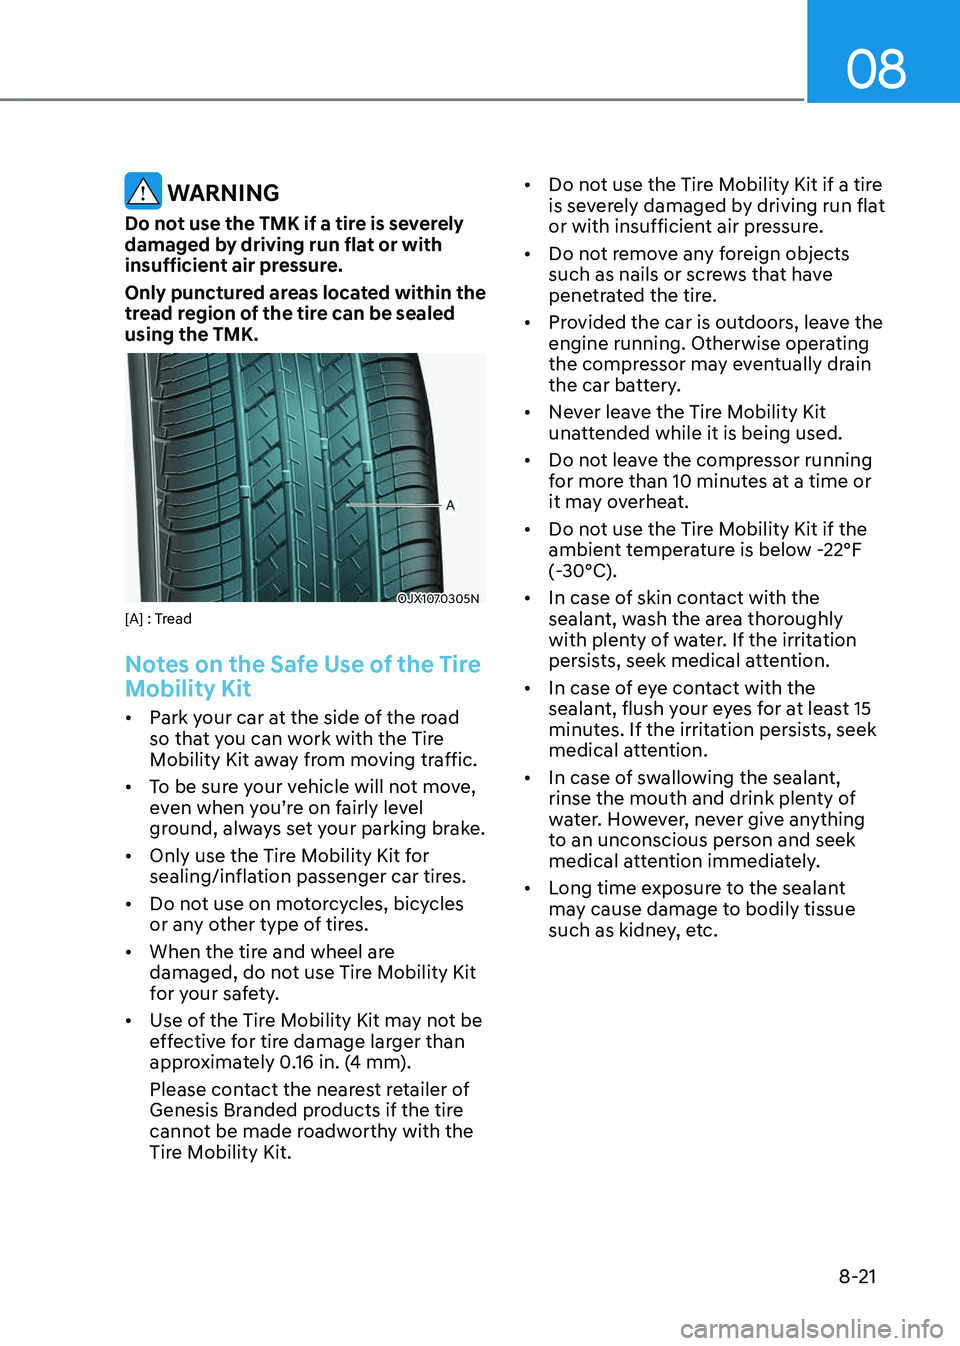
Only punctured areas located within the
tread region of the tire can be sealed
using the TMK.
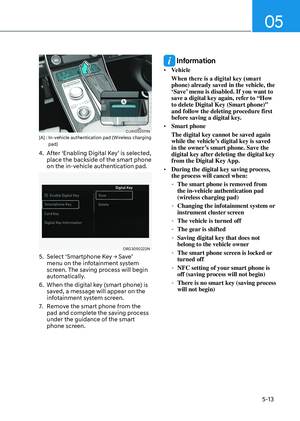
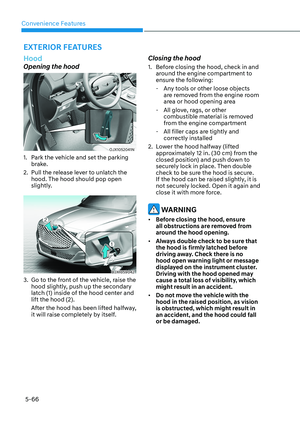
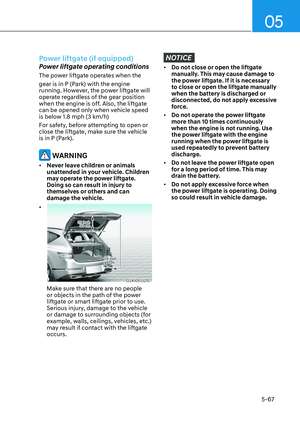
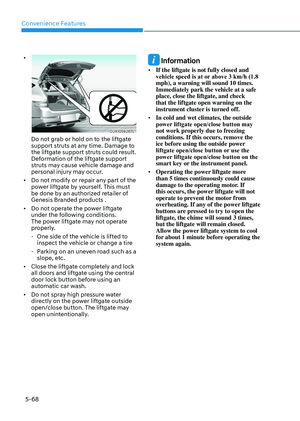
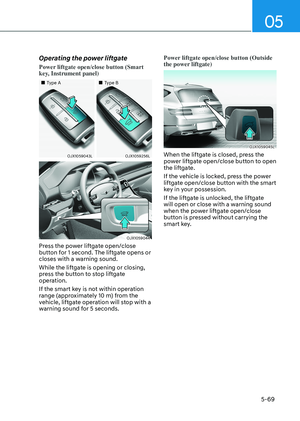
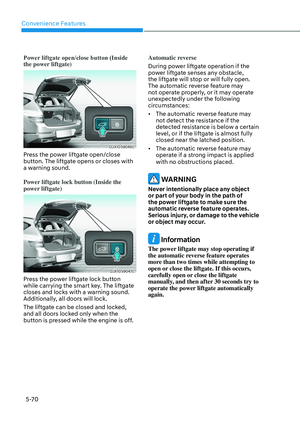
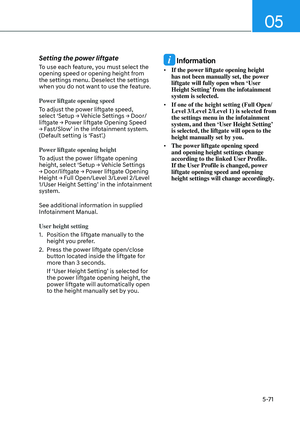
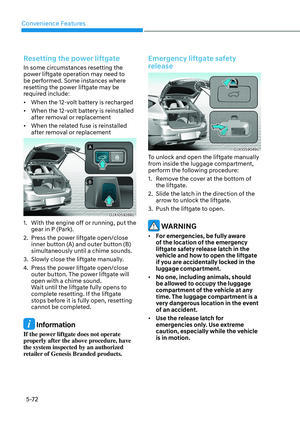
OJX1070305NOJX1070305N[A] : Tread
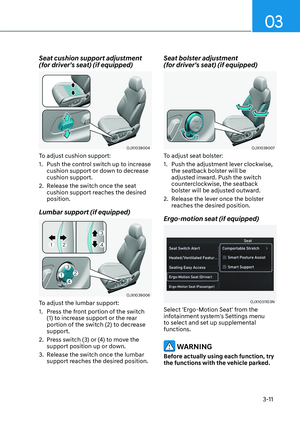
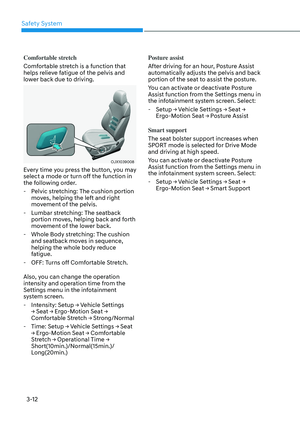
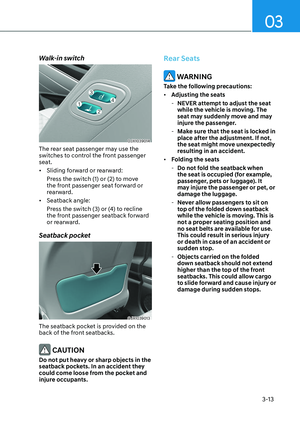
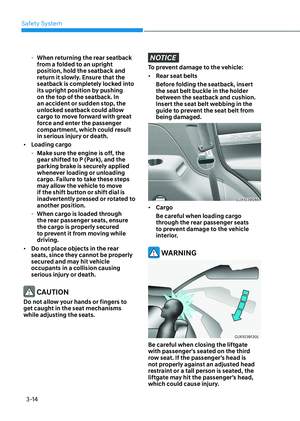
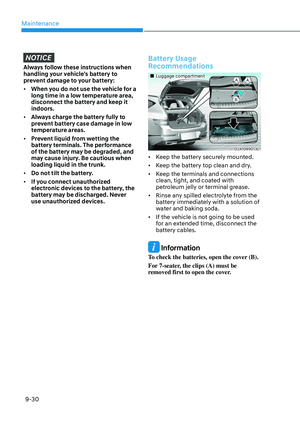
Notes on the Safe Use of the Tire
Mobility Kit
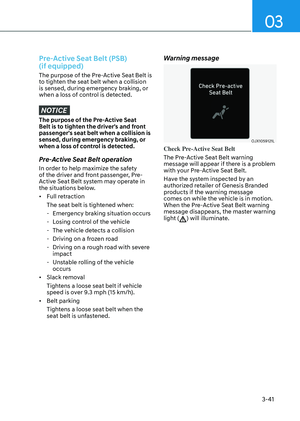
• Park your car at the side of the road
so that you can work with the Tire
Mobility Kit away from moving traffic.
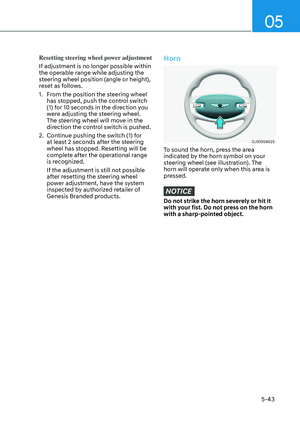
• To be sure your vehicle will not move,
even when you’re on fairly level
ground, always set your parking brake.
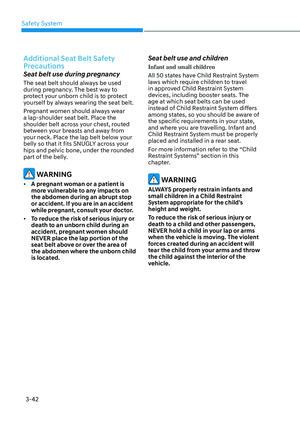
• Only use the Tire Mobility Kit for
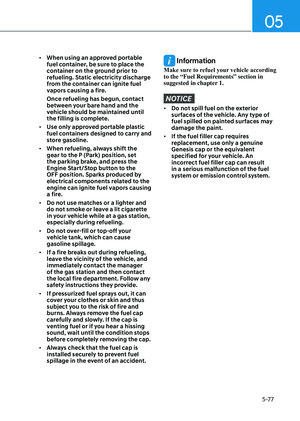
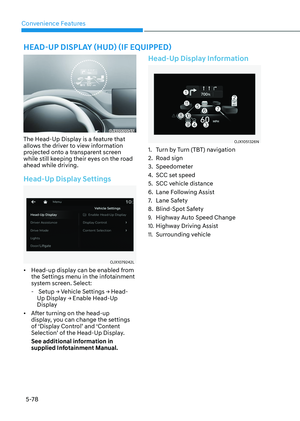
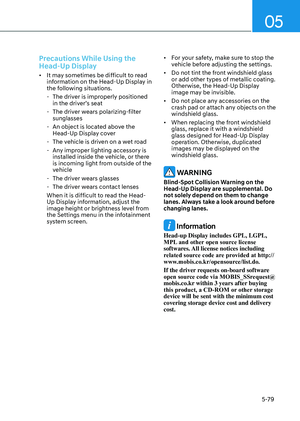
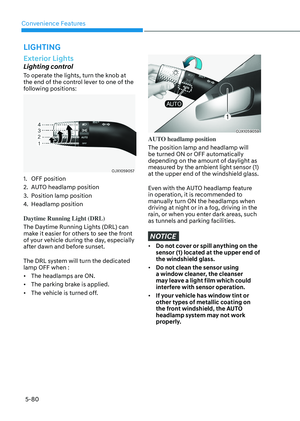
sealing/inflation passenger car tires.
• Do not use on motorcycles, bicycles
or any other type of tires.
• When the tire and wheel are
damaged, do not use Tire Mobility Kit
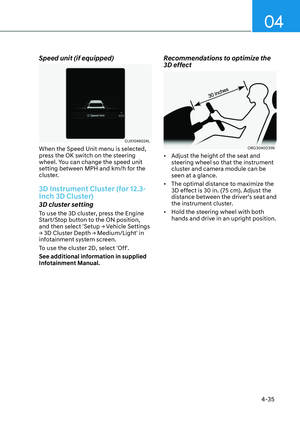
for your safety.
• Use of the Tire Mobility Kit may not be
effective for tire damage larger than
approximately 0.16 in. (4 mm).
Please contact the nearest retailer of
Genesis Branded products if the tire
cannot be made roadworthy with the
Tire Mobility Kit.
• Do not use the Tire Mobility Kit if a tire
is severely damaged by driving run flat
or with insufficient air pressure.
• Do not remove any foreign objects
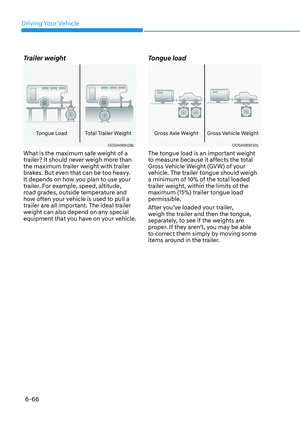
such as nails or screws that have
penetrated the tire.
• Provided the car is outdoors, leave the
engine running. Otherwise operating
the compressor may eventually drain
the car battery.
• Never leave the Tire Mobility Kit
unattended while it is being used.
• Do not leave the compressor running
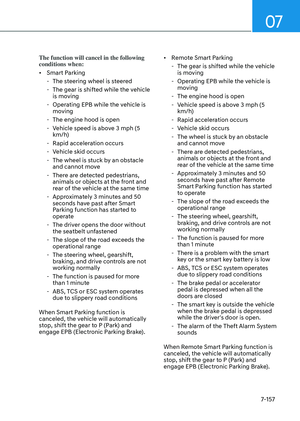
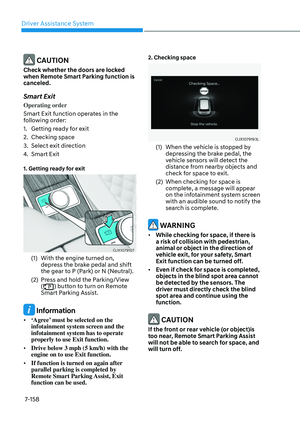
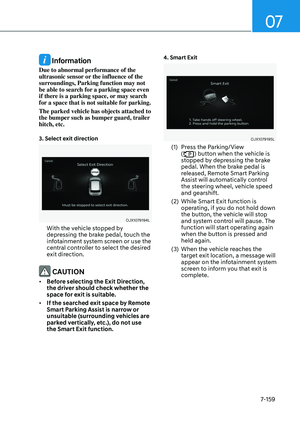
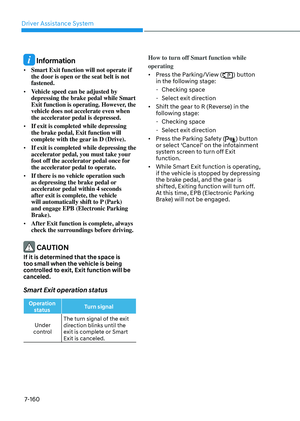
for more than 10 minutes at a time or
it may overheat.
• Do not use the Tire Mobility Kit if the
ambient temperature is below -22°F
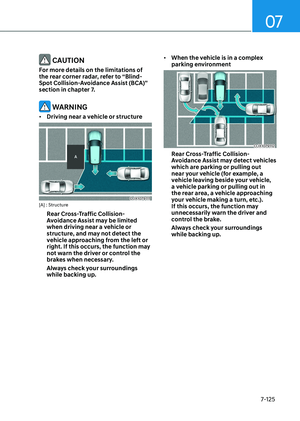
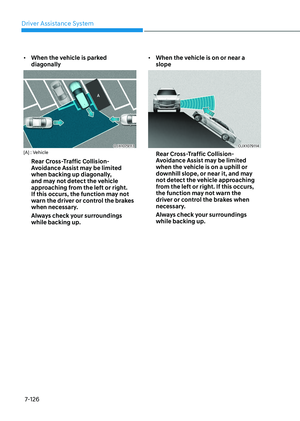
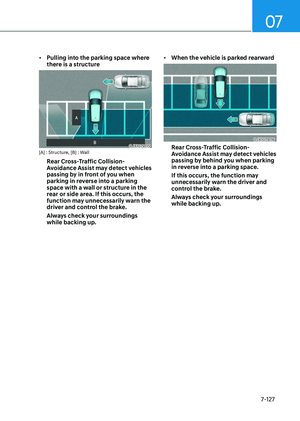
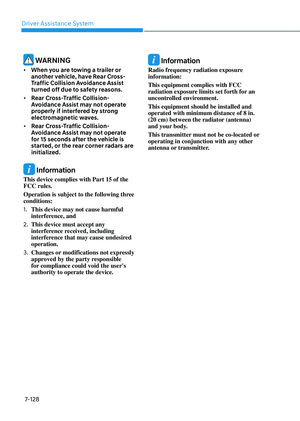
(-30°C).
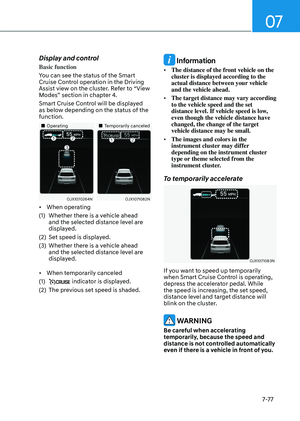
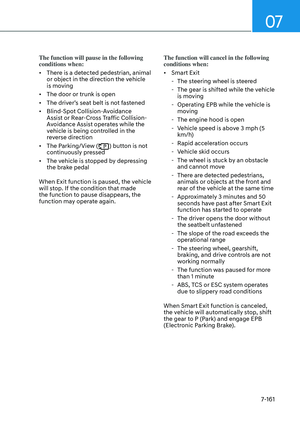
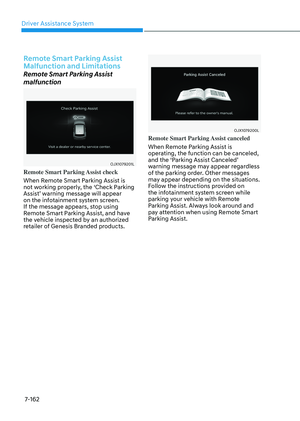
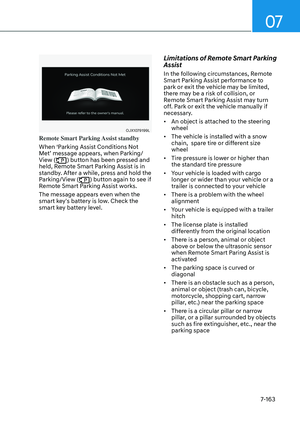
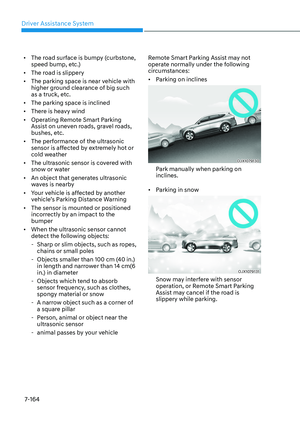
• In case of skin contact with the
sealant, wash the area thoroughly
with plenty of water. If the irritation
persists, seek medical attention.
• In case of eye contact with the
sealant, flush your eyes for at least 15
minutes. If the irritation persists, seek
medical attention.
• In case of swallowing the sealant,
rinse the mouth and drink plenty of
water. However, never give anything
to an unconscious person and seek
medical attention immediately.
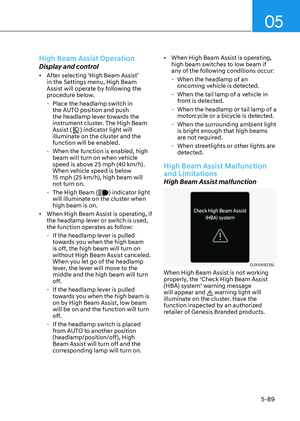
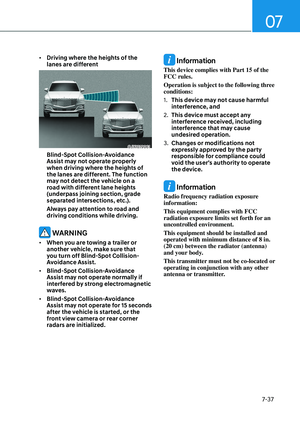
• Long time exposure to the sealant
may cause damage to bodily tissue
such as kidney, etc.
Page 546 of 650
Emergency Situations
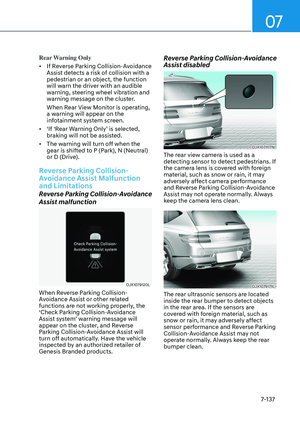
8-22
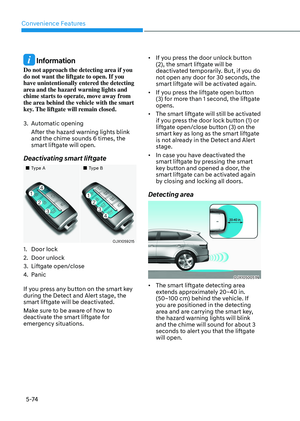
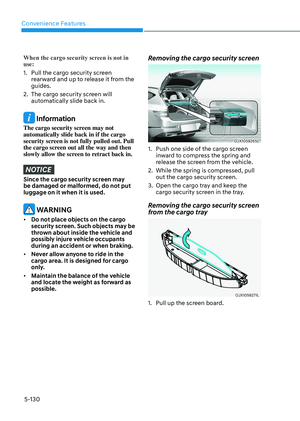
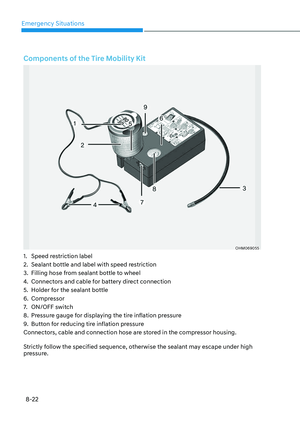
Components of the Tire Mobility Kit
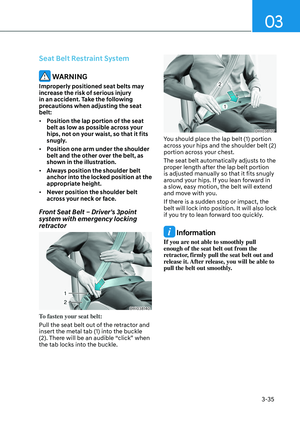
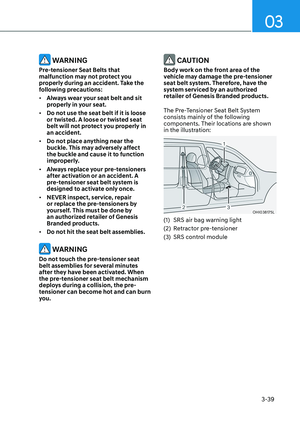
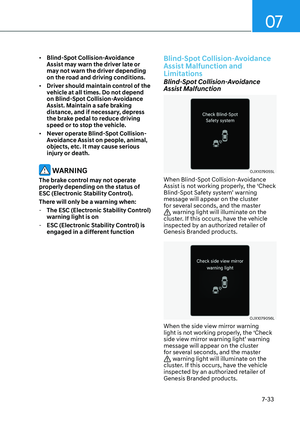
OHM069055OHM069055
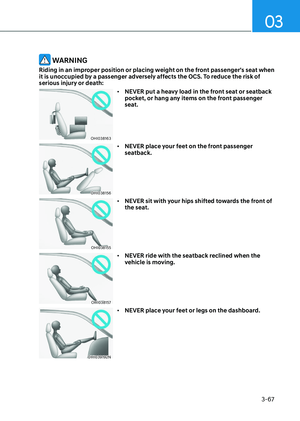
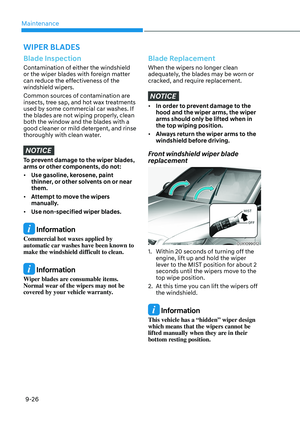
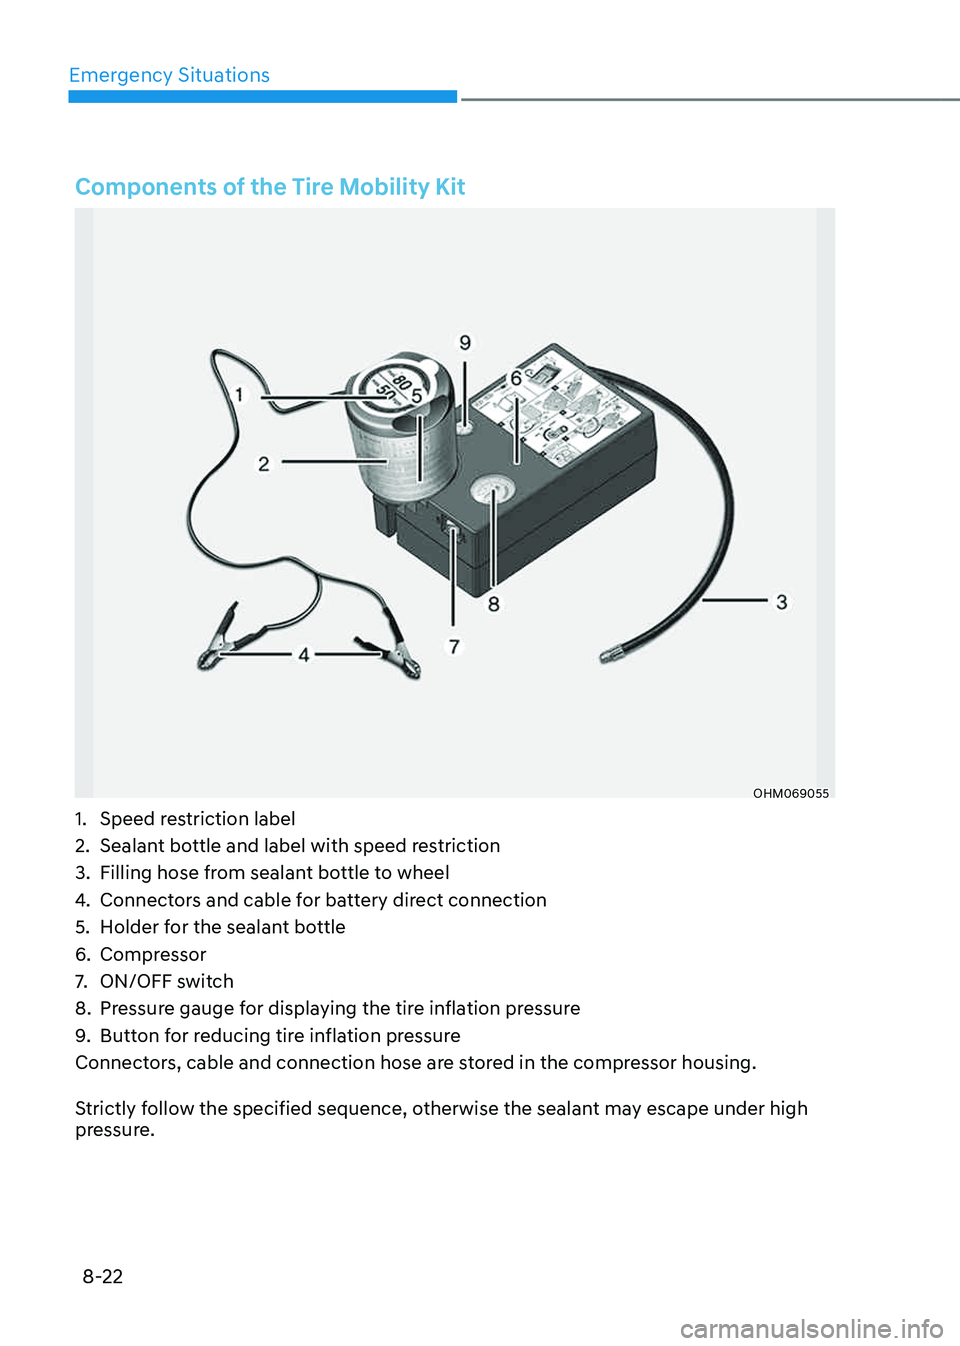
1. Speed restriction label
2. Sealant bottle and label with speed restriction
3. Filling hose from sealant bottle to wheel
4. Connectors and cable for battery direct connection
5. Holder for the sealant bottle
6. Compressor
7. ON/OFF switch
8. Pressure gauge for displaying the tire inflation pressure
9. Button for reducing tire inflation pressure
Connectors, cable and connection hose are stored in the compressor housing.
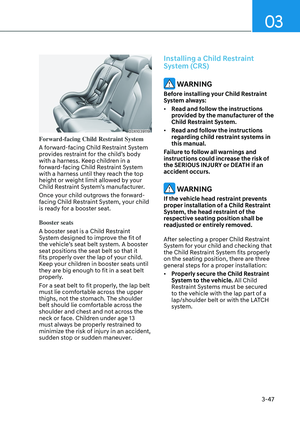
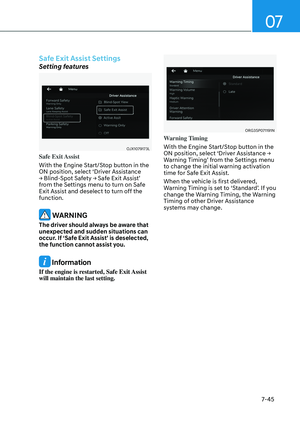
Strictly follow the specified sequence, otherwise the sealant may escape under high
pressure.
Page 547 of 650

08
8-23
WARNING
Do not use the tire sealant after the
sealant has expired (for example, past
the expiration date on the sealant
container). This can increase the risk of
tire failure.
WARNING
• Keep out of reach of children.
• Avoid contact with eyes.
• Do not swallow.
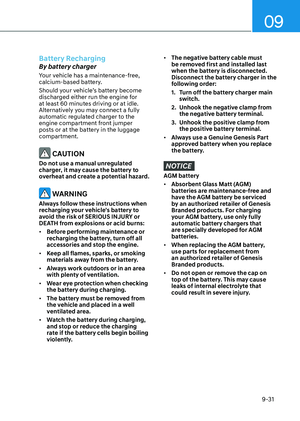
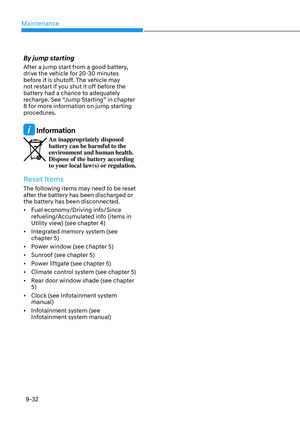
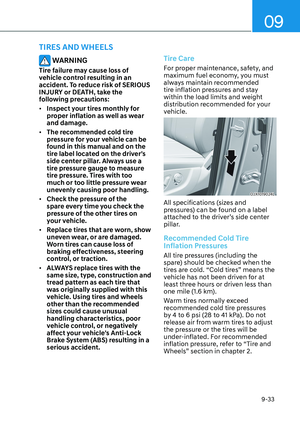
Using the Tire Mobility Kit
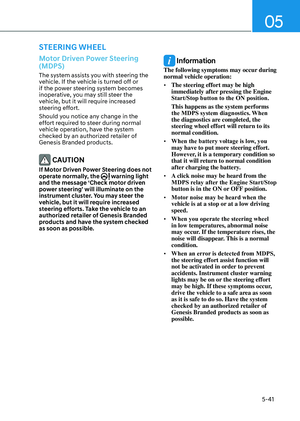
WARNING
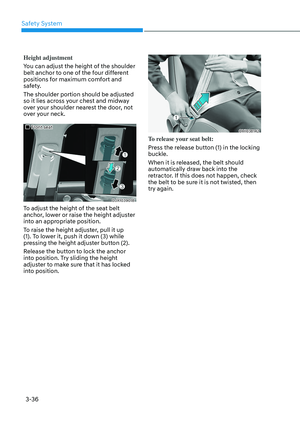
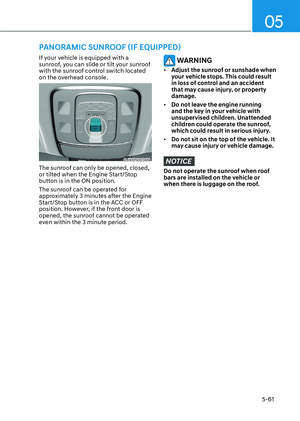
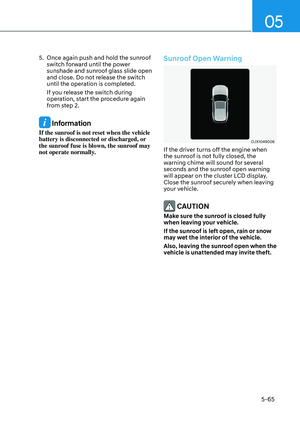
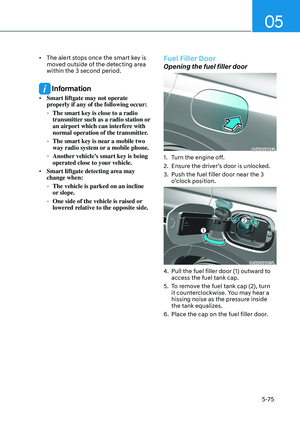
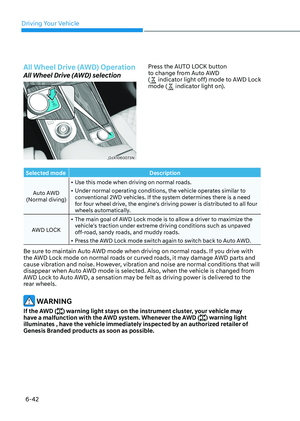
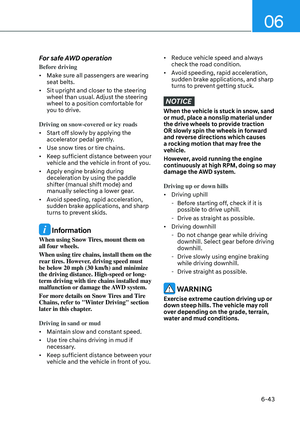
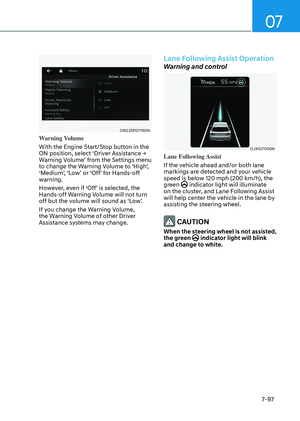
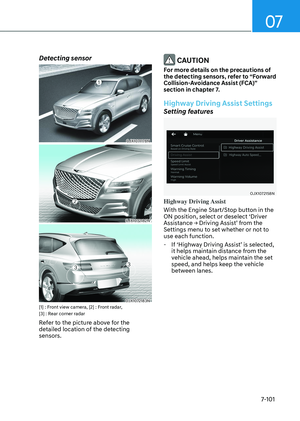
OJX1089008OJX1089008
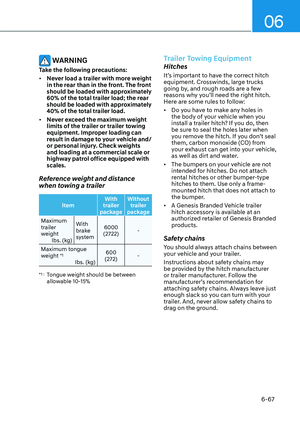
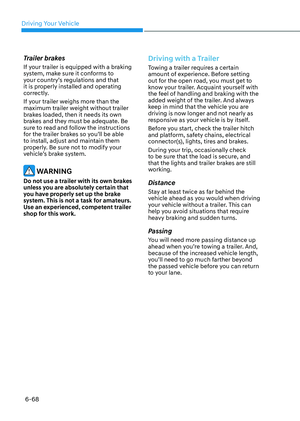
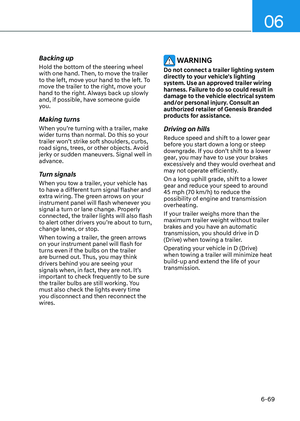
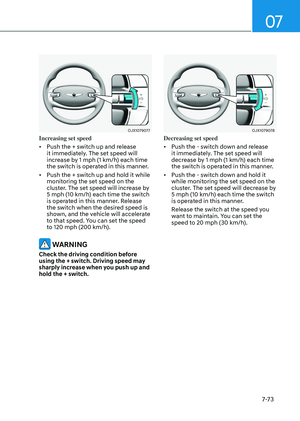
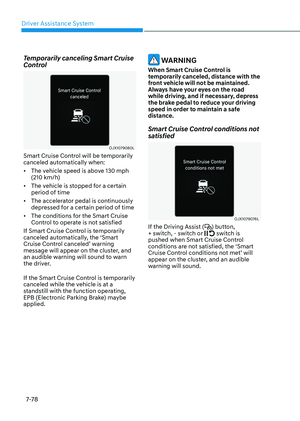
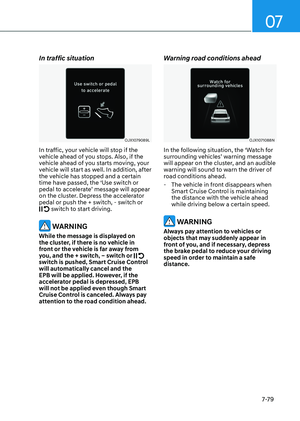
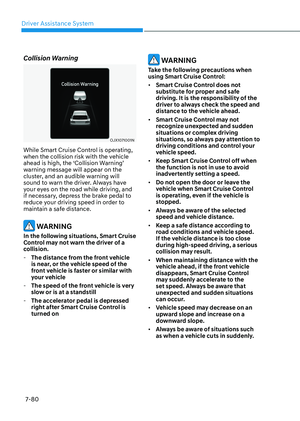
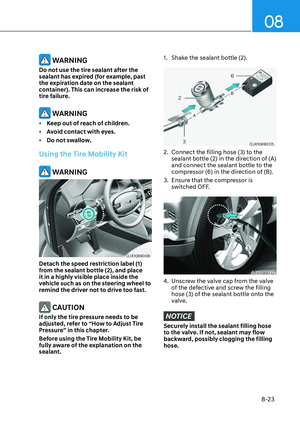
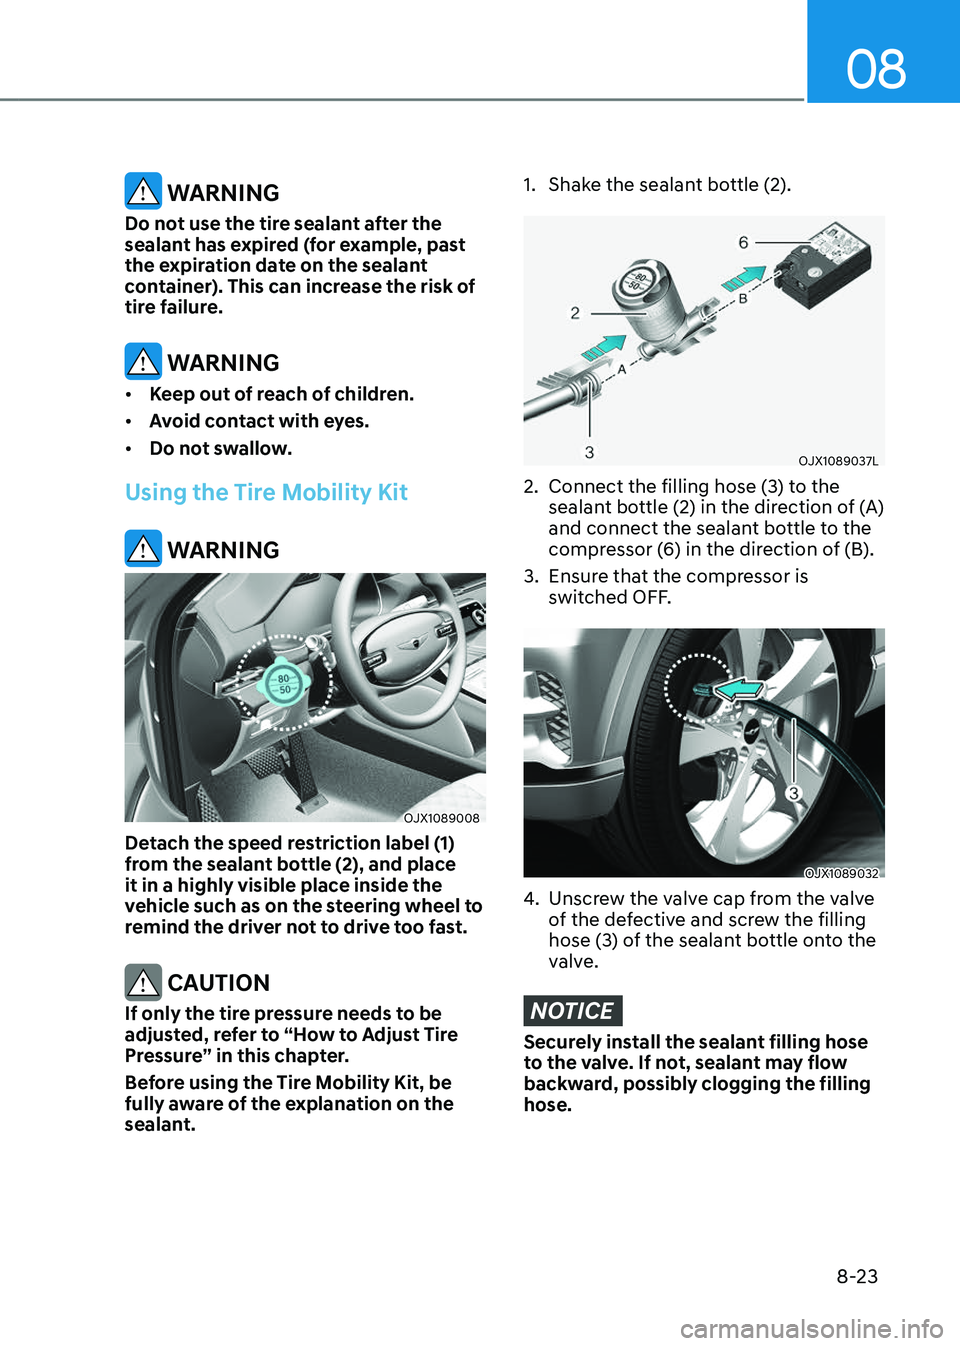
Detach the speed restriction label (1)
from the sealant bottle (2), and place
it in a highly visible place inside the
vehicle such as on the steering wheel to
remind the driver not to drive too fast.
CAUTION
If only the tire pressure needs to be
adjusted, refer to “How to Adjust Tire
Pressure” in this chapter.
Before using the Tire Mobility Kit, be
fully aware of the explanation on the
sealant.
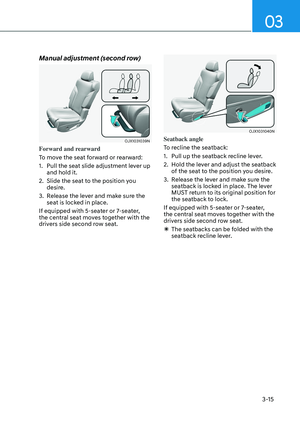
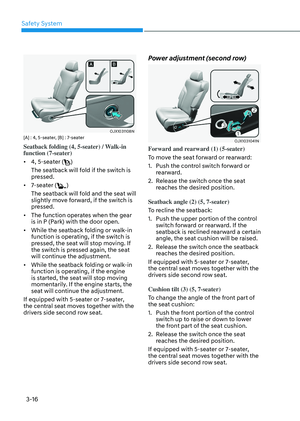
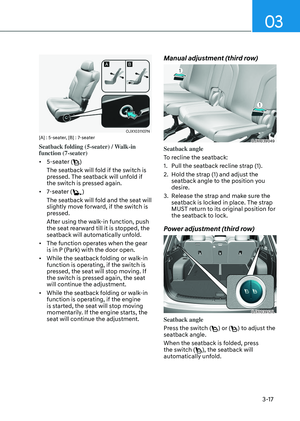
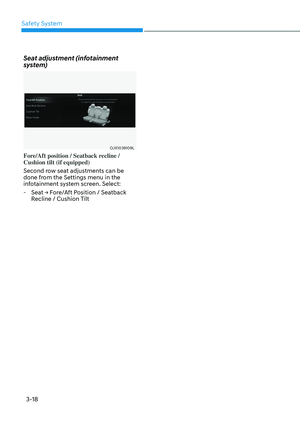
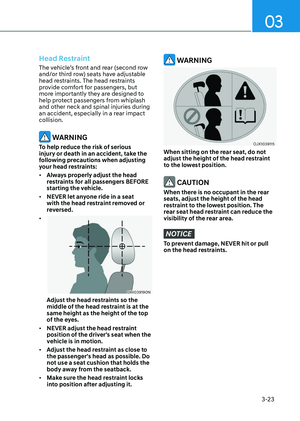
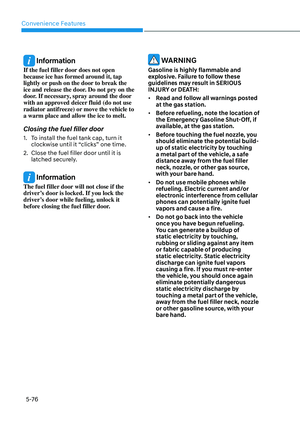
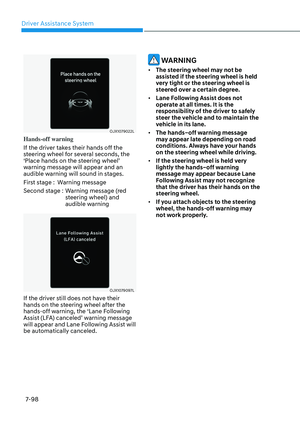
1. Shake the sealant bottle (2).
OJX1089037LOJX1089037L
2. Connect the filling hose (3) to the
sealant bottle (2) in the direction of (A)
and connect the sealant bottle to the
compressor (6) in the direction of (B).
3. Ensure that the compressor is
switched OFF.
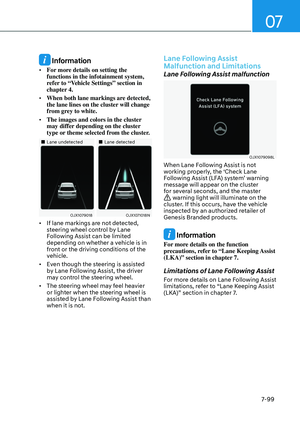
OJX1089032OJX1089032
4. Unscrew the valve cap from the valve
of the defective and screw the filling
hose (3) of the sealant bottle onto the
valve.
NOTICE
Securely install the sealant filling hose
to the valve. If not, sealant may flow
backward, possibly clogging the filling
hose.
Page 548 of 650

Emergency Situations
8-24
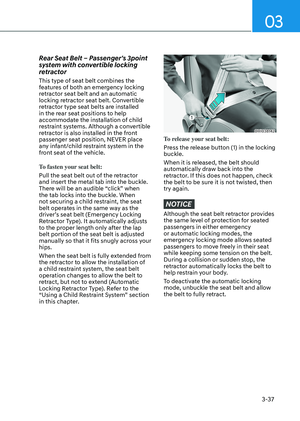
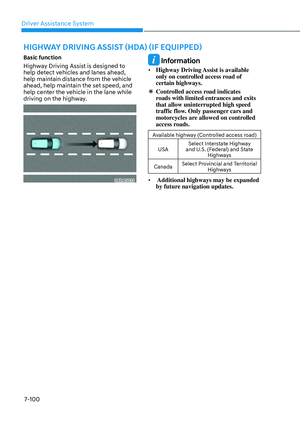
OJX1089034OJX1089034
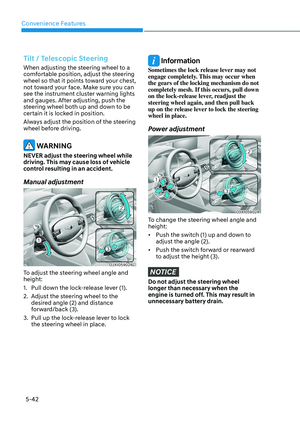
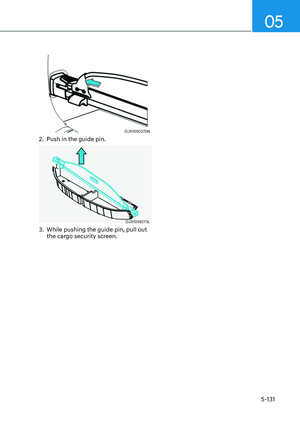
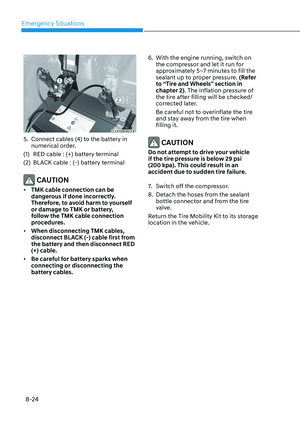
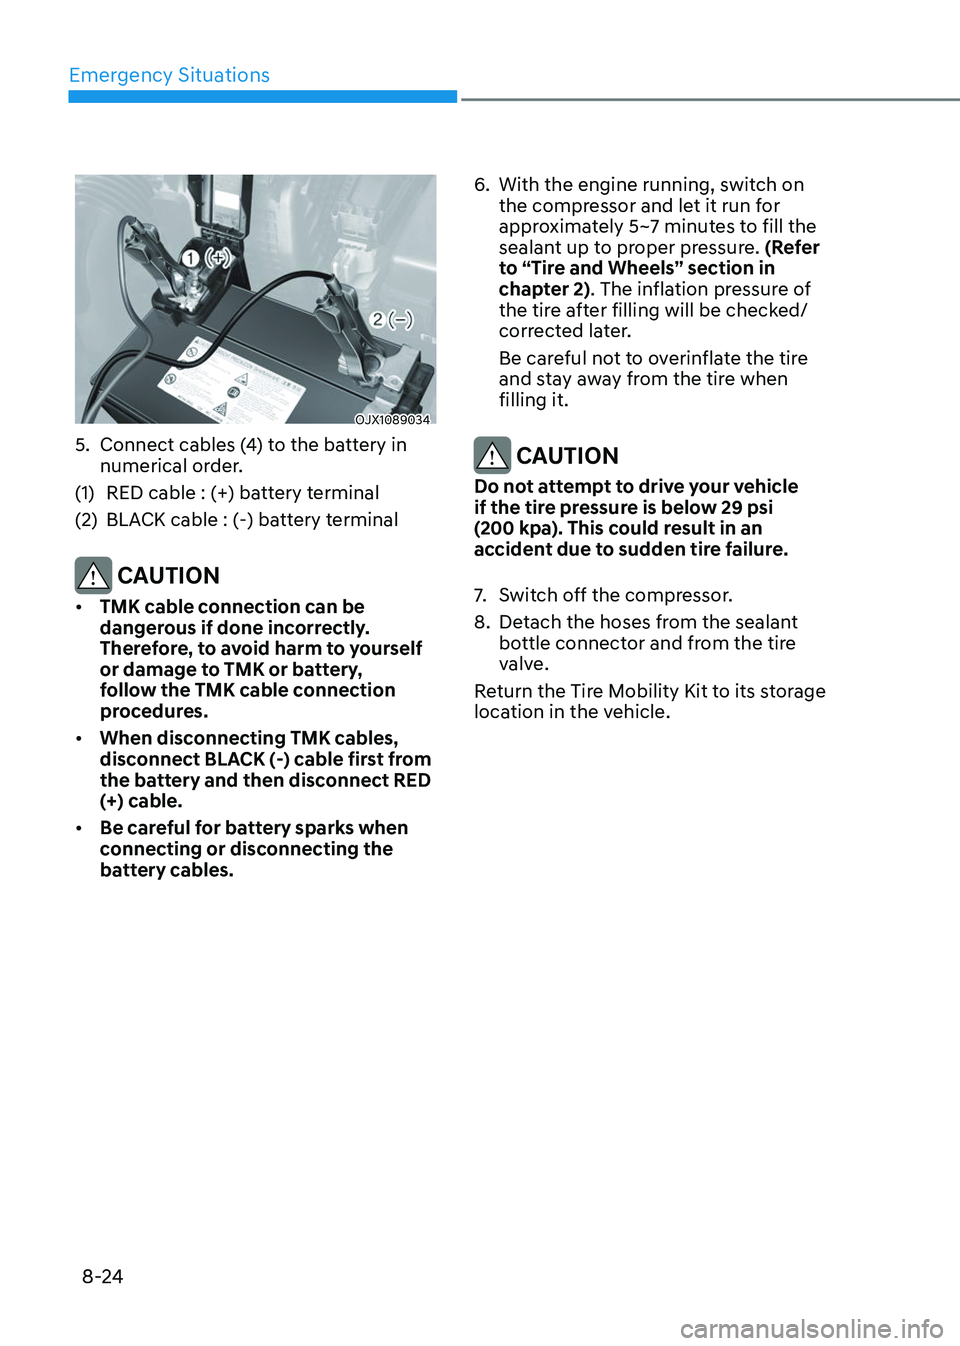
5. Connect cables (4) to the battery in
numerical order.
(1) RED cable : (+) battery terminal
(2) BLACK cable : (-) battery terminal
CAUTION
• TMK cable connection can be
dangerous if done incorrectly.
Therefore, to avoid harm to yourself
or damage to TMK or battery,
follow the TMK cable connection
procedures.
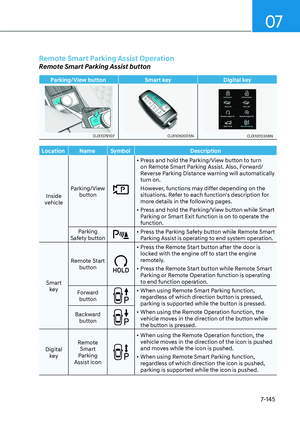
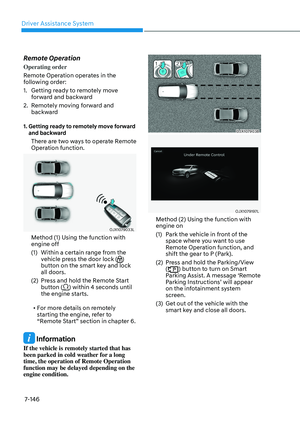
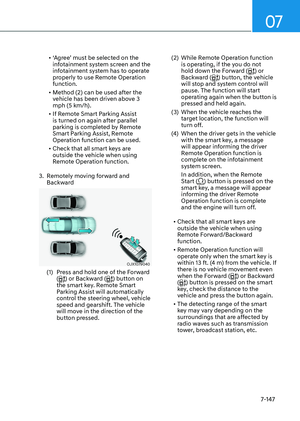
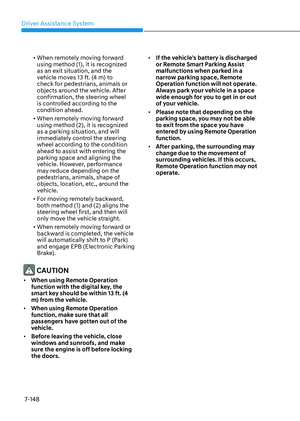
• When disconnecting TMK cables,
disconnect BLACK (-) cable first from
the battery and then disconnect RED
(+) cable.
• Be careful for battery sparks when
connecting or disconnecting the
battery cables.
6. With the engine running, switch on
the compressor and let it run for
approximately 5~7 minutes to fill the
sealant up to proper pressure. (Refer
to “Tire and Wheels” section in
chapter 2). The inflation pressure of
the tire after filling will be checked/
corrected later.
Be careful not to overinflate the tire
and stay away from the tire when
filling it.
CAUTION
Do not attempt to drive your vehicle
if the tire pressure is below 29 psi
(200 kpa). This could result in an accident due to sudden tire failure.
7. Switch off the compressor.
8. Detach the hoses from the sealant
bottle connector and from the tire
valve.
Return the Tire Mobility Kit to its storage
location in the vehicle.
Page 549 of 650

08
8-25
WARNING
Do not leave your vehicle running in
a poorly ventilated area for extended
periods of time. Carbon monoxide
poisoning and suffocation can occur.
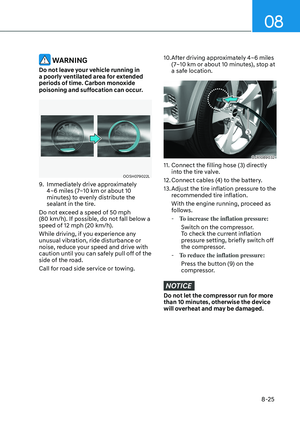
OOSH079022LOOSH079022L
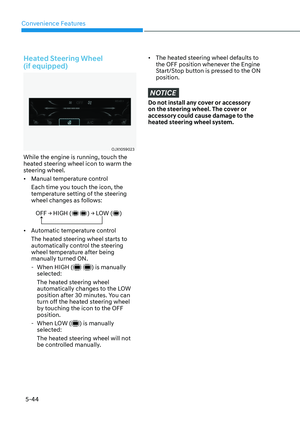
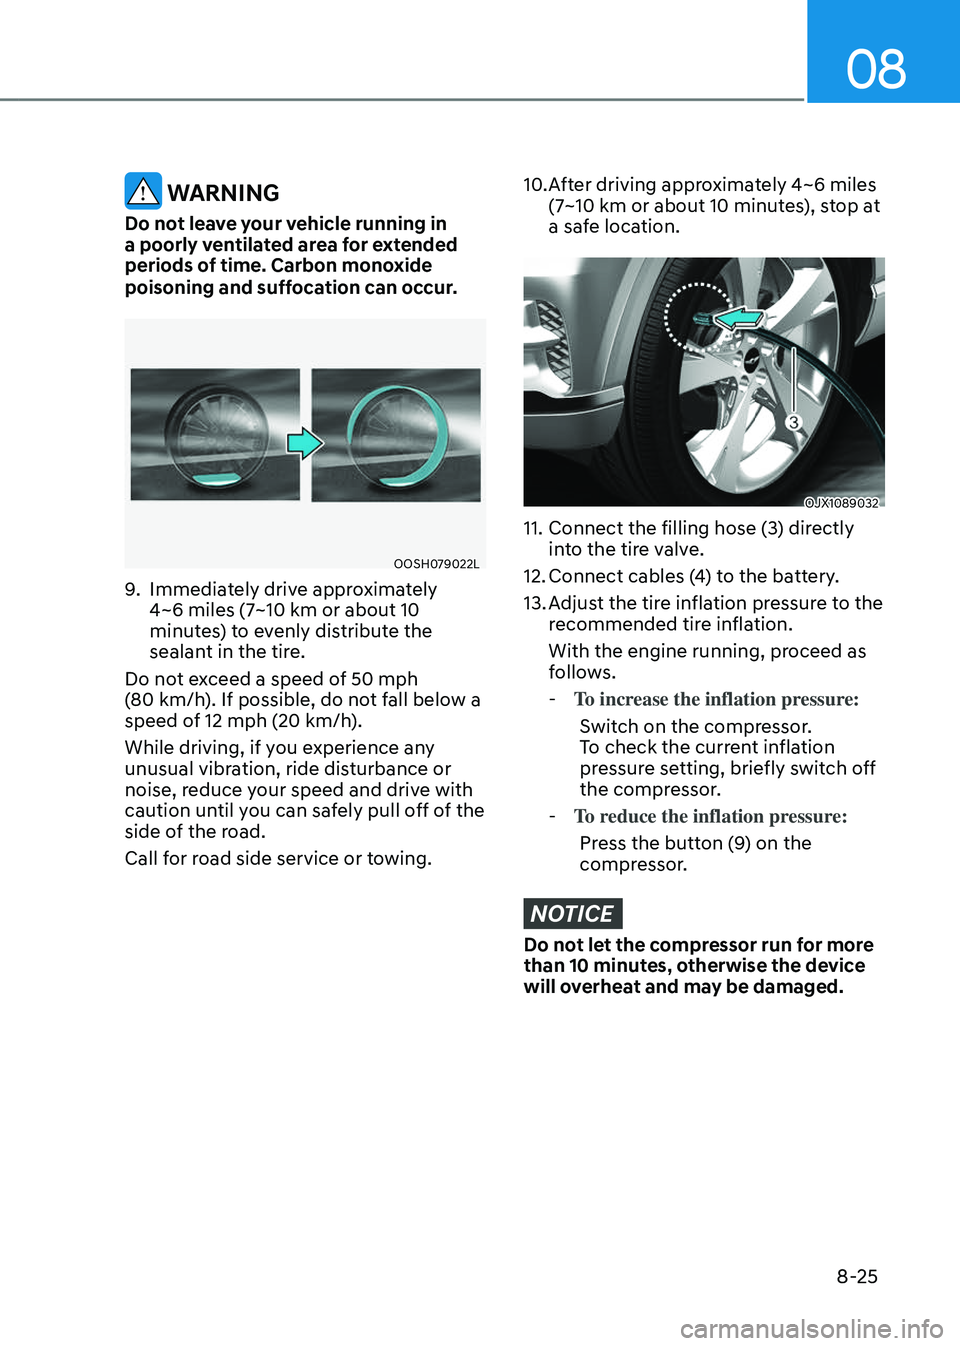
9. Immediately drive approximately 4~6 miles (7~10 km or about 10 minutes) to evenly distribute the
sealant in the tire.
Do not exceed a speed of 50 mph
(80 km/h). If possible, do not fall below a speed of 12 mph (20 km/h).
While driving, if you experience any
unusual vibration, ride disturbance or
noise, reduce your speed and drive with
caution until you can safely pull off of the
side of the road.
Call for road side service or towing.
10. After driving approximately 4~6 miles
(7~10 km or about 10 minutes), stop at
a safe location.
OJX1089032OJX1089032
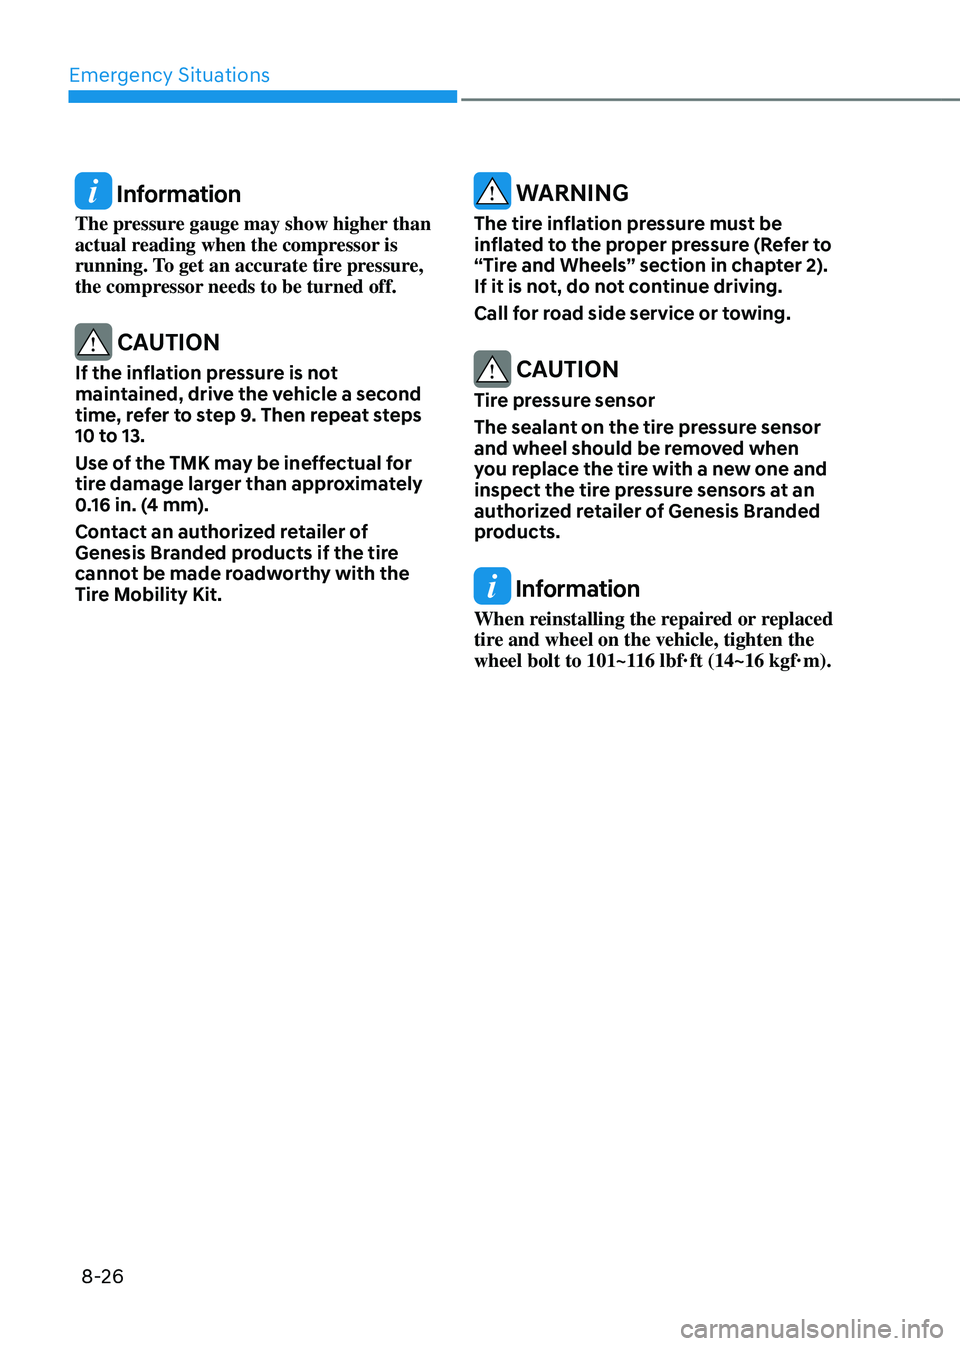
11. Connect the filling hose (3) directly
into the tire valve.
12. Connect cables (4) to the battery.
13. Adjust the tire inflation pressure to the
recommended tire inflation.
With the engine running, proceed as
follows.
- To increase the inflation pressure:
Switch on the compressor.
To check the current inflation
pressure setting, briefly switch off
the compressor.
- To reduce the inflation pressure:
Press the button (9) on the
compressor.
NOTICE
Do not let the compressor run for more
than 10 minutes, otherwise the device
will overheat and may be damaged.
Page 550 of 650

Emergency Situations
8-26
Information
The pressure gauge may show higher than
actual reading when the compressor is
running. To get an accurate tire pressure,
the compressor needs to be turned off.
CAUTION
If the inflation pressure is not
maintained, drive the vehicle a second
time, refer to step 9. Then repeat steps
10 to 13.
Use of the TMK may be ineffectual for
tire damage larger than approximately
0.16 in. (4 mm).
Contact an authorized retailer of
Genesis Branded products if the tire
cannot be made roadworthy with the
Tire Mobility Kit.
WARNING
The tire inflation pressure must be
inflated to the proper pressure (Refer to
“Tire and Wheels” section in chapter 2).
If it is not, do not continue driving.
Call for road side service or towing.
CAUTION
Tire pressure sensor
The sealant on the tire pressure sensor
and wheel should be removed when
you replace the tire with a new one and
inspect the tire pressure sensors at an
authorized retailer of Genesis Branded
products.
Information
When reinstalling the repaired or replaced
tire and wheel on the vehicle, tighten the
wheel bolt to 101~116 lbf·ft (14~16 kgf·m).
Page 551 of 650

08
8-27
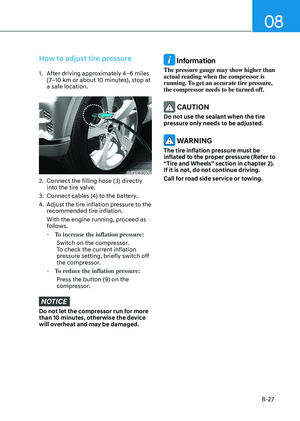
How to adjust tire pressure
1. After driving approximately 4~6 miles
(7~10 km or about 10 minutes), stop at
a safe location.
OJX1089032OJX1089032
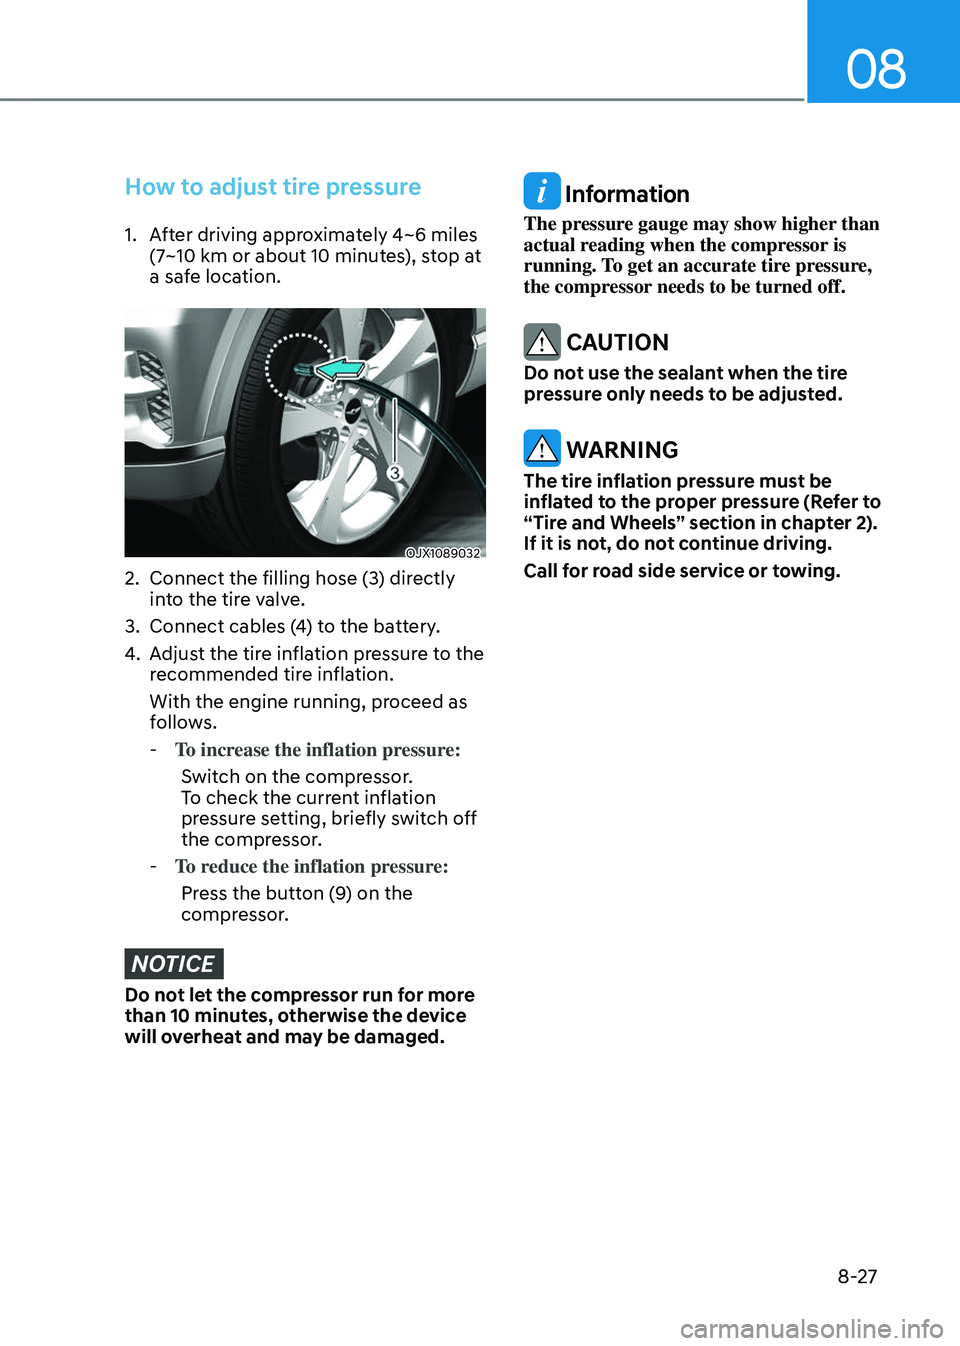
2. Connect the filling hose (3) directly
into the tire valve.
3. Connect cables (4) to the battery.
4. Adjust the tire inflation pressure to the
recommended tire inflation.
With the engine running, proceed as
follows.
-To increase the inflation pressure:
Switch on the compressor.
To check the current inflation
pressure setting, briefly switch off
the compressor.
- To reduce the inflation pressure:
Press the button (9) on the
compressor.
NOTICE
Do not let the compressor run for more
than 10 minutes, otherwise the device
will overheat and may be damaged.
Information
The pressure gauge may show higher than
actual reading when the compressor is
running. To get an accurate tire pressure,
the compressor needs to be turned off.
CAUTION
Do not use the sealant when the tire
pressure only needs to be adjusted.
WARNING
The tire inflation pressure must be
inflated to the proper pressure (Refer to
“Tire and Wheels” section in chapter 2).
If it is not, do not continue driving.
Call for road side service or towing.
Page 552 of 650
![GENESIS GV80 2023 Owners Manual Emergency Situations
8-28
TOWING
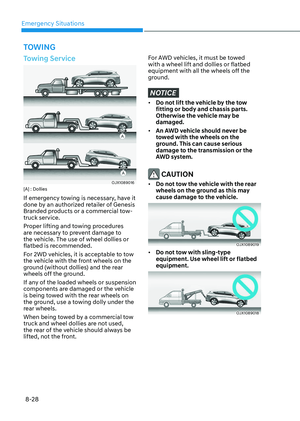
Towing Service
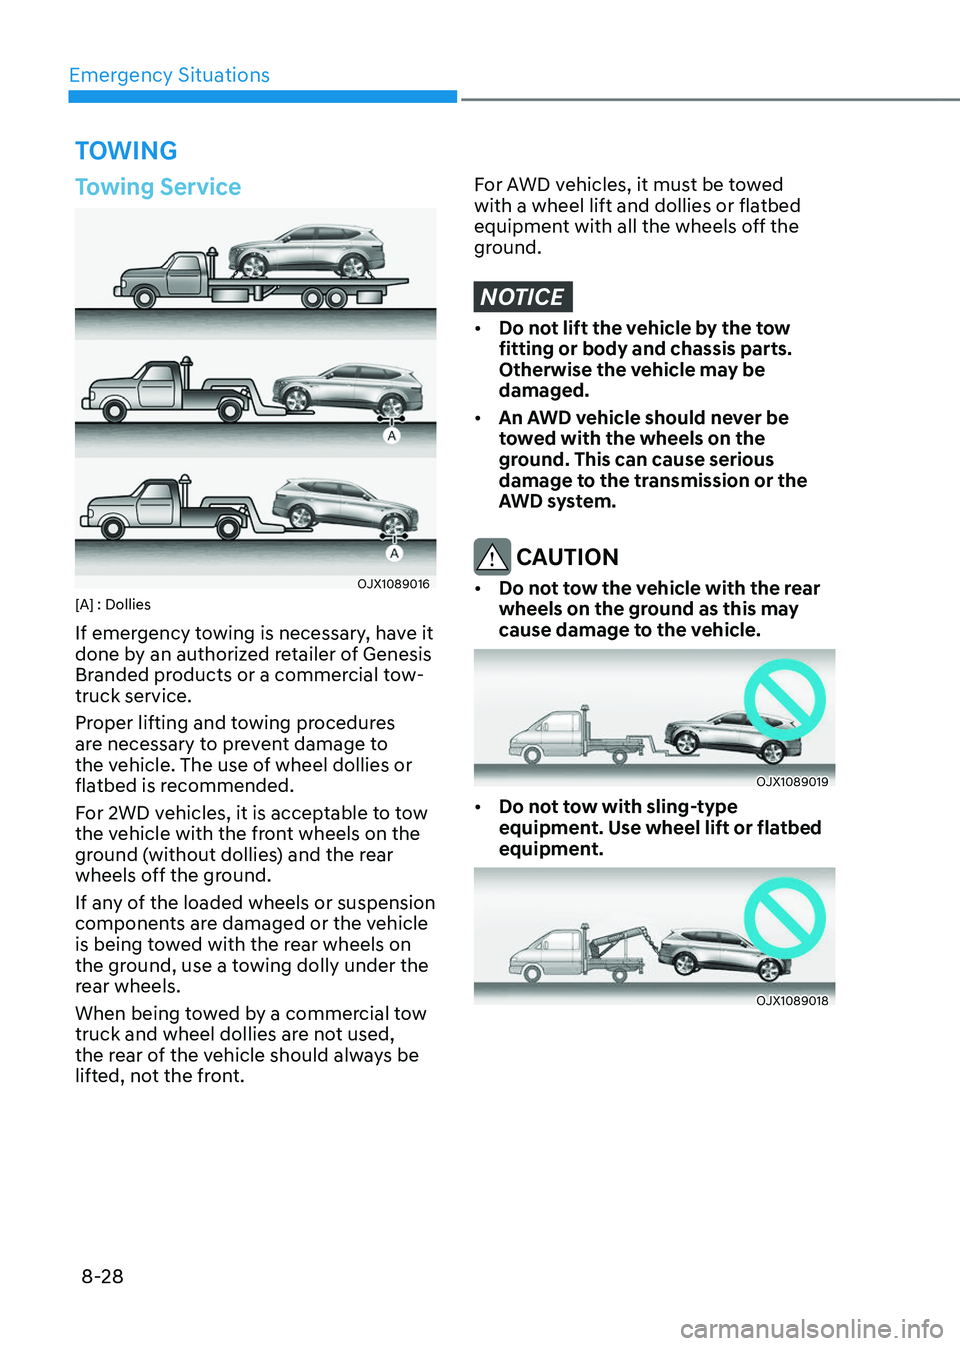
OJX1089016OJX1089016[A] : Dollies
If emergency towing is necessary, have it
done by an authorized retailer of Genesis
Branded products or a commercial GENESIS GV80 2023 Owners Manual Emergency Situations
8-28
TOWING
Towing Service
OJX1089016OJX1089016[A] : Dollies
If emergency towing is necessary, have it
done by an authorized retailer of Genesis
Branded products or a commercial](/manual-img/46/58828/w960_58828-551.png)
Emergency Situations
8-28
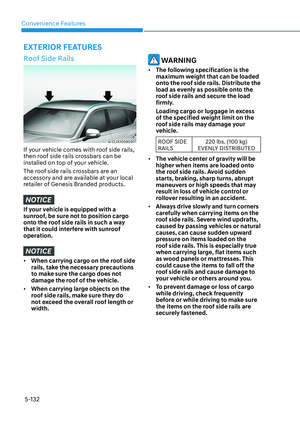
TOWING
Towing Service
OJX1089016OJX1089016[A] : Dollies
If emergency towing is necessary, have it
done by an authorized retailer of Genesis
Branded products or a commercial tow-
truck service.
Proper lifting and towing procedures
are necessary to prevent damage to
the vehicle. The use of wheel dollies or
flatbed is recommended.
For 2WD vehicles, it is acceptable to tow
the vehicle with the front wheels on the
ground (without dollies) and the rear
wheels off the ground.
If any of the loaded wheels or suspension
components are damaged or the vehicle
is being towed with the rear wheels on
the ground, use a towing dolly under the
rear wheels.
When being towed by a commercial tow
truck and wheel dollies are not used,
the rear of the vehicle should always be
lifted, not the front.
For AWD vehicles, it must be towed
with a wheel lift and dollies or flatbed
equipment with all the wheels off the
ground.
NOTICE
• Do not lift the vehicle by the tow
fitting or body and chassis parts.
Otherwise the vehicle may be
damaged.
• An AWD vehicle should never be
towed with the wheels on the
ground. This can cause serious
damage to the transmission or the
AWD system.
CAUTION
• Do not tow the vehicle with the rear
wheels on the ground as this may
cause damage to the vehicle.
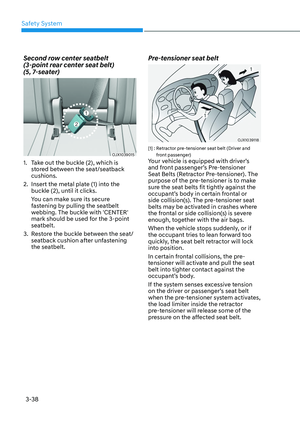
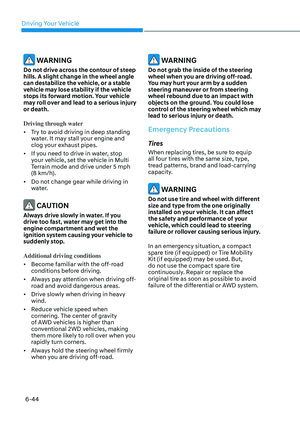
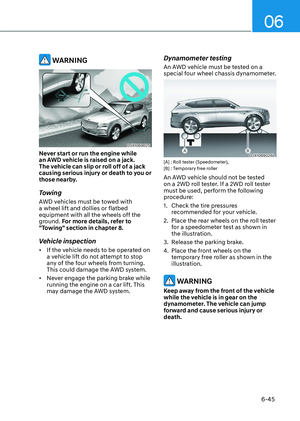
OJX1089019OJX1089019
• Do not tow with sling-type
equipment. Use wheel lift or flatbed
equipment.
OJX1089018OJX1089018