Page 185 of 241
88A-49
WIRING HARNESS
Passenger compartment wiring: Connector access
RIGHT-HAND DRIVE
88A
I - LOCATION OF CONNECTORS
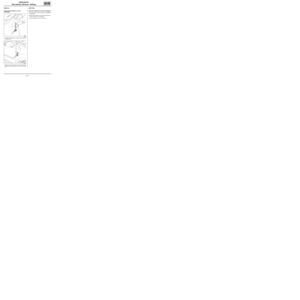
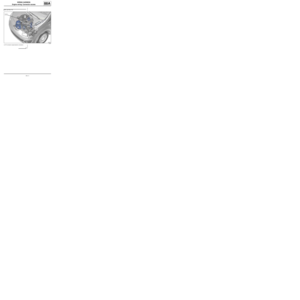
1 - R 107
aR 107 connectors (Dashboard / front of engine con-
nection).
2 - R 99
aR 99 connector (Dashboard / heating system con-
nection).3 - R 301
aR 301 connectors (Dashboard / interior lights con-
nection).
4 - R 3
aR3 connector (Dashboard / driver's door connec-
tion).
122347
122343
122347
122348
Page 186 of 241
88A-50
WIRING HARNESS
Passenger compartment wiring: Connector access
RIGHT-HAND DRIVE
88A
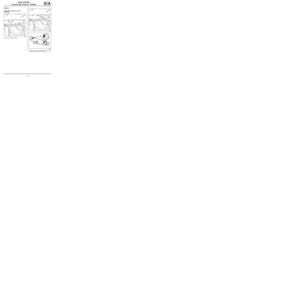
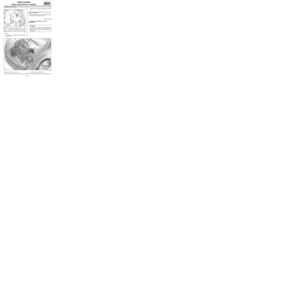
5 - R 4
aR 4 connector (Dashboard / passenger's door con-
nection).
6 - R 334
aR 334 connector (Passenger compartment / passen-
ger's front seat connection).7 - R 335
aR 335 connector (Passenger compartment / driver's
front seat connection).
8 - R 15
aR 15 connectors (Rear left-hand / tailgate connec-
tion).
122347
Note:
Connectors R 3 and R 4 are identical.
122349
122349
Note:
Connectors R 334 and R 335 are identical.
122356
Page 187 of 241

88A-51
WIRING HARNESS
Passenger compartment wiring: Connector access
RIGHT-HAND DRIVE
88A
9 - R 259
aR 259 connectors (Passenger compartment / rear
bumper connection).
II - CONNECTOR OPENING
a
aSwitch off the ignition.
aDisconnect the battery (see 80A, Battery, Battery:
Removal - Refitting, page 80A-2) .
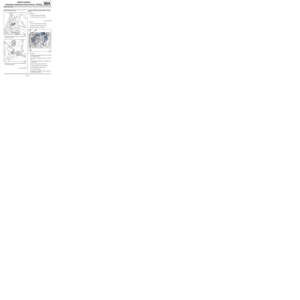
1 - Accessing R 107 connectors
aRemove the glovebox (see Glovebox: Removal -
Refitting) (MR 412, 57A, Interior equipment).aDisconnect the R 107 connectors.
2 - Accessing the R 99 connector
aRemove the dashboard (see Dashboard: Removal
- Refitting) (MR 412, 57A, Interior equipment).
aDisconnect the R 99 connector.
3 - Accessing R 301 connectors
aRemove the left-hand windscreen pillar trim (see
Windscreen pillar trim: Removal - Refitting) (MR
412, 71A, Body internal trim).
122354
IMPORTANT
Consult the safety and cleanliness advice and
operation recommendations before carrying out
any repair (see 88A, Wiring harness, Wiring:
Precautions for the repair, page 88A-2) .
WARNING
To prevent damaging the connectors, consult the
disconnection procedures (see Connector: Dis-
connection and reconnection) (Technical Note
6015A, 88A, Wiring).
122347
122343
Page 188 of 241
88A-52
WIRING HARNESS
Passenger compartment wiring: Connector access
RIGHT-HAND DRIVE
88A
aDisconnect the R 301 connectors.
4 - Accessing the R 3 connector
aRemove:
-the front right-hand door sill lining (see Front door
sill lining: Removal - Refitting) (MR 412, 71A,
Body internal trim),
-the front right-hand door (see Front side door: Re-
moval - Refitting) (MR 412, 47A, Side doors).
aRemove the bolts (1) .
aUnclip the R 3 connector.5 - Accessing the R 4 connector
aRemove:
-the front left-hand door sill lining (see Front door
sill lining: Removal - Refitting) (MR 412, 71A,
Body internal trim),
-the front left-hand door (see Front side door: Re-
moval - Refitting) (MR 412, 47A, Side doors).
aRemove the bolts (2) .
aUnclip the R 4 connector.
112590
122249
122249
Page 189 of 241
88A-53
WIRING HARNESS
Passenger compartment wiring: Connector access
RIGHT-HAND DRIVE
88A
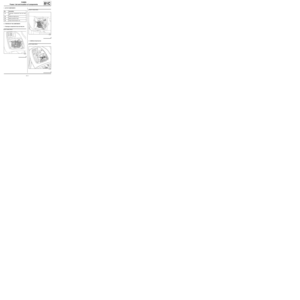
6 - Accessing the R 334 connector
aUnclip the cover (3) under the front passenger seat
base.
aDisconnect the R 334 connector.
7 - Accessing the R 335 connector
aUnclip the cover (4) under the driver's seat base.
aDisconnect the R 335 connector.8 - Accessing the R 15 connectors
aRemove the rear left-hand wheel arch liner (see
Rear wheel arch trim: Removal - Refitting) (MR
412, 71A, Body internal trim).
aDisconnect the R 15 connectors.
9 - Accessing the R 259 connector
aRemove:
-the rear lights on the wing (see 81A, Rear lighting,
Rear wing light: Removal - Refitting, page 81A-
3) ,
-the rear bumper (see Rear bumper: Removal -
Refitting) (MR 412, 55A, Exterior protection).
aDisconnect the R 259 connector.
120814
120814
122338
Page 190 of 241

88A-54
WIRING HARNESS
Passenger compartment wiring: Removal - Refitting
LEFT-HAND DRIVE
88A
REMOVAL
I - REMOVAL PREPARATION OPERATION
aPosition the vehicle on a two-post lift (see Vehicle:
Towing and lifting) (MR 411, 02A, Lifting equip-
ment).
aLock the airbag computer using the Diagnostic tool
(see Fault finding - Replacement of components)
(MR 413, 88C, Airbags and pretensioners).
aSwitch off the ignition.
aDisconnect the battery (see 80A, Battery, Battery:
Removal - Refitting, page 80A-2) .aRemove:
-the rear lights on the wing (see 81A, Rear lighting,
Rear wing light: Removal - Refitting, page 81A-
3) ,
-the rear bumper (see Rear bumper: Removal -
Refitting) (MR 412, 55A, Exterior protection),
-the front seats (see Complete front seat: Remo-
val - Refitting) (MR 412, 75A, Front seat frames
and runners),
-the rear bench seat base (see Rear bench seat
base: Removal - Refitting) (MR 412, 76A, Rear
seat frames and runners),
-the rear bench seatback (see Rear bench seat-
back: Removal - Refitting) (MR 412, 76A, Rear
seat frames and runners),
-the driver's side front airbag (see 88C, Air bag and
Pretensioners, Driver's frontal airbag: Removal
- Refitting, page 88C-6) ,
-the steering wheel (see Steering wheel: Removal
- Refitting) (MR 411, 36A, Steering assembly).
aRemove the rev counter (see 83A, Instrument pa-
nel, Rev counter: Removal - Refitting, page 83A-
3) .
aRemove:
-the steering column switch assembly (see 84A,
Control - Signals, Steering column switch as-
sembly: Removal - Refitting, page 84A-2) ,
-the instrument panel (see 83A, Instrument panel,
Instrument panel: Removal - Refitting, page
83A-1) ,
-the passenger front airbag (see 88C, Air bag and
Pretensioners, Passenger's frontal airbag: Re-
moval - Refitting, page 88C-8) ,
-the glovebox (see Glovebox: Removal - Refit-
ting) (MR 412, 57A, Interior equipment),
-the radio (see 86A, Radio, Radio: Removal - Re-
fitting, page 86A-4) ,
-the centre front panel (see Centre front panel: Re-
moval - Refitting) (MR 412, 57A, Interior equip-
ment),
-the hazard warning lights control (see 84A, Con-
trol - Signals, Hazard warning lights and central
door control: Removal - Refitting, page 84A-10)
, Equipment required
Diagnostic tool
IMPORTANT
Consult the safety and cleanliness advice and ope-
ration recommendations before carrying out any
repair (see 88A, Wiring harness, Wiring: Precau-
tions for the repair, page 88A-2) .
IMPORTANT
To avoid any risk of triggering when working on or
near a pyrotechnic component (airbags or preten-
sioners), lock the airbag computer using the dia-
gnostic tool.
When this function is activated, all the trigger lines
are inhibited and the airbag warning light on the ins-
trument panel lights up contin uously (ignition on).
IMPORTANT
Never handle the pyrotechnic systems (pretensio-
ners or airbags) near to a source of heat or naked
flame - they may be triggered.
WARNING
To prevent damaging the connectors, consult the
disconnection procedures (see Connector: Dis-
connection and reconnection) (Technical Note
6015A, 88A, Wiring).
ENGINE REV COUNTER
Page 191 of 241

88A-55
WIRING HARNESS
Passenger compartment wiring: Removal - Refitting
LEFT-HAND DRIVE
88A
-the A-pillar trims (see Windscreen pillar trim: Re-
moval - Refitting) (MR 412, 71A, Body internal
trim),
-the centre console (see Centre console: Removal
- Refitting) (MR 412, 57A, Interior equipment),
-the tweeters (see 86A, Radio, Tweeter: Removal
- Refitting, page 86A-7) ,
-the dashboard (see Dashboard: Removal - Refit-
ting) (MR 412, 57A, Interior equipment),
-the front door sill inner trims (see Front door sill
lining: Removal - Refitting) (MR 412, 71A, Body
internal trim),
-the rear parcel shelf side trims (see Rear parcel
shelf side trim: Removal - Refitting) (MR 412,
71A, Body internal trim),
-the rear panel trims (see Rear panel lining: Re-
moval - Refitting) (MR 412, 71A, Body internal
trim),
-the rear quarter panel trims (see Quarter panel
trim: Removal - Refitting) (MR 412, 71A, Body in-
ternal trim),
-the floor carpets (see Floor carpet: Removal - Re-
fitting) (MR 412, 71A, Body internal trim),
-the rear wheel arch trim (see Rear wheel arch
trim: Removal - Refitting) (MR 412, 71A, Body in-
ternal trim).
II - REMOVAL OPERATION FOR PART
CONCERNED
a
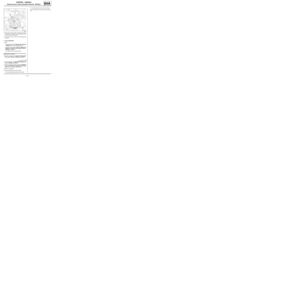
aDisconnect:
-the parking brake switch connector (2) ,
-the rear wheel speed sensor wiring connectors (3) ,
-the passenger compartment wiring / tailgate wiring
connectors (4) ,
-the fuel pump connector (5) . WARNING
To prevent any risk of noise, premature wear,
short circuits, etc. after the refitting operation,
mark the wiring routing and how to connect the
connectors.
122354
122355
Page 192 of 241

88A-56
WIRING HARNESS
Passenger compartment wiring: Removal - Refitting
LEFT-HAND DRIVE
88A
aDisconnect the connector (6) from the parking dis-
tance control buzzer.
aDisconnect the connector (7) from the parking dis-
tance control computer.aDisconnect:
-the left-hand speaker connector (8) ,
-the right-hand speaker connector (9) .
aRemove:
-the rear left-hand earth wiring nut (10) ,
-the rear right-hand earth wiring nut (11) .
aUnpick the rear section of the wiring.
aDisconnect:
-the passenger compartment wiring / front left-hand
wiring connectors (12) ,
-the passenger compartment fuse box connector
(13) ,
-the passenger compartment fan assembly relay
connector (14) ,
-the electric window relay connector (15) ,
-the dipped headlights relay connector (16) ,
-the rear fog light relay connector (17) ,
-the UCH connectors (18) ,
-the passenger compartment wiring / heating sys-
tem wiring connector (19) , REAR PROXIMITY RADAR
121367
121369
WITH 4 SPEAKERS, WITHOUT RADIO or RADIO
NO. 03
122345