Page 3050 of 4331
![NISSAN TIIDA 2009 Service Repair Manual CYLINDER BLOCK
EM-103
< DISASSEMBLY AND ASSEMBLY >
[HR16DE] C
D E
F
G H
I
J
K L
M A EM
NP
O
18. Install knock sensor (1).
• Install connectors so that they are positioned towards the rearof the engi NISSAN TIIDA 2009 Service Repair Manual CYLINDER BLOCK
EM-103
< DISASSEMBLY AND ASSEMBLY >
[HR16DE] C
D E
F
G H
I
J
K L
M A EM
NP
O
18. Install knock sensor (1).
• Install connectors so that they are positioned towards the rearof the engi](/manual-img/5/57398/w960_57398-3049.png)
CYLINDER BLOCK
EM-103
< DISASSEMBLY AND ASSEMBLY >
[HR16DE] C
D E
F
G H
I
J
K L
M A EM
NP
O
18. Install knock sensor (1).
• Install connectors so that they are positioned towards the rearof the engine.
CAUTION:
• Never tighten bolt while holding the connector.
• If any impact by dropping is applied to knock sensor,
replace it with a new one.
NOTE:
• Make sure that there is no foreign material on the cylinder block mating surface and the back surface of knock sensor.
• Make sure that knock sensor does not interfere with other parts.
19. Install crankshaft position sensor (POS) and cover. • Tighten bolts with it seated completely.
20. For the oil level gauge guide (1), fix the position (B) shown to the water inlet clip (A) after inserting to the cylinder block side.
21. Assembly is in the reverse order of disassembly after this step.
Inspection INFOID:0000000004784318
CRANKSHAFT END PLAY • Measure the clearance between thrust bearings and crankshaft arm when crankshaft is moved fully forward or backward with a dial
indicator (A).
• If the measured value exceeds the limit, replace thrust bearings, and measure again. If it still exceeds the limit, replace crankshaft
also.
CONNECTING ROD SIDE CLEARANCE • Measure the side clearance between connecting rod and crank- shaft arm with a feeler gauge (A).
• If the measured value exceeds the limit, replace connecting rod, and measure again. If it still exc eeds the standard, replace crank-
shaft also.
PISTON TO PISTON PIN OIL CLEARANCE
Piston Pin Hole Diameter : Engine front
PBIC3754E
PBIC3755E
Standard and Limit : Refer to
EM-121, " Cylinder Block " .
PBIC3762E
Standard : Refer to
EM-121, " Cylinder Block " .
PBIC3763E
Page 3051 of 4331
Cylinder Block " .
Cylinder Block " .
Cylinder Block " .
Standard and Limit : Refer to EM-121, " Cylinder
Block " .
Cylinder
Block " .
Page 3052 of 4331
EM
NP
O
• Check with a connecting rod aligner.
• If it exceeds the limit, replace connecting rod assembly.
CONNECTING ROD BIG END DIAMETER • Install connecting rod cap without connecting rod bearing installed, and tightening connecting rod bolts to the specified torque. Refer to EM-96, " Disassembly and Assembly " .
• Measure the inner diameter of connecting rod big end with an
inside micrometer.
• If out of the standard, replace connecting rod assembly.
CONNECTING ROD SMALL END CLEARANCE
Connecting Rod Small End Inner Diameter Measure the inner diameter of connecting rod small end with an
inside micrometer.
Piston Pin Outer Diameter Limit : Refer to
EM-121, " Cylinder Block " .
Cylinder Block " .
Cylinder Block " .
Page 3053 of 4331
Disassembly and Assembly " .
• Measure the position shown [5 mm (0.196 in) rearward from main bearing housing front side end surface) in the 2 directions as
shown. The smaller one is the measured value.
• If out of the standard, replace cylinder block and main bearing caps as an assembly.
NOTE:
These components cannot be replaced as a single unit, because they were processed together.
PISTON TO CYLINDER BORE CLEARANCE
Cylinder Bore Inner Diameter Standard : Refer to
EM-121, " Cylinder Block " .
Cylinder Block " .
Limit : Refer to EM-121, " Cylinder Block " .
Cylinder Block " .
Page 3054 of 4331

EM
NP
O
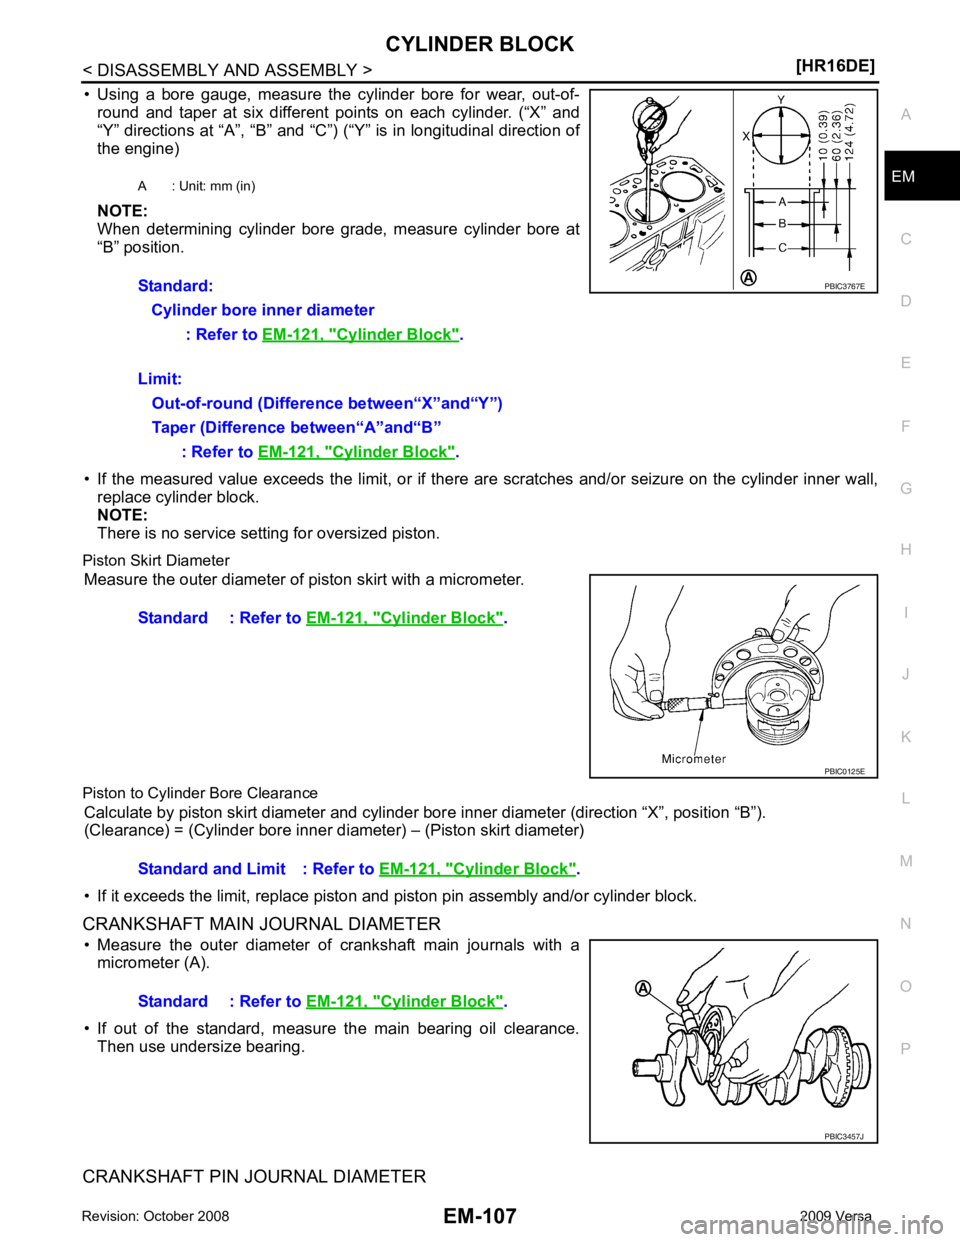
• Using a bore gauge, measure the cylinder bore for wear, out-of-
round and taper at six different points on each cylinder. (“X” and
“Y” directions at “A”, “B” and “C”) (“Y” is in longitudinal direction of
the engine)
NOTE:
When determining cylinder bore grade, measure cylinder bore at
“B” position.
• If the measured value exceeds the limit, or if there are scratches and/or seizure on the cylinder inner wall,
replace cylinder block.
NOTE:
There is no service setting for oversized piston.
Piston Skirt Diameter Measure the outer diameter of piston skirt with a micrometer.
Piston to Cylinder Bore Clearance Calculate by piston skirt diameter and cylinder bor e inner diameter (direction “X”, position “B”).
(Clearance) = (Cylinder bore inner di ameter) – (Piston skirt diameter)
• If it exceeds the limit, replace piston and piston pin assembly and/or cylinder block.
CRANKSHAFT MAIN JOURNAL DIAMETER • Measure the outer diameter of crankshaft main journals with a micrometer (A).
• If out of the standard, measure the main bearing oil clearance. Then use undersize bearing.
CRANKSHAFT PIN JOURNAL DIAMETER A : Unit: mm (in)
Standard: Cylinder bore inner diameter : Refer to EM-121, " Cylinder Block " .
Limit: Out-of-round (Difference between“X”and“Y”)
Taper (Difference between“A”and“B” : Refer to EM-121, " Cylinder Block " .
Cylinder Block " .
Cylinder Block " .
Standard : Refer to EM-121, " Cylinder Block " .
Page 3055 of 4331

Disassembly and Assembly " .
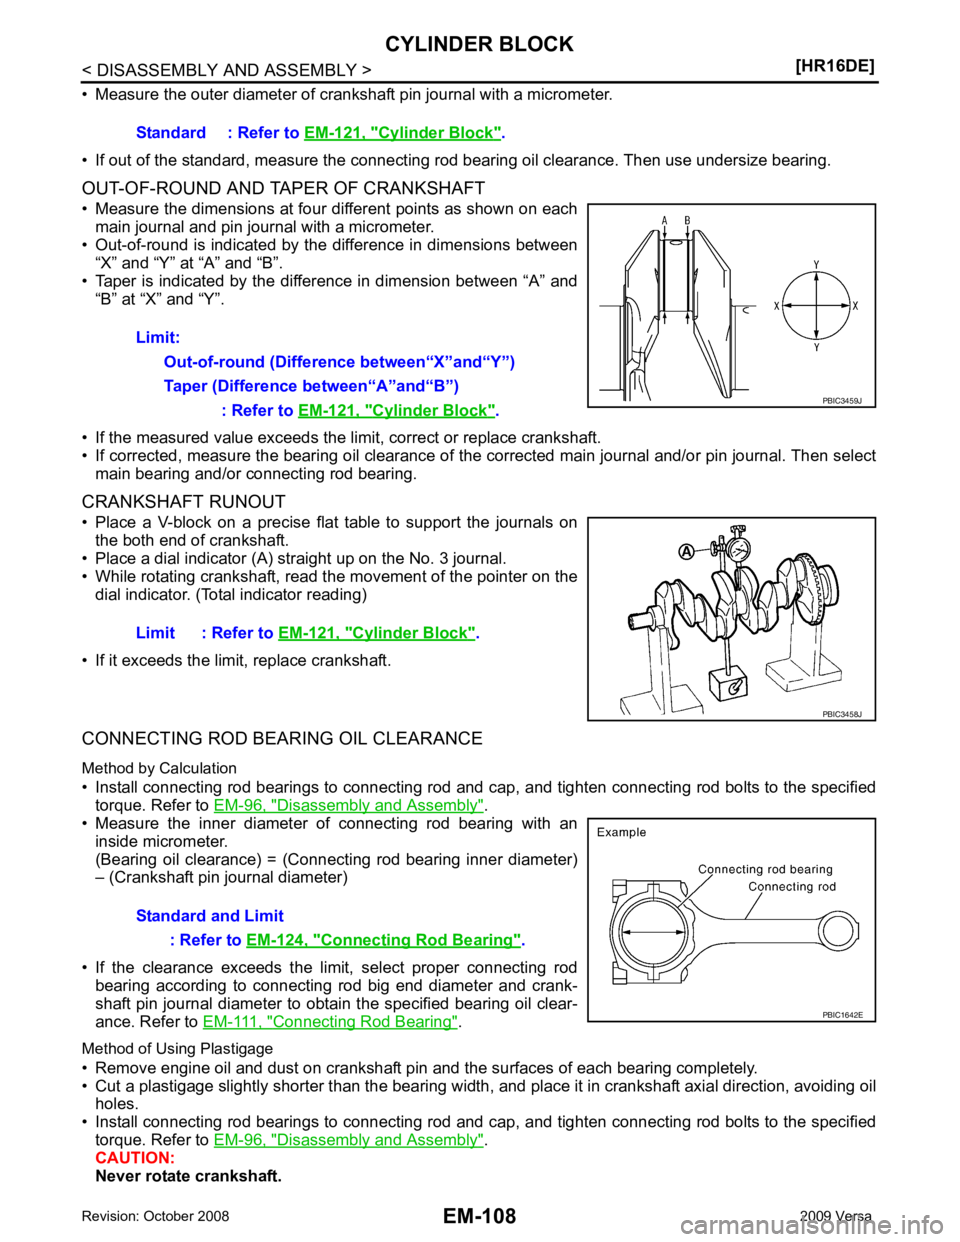
• Measure the inner diameter of connecting rod bearing with an
inside micrometer.
(Bearing oil clearance) = (Connecting rod bearing inner diameter)
– (Crankshaft pin journal diameter)
• If the clearance exceeds the limit, select proper connecting rod bearing according to connecting rod big end diameter and crank-
shaft pin journal diameter to obtain the specified bearing oil clear-
ance. Refer to EM-111, " Connecting Rod Bearing " .
Method of Using Plastigage
• Remove engine oil and dust on crankshaft pin and the surfaces of each bearing completely.
• Cut a plastigage slightly shorter than the bearing width, and place it in crankshaft axial direction, avoiding oil
holes.
• Install connecting rod bearings to connecting rod and c ap, and tighten connecting rod bolts to the specified
torque. Refer to EM-96, " Disassembly and Assembly " .
CAUTION:
Never rotate crankshaft. Standard : Refer to
EM-121, " Cylinder Block " .
Limit: Out-of-round (Difference between“X”and“Y”)
Taper (Difference between“A”and“B”) : Refer to EM-121, " Cylinder Block " .
Cylinder Block " .
Connecting Rod Bearing " .
Page 3056 of 4331

EM
NP
O
• Remove connecting rod cap and bearing, and using the scale on
the plastigage bag, measure the plastigage width.
NOTE:
The procedure when the measured value exceeds the limit is
same as that described in the “Method by Calculation”.
MAIN BEARING OIL CLEARANCE
Method by Calculation • Install main bearings to cylinder block and main bearing cap, and tighten main bearing cap bolts to the spec- ified torque. Refer to EM-96, " Disassembly and Assembly " .
• Measure the inner diameter of main bearing with a bore gauge.
(Bearing oil clearance) = (Main bearing inner diameter) – (Crank-
shaft main journal diameter)
• If the clearance exceeds the limit, select proper main bearing according to main bearing inner diameter and crankshaft main
journal diameter to obtain the specified bearing oil clearance.
Refer to EM-113, " Main Bearing " .
Method of Using Plastigage • Remove engine oil and dust on crankshaft main journal and the surfaces of each bearing completely.
• Cut a plastigage slightly shorter than the bearing width, and place it in crankshaft axial direction, avoiding oil
holes.
• Install main bearings to cylinder block and main bearing cap, and tighten main bearing cap bolts to the spec- ified torque. Refer to EM-96, " Disassembly and Assembly " .
CAUTION:
Never rotate crankshaft.
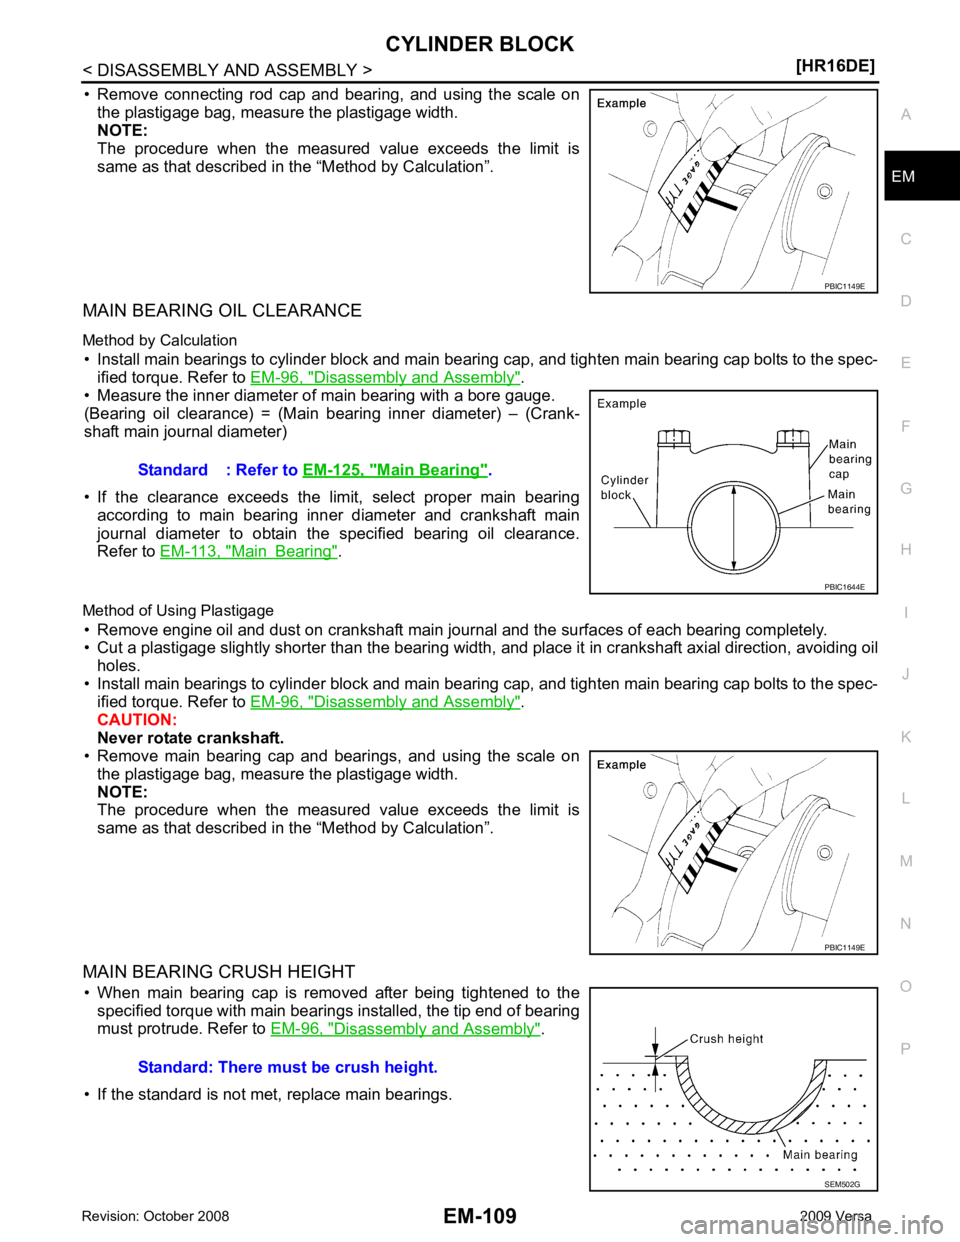
• Remove main bearing cap and bearings, and using the scale on
the plastigage bag, measure the plastigage width.
NOTE:
The procedure when the measured value exceeds the limit is
same as that described in the “Method by Calculation”.
MAIN BEARING CRUSH HEIGHT • When main bearing cap is removed after being tightened to the specified torque with main bearings installed, the tip end of bearing
must protrude. Refer to EM-96, " Disassembly and Assembly " .
• If the standard is not met, replace main bearings. Main Bearing " .
Page 3057 of 4331
![NISSAN TIIDA 2009 Service Repair Manual EM-110< DISASSEMBLY AND ASSEMBLY >
[HR16DE]
CYLINDER BLOCK
CONNECTING ROD BEARING CRUSH HEIGHT
• When connecting rod bearing cap is removed after being tightened to the specified torque with co NISSAN TIIDA 2009 Service Repair Manual EM-110< DISASSEMBLY AND ASSEMBLY >
[HR16DE]
CYLINDER BLOCK
CONNECTING ROD BEARING CRUSH HEIGHT
• When connecting rod bearing cap is removed after being tightened to the specified torque with co](/manual-img/5/57398/w960_57398-3056.png)
EM-110< DISASSEMBLY AND ASSEMBLY >
[HR16DE]
CYLINDER BLOCK
CONNECTING ROD BEARING CRUSH HEIGHT
• When connecting rod bearing cap is removed after being tightened to the specified torque with connecting rod bearings installed, the
tip end of bearing must protrude. Refer to EM-96, " Disassembly
and Assembly " .
• If the standard is not met, replace connecting rod bearings.
MAIN BEARING CAP BOLT OUTER DIAMETER
• Measure the outer diameters (“d 1”, “d 2”) at two positions as shown.
• If reduction appears in a position other than “d 2 ”, regard it as “d 2”.
• If it exceeds the limit (a large difference in dimensions), replace main bearing cap bolt with a new one.
CONNECTING ROD CAP BOLT OUTER DIAMETER
• Measure the outer diameter “d” at position as shown.
• If reduction appears in a position other than “d”, regard it as “d”.
• When “d” falls below the limit (when it becomes thinner), replace connecting rod cap bolt with a new one.
FLYWHEEL DEFLECTION
• Measure the deflection of flywheel contact surface to clutch with a
dial indicator.
• If measured value is out of the standard, replace flywheel. Standard: There must be crush height. PBIC1646E
Limit (“d
1”–“d 2”): 0.2 mm (0.008 in) PBIC3768E
Limit: 7.75 mm (0.3051 in)
PBIC3769E
Standard : 0.25 mm (0.0098 in) or less.
PBIC2646E