Page 667 of 3870
Fig. 212: General Specifications Table
Courtesy of MITSUBISHI MOTOR SALES OF AMERICA.
SERVICE SPECIFICATIONS Fig. 213: Service Specifications Table
Courtesy of MITSUBISHI MOTOR SALES OF AMERICA.
VALVE BODY SPRING IDENTIFICATION TABLE
2004 Mitsubishi Endeavor XLS
2004 TRANSMISSION Automatic Transaxle Overhaul - Endeavor
Page 686 of 3870
REMOVAL & INSTALLATION AXLE SHAFTS Removal & Installation For removal and installation of axle shafts, see Fig. 2
.
Fig. 2: Removing & Installing Axle Shafts
Courtesy of MITSUBISHI MOTOR SALES OF AMERICA.
Removal Service Points A. Using End Yoke Holder (MB990767), hold the hub and remove the axle shaft
nut. NOTE: See BASIC TROUBLE SHOOTING article in GENERAL
INFRMATION.
CAUTION: DO NOT apply pressure (by vehicle weight) to
wheel bearing before tightening axle shaft nut.
CAUTION: DO NOT pull on the axle shaft, doing so will
2004 Mitsubishi Endeavor LS
2004 DRIVE AXLES Axle Shafts - Rear - Endeavor
Page 688 of 3870
Fig. 3: Identifying Spacer (MB991000 Or MB990998) & Front Hub Remover & Installer (MB991017)
Courtesy of MITSUBISHI MOTOR SALES OF AMERICA.
Installation Service Points A. When installing the axle shaft, be careful that the splined part of the axle shaft
does not damage the oil seal.
B. Assemble the axle shaft washer as shown. See Fig. 4
. Tighten the axle shaft
nut. See TORQUE SPECIFICATIONS
.
Fig. 4: Removing Washer & Axle Shaft Nut
Courtesy of MITSUBISHI MOTOR SALES OF AMERICA.
CAUTION: DO NOT apply pressure (by vehicle weight) to
wheel bearing before tightening axle shaft nut.
2004 Mitsubishi Endeavor LS
2004 DRIVE AXLES Axle Shafts - Rear - Endeavor
Page 690 of 3870
Fig. 5: Exploded View Of Axle Shafts
Courtesy of MITSUBISHI MOTOR SALES OF AMERICA.
Disassembl
y Service Points
2004 Mitsubishi Endeavor LS
2004 DRIVE AXLES Axle Shafts - Rear - Endeavor
Page 692 of 3870
Fig. 7: Removing Double Offset Joint (DOJ) Cage
Courtesy of MITSUBISHI MOTOR SALES OF AMERICA.
Reassembly Service Points
CAUTION: DO NOT mix old, new, or different types of
grease, as a special grease is used in the joint.
CAUTION: In order to fill specified amount of air inside the
BJ boot, keep the bent angle of the axle shaft to 0
degrees during the operation.
NOTE: The grease in the repair kit should be divided in half for
use, respectively, at the joint and inside the boot.
2004 Mitsubishi Endeavor LS
2004 DRIVE AXLES Axle Shafts - Rear - Endeavor
Page 695 of 3870
2004 ELECTRICAL
Battery - Endeavor
BATTERY ON-VEHICLE SERVICE BATTERY CHECK
BATTERY VISUAL INSPECTION (1) 1. Ensure that the battery electrolyte level is between A and B shown in the
figure. Add if the level is lower than the specified range.
2. Use a hydrometer and temperature gauge to check the specific gravity of the
electrolyte.
Standard value:
1.220 - 1.290 [at 20°C (68°F)]
The specific gravity of electrolyte depends on its temperature. Use the formula
below to determine the proper value.
Conversion on centigrade
D20 =(t - 20) x 0.0007 + Dt
Conversion on Fahrenheit
D20 =(t - 68) x 0.0007 + Dt
D20 : Specific gravity as if electrolyte temperature is 20°C (68°F)
WARNING:Battery posts, terminals and related accessories
contain lead and lead compounds. WASH HANDS
AFTER HANDLING.
2004 Mitsubishi Endeavor Limited 2004 ELECTRICAL Battery - Endeavor
2004 Mitsubishi Endeavor Limited 2004 ELECTRICAL Battery - Endeavor
Page 701 of 3870

2004 BRAKES
Basic Brake System - Endeavor
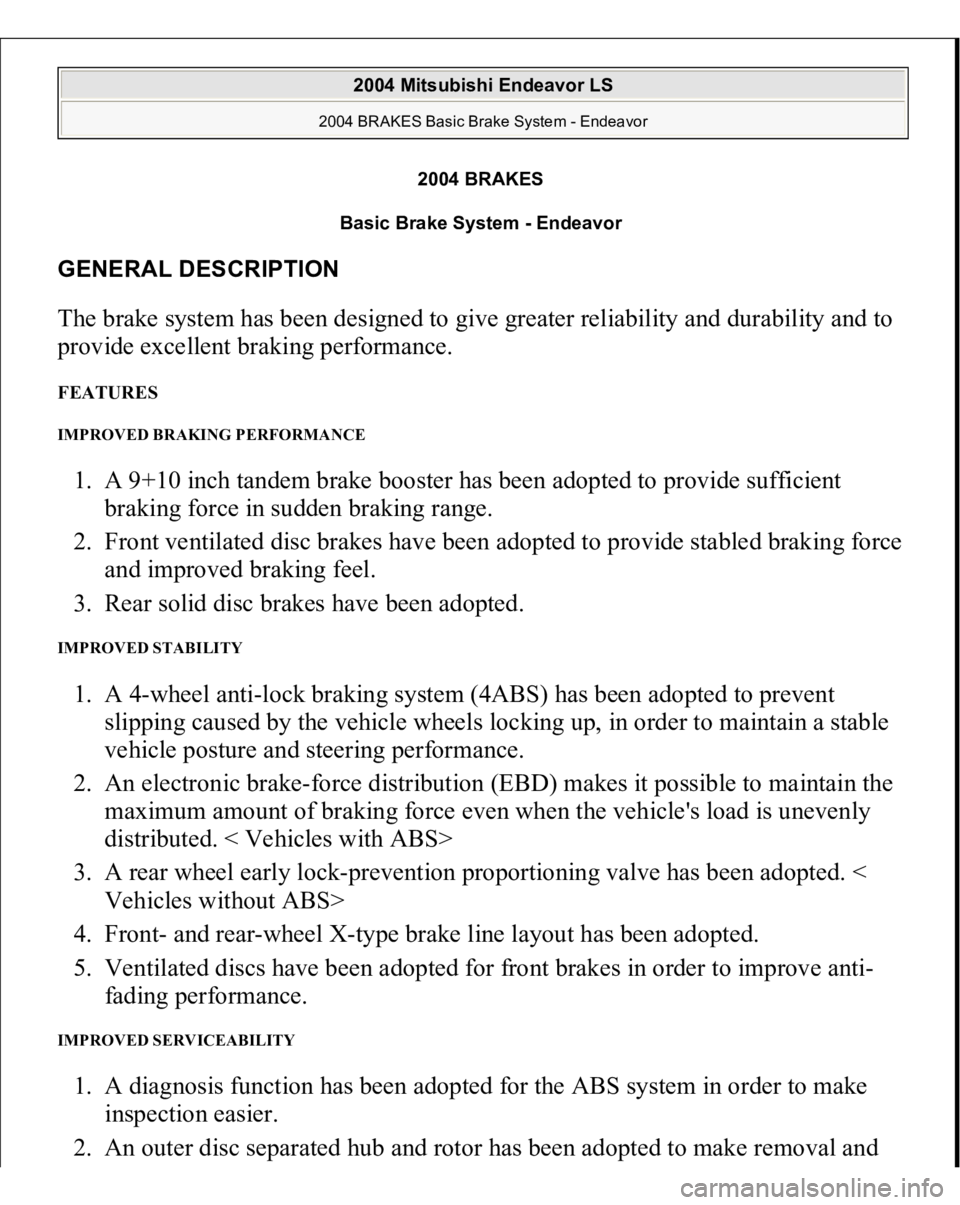
GENERAL DESCRIPTION The brake system has been designed to give greater reliability and durability and to
provide excellent braking performance. FEATURES IMPROVED BRAKING PERFORMANCE 1. A 9+10 inch tandem brake booster has been adopted to provide sufficient
braking force in sudden braking range.
2. Front ventilated disc brakes have been adopted to provide stabled braking force
and improved braking feel.
3. Rear solid disc brakes have been adopted. IMPROVED STABILITY 1. A 4-wheel anti-lock braking system (4ABS) has been adopted to prevent
slipping caused by the vehicle wheels locking up, in order to maintain a stable
vehicle posture and steering performance.
2. An electronic brake-force distribution (EBD) makes it possible to maintain the
maximum amount of braking force even when the vehicle's load is unevenly
distributed. < Vehicles with ABS>
3. A rear wheel early lock-prevention proportioning valve has been adopted. <
Vehicles without ABS>
4. Front- and rear-wheel X-type brake line layout has been adopted.
5. Ventilated discs have been adopted for front brakes in order to improve anti-
fading performance. IMPROVED SERVICEABILITY 1. A diagnosis function has been adopted for the ABS system in order to make
inspection easier.
2. An outer disc separated hub and rotor has been adopted to make removal and
2004 Mitsubishi Endeavor LS
2004 BRAKES Basic Brake System - Endeavor
2004 Mitsubishi Endeavor LS
2004 BRAKES Basic Brake System - Endeavor
Page 716 of 3870

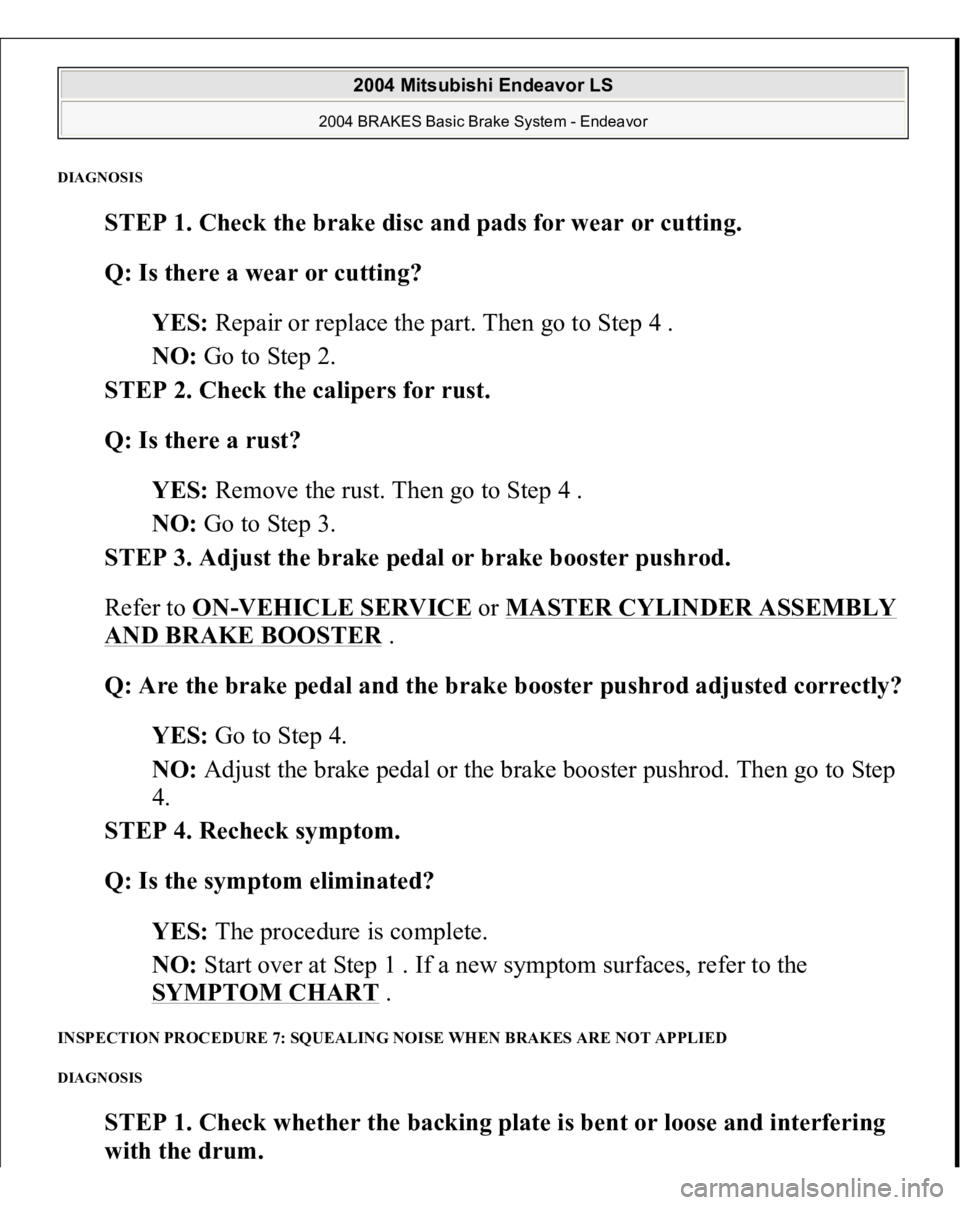
DIAGNOSI
S
STEP 1. Check the brake disc and pads for wear or cutting.
Q: Is there a wear or cutting?
YES: Repair or replace the part. Then go to Step 4 .
NO: Go to Step 2.
STEP 2. Check the calipers for rust.
Q: Is there a rust?
YES: Remove the rust. Then go to Step 4 .
NO: Go to Step 3.
STEP 3. Adjust the brake pedal or brake booster pushrod.
Refer to ON
-VEHICLE SERVICE
or MASTER CYLINDER ASSEMBLY
AND BRAKE BOOSTER
.
Q: Are the brake pedal and the brake booster pushrod adjusted correctly?
YES: Go to Step 4.
NO: Adjust the brake pedal or the brake booster pushrod. Then go to Step
4.
STEP 4. Recheck symptom.
Q: Is the symptom eliminated?
YES: The procedure is complete.
NO: Start over at Step 1 . If a new symptom surfaces, refer to the
SYMPTOM CHART .
INSPECTION PROCEDURE 7: SQUEALING NOISE WHEN BRAKES ARE NOT APPLIED DIAGNOSIS
STEP 1. Check whether the backing plate is bent or loose and interfering
with the drum
.
2004 Mitsubishi Endeavor LS
2004 BRAKES Basic Brake System - Endeavor