Page 2785 of 3502

HEADLAMP AIMING CONTROL (AUTO)
LT-97
C
D
E
F
G
H
I
J
L
MA
B
LT
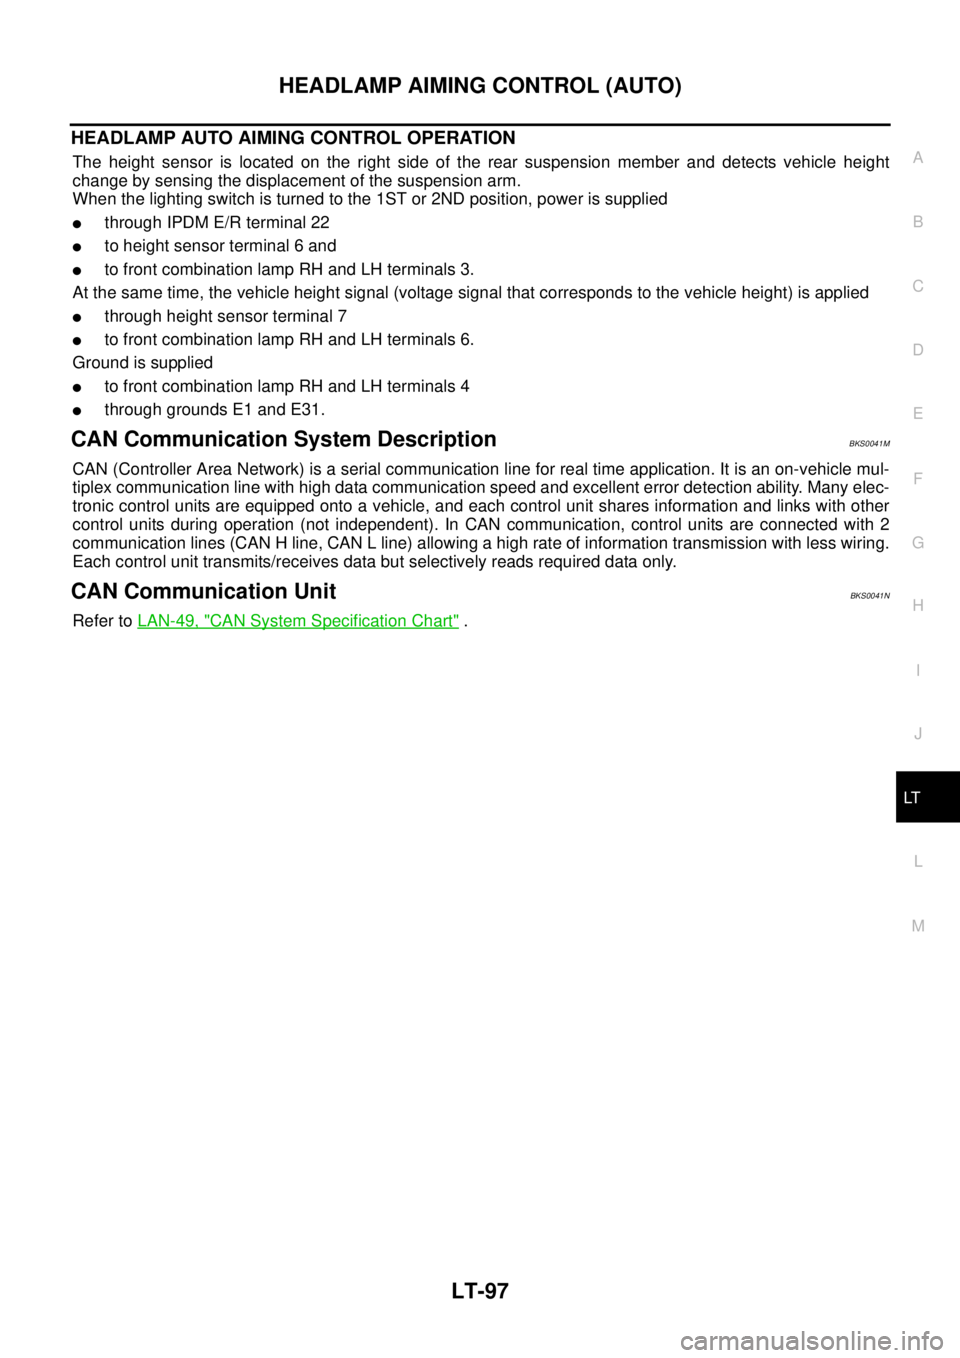
HEADLAMP AUTO AIMING CONTROL OPERATION
The height sensor is located on the right side of the rear suspension member and detects vehicle height
change by sensing the displacement of the suspension arm.
When the lighting switch is turned to the 1ST or 2ND position, power is supplied
�through IPDM E/R terminal 22
�to height sensor terminal 6 and
�to front combination lamp RH and LH terminals 3.
At the same time, the vehicle height signal (voltage signal that corresponds to the vehicle height) is applied
�through height sensor terminal 7
�to front combination lamp RH and LH terminals 6.
Ground is supplied
�to front combination lamp RH and LH terminals 4
�through grounds E1 and E31.
CAN Communication System DescriptionBKS0041M
CAN (Controller Area Network) is a serial communication line for real time application. It is an on-vehicle mul-
tiplex communication line with high data communication speed and excellent error detection ability. Many elec-
tronic control units are equipped onto a vehicle, and each control unit shares information and links with other
control units during operation (not independent). In CAN communication, control units are connected with 2
communication lines (CAN H line, CAN L line) allowing a high rate of information transmission with less wiring.
Each control unit transmits/receives data but selectively reads required data only.
CAN Communication UnitBKS0041N
Refer to LAN-49, "CAN System Specification Chart" .
Page 2786 of 3502
LT-98
HEADLAMP AIMING CONTROL (AUTO)
SchematicBKS002BB
TKWM4581E
Page 2787 of 3502
HEADLAMP AIMING CONTROL (AUTO)
LT-99
C
D
E
F
G
H
I
J
L
MA
B
LT
Wiring Diagram — H/AIM —BKS002BC
TKWM4582E
Page 2788 of 3502
LT-100
HEADLAMP AIMING CONTROL (AUTO)
TKWM4583E
Page 2789 of 3502
HEADLAMP AIMING CONTROL (AUTO)
LT-101
C
D
E
F
G
H
I
J
L
MA
B
LT
TKWM4584E
Page 2790 of 3502
LT-102
HEADLAMP AIMING CONTROL (AUTO)
TKWM4585E
Page 2791 of 3502

HEADLAMP AIMING CONTROL (AUTO)
LT-103
C
D
E
F
G
H
I
J
L
MA
B
LT
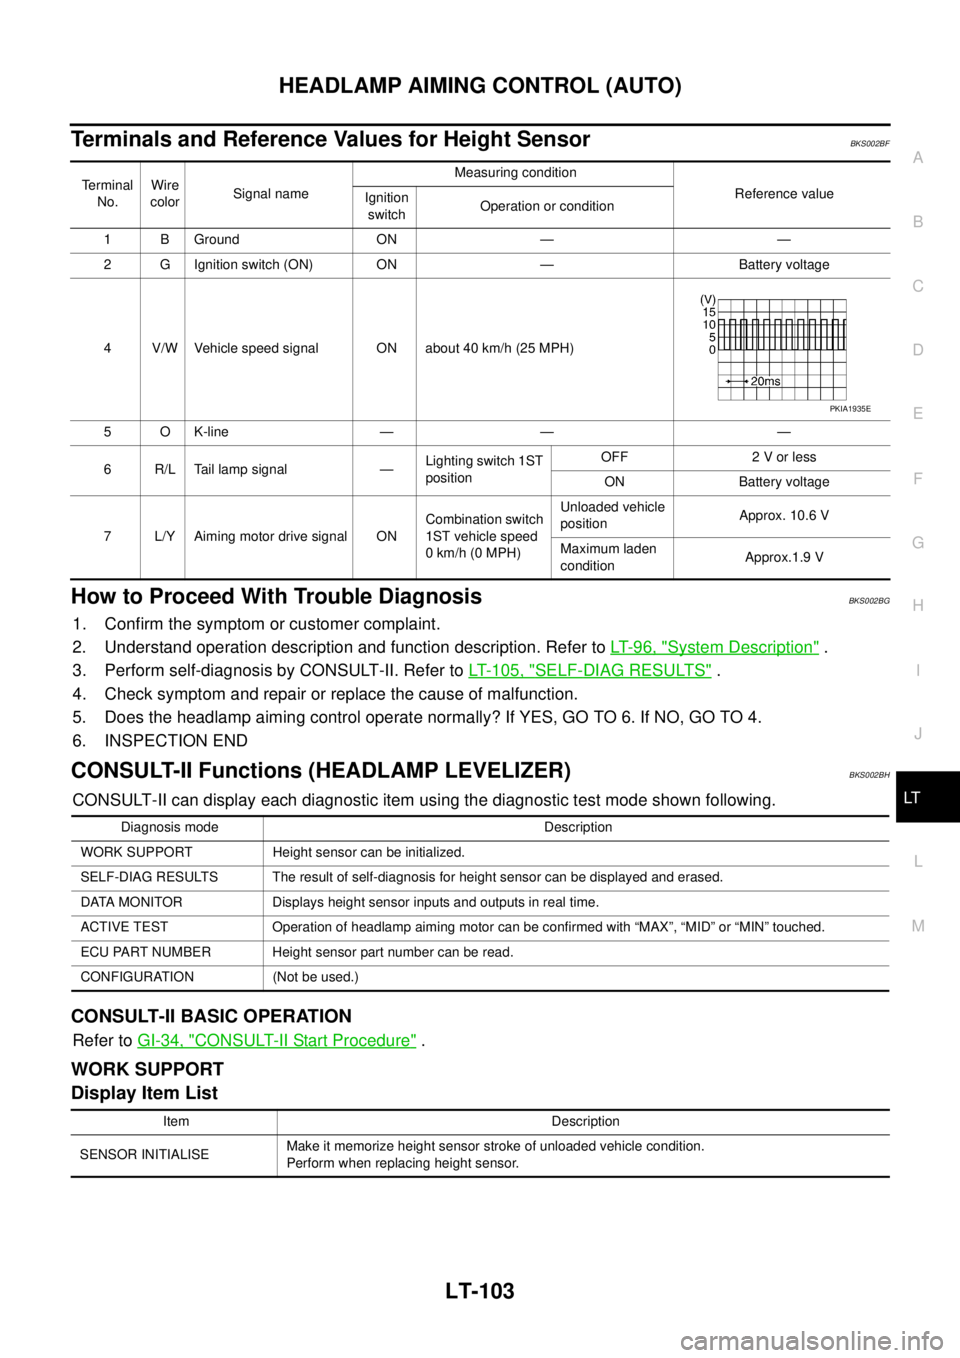
Terminals and Reference Values for Height SensorBKS002BF
How to Proceed With Trouble DiagnosisBKS002BG
1. Confirm the symptom or customer complaint.
2. Understand operation description and function description. Refer to LT- 9 6 , "
System Description" .
3. Perform self-diagnosis by CONSULT-II. Refer to LT- 1 0 5 , "
SELF-DIAG RESULTS" .
4. Check symptom and repair or replace the cause of malfunction.
5. Does the headlamp aiming control operate normally? If YES, GO TO 6. If NO, GO TO 4.
6. INSPECTION END
CONSULT-II Functions (HEADLAMP LEVELIZER)BKS002BH
CONSULT-II can display each diagnostic item using the diagnostic test mode shown following.
CONSULT-II BASIC OPERATION
Refer to GI-34, "CONSULT-II Start Procedure" .
WORK SUPPORT
Display Item List
Terminal
No.Wire
colorSignal nameMeasuring condition
Reference value
Ignition
switchOperation or condition
1 B Ground ON — —
2 G Ignition switch (ON) ON — Battery voltage
4 V/W Vehicle speed signal ON about 40 km/h (25 MPH)
5OK-line — — —
6 R/L Tail lamp signal —Lighting switch 1ST
positionOFF 2 V or less
ON Battery voltage
7 L/Y Aiming motor drive signal ONCombination switch
1ST vehicle speed
0 km/h (0 MPH)Unloaded vehicle
positionApprox. 10.6 V
Maximum laden
conditionApprox.1.9 V
PKIA1935E
Diagnosis mode Description
WORK SUPPORT Height sensor can be initialized.
SELF-DIAG RESULTS The result of self-diagnosis for height sensor can be displayed and erased.
DATA MONITOR Displays height sensor inputs and outputs in real time.
ACTIVE TEST Operation of headlamp aiming motor can be confirmed with “MAX”, “MID” or “MIN” touched.
ECU PART NUMBER Height sensor part number can be read.
CONFIGURATION (Not be used.)
Item Description
SENSOR INITIALISEMake it memorize height sensor stroke of unloaded vehicle condition.
Perform when replacing height sensor.
Page 2792 of 3502

LT-104
HEADLAMP AIMING CONTROL (AUTO)
Operation Procedure
1. Set the vehicle in unladen condition. (Removal all loads in driver, passenger and trunk rooms.)
2. Touch “HEAD LAMP LEVELIZER” on “SELECT SYSTEM” screen.
3. Touch “WORK SUPPORT” on “SELECT DIAG MODE” screen.
4. Touch “SENSOR INITIALISE”.
5. Touch “WRITE”.
6. “INITIALISE COMPLETE” will be displayed.
7. Touch “END”.
Instruction of initialized results
DATA MONITOR
Operation Procedure
1. Touch “HEADLAMP LEVELIZER” on “SELECT SYSTEM” screen.
2. Touch “DATA MONITOR” on “SELECT DIAG MODE” screen.
3. Touch either “ALL SIGNALS” or “SELECTION FROM MENU” on “SELECT MONITOR ITEM” screen.
4. When “ALL SIGNALS” is selected, all the items will be monitored. When “SELECTION FROM MENU” is
selected, touch items to be monitored.
5. Touch “START”.
6. Touch “RECORD” while monitoring, then the status of the monitored item can be recorded. To stop
recording, touch “STOP”.
Display Item List
NOTE:
This item is displayed, but does not function.Item Description of indications
INITIALISE COMPLETE Initialization completed.
INCORRECT CONDITION Improper condition. (Wrong connection of height sensor connector or CONSULT-II connector.)
NO CAR TYPE SELECT Program error of the height sensor.
INITIALISE NOT DONE Initialization uncompleted.
ALL SIGNALS Monitors all the signals.
SELECTION FROM MENU Selects items and monitors them.
Monitor item Contents
INT SENSOR VALUE “%”The ratio between the maximum sensor lever angle which the height sensor can recognize and the
current sensor angle is displayed.
ACT OUTPUT “%”The ratio between the headlamp aiming motor drive signal voltage calculated by the height sensor
and the height sensor power supply voltage is displayed.
ACT MEASURED “%”The ratio between the headlamp aiming motor drive signal voltage and the height sensor power sup-
ply voltage is displayed.
SPEED SIG “km/h” Vehicle speed calculated from the vehicle speed signal (8-pulse) is displayed.
LIGHT SIGNAL “V”The condition either “headlamp low beam ON (power supply voltage) ” or “headlamp low beam OFF
(2 V or less)” judged from the headlamp low signal is displayed.
INT SEN VOLT “V” The condition of IGN power supply is displayed.
EXT SEN VOLT
NOTE“V” —
EXT SEN SIG
NOTE“V” —