Page 49 of 246

CONNECT Nav
48
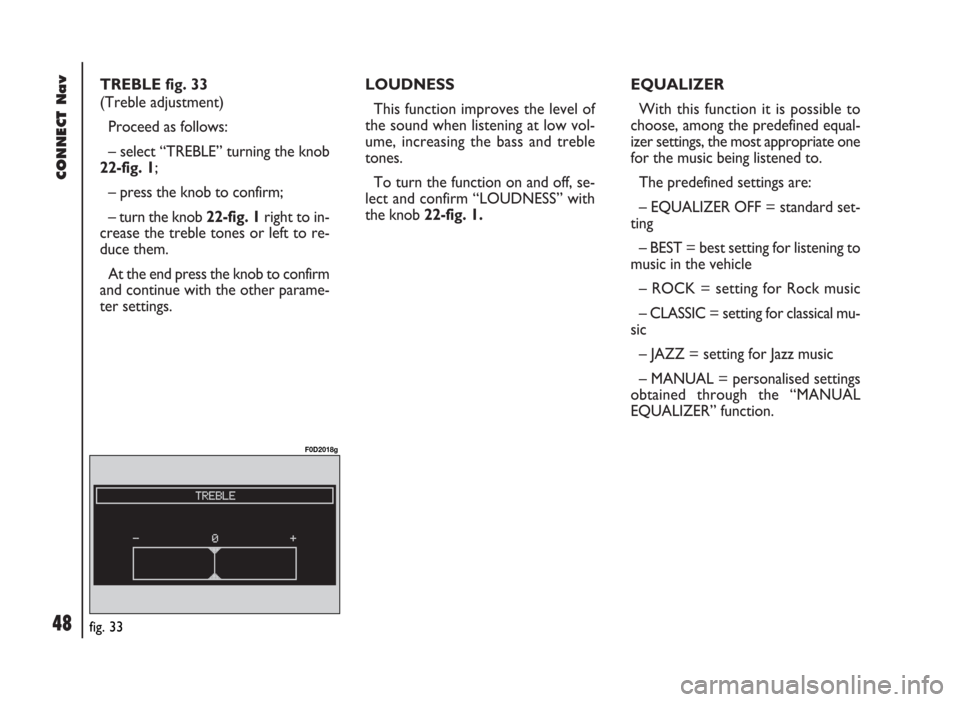
TREBLE fig. 33
(Treble adjustment)
Proceed as follows:
– select “TREBLE” turning the knob
22-fig. 1;
– press the knob to confirm;
– turn the knob 22-fig. 1right to in-
crease the treble tones or left to re-
duce them.
At the end press the knob to confirm
and continue with the other parame-
ter settings. LOUDNESS
This function improves the level of
the sound when listening at low vol-
ume, increasing the bass and treble
tones.
To turn the function on and off, se-
lect and confirm “LOUDNESS” with
the knob 22-fig. 1. EQUALIZER
With this function it is possible to
choose, among the predefined equal-
izer settings, the most appropriate one
for the music being listened to.
The predefined settings are:
– EQUALIZER OFF = standard set-
ting
– BEST = best setting for listening to
music in the vehicle
– ROCK = setting for Rock music
– CLASSIC = setting for classical mu-
sic
– JAZZ = setting for Jazz music
– MANUAL = personalised settings
obtained through the “MANUAL
EQUALIZER” function.
fig. 33
F0D2018g
Page 50 of 246

49
CONNECT Nav
To activate the chosen setting, pro-
ceed as follows:
– select and confirm “EQUALIZER”
rotating and pressing the knob 22-
fig. 1;
– turn and press the knob for the re-
quired setting.
A change in the treble and bass set-
ting (Treble/Bass) will turn off the
equalizer.MANUAL EQUALIZER
This function allows manual adjust-
ment of the 5 equalizer frequency
bands and deactivates the treble and
bass settings (Treble/Bass).
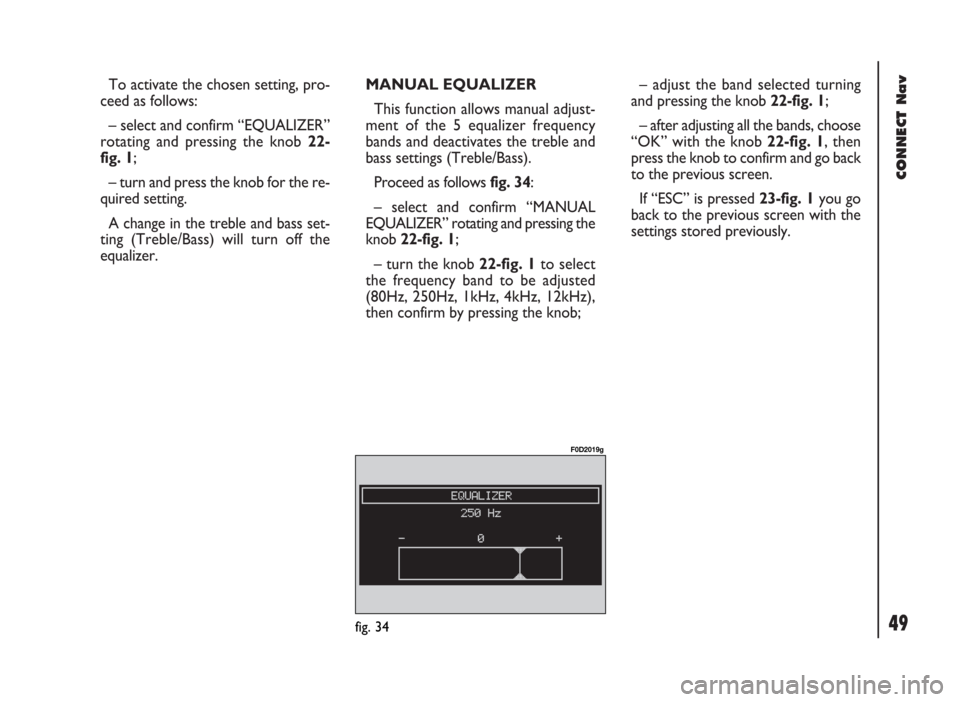
Proceed as follows fig. 34:
– select and confirm “MANUAL
EQUALIZER” rotating and pressing the
knob 22-fig. 1;
– turn the knob 22-fig. 1to select
the frequency band to be adjusted
(80Hz, 250Hz, 1kHz, 4kHz, 12kHz),
then confirm by pressing the knob;– adjust the band selected turning
and pressing the knob 22-fig. 1;
– after adjusting all the bands, choose
“OK” with the knob 22-fig. 1, then
press the knob to confirm and go back
to the previous screen.
If “ESC” is pressed 23-fig. 1you go
back to the previous screen with the
settings stored previously.
fig. 34
F0D2019g
Page 51 of 246

CONNECT Nav
50
AUTO VOL. CONT.
(volume changing with speed)
With the “AUTO VOL. CONT.”
function it is possible to automatical-
ly adjust the radio volume level to the
speed of the vehicle, increasing it as
the speed increases to maintain the
correct ratio with the noise level in
the passenger compartment.
The adjustment levels available are:
– OFF (function off)
– 1 (MIN) (min. volume)
– 2
– 3
– 4
– 5
– 6
– 7 (MAX) (max. volume).
To turn the function on/off or enter
the setting, proceed as follows:– select and confirm “AUTO VOL.
CONT.” rotating and pressing the
knob 22-fig. 1;
– turn the knob 22-fig. 1to select a
setting or turn the function off, then
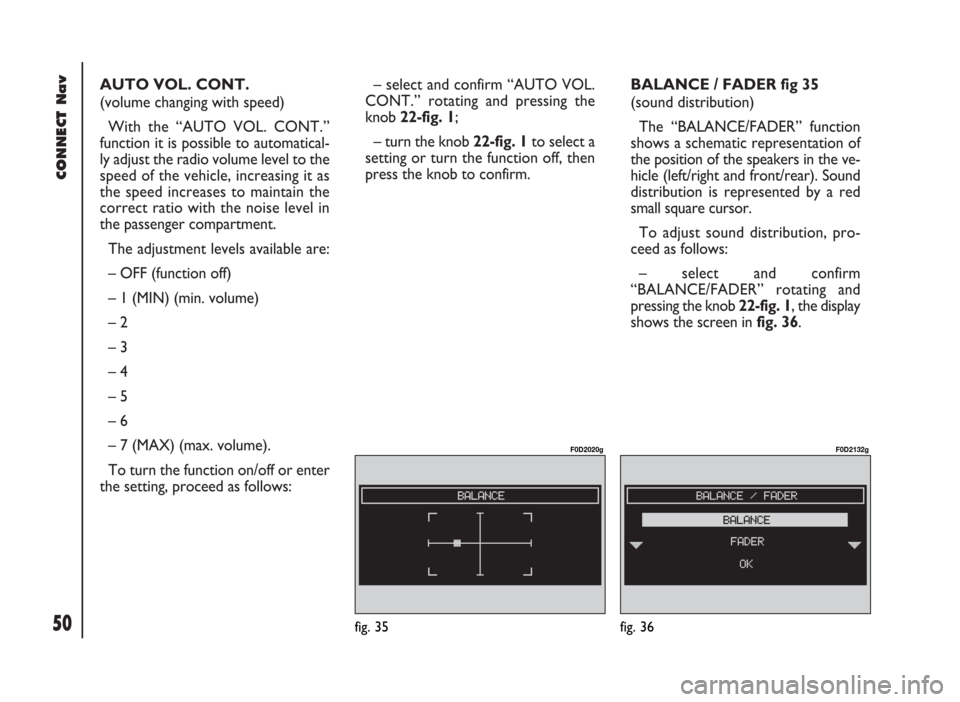
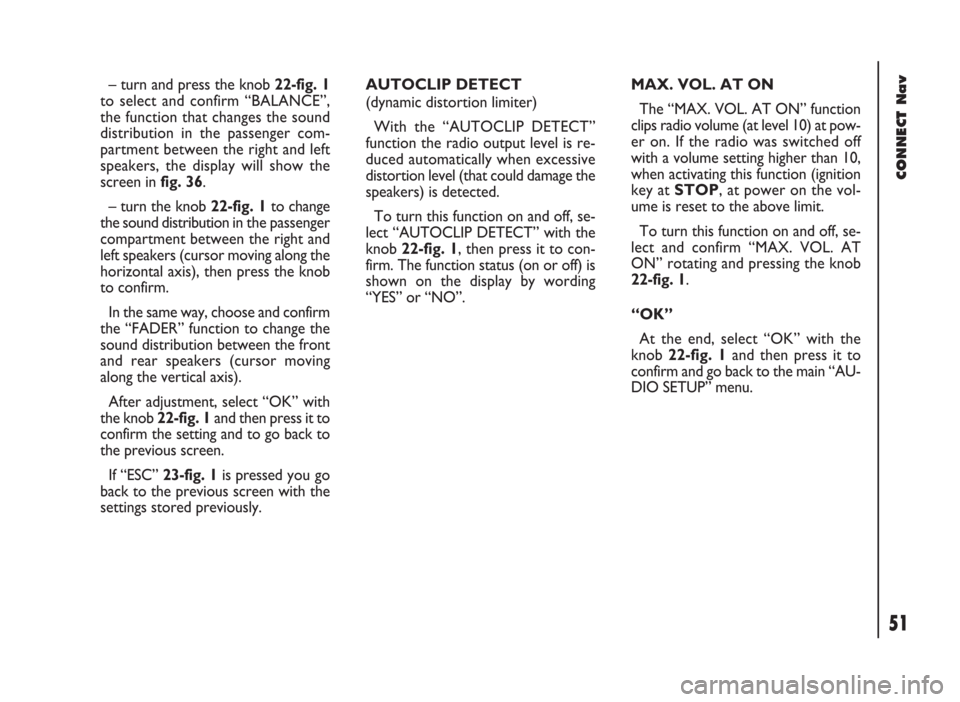
press the knob to confirm.BALANCE / FADER fig 35
(sound distribution)
The “BALANCE/FADER” function
shows a schematic representation of
the position of the speakers in the ve-
hicle (left/right and front/rear). Sound
distribution is represented by a red
small square cursor.
To adjust sound distribution, pro-
ceed as follows:
– select and confirm
“BALANCE/FADER” rotating and
pressing the knob 22-fig. 1, the display
shows the screen in fig. 36.
fig. 36
F0D2132g
fig. 35
F0D2020g
Page 52 of 246

51
CONNECT Nav
– turn and press the knob 22-fig. 1
to select and confirm “BALANCE”,
the function that changes the sound
distribution in the passenger com-
partment between the right and left
speakers, the display will show the
screen in fig. 36.
– turn the knob 22-fig. 1to change
the sound distribution in the passenger
compartment between the right and
left speakers (cursor moving along the
horizontal axis), then press the knob
to confirm.
In the same way, choose and confirm
the “FADER” function to change the
sound distribution between the front
and rear speakers (cursor moving
along the vertical axis).
After adjustment, select “OK” with
the knob 22-fig. 1and then press it to
confirm the setting and to go back to
the previous screen.
If “ESC” 23-fig. 1is pressedyou go
back to the previous screen with the
settings stored previously.AUTOCLIP DETECT
(dynamic distortion limiter)
With the “AUTOCLIP DETECT”
function the radio output level is re-
duced automatically when excessive
distortion level (that could damage the
speakers) is detected.
To turn this function on and off, se-
lect “AUTOCLIP DETECT” with the
knob 22-fig. 1, then press it to con-
firm. The function status (on or off) is
shown on the display by wording
“YES” or “NO”.MAX. VOL. AT ON
The “MAX. VOL. AT ON” function
clips radio volume (at level 10) at pow-
er on. If the radio was switched off
with a volume setting higher than 10,
when activating this function (ignition
key at STOP, at power on the vol-
ume is reset to the above limit.
To turn this function on and off, se-
lect and confirm “MAX. VOL. AT
ON” rotating and pressing the knob
22-fig. 1.
“OK”
At the end, select “OK” with the
knob 22-fig. 1and then press it to
confirm and go back to the main “AU-
DIO SETUP” menu.
Page 53 of 246

CONNECT Nav
52
MP3 MODE
To guarantee optimum playing, use
top quality CDs duplicated at as low
as possible speed.
The system can recognize the type
of Compact Disc inserted.
During the reading procedure to rec-
ognize the disk the display shows
“WARNING - Reading CD. Please
wait” and then “Exploring MP3..”.
IMPORTANTNever use 8 cm au-
dio or MP3 CDs, even with the spe-
cific adapter, since this format will
damage the system.
IMPORTANTThe system builds
MP3 CD folder-organized structure of
files; folders are organized in sequence
with their own mp3 tracks (up to max.
four levels of folders/subdirectories).
Folder and file name length shall not ex-
ceed 20 characters.
Characters: blank, ‘(apostrophe), (
and )(open and closed brackets) are
not admitted in track names.When creating MP3 CD you must not
use these characters to name files oth-
erwise the system will not be able to
play it.
Since a full MP3 CD could hypotheti-
cally include thousands of MP3 files, a
999 music pieces limit is imposed by the
system. If the user inserts a MP3 CD
which has more than 999 tracks (files)
in it, then only the first 999 files will be
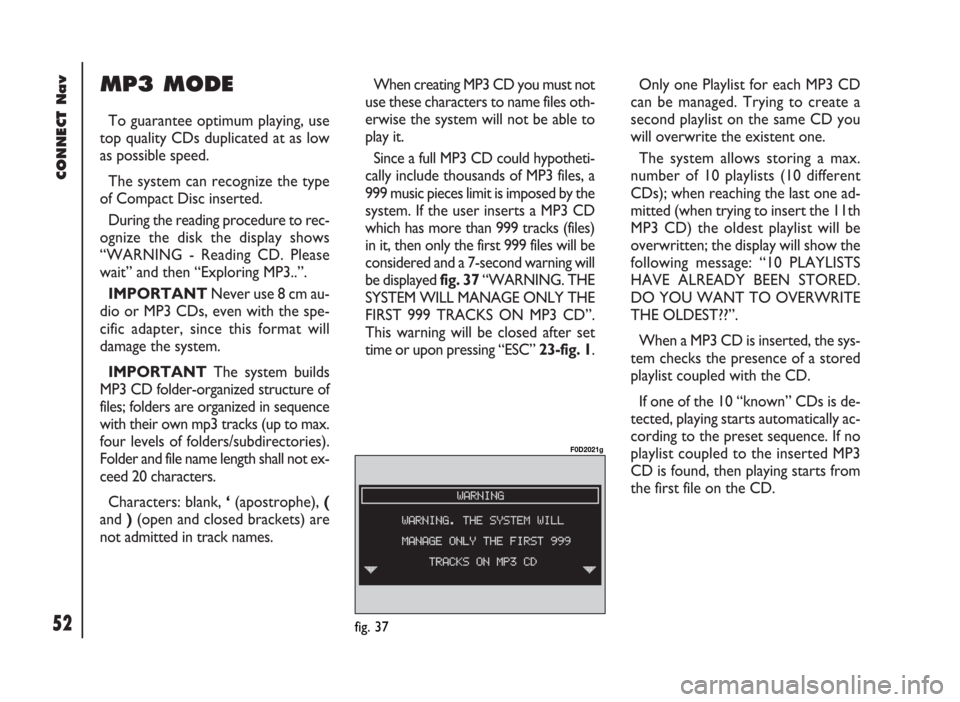
considered and a 7-second warning will
be displayed fig. 37 “WARNING. THE
SYSTEM WILL MANAGE ONLY THE
FIRST 999 TRACKS ON MP3 CD”.
This warning will be closed after set
time or upon pressing “ESC” 23-fig. 1.Only one Playlist for each MP3 CD
can be managed. Trying to create a
second playlist on the same CD you
will overwrite the existent one.
The system allows storing a max.
number of 10 playlists (10 different
CDs); when reaching the last one ad-
mitted (when trying to insert the 11th
MP3 CD) the oldest playlist will be
overwritten; the display will show the
following message: “10 PLAYLISTS
HAVE ALREADY BEEN STORED.
DO YOU WANT TO OVERWRITE
THE OLDEST??”.
When a MP3 CD is inserted, the sys-
tem checks the presence of a stored
playlist coupled with the CD.
If one of the 10 “known” CDs is de-
tected, playing starts automatically ac-
cording to the preset sequence. If no
playlist coupled to the inserted MP3
CD is found, then playing starts from
the first file on the CD.
fig. 37
F0D2021g
Page 54 of 246

53
CONNECT Nav
IMPORTANTTechnical data and
operating conditions for MP3 files:
– sampling frequencies are: 44.1 kHz,
stereo (96 to 320 kbit/s) - 22.05 kHz,
mono or stereo (32 to 80 kbit/s);
– it is possible to play variable bit-rate
tracks (files);
– compatibility with multi-session
CDs, in this case only the first CD ses-
sion will be read;
– reading compatibility with CD-RW;
– MP3 CDs shall have ISO 9660 for-
mat;– incompatibility with ID3TAG-2;
– incompatibility with packet writing
CDs (DirectCD
TMor INCDTM);
– files in WMA
TMor Atrac3TMre-
named as .mp3, cannot be played.
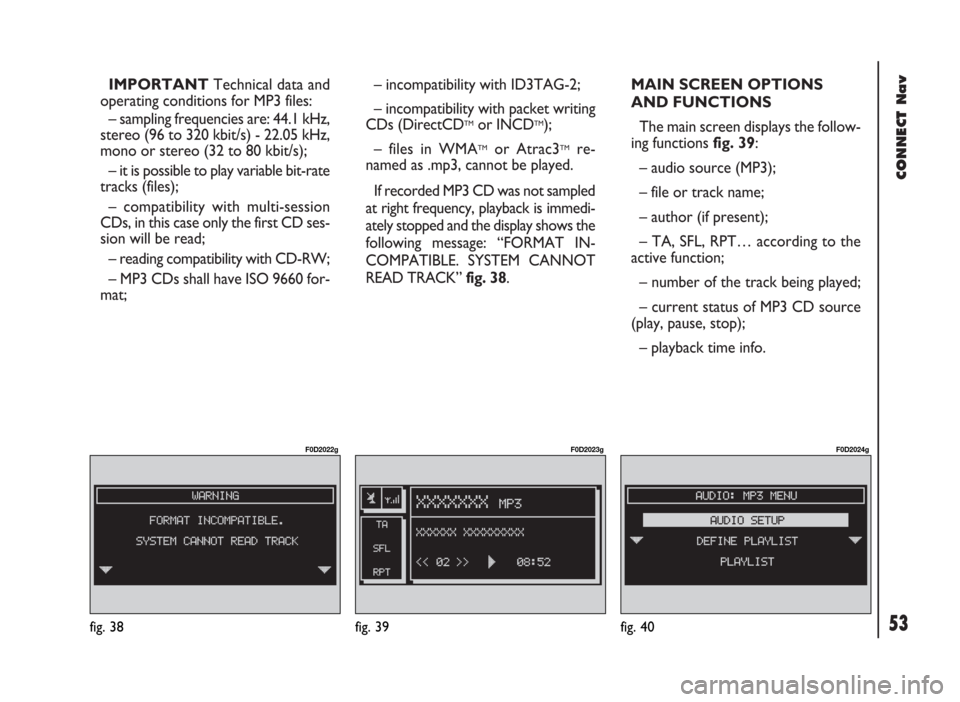
If recorded MP3 CD was not sampled
at right frequency, playback is immedi-
ately stopped and the display shows the
following message: “FORMAT IN-
COMPATIBLE. SYSTEM CANNOT
READ TRACK” fig. 38.MAIN SCREEN OPTIONS
AND FUNCTIONS
The main screen displays the follow-
ing functions fig. 39:
– audio source (MP3);
– file or track name;
– author (if present);
– TA, SFL, RPT… according to the
active function;
– number of the track being played;
– current status of MP3 CD source
(play, pause, stop);
– playback time info.
fig. 39
F0D2023g
fig. 40
F0D2024g
fig. 38
F0D2022g
Page 55 of 246

CONNECT Nav
54
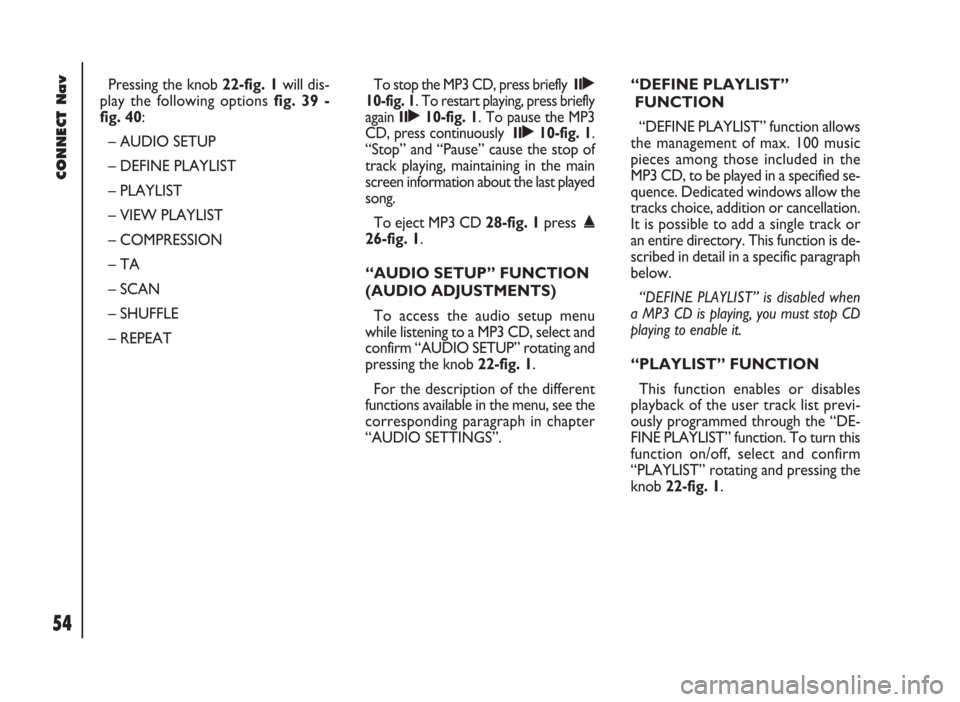
Pressing the knob 22-fig. 1will dis-
play the following options fig. 39 -
fig. 40:
– AUDIO SETUP
– DEFINE PLAYLIST
– PLAYLIST
– VIEW PLAYLIST
– COMPRESSION
– TA
– SCAN
– SHUFFLE
– REPEATTo stop the MP3 CD, press briefly II˙
10-fig. 1. To restart playing, press briefly
again II˙10-fig. 1. To pause the MP3
CD, press continuously II˙10-fig. 1.
“Stop” and “Pause” cause the stop of
track playing, maintaining in the main
screen information about the last played
song.
To eject MP3 CD 28-fig. 1press ˚
26-fig. 1.
“AUDIO SETUP” FUNCTION
(AUDIO ADJUSTMENTS)
To access the audio setup menu
while listening to a MP3 CD, select and
confirm “AUDIO SETUP” rotating and
pressing the knob 22-fig. 1.
For the description of the different
functions available in the menu, see the
corresponding paragraph in chapter
“AUDIO SETTINGS”.“DEFINE PLAYLIST”
FUNCTION
“DEFINE PLAYLIST” function allows
the management of max. 100 music
pieces among those included in the
MP3 CD, to be played in a specified se-
quence. Dedicated windows allow the
tracks choice, addition or cancellation.
It is possible to add a single track or
an entire directory. This function is de-
scribed in detail in a specific paragraph
below.
“DEFINE PLAYLIST” is disabled when
a MP3 CD is playing, you must stop CD
playing to enable it.
“PLAYLIST” FUNCTION
This function enables or disables
playback of the user track list previ-
ously programmed through the “DE-
FINE PLAYLIST” function. To turn this
function on/off, select and confirm
“PLAYLIST” rotating and pressing the
knob 22-fig. 1.
Page 56 of 246

“VIEW PLAYLIST”
FUNCTION
This function enables to display
stored playlists and to edit them part-
ly or completely.
This function is disabled if there is no
playlist.
“COMPRESSION”
FUNCTION
This function optimizes MP3 CD
sound quality when playing it in the
vehicle.
To turn this function on/off, select
and confirm “COMPRESSION” rotat-
ing and pressing the knob 22-fig. 1.
“TA” FUNCTION
(traffic information)
To turn the TA function (Traffic An-
nouncement) on/off while listening to
a MP3 CD, select “TA” with the knob
22-fig. 1 and press it to confirm “YES”
or “NO”.For the description of the function,
refer to the corresponding paragraph
in the “RADIO MODE” chapter.
Select “YES” or “NO” by rotating
and pressing the knob 22-fig. 1 .
“SCAN” FUNCTION (brief
playback)
To turn this function on/off, select
“SCAN” by turning and pressing the
knob 22-fig. 1.
When the SCAN function is on, the
display shows “SCAN”.
When this function is on, all the MP3
CD tracks are played for about 10 sec-
onds in the actual sequence on the
MP3 CD or the preset playlist is played
(depending on “Playlist” enable/dis-
able).
Press “ENTER” 15-fig. 1to turn the
function off. “SHUFFLE” FUNCTION
(random playing)
To turn this function on/off, select and
confirm “SHUFFLE” rotating and press-
ing the knob 22-fig. 1.
When the SHUFFLE function is on,
the display shows “SFL”.
With this function on, the MP3 CD
tracks or the playlist are played in ran-
dom sequence (depending on
“Playlist” enable/disable).
Press the knob 22-fig. 1to turn the
function off.
55
CONNECT Nav