Page 73 of 246

CONNECT Nav
72
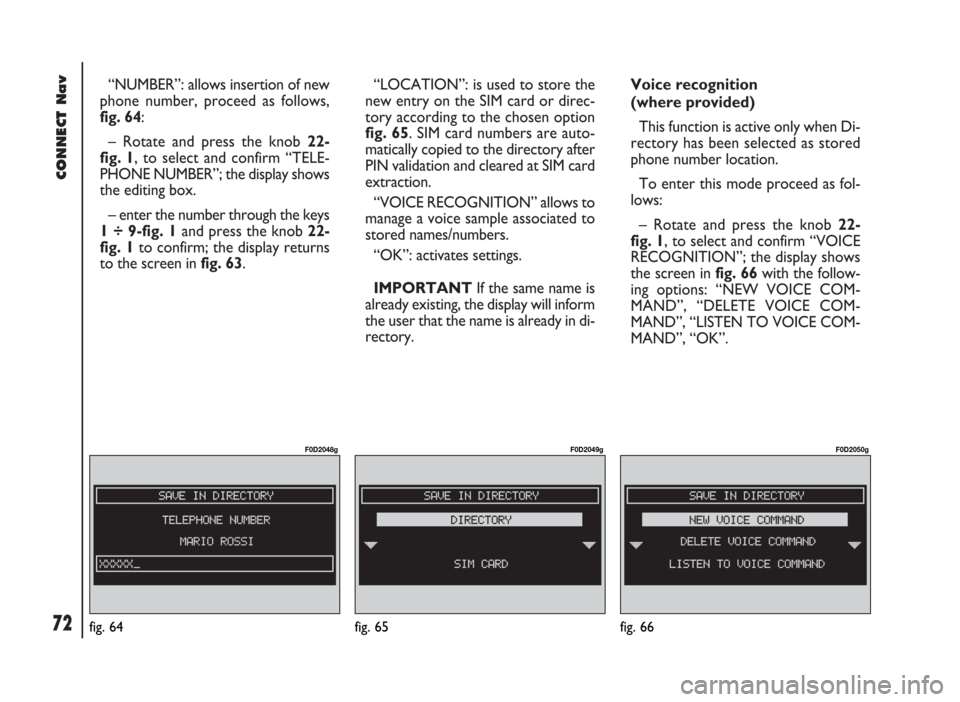
“NUMBER”: allows insertion of new
phone number, proceed as follows,
fig. 64:
– Rotate and press the knob 22-
fig. 1, to select and confirm “TELE-
PHONE NUMBER”; the display shows
the editing box.
– enter the number through the keys
1 ÷ 9-fig. 1and press the knob 22-
fig. 1to confirm; the display returns
to the screen in fig. 63.“LOCATION”: is used to store the
new entry on the SIM card or direc-
tory according to the chosen option
fig. 65. SIM card numbers are auto-
matically copied to the directory after
PIN validation and cleared at SIM card
extraction.
“VOICE RECOGNITION” allows to
manage a voice sample associated to
stored names/numbers.
“OK”: activates settings.
IMPORTANTIf the same name is
already existing, the display will inform
the user that the name is already in di-
rectory.Voice recognition
(where provided)
This function is active only when Di-
rectory has been selected as stored
phone number location.
To enter this mode proceed as fol-
lows:
– Rotate and press the knob 22-
fig. 1, to select and confirm “VOICE
RECOGNITION”; the display shows
the screen in fig. 66with the follow-
ing options: “NEW VOICE COM-
MAND”, “DELETE VOICE COM-
MAND”, “LISTEN TO VOICE COM-
MAND”, “OK”.
fig. 65
F0D2049g
fig. 66
F0D2050g
fig. 64
F0D2048g
Page 74 of 246

CONNECT Nav
73
“NEW VOICE COMMAND”: acti-
vates recording of a new voice sample.
Rotate and press the knob 22-fig. 1,
to select and confirm “NEW VOICE
COMMAND”;
– user is guided by appropriate mes-
sages and will have to pronounce twice
the name to be recorded;
“DELETE VOICE COMMAND”: al-
lows deletion of a previously record-
ed voice sample.
– Rotate and press the knob 22-fig. 1,
to select and confirm “DELETE VOICE
COMMAND”.
The system will display the follow-
ing confirmation screen: “PRESS EN-
TER TO CONFIRM, ESC TO CAN-
CEL”.
– pressing “ESC” 23-fig. 1the display
goes back to previous screen and the
voice sample will not be deleted.IMPORTANTThis function is ac-
tive only if the concerned entry, in the
directory, is associated to a voice sam-
ple as described previously.
“LISTEN TO VOICE COMMAND”:
reproduces a previously recorded
voice sample.
– Rotate and press the knob 22-
fig. 1, to select and confirm “LISTEN
TO VOICE COMMAND”, the system
will reproduce the selected voice sam-
ple. IMPORTANTThis function is ac-
tive only if the concerned entry, in the
directory, is associated to a voice sam-
ple as described previously.
“OK”: confirm changes and stores
them in the directory.
IMPORTANTIf the user after end-
ing these operations doesn’t select
“OK” and confirm by rotating the knob
22-fig. 1, new settings will not be
stored in the directory.
Page 75 of 246

CONNECT Nav
74fig. 67
F0D2051g
PLAY VOICE DIRECTORY
This function (play voice directory)
allows playback of all the previously
recorded voice samples, stored to al-
low vocal management of telephone
directory.
– Rotate and press the knob 22-
fig. 1, to select and confirm “PLAY
VOICE DIRECTORY”; the system will
reproduce stored samples. DELETE VOICE DIRECTORY
This function (delete voice directo-
ry) allows to clear off previously
recorded voice samples.
– Rotate and press the knob 22-
fig. 1, to select and confirm “DELETE
VOICE DIRECTORY”. The system will
display the following confirmation
screen: “PRESS ENTER TO CON-
FIRM, ESCAPE TO CANCEL” before
deleting the selected voice sample.
– press the knob 22-fig. 1to delete
voice samples.
– press “ESC” 23-fig. 1to go back to
previous screen without deleting voice
samples.“WAP” FUNCTION
The “WAP” function opens a GSM
link to a WAP provider, browsing the
“home” site first. Access to WAP site
loads automatically in memory the
corresponding “deck”; the display
shows the first card of the deck.
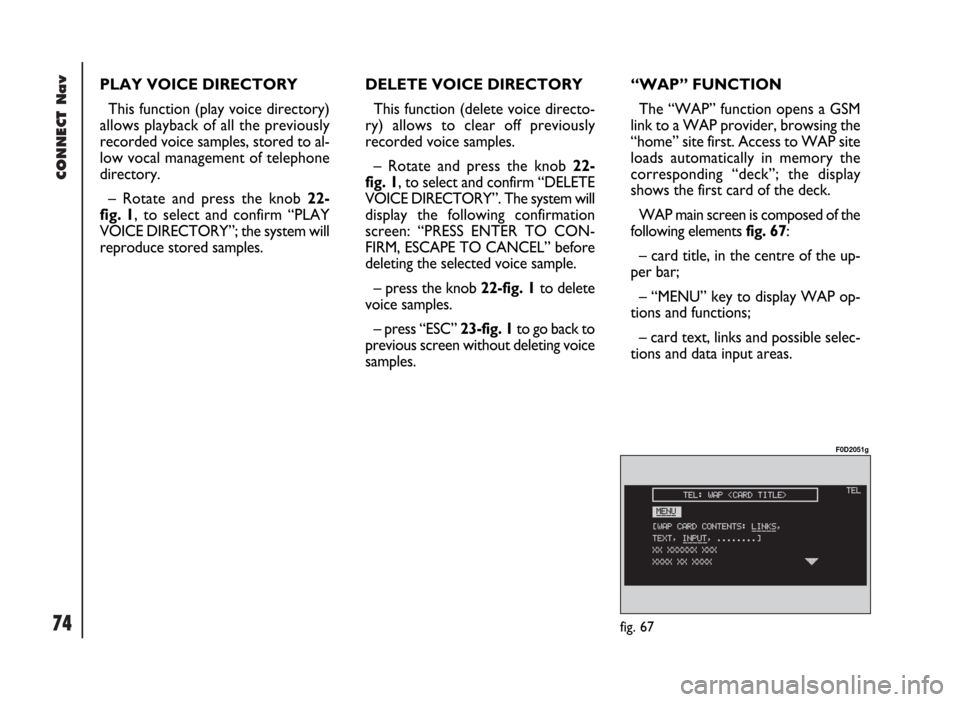
WAP main screen is composed of the
following elements fig. 67:
– card title, in the centre of the up-
per bar;
– “MENU” key to display WAP op-
tions and functions;
– card text, links and possible selec-
tions and data input areas.
Page 76 of 246

CONNECT Nav
75
Should the screen size be not enough
to show the entire card contents, ro-
tate the knob 22-fig. 1to scroll the
screen; the display will show arrow
“
▲” or “▼” according to the required
direction.
Rotate and press the knob 22-fig. 1
to select and confirm “MENU”, the fol-
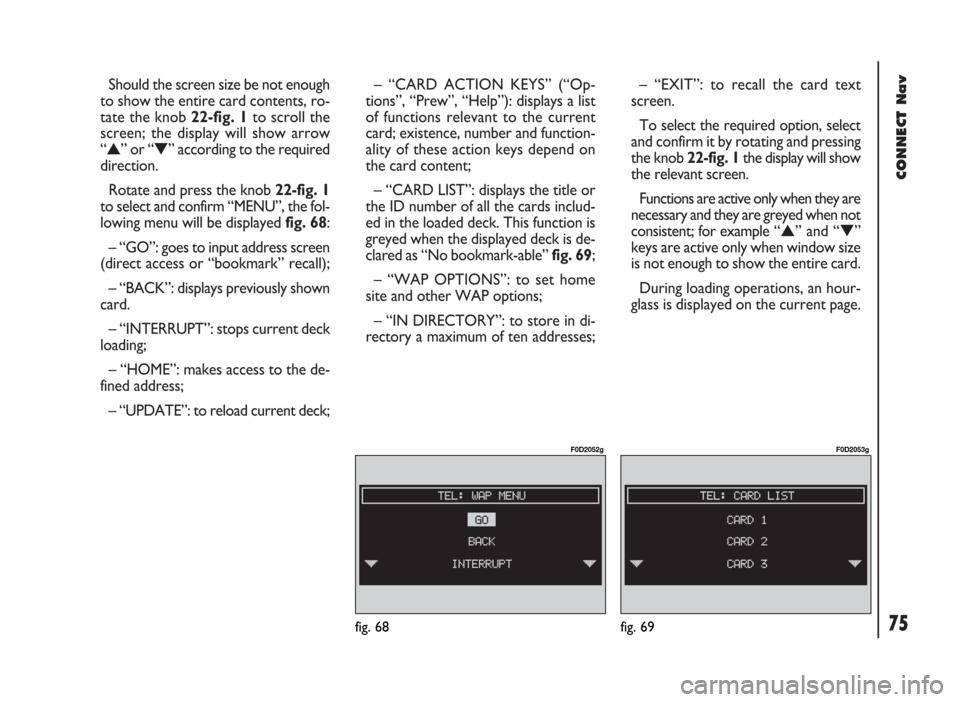
lowing menu will be displayed fig. 68:
– “GO”: goes to input address screen
(direct access or “bookmark” recall);
– “BACK”: displays previously shown
card.
– “INTERRUPT”: stops current deck
loading;
– “HOME”: makes access to the de-
fined address;
– “UPDATE”: to reload current deck;– “CARD ACTION KEYS” (“Op-
tions”, “Prew”, “Help”): displays a list
of functions relevant to the current
card; existence, number and function-
ality of these action keys depend on
the card content;
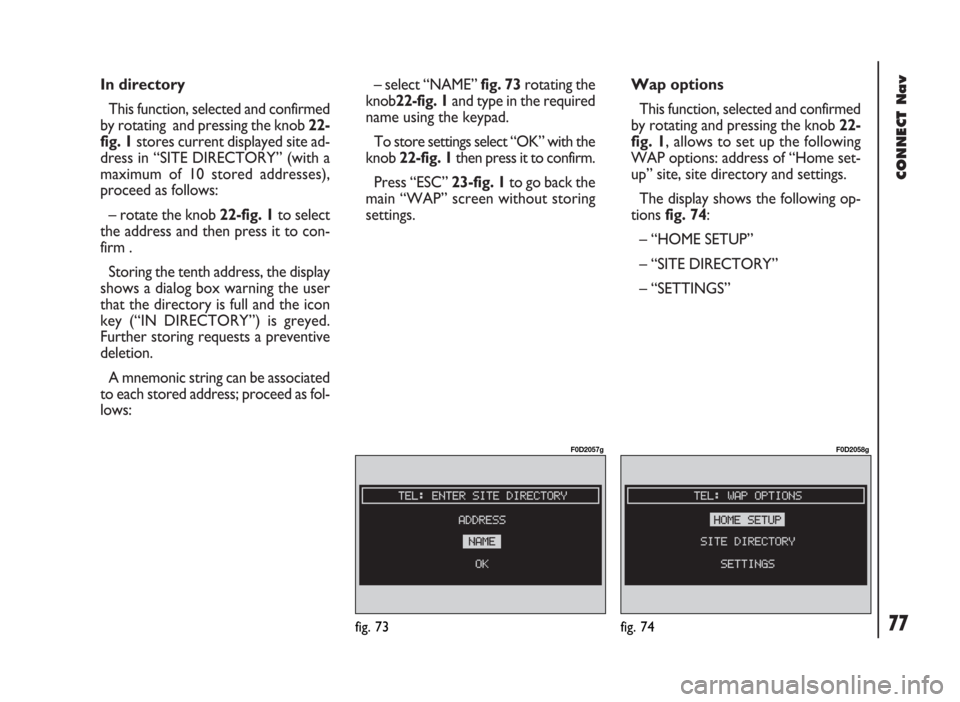
– “CARD LIST”: displays the title or
the ID number of all the cards includ-
ed in the loaded deck. This function is
greyed when the displayed deck is de-
clared as “No bookmark-able” fig. 69;
– “WAP OPTIONS”: to set home
site and other WAP options;
– “IN DIRECTORY”: to store in di-
rectory a maximum of ten addresses;– “EXIT”: to recall the card text
screen.
To select the required option, select
and confirm it by rotating and pressing
the knob 22-fig. 1the display will show
the relevant screen.
Functions are active only when they are
necessary and they are greyed when not
consistent; for example “
▲” and “▼”
keys are active only when window size
is not enough to show the entire card.
During loading operations, an hour-
glass is displayed on the current page.
fig. 68
F0D2052g
fig. 69
F0D2053g
Page 77 of 246
Go
This function, selected and confirmed
by rotating and pressing the knob 22-
fig. 1, makes access to a specified net
address (if the Provider allows such op-
eration).
A menu with the following options
will be displayed fig. 70:
– “ADDRESS”
– “SELECT FROM DIRECTORY”
– “OK” To have access to the specified net
address, proceed as follows:
– rotate and press the knob 22-fig. 1
to select and confirm “ADDRESS”; the
display will show a keypad for typing in
the required net address fig. 71;or, if address is already stored in the
directory:
– select and confirm “SELECT FROM
DIRECTORY” rotating and pressing
the knob 22-fig. 1; the display will
show the stored site directory fig. 72;
– rotate the knob 22-fig. 1to select
the required address and then press
it to confirm.
CONNECT Nav
76fig. 70
F0D2054g
fig. 71
F0D2055g
fig. 72
F0D2056g
Page 78 of 246

CONNECT Nav
77
In directory
This function, selected and confirmed
by rotating and pressing the knob 22-
fig. 1stores current displayed site ad-
dress in “SITE DIRECTORY” (with a
maximum of 10 stored addresses),
proceed as follows:
– rotate the knob 22-fig. 1to select
the address and then press it to con-
firm .
Storing the tenth address, the display
shows a dialog box warning the user
that the directory is full and the icon
key (“IN DIRECTORY”) is greyed.
Further storing requests a preventive
deletion.
A mnemonic string can be associated
to each stored address; proceed as fol-
lows:– select “NAME” fig. 73rotating the
knob22-fig. 1and type in the required
name using the keypad.
To store settings select “OK” with the
knob 22-fig. 1then press it to confirm.
Press “ESC” 23-fig. 1to go back the
main “WAP” screen without storing
settings.Wap options
This function, selected and confirmed
by rotating and pressing the knob 22-
fig. 1, allows to set up the following
WAP options: address of “Home set-
up” site, site directory and settings.
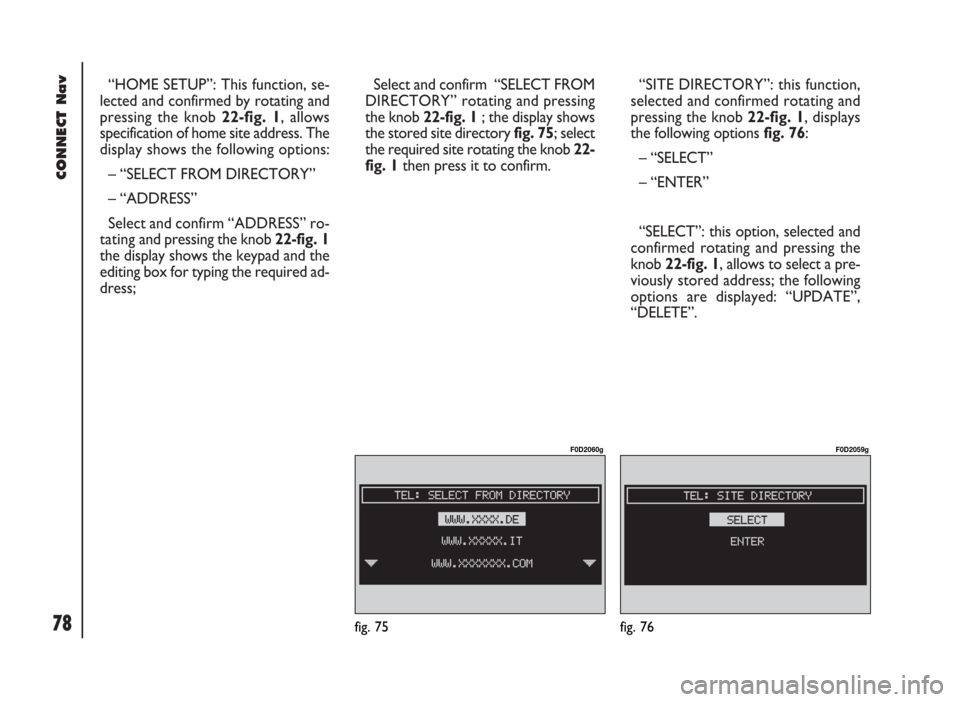
The display shows the following op-
tions fig. 74:
– “HOME SETUP”
– “SITE DIRECTORY”
– “SETTINGS”
fig. 73
F0D2057g
fig. 74
F0D2058g
Page 79 of 246

CONNECT Nav
78
“HOME SETUP”: This function, se-
lected and confirmed by rotating and
pressing the knob 22-fig. 1, allows
specification of home site address. The
display shows the following options:
– “SELECT FROM DIRECTORY”
– “ADDRESS”
Select and confirm “ADDRESS” ro-
tating and pressing the knob 22-fig. 1
the display shows the keypad and the
editing box for typing the required ad-
dress;Select and confirm “SELECT FROM
DIRECTORY” rotating and pressing
the knob 22-fig. 1; the display shows
the stored site directory fig. 75; select
the required site rotating the knob 22-
fig. 1then press it to confirm.“SITE DIRECTORY”: this function,
selected and confirmed rotating and
pressing the knob 22-fig. 1, displays
the following options fig. 76:
– “SELECT”
– “ENTER”
“SELECT”: this option, selected and
confirmed rotating and pressing the
knob 22-fig. 1, allows to select a pre-
viously stored address; the following
options are displayed: “UPDATE”,
“DELETE”.
fig. 75
F0D2060g
fig. 76
F0D2059g
Page 80 of 246

CONNECT Nav
79
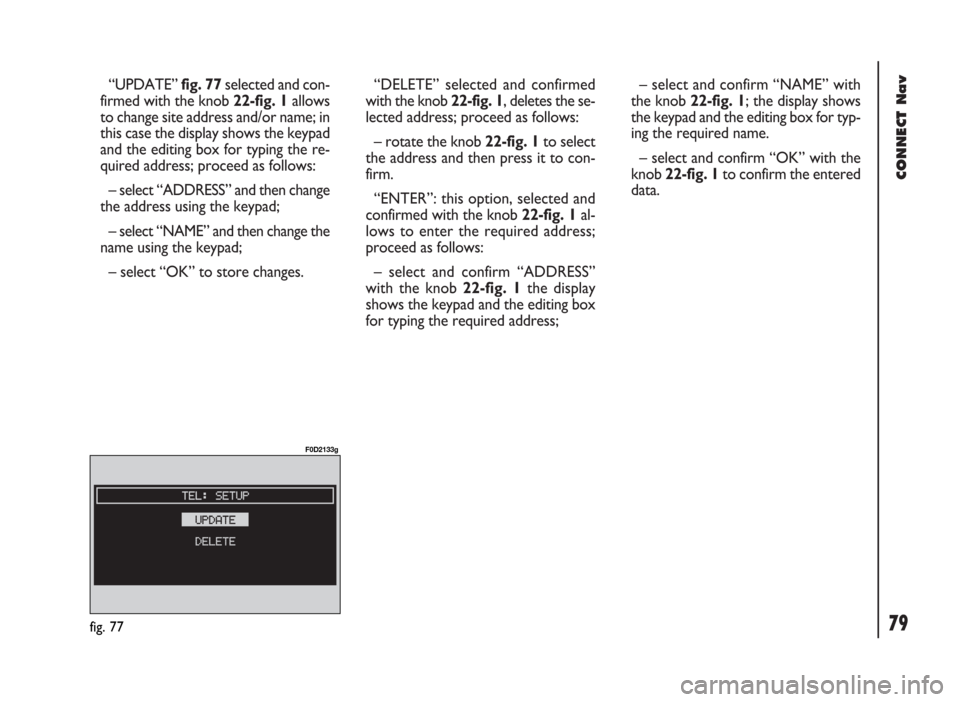
“UPDATE”fig. 77selected and con-
firmed with the knob 22-fig. 1allows
to change site address and/or name; in
this case the display shows the keypad
and the editing box for typing the re-
quired address; proceed as follows:
– select “ADDRESS” and then change
the address using the keypad;
– select “NAME” and then change the
name using the keypad;
– select “OK” to store changes.“DELETE” selected and confirmed
with the knob 22-fig. 1, deletes the se-
lected address; proceed as follows:
– rotate the knob 22-fig. 1to select
the address and then press it to con-
firm.
“ENTER”: this option, selected and
confirmed with the knob 22-fig. 1al-
lows to enter the required address;
proceed as follows:
– select and confirm “ADDRESS”
with the knob 22-fig. 1the display
shows the keypad and the editing box
for typing the required address;– select and confirm “NAME” with
the knob 22-fig. 1; the display shows
the keypad and the editing box for typ-
ing the required name.
– select and confirm “OK” with the
knob 22-fig. 1to confirm the entered
data.
fig. 77
F0D2133g