Page 209 of 246

CONNECT Nav+
208
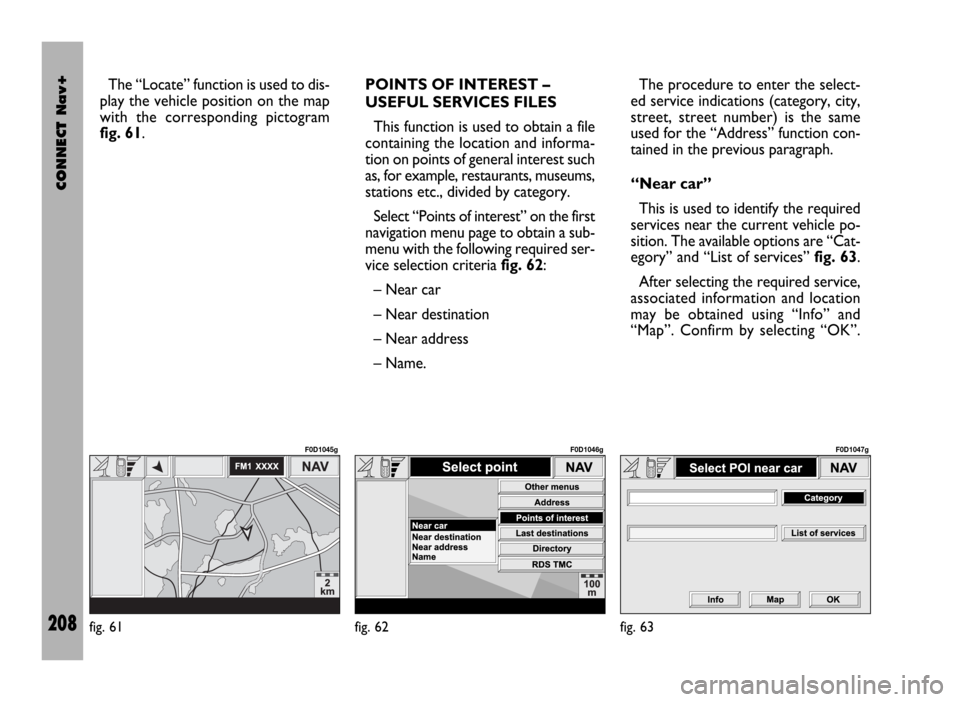
The “Locate” function is used to dis-
play the vehicle position on the map
with the corresponding pictogram
fig. 61.POINTS OF INTEREST –
USEFUL SERVICES FILES
This function is used to obtain a file
containing the location and informa-
tion on points of general interest such
as, for example, restaurants, museums,
stations etc., divided by category.
Select “Points of interest” on the first
navigation menu page to obtain a sub-
menu with the following required ser-
vice selection criteria fig. 62:
– Near car
– Near destination
– Near address
– Name. The procedure to enter the select-
ed service indications (category, city,
street, street number) is the same
used for the “Address” function con-
tained in the previous paragraph.
“Near car”
This is used to identify the required
services near the current vehicle po-
sition. The available options are “Cat-
egory” and “List of services” fig. 63.
After selecting the required service,
associated information and location
may be obtained using “Info” and
“Map”. Confirm by selecting “OK”.
fig. 61
F0D1045g
fig. 62
F0D1046g
fig. 63
F0D1047g
Page 210 of 246

CONNECT Nav+
209
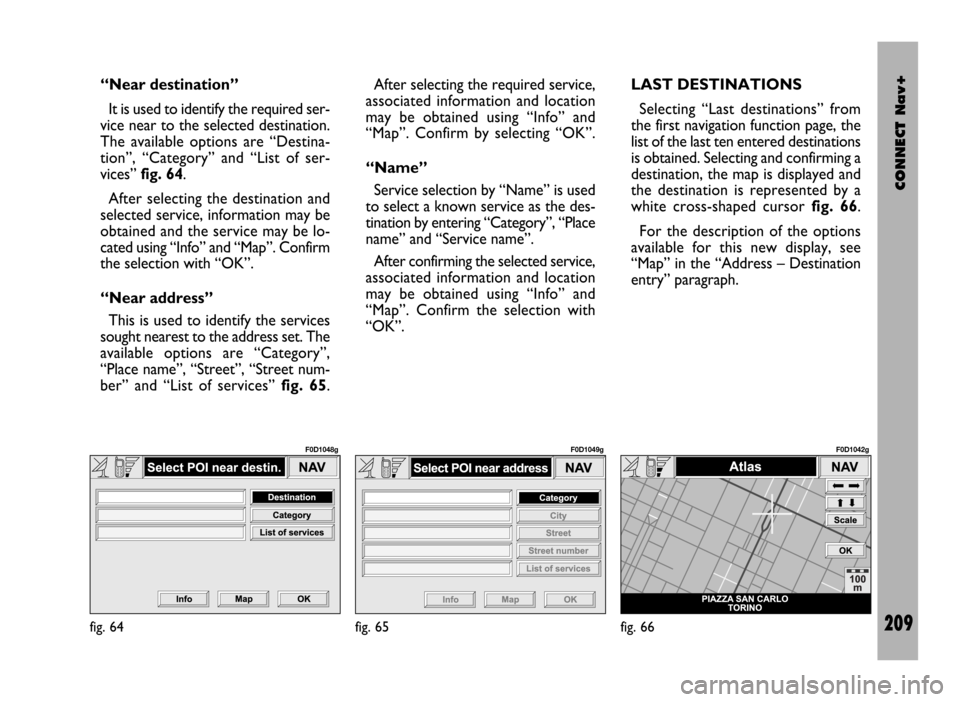
“Near destination”
It is used to identify the required ser-
vice near to the selected destination.
The available options are “Destina-
tion”, “Category” and “List of ser-
vices” fig. 64.
After selecting the destination and
selected service, information may be
obtained and the service may be lo-
cated using “Info” and “Map”. Confirm
the selection with “OK”.
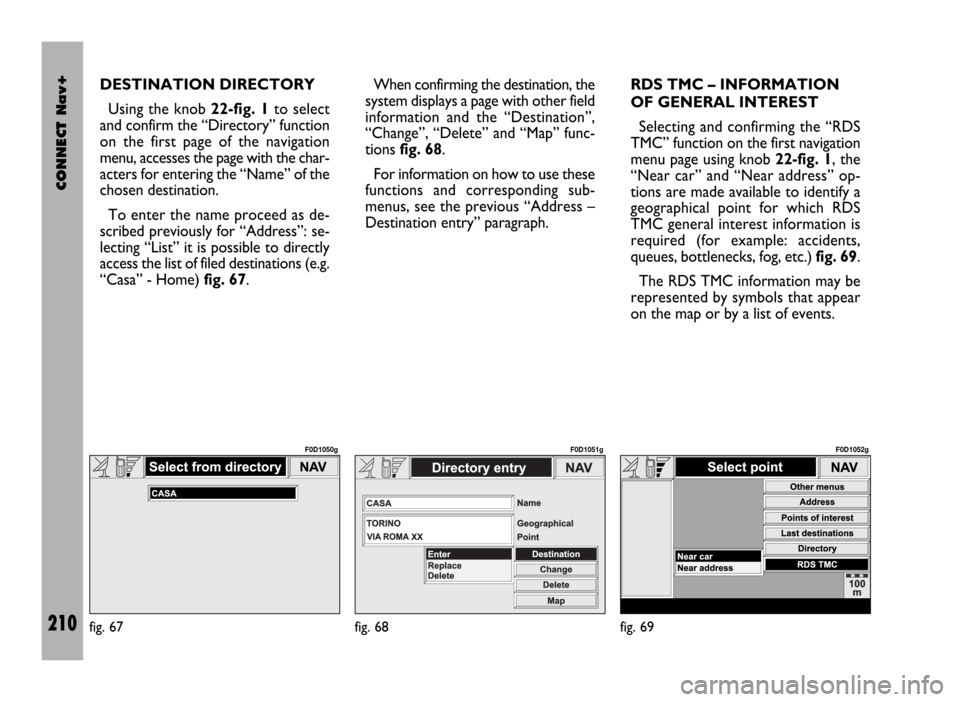
“Near address”
This is used to identify the services
sought nearest to the address set. The
available options are “Category”,
“Place name”, “Street”, “Street num-
ber” and “List of services” fig. 65. After selecting the required service,
associated information and location
may be obtained using “Info” and
“Map”. Confirm by selecting “OK”.
“Name”
Service selection by “Name” is used
to select a known service as the des-
tination by entering “Category”, “Place
name” and “Service name”.
After confirming the selected service,
associated information and location
may be obtained using “Info” and
“Map”. Confirm the selection with
“OK”.LAST DESTINATIONS
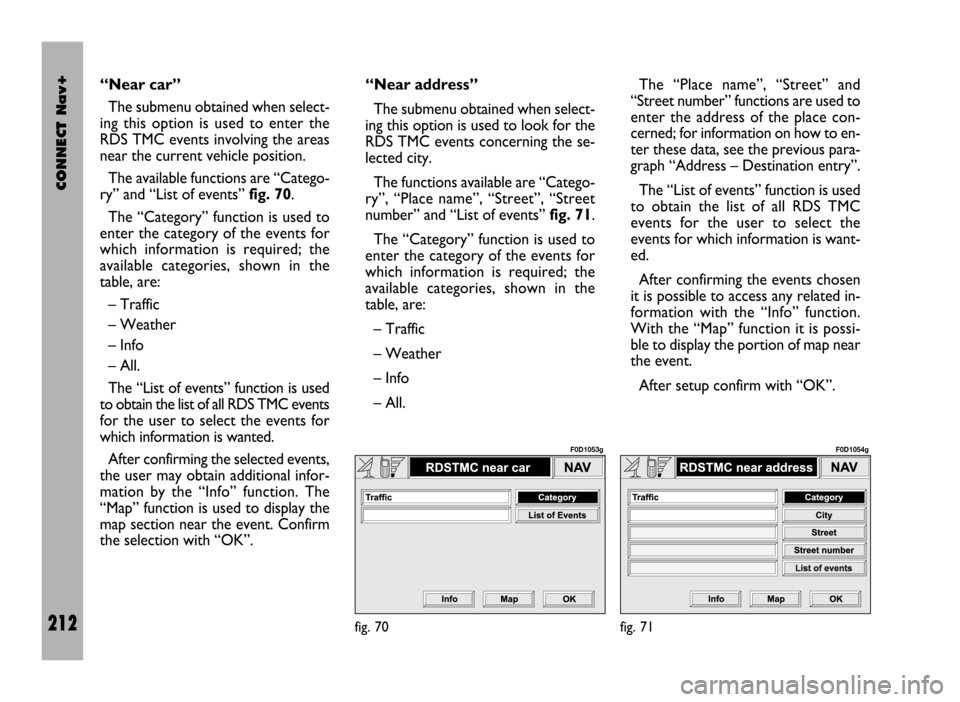
Selecting “Last destinations” from
the first navigation function page, the
list of the last ten entered destinations
is obtained. Selecting and confirming a
destination, the map is displayed and
the destination is represented by a
white cross-shaped cursor fig. 66.
For the description of the options
available for this new display, see
“Map” in the “Address – Destination
entry” paragraph.
fig. 64
F0D1048g
fig. 65
F0D1049g
fig. 66
F0D1042g
Page 211 of 246

CONNECT Nav+
210
DESTINATION DIRECTORY
Using the knob 22-fig. 1to select
and confirm the “Directory” function
on the first page of the navigation
menu, accesses the page with the char-
acters for entering the “Name” of the
chosen destination.
To enter the name proceed as de-
scribed previously for “Address”: se-
lecting “List” it is possible to directly
access the list of filed destinations (e.g.
“Casa” - Home) fig. 67.When confirming the destination, the
system displays a page with other field
information and the “Destination”,
“Change”, “Delete” and “Map” func-
tions fig. 68.
For information on how to use these
functions and corresponding sub-
menus, see the previous “Address –
Destination entry” paragraph. RDS TMC – INFORMATION
OF GENERAL INTEREST
Selecting and confirming the “RDS
TMC” function on the first navigation
menu page using knob 22-fig. 1, the
“Near car” and “Near address” op-
tions are made available to identify a
geographical point for which RDS
TMC general interest information is
required (for example: accidents,
queues, bottlenecks, fog, etc.) fig. 69.
The RDS TMC information may be
represented by symbols that appear
on the map or by a list of events.
fig. 67
F0D1050g
fig. 68
F0D1051g
fig. 69
F0D1052g
Page 212 of 246
CONNECT Nav+
211
The navigation system is able to han-
dle RDS TMC messages also supplying
the location.Below is the list (continuously up-
dated) with the symbols of the RDS
TMC messages and the correspond-
ing meaning.
1. Queue
2. Accident
3. Generic danger
4. Work in progress
5. Interrupted street
6. Mandatory direction
7. No-access street
8. Slippery road
9. Ice/Snow
10. Fog
11. Wind
12. Procession/Protest13. Danger of explosion
14. Slow down
15. Lighted warning sign fault
16. Parking
17. Forecast.
The RDS TMC events are classified
with their number and category; the
categories are:
Traffic(information on traffic and
road conditions)
Weather(information on weather
conditions)
General information(information
on general interest issues).
Page 213 of 246

CONNECT Nav+
212
“Near car”
The submenu obtained when select-
ing this option is used to enter the
RDS TMC events involving the areas
near the current vehicle position.
The available functions are “Catego-
ry” and “List of events” fig. 70.
The “Category” function is used to
enter the category of the events for
which information is required; the
available categories, shown in the
table, are:
– Traffic
– Weather
– Info
– All.
The “List of events” function is used
to obtain the list of all RDS TMC events
for the user to select the events for
which information is wanted.
After confirming the selected events,
the user may obtain additional infor-
mation by the “Info” function. The
“Map” function is used to display the
map section near the event. Confirm
the selection with “OK”.“Near address”
The submenu obtained when select-
ing this option is used to look for the
RDS TMC events concerning the se-
lected city.
The functions available are “Catego-
ry”, “Place name”, “Street”, “Street
number” and “List of events” fig. 71.
The “Category” function is used to
enter the category of the events for
which information is required; the
available categories, shown in the
table, are:
– Traffic
– Weather
– Info
– All.The “Place name”, “Street” and
“Street number” functions are used to
enter the address of the place con-
cerned; for information on how to en-
ter these data, see the previous para-
graph “Address – Destination entry”.
The “List of events” function is used
to obtain the list of all RDS TMC
events for the user to select the
events for which information is want-
ed.
After confirming the events chosen
it is possible to access any related in-
formation with the “Info” function.
With the “Map” function it is possi-
ble to display the portion of map near
the event.
After setup confirm with “OK”.
fig. 70
F0D1053g
fig. 71
F0D1054g
Page 214 of 246

CONNECT Nav+
213
ATLAS – DESTINATION
ENTRY IN THE MAP
Choosing the “Atlas” function on the
second page of the navigation menu, it
is possible to enter the destination di-
rectly on the map.
In fact, the display shows the map and
a cursor in the form of a white cross
which represent the destination
fig. 72.
The map is always represented with
north in the top of the display and with
“100 m” scale. The right-hand part of the display
contains the options “RE” (horizon-
tal movement) and “QZ” (vertical
movement), “Scale” and “OK”.
The move functions are used to
move the cursor directly on the map
to move the destination.
The “Scale” function fig. 73is used
to change the map representation
scale. The available scales are: 100 m,
200 m, 500 m, 1 km, 2 km, 5 km, 10
km, 20 km, 50 km, 100 km, 200 km.After setup confirm with “OK”.
After confirming a new screen is
shown on the map fig. 74with the
functions “Destination”, “Directory”,
“Service Info”, “RDS TMC” and “Lo-
cate”.
“Destination” and “Directory” func-
tions have already been described pre-
viously in the “Address - Destination
entry” paragraph.
The “Service Info” function provides
information on all selected services,
while the “RDS TMC” function has al-
ready been described.
fig. 72
F0D1042g
fig. 73
F0D1043g
fig. 74
F0D1044g
Page 215 of 246

CONNECT Nav+
214
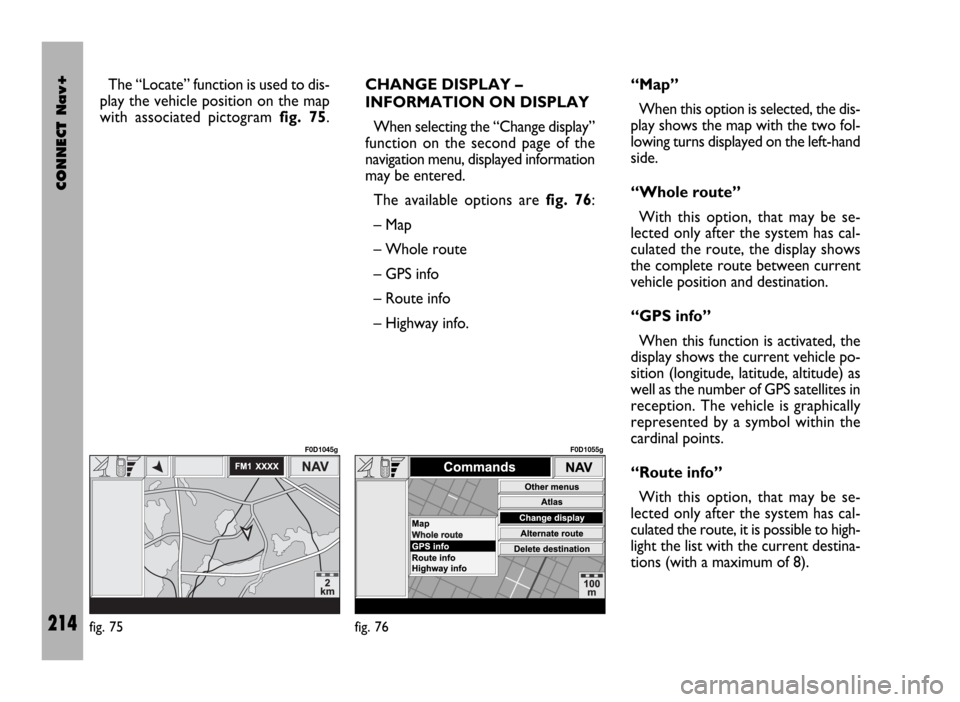
The “Locate” function is used to dis-
play the vehicle position on the map
with associated pictogram fig. 75.CHANGE DISPLAY –
INFORMATION ON DISPLAY
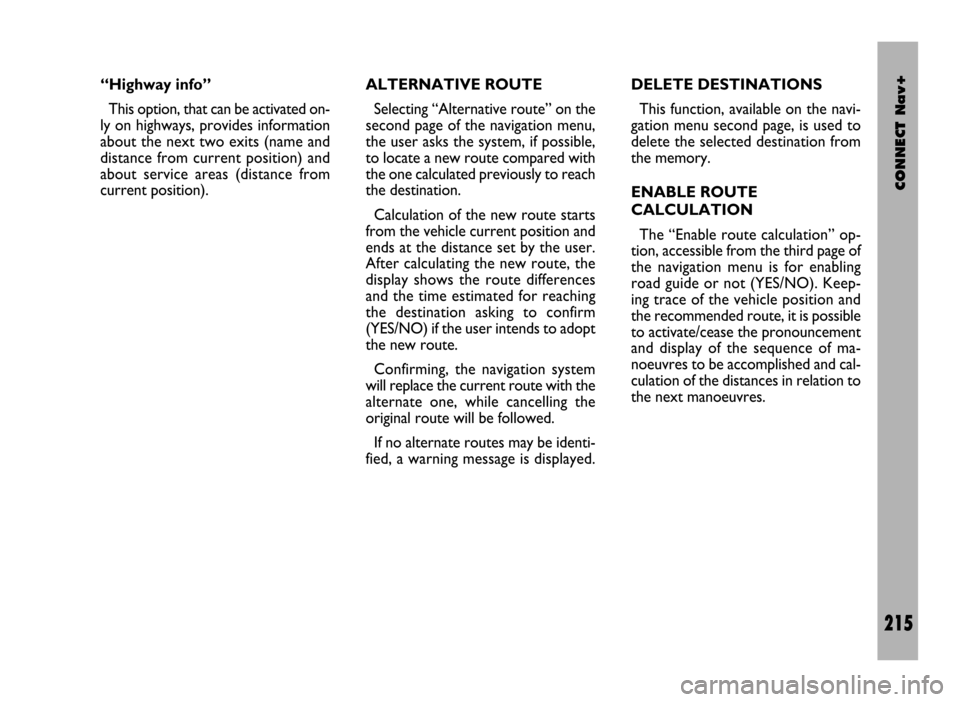
When selecting the “Change display”
function on the second page of the
navigation menu, displayed information
may be entered.
The available options are fig. 76:
– Map
– Whole route
– GPS info
– Route info
– Highway info.“Map”
When this option is selected, the dis-
play shows the map with the two fol-
lowing turns displayed on the left-hand
side.
“Whole route”
With this option, that may be se-
lected only after the system has cal-
culated the route, the display shows
the complete route between current
vehicle position and destination.
“GPS info”
When this function is activated, the
display shows the current vehicle po-
sition (longitude, latitude, altitude) as
well as the number of GPS satellites in
reception. The vehicle is graphically
represented by a symbol within the
cardinal points.
“Route info”
With this option, that may be se-
lected only after the system has cal-
culated the route, it is possible to high-
light the list with the current destina-
tions (with a maximum of 8).
fig. 75
F0D1045g
fig. 76
F0D1055g
Page 216 of 246

CONNECT Nav+
215
“Highway info”
This option, that can be activated on-
ly on highways, provides information
about the next two exits (name and
distance from current position) and
about service areas (distance from
current position).ALTERNATIVE ROUTE
Selecting “Alternative route” on the
second page of the navigation menu,
the user asks the system, if possible,
to locate a new route compared with
the one calculated previously to reach
the destination.
Calculation of the new route starts
from the vehicle current position and
ends at the distance set by the user.
After calculating the new route, the
display shows the route differences
and the time estimated for reaching
the destination asking to confirm
(YES/NO) if the user intends to adopt
the new route.
Confirming, the navigation system
will replace the current route with the
alternate one, while cancelling the
original route will be followed.
If no alternate routes may be identi-
fied, a warning message is displayed.DELETE DESTINATIONS
This function, available on the navi-
gation menu second page, is used to
delete the selected destination from
the memory.
ENABLE ROUTE
CALCULATION
The “Enable route calculation” op-
tion, accessible from the third page of
the navigation menu is for enabling
road guide or not (YES/NO). Keep-
ing trace of the vehicle position and
the recommended route, it is possible
to activate/cease the pronouncement
and display of the sequence of ma-
noeuvres to be accomplished and cal-
culation of the distances in relation to
the next manoeuvres.