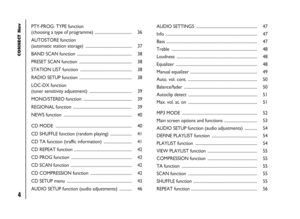
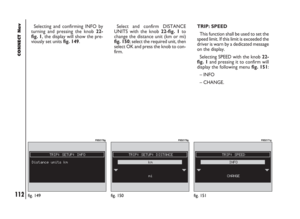
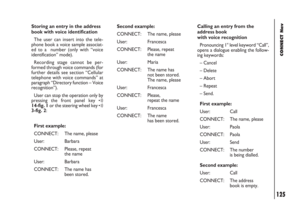
Page 41 of 246

CONNECT Nav
40
“NEWS” FUNCTION
This function shortly enables or not
the PTY code News.
To turn this function on/off, select
and confirm “NEWS” with the knob
22-fig. 1.
Select “ENABLED” or “DISABLED”
rotating and pressing the knob 22-
fig. 1to confirm.
This function is only available on FM
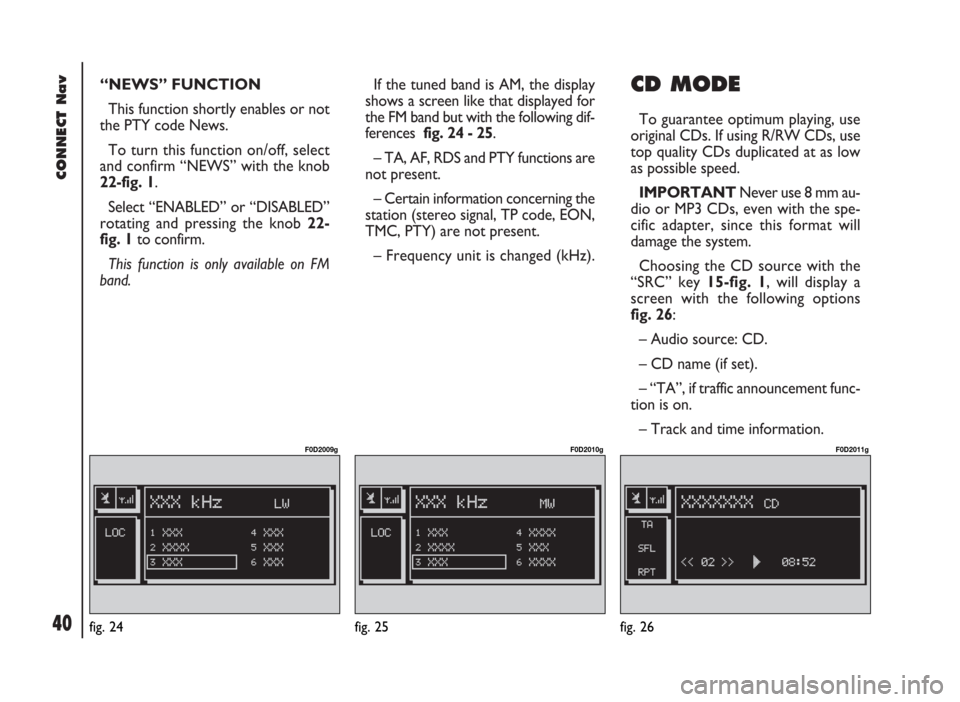
band. If the tuned band is AM, the display
shows a screen like that displayed for
the FM band but with the following dif-
ferences fig. 24 - 25.
– TA, AF, RDS and PTY functions are
not present.
– Certain information concerning the
station (stereo signal, TP code, EON,
TMC, PTY) are not present.
– Frequency unit is changed (kHz). CD MODE
To guarantee optimum playing, use
original CDs. If using R/RW CDs, use
top quality CDs duplicated at as low
as possible speed.
IMPORTANTNever use 8 mm au-
dio or MP3 CDs, even with the spe-
cific adapter, since this format will
damage the system.
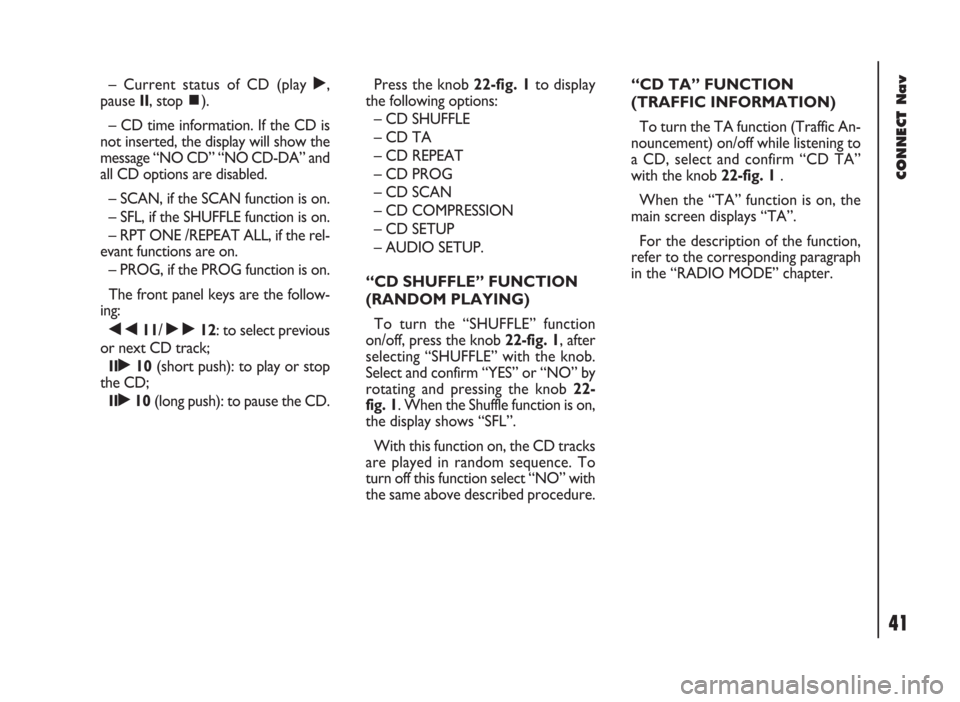
Choosing the CD source with the
“SRC” key 15-fig. 1, will display a
screen with the following options
fig. 26:
– Audio source: CD.
– CD name (if set).
– “TA”, if traffic announcement func-
tion is on.
– Track and time information.
fig. 24
F0D2009g
fig. 25
F0D2010g
fig. 26
F0D2011g
Page 42 of 246

41
CONNECT Nav
– Current status of CD (play ˙,
pause II, stop ~).
– CD time information. If the CD is
not inserted, the display will show the
message “NO CD” “NO CD-DA” and
all CD options are disabled.
– SCAN, if the SCAN function is on.
– SFL, if the SHUFFLE function is on.
– RPT ONE /REPEAT ALL, if the rel-
evant functions are on.
– PROG, if the PROG function is on.
The front panel keys are the follow-
ing:
÷11/ ˜12: to select previous
or next CD track;
II˙10(short push): to play or stop
the CD;
II˙10(long push): to pause the CD.Press the knob 22-fig. 1to display
the following options:
– CD SHUFFLE
– CD TA
– CD REPEAT
– CD PROG
– CD SCAN
– CD COMPRESSION
– CD SETUP
– AUDIO SETUP.
“CD SHUFFLE” FUNCTION
(RANDOM PLAYING)
To turn the “SHUFFLE” function
on/off, press the knob 22-fig. 1, after
selecting “SHUFFLE” with the knob.
Select and confirm “YES” or “NO” by
rotating and pressing the knob 22-
fig. 1. When the Shuffle function is on,
the display shows “SFL”.
With this function on, the CD tracks
are played in random sequence. To
turn off this function select “NO” with
the same above described procedure.“CD TA” FUNCTION
(TRAFFIC INFORMATION)
To turn the TA function (Traffic An-
nouncement) on/off while listening to
a CD, select and confirm “CD TA”
with the knob 22-fig. 1.
When the “TA” function is on, the
main screen displays “TA”.
For the description of the function,
refer to the corresponding paragraph
in the “RADIO MODE” chapter.
Page 43 of 246

CONNECT Nav
42
“CD REPEAT” FUNCTION
To activate this function, press the
knob 22-fig. 1, after selecting “CD RE-
PEAT” by turning the knob. The dis-
play shows “NO REPEAT”, “REPEAT
ONE” and “REPEAT ALL”.
– “NO REPEAT”: repeat function off
– “REPEAT ONE”: repeat one CD
track
– “REPEAT ALL”: repeat all CD
tracks
Select and confirm the required item
by turning and pressing the knob 22-
fig. 1.
When “REPEAT ONE” or “REPEAT
ALL” is on, the display shows “RPT”.“CD PROG” FUNCTION
To turn the “CD PROG” function
on/off, rotate and press the knob 22-
fig. 1after selecting the function.
This function enables or disables play-
back of the previously user pro-
grammed track list (see “CD SETUP”
functions).
The “CD PROG” function is disabled
if no programmed list has been en-
tered.
“CD SCAN” FUNCTION
(BRIEF PLAYBACK)
To turn the “SCAN” function on/off,
rotate and press the knob 22-fig. 1
after selecting the function.
When this function is on, all the CD
tracks are played for about 10 seconds
in the actual sequence on the CD. “CD COMPRESSION”
FUNCTION
This function activates dynamic
sound compression when playing a
CD in the vehicle.
To turn this function on/off, select
and confirm “COMPRESSION” with
the knob 22-fig. 1.
Select “YES” or “NO” to turn this
function on or off.
Select the required option with the
knob 22-fig. 1, then press it to con-
firm.
Page 44 of 246

43
CONNECT Nav
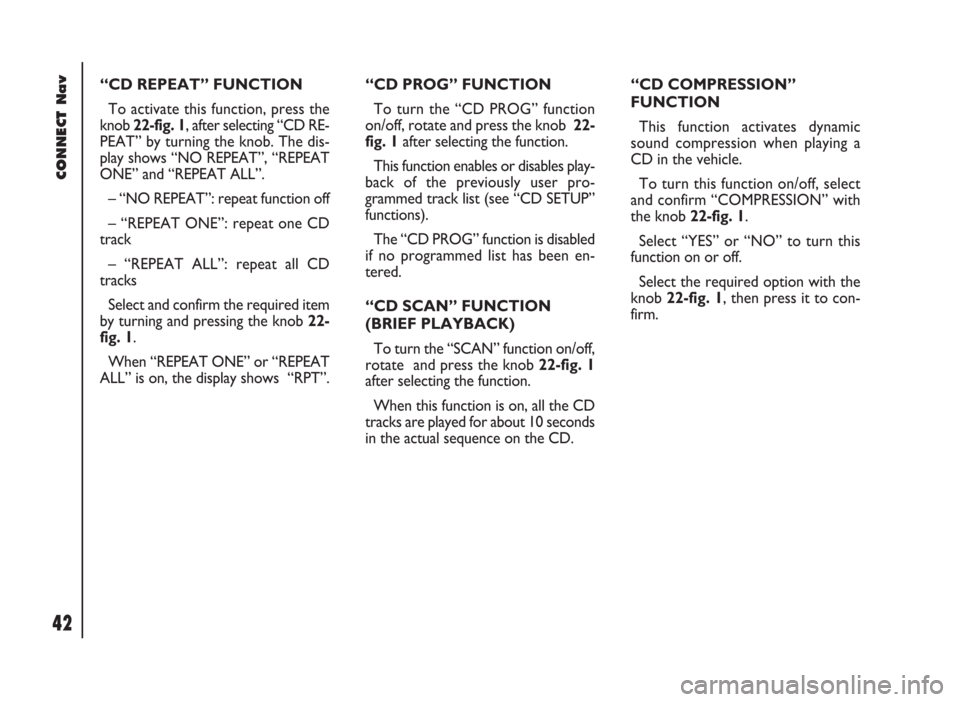
“CD SETUP” MENU
Select and confirm “CD SETUP”
with the knob 22-fig. 1to display the
following menu fig. 27:
– CD TIME MODE
– CD PROG
– CD NAME
– CD INFO
– OK.“CD TIME MODE” function
The “CD TIME MODE” function de-
fines time information about the CD
shown on the display:
– “TRACK ELAPSED TIME” (time
elapsed from start of track) (standard
function)
– (*) “TOTAL ELAPSED TIME” (to-
tal time elapsed from start of CD)
– (*) “TOTAL REMAINING TIME”
(total remaining time to the end of CD)
To activate new settings, select “OK”
from the CD SETUP menu.
(*) Option not available when the “Shuffle”
function is active.
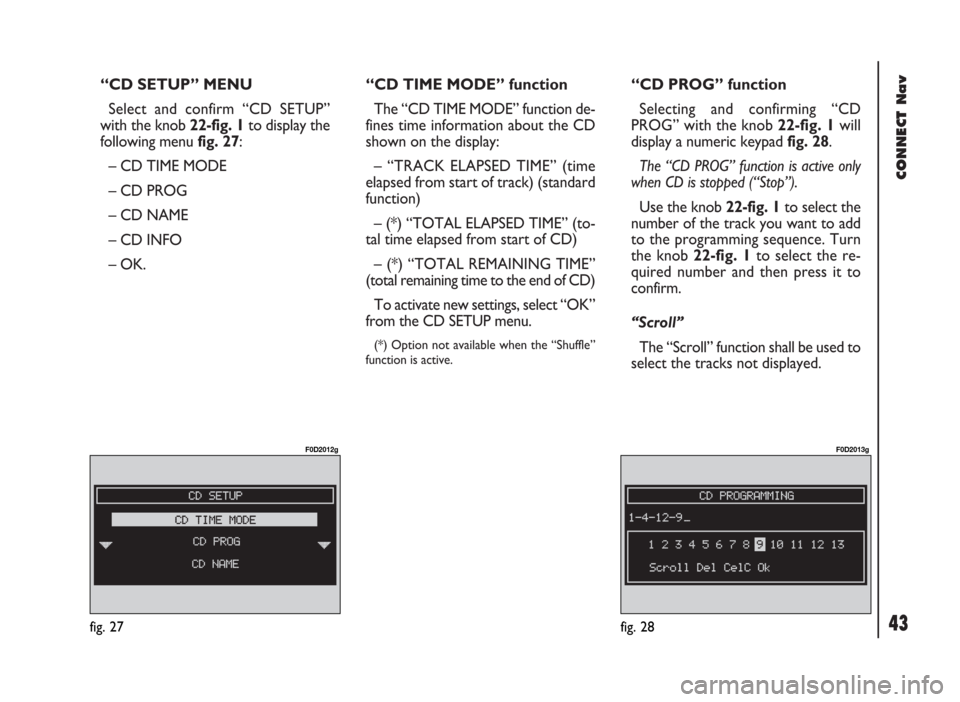
“CD PROG” function
Selecting and confirming “CD
PROG” with the knob 22-fig. 1will
display a numeric keypad fig. 28.
The “CD PROG” function is active only
when CD is stopped (“Stop”).
Use the knob 22-fig. 1to select the
number of the track you want to add
to the programming sequence. Turn
the knob 22-fig. 1to select the re-
quired number and then press it to
confirm.
“Scroll”
The “Scroll” function shall be used to
select the tracks not displayed.
fig. 27
F0D2012g
fig. 28
F0D2013g
Page 45 of 246

CONNECT Nav
44
To turn this function on, select and
confirm “Scroll” rotating and pressing
the knob 22-fig. 1. With this function
on, rotate the knob 22-fig. 1to dis-
play the remaining track list; press the
knob again to turn this function off.
“DelC”(DELETE)
The “DelC” function enables to clear
off the last stored track.
This function is disabled if the se-
quence is empty.
To turn this function on, select and
confirm “DelC” rotating and pressing
the knob 22-fig. 1.
“Del”(DELETE ALL)
The “Del” function enables to delete
the entire track list stored.
This function is disabled if the se-
quence is empty.To turn this function on, select and
confirm “Del” rotating and pressing
the knob 22-fig. 1.
“OK”
To confirm the prog sequence select
“OK” with the knob 22-fig. 1and
then press it to confirm.
“CD NAME” function
If the CD already has a name, this will
be shown on the display.
The “CD NAME” function allows to
name max. 30 CDs with 20 characters
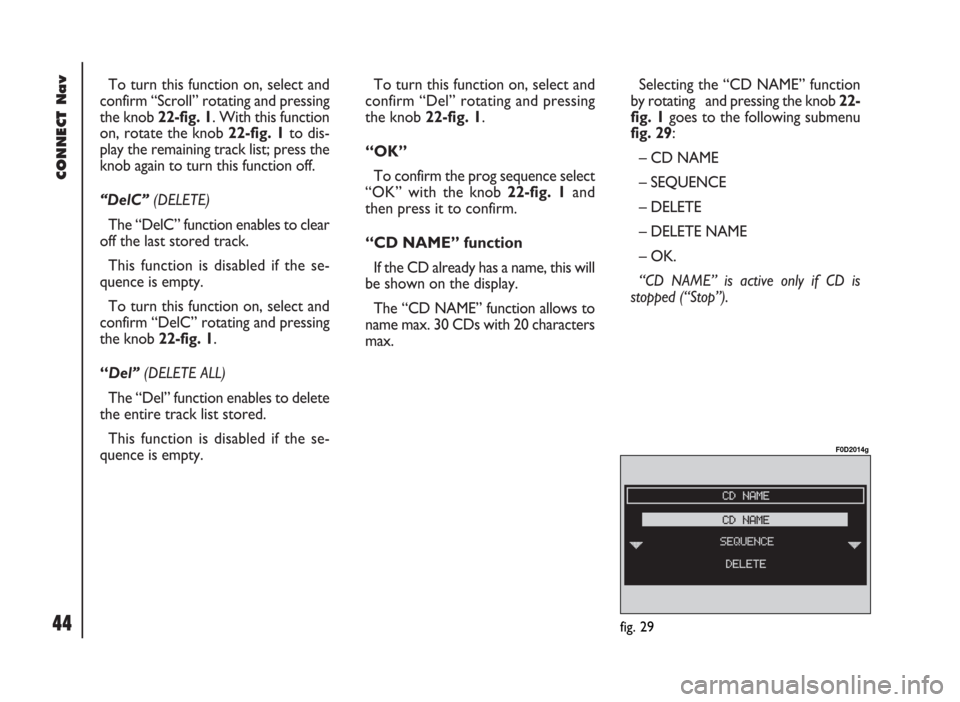
max.Selecting the “CD NAME” function
by rotating and pressing the knob 22-
fig. 1goes to the following submenu
fig. 29:
– CD NAME
– SEQUENCE
– DELETE
– DELETE NAME
– OK.
“CD NAME” is active only if CD is
stopped (“Stop”).
fig. 29
F0D2014g
Page 46 of 246

45
CONNECT Nav
“CD NAME”
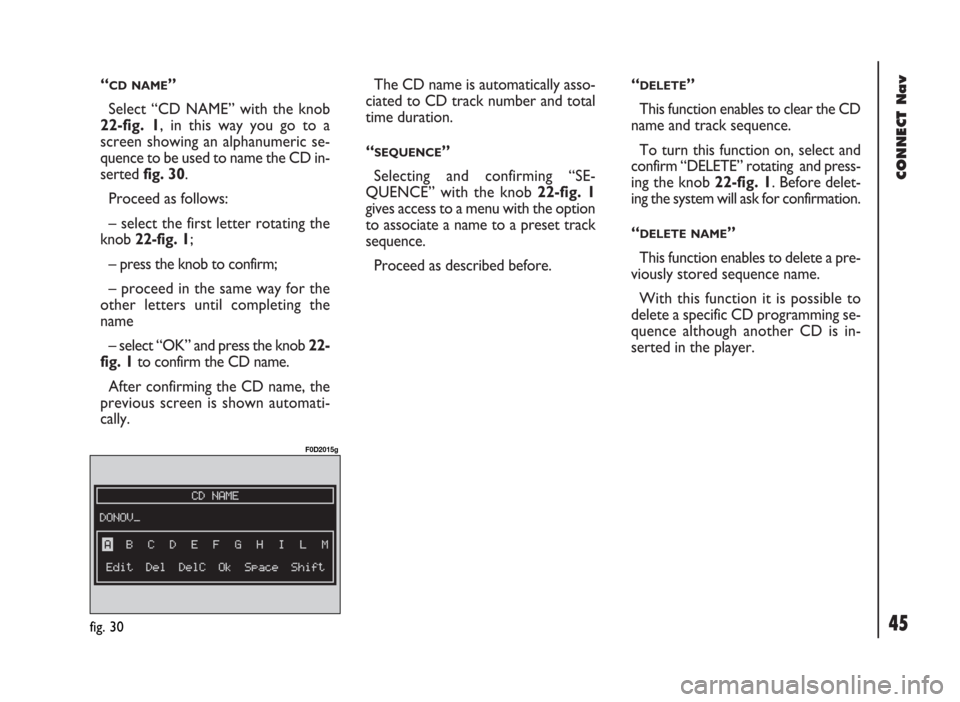
Select “CD NAME” with the knob
22-fig. 1, in this way you go to a
screen showing an alphanumeric se-
quence to be used to name the CD in-
serted fig. 30.
Proceed as follows:
– select the first letter rotating the
knob 22-fig. 1;
– press the knob to confirm;
– proceed in the same way for the
other letters until completing the
name
– select “OK” and press the knob 22-
fig. 1to confirm the CD name.
After confirming the CD name, the
previous screen is shown automati-
cally.The CD name is automatically asso-
ciated to CD track number and total
time duration.
“
SEQUENCE”
Selecting and confirming “SE-
QUENCE” with the knob 22-fig. 1
gives access to a menu with the option
to associate a name to a preset track
sequence.
Proceed as described before.“
DELETE”
This function enables to clear the CD
name and track sequence.
To turn this function on, select and
confirm “DELETE” rotating and press-
ing the knob 22-fig. 1. Before delet-
ing the system will ask for confirmation.
“
DELETE NAME”
This function enables to delete a pre-
viously stored sequence name.
With this function it is possible to
delete a specific CD programming se-
quence although another CD is in-
serted in the player.
fig. 30
F0D2015g
Page 47 of 246

CONNECT Nav
46
Selecting “DELETE NAME” rotating
the knob 22-fig. 1will display the list
of programmed CDs. Select the CD
name to be deleted with the knob 22-
fig. 1and then press it to delete. Se-
lect “OK” to confirm.
“
OK”
To confirm your choices, select and
confirm “OK” with the knob 22-fig. 1;
the name and the associated sequence
will be stored or deleted.
IMPORTANTIn case of buffer full,
a warning message “WARNING,
MEMORY FULL” will be displayed to
point out the problem. The user shall
have to delete some previously stored
CD names. “CD INFO” function
Selecting and confirming “CD INFO”
with the knob 22-fig. 1, will display
a screen with the following informa-
tion:
– CD name;
– track sequence (if defined).“AUDIO SETUP” FUNCTION
(AUDIO ADJUSTMENTS)
To access the audio setup menu
while listening to a CD, select and con-
firm “AUDIO SETUP” with the knob
22-fig. 1.
For the description of the different
functions available in the menu, see the
corresponding paragraph of the “AU-
DIO SETTINGS” chapter.
Page 48 of 246

47
CONNECT Nav
AUDIO SETTINGS
The audio parameters described in this
paragraph can be activated and adjust-
ed with all the audio sources (Radio,
CD).
To display the main menu press the
knob 22-fig. 1, with any audio source
on.
Selezionare tramite la manopola 22-
fig. 1la funzione “AUDIO SETUP” dal
menu principale di una delle sorgenti
audio e confermarla premendo la stes-
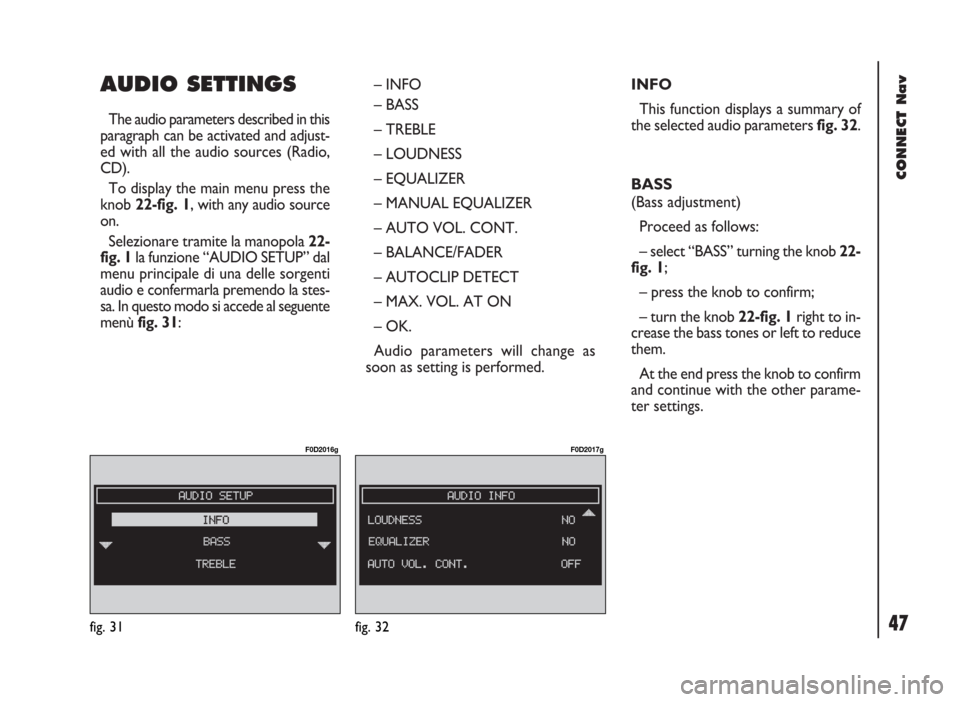
sa. In questo modo si accede al seguente
menù fig. 31: – INFO
– BASS
– TREBLE
– LOUDNESS
– EQUALIZER
– MANUAL EQUALIZER
– AUTO VOL. CONT.
– BALANCE/FADER
– AUTOCLIP DETECT
– MAX. VOL. AT ON
– OK.
Audio parameters will change as
soon as setting is performed.INFO
This function displays a summary of
the selected audio parameters fig. 32.
BASS
(Bass adjustment)
Proceed as follows:
– select “BASS” turning the knob 22-
fig. 1;
– press the knob to confirm;
– turn the knob 22-fig. 1right to in-
crease the bass tones or left to reduce
them.
At the end press the knob to confirm
and continue with the other parame-
ter settings.
fig. 31
F0D2016g
fig. 32
F0D2017g