Page 986 of 2103

Output Disassembly/
MANUAL TRANSAXLE
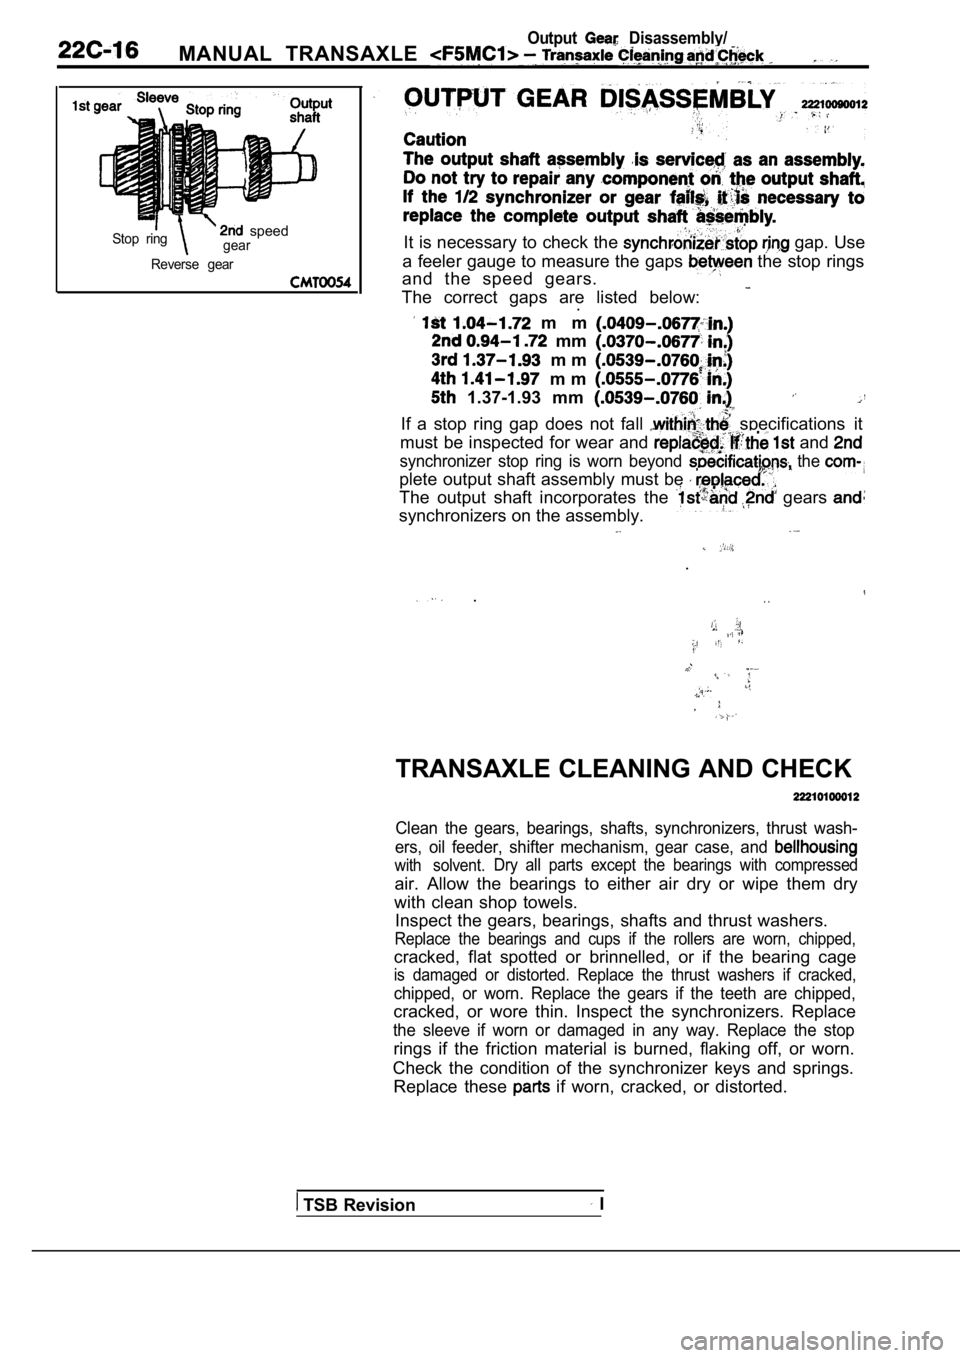
Stop ring speedgear
Reverse gearIt is necessary to check the gap. Use
a feeler gauge to measure the gaps
the stop rings
and the speed gears.
The correct gaps are listed below:
.
m m
mm
m m
m m
1.37-1.93 mm .If a stop ring gap does not fall specifications it
must be inspected for wear and
and
synchronizer stop ring is worn beyond the
plete output shaft assembly must be
The output shaft incorporates the gears
synchronizers on the assembly.
.
.. .
TRANSAXLE CLEANING AND CHECK
Clean the gears, bearings, shafts, synchronizers, t hrust wash-
ers, oil feeder, shifter mechanism, gear case, and
with solvent. Dry all parts except the bearings with compressed
air. Allow the bearings to either air dry or wipe t
hem dry
with clean shop towels. Inspect the gears, bearings, shafts and thrust wash ers.
Replace the bearings and cups if the rollers are wo rn, chipped,
cracked, flat spotted or brinnelled, or if the bearing cage
is damaged or distorted. Replace the thrust washers if cracked,
chipped, or worn. Replace the gears if the teeth are chipped,
cracked, or wore thin. Inspect the synchronizers. R eplace
the sleeve if worn or damaged in any way. Replace t he stop
rings if the friction material is burned, flaking off, or worn.
Check the condition of the synchronizer keys and sp rings.
Replace these
if worn, cracked, or distorted.
TSB Revision I
Page 990 of 2103
MANUAL TRANSAXLE Synchronizer
DISASSEMBLY
Place synchronizer in a clean shop,, towel Wrap. Press
on inner hub. Carefully open up shop. towel and remove
springs, balls, keys, hub, and sleeve.
CLEAN
Do not attempt to clean the blocking rings in solve nt. The
friction material will become contaminated. Place synchronizer
components in a suitable holder and clean with solv ent. Then
let them air, dry.
TSBRevision
Page 1018 of 2103
AUTOMATIC TRANSAXLE ENGINE
(TURBO) AND
ENGINE> S p e c i a l T o o l s
ToolTool number and name
461
460
Plug
General service tool*
G E N E R A L S E R V I C E
TOOL
Engine lifter
453
Engine hanger
assembly
TSB Revision
l Tie rod end ball joint andknuckle disconnectionLateral lower arm ball joir
and
lCompression, lower arm bajoint and tion
To prevent foreign substances
from entering transaxle case
l : Use shop towel
To support the engine assembly
during removal and installation of
the transaxle
To support the engine assembly
removal and installation of
transaxle
193
Plug
General service toolTo prevent foreign substances
from entering transfer
yoke holder
Hub fixing
Page 1208 of 2103

AUTOMATIC TRANSAXLE
OVERHAUL General Information
GENERAL INFORMATION
Precautions to be taken when disassembling and the
l
Because the automatic transaxle is composed of component parts high degree of
precision, these parts should be very carefully han dled during disassembly andassembly so as not
to scar or scratch them.
A rubber mat should be placed on the workbench, it should kept clean.
During disassembly, cloth gloves or shop towels sho uld not be used. If
items must be used,
either use articles made of nylon, or use paper tow els.
All disassembled parts must be thoroughly cleaned.
Metal parts may be cleaned with ordinary detergents , but must be thoroughly air dried.
Clean the clutch disc, resin thrust plate and rubber parts by using transmission fluid),
being very careful that dust, dirt, etc. do not adhere to them.
Do not reuse gaskets, oil seals, or rubber parts.
Replace such parts with new ones at every reassembl y. The’ O-ring of the oil level gauge need not
be replaced.
Do not use grease other than petrolatum jelly.
Apply ATF to friction components, rotating parts, a nd sliding parts before installation.
A new clutch disc should be immersed in ATF for at least two hours before installation.
Do not apply sealer or adhesive to gaskets.
When a bushing
be replaced, replace the assembly in which incorporated.
If the transaxle main unit is damaged, also disasse mble and clean the cooler system.
TSBRevision
Page 1231 of 2103
A U T O M A T I C T R A N S A X L E
OVERHAUL
I
the transfer shaft ‘on the end of the converter
housing.
I .
the lock nut.
Caution
The lock nut is a left-handed screw.
out the transfer shaft toward the converter housing
end and remove the transfer shaft and transfer driv en
gear.
the outer races from the transfer shaft bearing.
the set screw, sprag rod and remove the manual
control shaft assembly, detent plate.
TSB Revision
Page 1242 of 2103
AUTOMATIC TRANSAXLE
OVERHAUL Transaxle
D-ringO-ring
servo pistonservo
the anchor rod the transaxle case. .
.
a new teflon seal ring and a new D-ring in the
grooves of the servo piston, and apply automatic
transmission fluid to the
a new O-ring to the groove of‘ servo
sleeve, and apply automatic transmission fluid to the ring.
the servo piston with the sleeve.,
the spring on the servo piston and sleeve
assembly, and insert them together in the
making sure that the end gap of the teflon seal of
the
servo piston does not interfere with, the
fluid apply hole provided in the servo bore of the transaxle
case.
the special tools, push in the servo piston
and sleeve assembly, and then install the snap
,
,
the band; attach the. ends of the band
to the ends of the anchor rod and servo piston rod.
NOTE
Install the band with the arrow mark ‘facing toward oil
Page 1286 of 2103

AUTOMATIC TRANSAXLE
OVERHAUL
General
Precautions to be taken when disassembling and the
Because the automatic transaxle is of component parts of especially high degree of
precision, these parts should be very carefully han dled during disassembly and assembly so as not
to scar or scratch them.
A rubber mat should be placed on the and it should always be kept clean.
During disassembly, cloth gloves or shop towels, sh ould not be used.
such items must be used,
either use articles made of nylon, or use paper tow els.
All disassembled parts must be thoroughly cleaned.
Metal parts may be cleaned with ordinary but must thoroughly air dried.
Clean the clutch disc, resin thrust plate and rubbe r parts by using ATF (automatic transmission fluid) ,
being very careful that dust, dirt, etc. do not adhere to them.
Do not reuse gaskets, oil seals, or, rubber parts.
Replace such parts with new ones at every reassembl y. The oil’ gauge need not
be replaced.
Do not use grease other than petrolatum jelly.
Apply ATF to friction components, rotating
and sliding parts before installation.
A new clutch disc should be immersed in ATF for at least two hours before installation.
Do not apply sealer or adhesive to gaskets.
When a bushing must be replaced, replace the assemb ly in which it is incorporated:,
If the transaxle main unit is damaged, also disasse
mble and clean the ‘cooler system.,
TSB Revision
Page 1448 of 2103
AUTOMATIC.
cooler .
‘Caution
cooler must If
has
clean old When
end toward rear
oil pump gasket.
o i l
Caution
Be sure oil pump Is
attaching
r e t u r n
TSB Revision