Page 644 of 2103
Terminal 2Terminal 4
--
9. When not using the scan tool, proceed as follows :
(1) Disconnect the throttle position connectors
and connect the special tool.
set, be-
tween the disconnected connectors.
(2) Connect a digital voltmeter
throttle
tion sensor terminal 2 (sensor output) and
4 (sensor ground.)
10. Turn the ignition switch ON (but do not start th e engine).:
11. Check the throttle position sensor voltage.
value:
__
12. If there is a deviation from the’ standard value, check
the throttle position sensor and the
13. Remove the feeler gauge.
14. Switch OFF the ignition switch.
.
,
. .
Page 646 of 2103

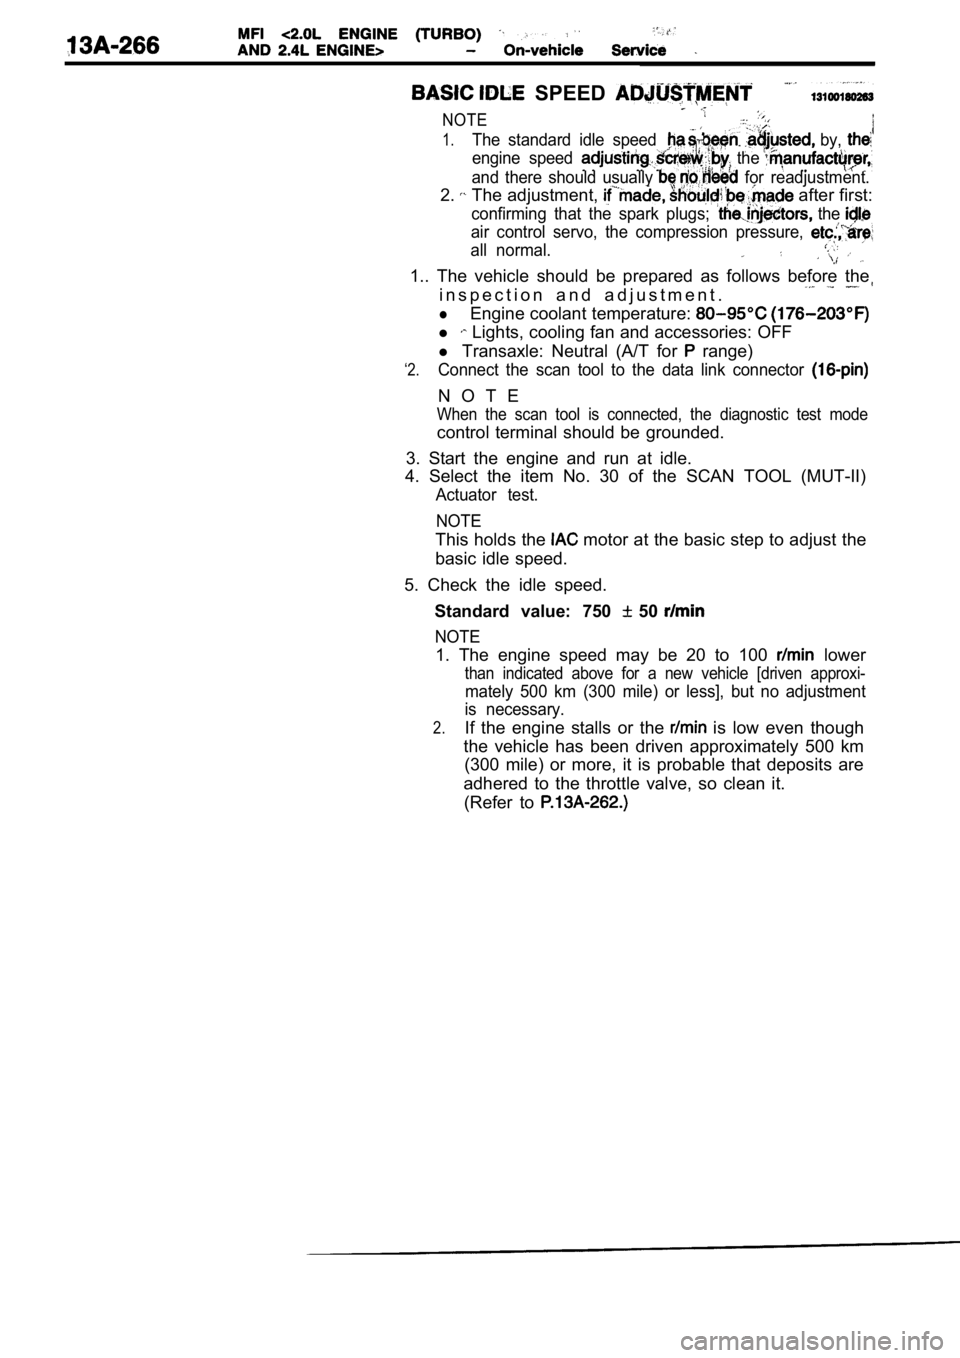
SPEED
NOTE
1.The standard idle speed by,
engine speed the
and there should usually for readjustment.
2. The adjustment, after first:
confirming that the spark plugs; the
air control servo, the compression pressure,
all normal.
1.. The vehicle should be prepared as follows before the
i n s p e c t i o n a n d a d j u s t m e n t .
lEngine coolant temperature:
l Lights, cooling fan and accessories: OFF
‘2.
l Transaxle: Neutral (A/T for range)
Connect the scan tool to the data link connector
N O T E
When the scan tool is connected, the diagnostic tes t mode
control terminal should be grounded.
3. Start the engine and run at idle.
4. Select the item No. 30 of the SCAN TOOL (MUT-II)
Actuator test.
NOTE
This holds the motor at the basic step to adjust the
basic idle speed.
5. Check the idle speed. Standard value: 750
50
NOTE
1. The engine speed may be 20 to 100 lower
than indicated above for a new vehicle [driven appr oxi-
mately 500 km (300 mile) or less], but no adjustment
is necessary.
2.If the engine stalls or the is low even though
the vehicle has been driven approximately 500 km (300 mile) or more, it is probable that deposits ar e
adhered to the throttle valve, so clean it. (Refer to
Page 647 of 2103
If not within the standard value range, turn the engine
speed adjusting screw to make the necessary adjustm ent.
NOTE
If the idling speed is higher standard value
even when the engine speed adjusting screw’ fully
closed, check whether or not there is any indicatio n that
the fixed SAS has been moved. If there
indication
that it ‘has been moved,
the fixed SAS. If there;
are no indications that it has been moved, it
possible
that there is leakage as a result
of the
fast idle air valve (FIAV), and, if so, the throttl e body
should be replaced.
7.Press the scan tool clear key, and release the motor
from the Actuator test‘ mode.
NOTE
Unless the motor is the Actuator test mode.
will continue 27 minutes.
8. Switch the ignition switch.
9. Disconnect the scan tool. 10. Start the engine again and let it run at idle s peed for
about 10 minutes; check to be the condition
is normal.
,
. .
Page 648 of 2103

Fuel pressure
O-ring or gasket
.
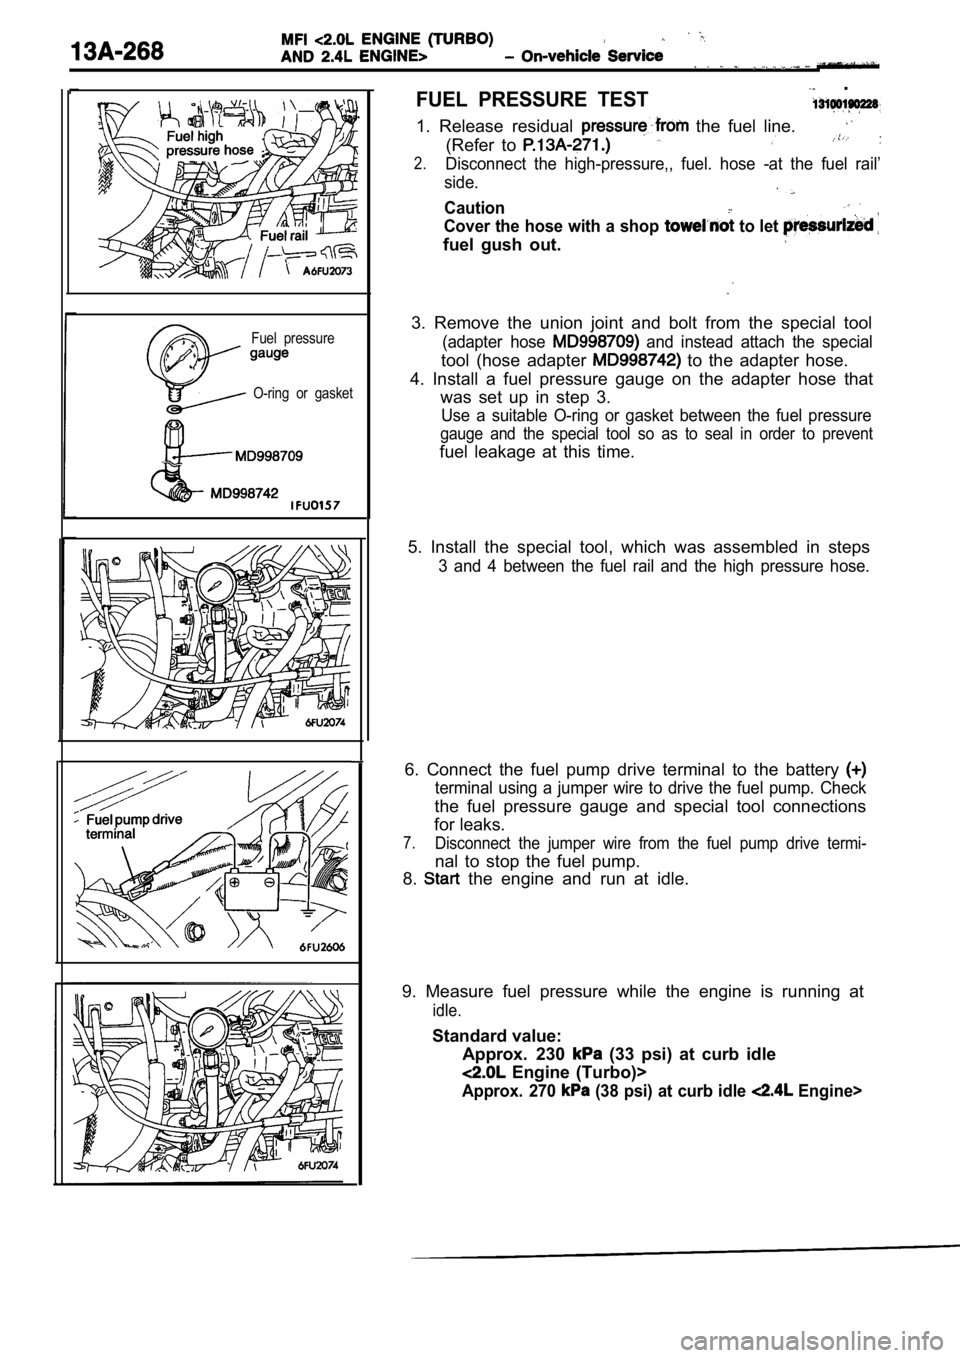
FUEL PRESSURE TEST
1. Release residual the fuel line.
(Refer to
2.Disconnect the high-pressure,, fuel. hose -at the fuel rail’
side.
Caution
Cover the hose with a shop to let
fuel gush out.
3. Remove the union joint and bolt from the special tool
(adapter hose and instead attach the special
tool (hose adapter to the adapter hose.
4. Install a fuel pressure gauge on the adapter hos e that
was set up in step 3.
Use a suitable O-ring or gasket between the fuel pr essure
gauge and the special tool so as to seal in order t o prevent
fuel leakage at this time.
5. Install the special tool, which was assembled in steps
3 and 4 between the fuel rail and the high pressure hose.
6. Connect the fuel pump drive terminal to the batt ery
terminal using a jumper wire to drive the fuel pump. Check
the fuel pressure gauge and special tool connection s
for leaks.
7.Disconnect the jumper wire from the fuel pump drive termi-
nal to stop the fuel pump.
8.
the engine and run at idle.
9. Measure fuel pressure while the engine is runnin g at
idle.
Standard value:
Approx. 230
(33 psi) at curb idle
Engine (Turbo)>
Approx. 270 (38 psi) at curb idle Engine>
Page 649 of 2103

AND On-vehicle
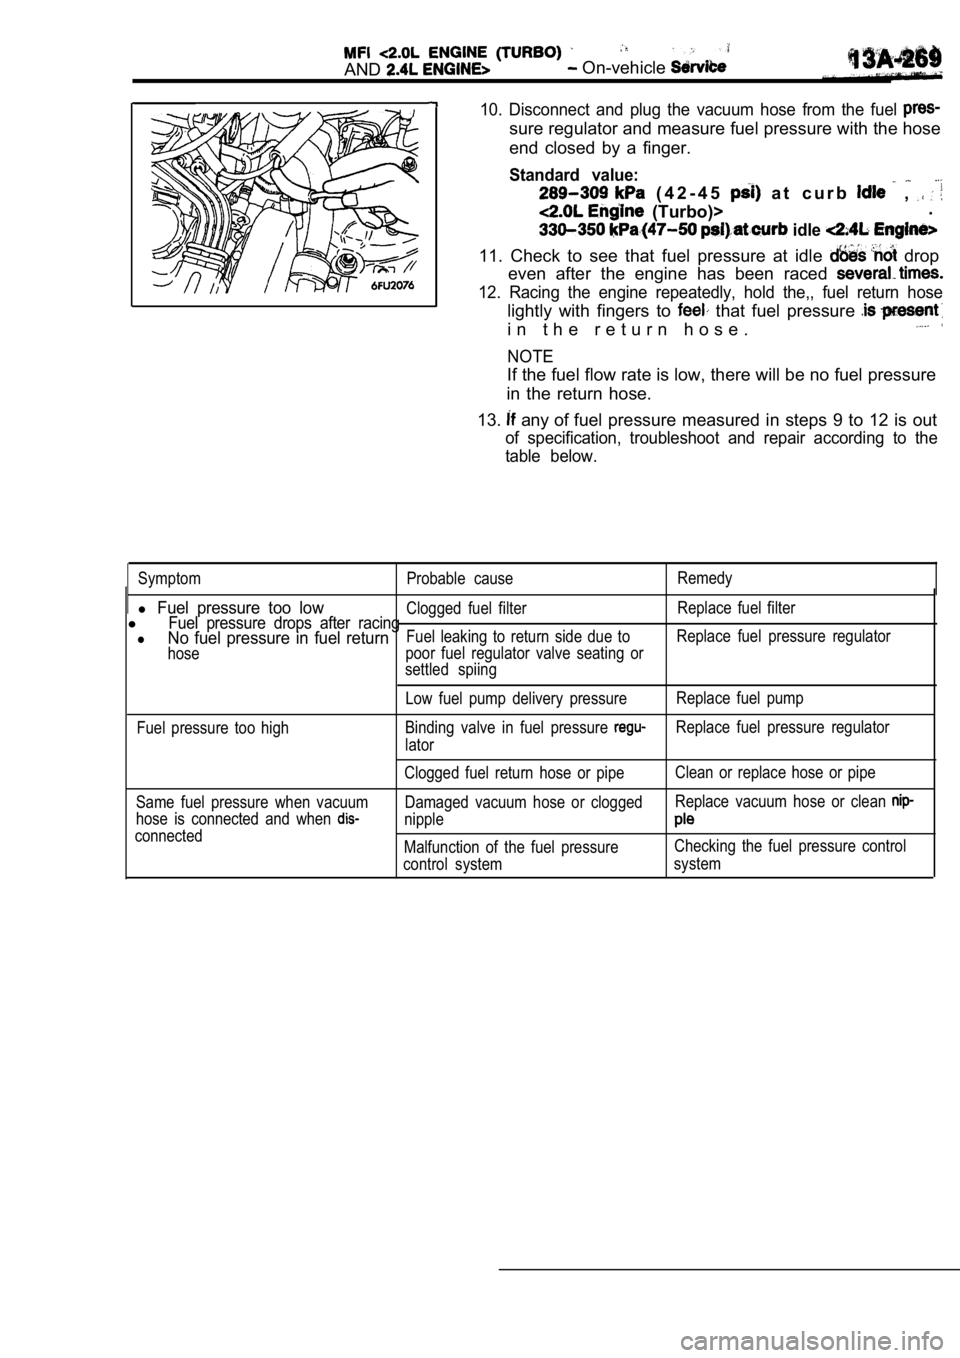
10. Disconnect and plug the vacuum hose from the fuel
sure regulator and measure fuel pressure with the hose
end closed by a finger.
Standard value:
( 4 2 - 4 5 a t c u r b ,
(Turbo)> .
idle
11. Check to see that fuel pressure at idle drop
even after the engine has been raced
12. Racing the engine repeatedly, hold the,, fuel r eturn hose
lightly with fingers to that fuel pressure
i n t h e r e t u r n h o s e .
NOTE
If the fuel flow rate is low, there will be no fuel pressure
in the return hose.
13.
any of fuel pressure measured in steps 9 to 12 is out
of specification, troubleshoot and repair according to the
table below.
Symptom Probable cause Remedy
l Fuel pressure too lowClogged fuel filterReplace fuel filterlFuel pressure drops after racinglNo fuel pressure in fuel returnFuel leaking to return side due toReplace fuel pressure regulator
hose poor fuel regulator valve seating or
settled spiing
Low fuel pump delivery pressure Replace fuel pump
Fuel pressure too high Binding valve in fuel pressure
Replace fuel pressure regulator
lator
Same fuel pressure when vacuum
hose is connected and when
connected Clogged fuel return hose or pipe
Clean or replace hose or pipe
Damaged vacuum hose or clogged Replace vacuum hose or clean
nipple
Malfunction of the fuel pressureChecking the fuel pressure control
control system system
Page 650 of 2103
14. Stop the engine and
Normal if the reading does
it observe
repair according to “the table,
SymptomProbable
Fuel pressure drops gradually afterLeaky injector
engine is stopped inject&. . ,
Leaky fuel regulator valve seat
Fuel pressure drops Check is held. .mediately after engine is stopped open
15. Release residual pressure from the fuel pipe li ne.
(Refer
16. Remove the fuel pressure gauge and special tool from
the fuel rail.
Caution
Cover the hose connection with a shop towel to pre-
vent splash of fuel that could be caused by some residual pressure in the fuel pipe line.
17. Replace the O-ring at the end of the fuel high pressure
hose with a new one.
16. Fit the fuel high pressure the fuel rail and tighten
the bolts specified torque.
T i g h t e n i n g
‘Apply
drive drive the fuel pump.
(2) Check
fuel for leaks, repair as needed.
,
,
.
.
Page 651 of 2103

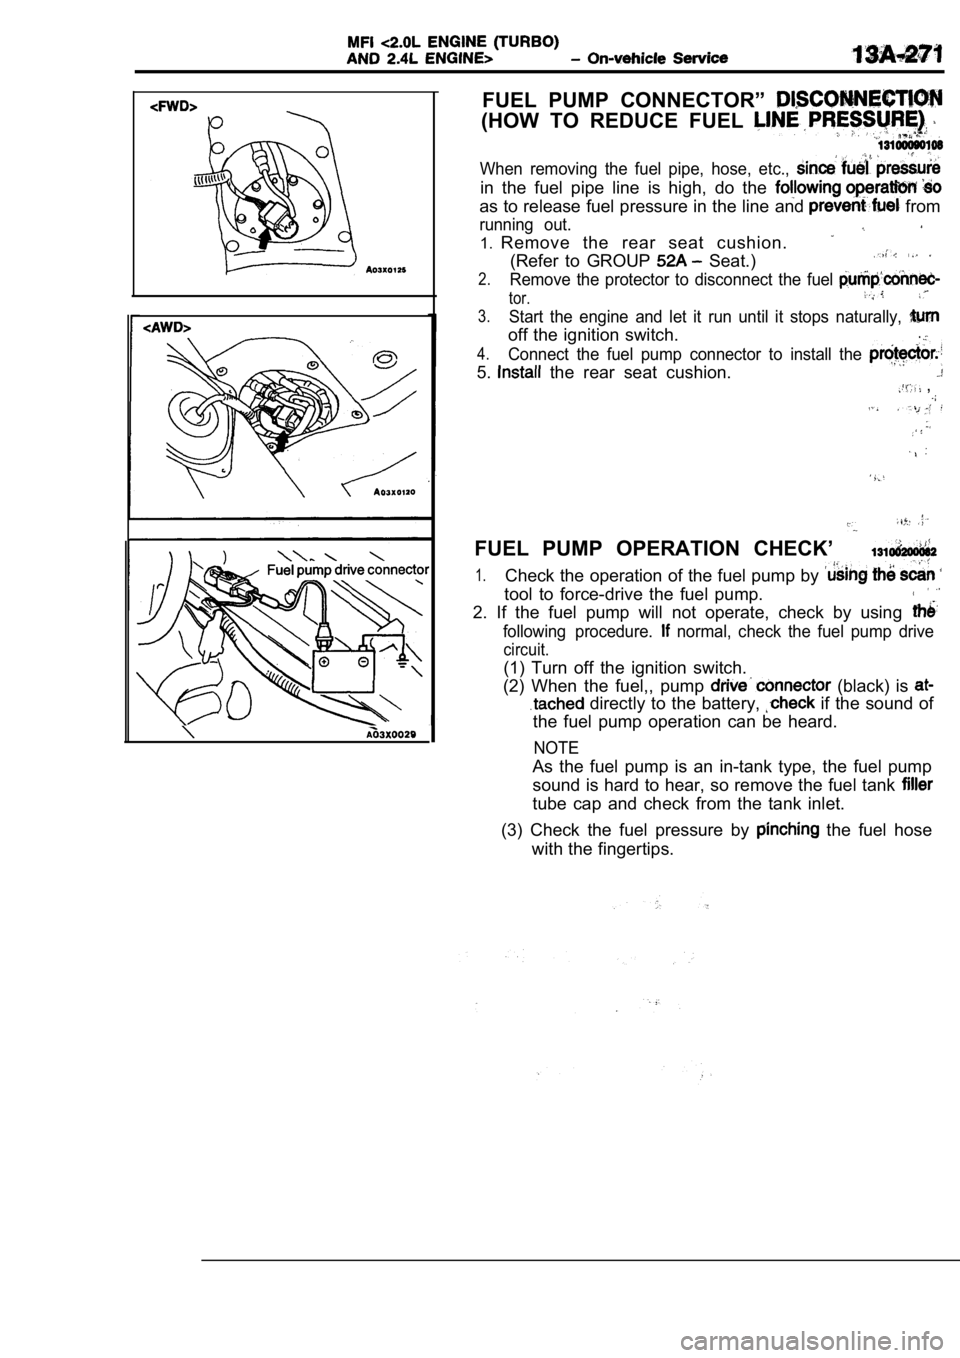
FUEL PUMP CONNECTOR”
(HOW TO REDUCE FUEL
When removing the fuel pipe, hose, etc.,
in the fuel pipe line is high, do the
as to release fuel pressure in the line and from
running out.
1.Remove the rear seat cushion.
(Refer to GROUP Seat.)
2.Remove the protector to disconnect the fuel
tor.
3.Start the engine and let it run until it stops natu rally,
off the ignition switch..
4.Connect the fuel pump connector to install the
5. the rear seat cushion. ,
FUEL PUMP OPERATION CHECK’
1.Check the operation of the fuel pump by
tool to force-drive the fuel pump.
2. If the fuel pump will not operate, check by usin g
following procedure. normal, check the fuel pump drive
circuit.
(1) Turn off the ignition switch.
(2) When the fuel,, pump
(black) is
directly to the battery, if the sound of
the fuel pump operation can be heard.
NOTE
As the fuel pump is an in-tank type, the fuel pump
sound is hard to hear, so remove the fuel tank
tube cap and check from the tank inlet.
(3) Check the fuel pressure by
the fuel hose
with the fingertips.
Page 652 of 2103
COMPONENT LOCATION
Engine (Turbo)>
Name
Air conditioning compressor clutch relay
Air conditioning switch Camshaft position sensor
Check engine/Malfunction indicator lamp
Crankshaft position sensor Data link connector
EGR solenoid
Engine control module (ECM)
Engine coolant temperature sensor
Evaporative emission purge solenoid
Fuel pressure solenoid
Fuel pump check terminal
Fuel pump relay
Heated oxygen sensor (Front)
Heated oxygen sensor (Rear)
Idle air control motor Ignition coil (Ignition power transistor)
NOTESymbol NameSymbol
A Injector
Knock sensor
Manifold differential pressure (MDP) sensor
fuel injection (MFI) relay
Park/Neutral position switch
Power steering pressure switch
ResistorI.
Throttle position sensor (with
throttle position switch)
Turbocharger waste gate solenoid
Vehicle speed sensor
Volume air flow sensor (with air
temperature sensor and barometric pressure
sensor)
.
The “Name” column is in alphabetical order.