Page 1903 of 2103
BODY Entry System
Battery
INSPECTION
DOOR LOCK POWER RELAY 2 CHECK
Refer to
REPLACEMENT
(1) insert a screwdriver in a slit in the transmitt er
pry it lightly to open the case. Then take the batt ery out
of the transmitter.
(2) Install a new battery with its positive side do wn.
Replacement battery: Coin typebattery
2
(3) Firmly close the transmitter case.
(4) Check that the
entry system operates properly.
Caution
When the transmitter is opened, be not to
allow water, dust, etc. to
to the
In addition, do not touch the precision electronic
device.
TSB Revision
Page 1906 of 2103

42-82BODY Sunroof
SUNROOF
GENERAL
A motor-driven outer slide-type glass sunroof with
a tilt-up mechanism is provided as an option fora sufficient amount of lighting and a feeling of
all models. Even when the sunroof is fully closed,
openness can still be obtained by opening the
sunroof sunshade.
SEALANT AND ADHESIVE
Items
Sunroof glass attaching screws
Sunroof glass sealing Specified sealant and adhesive
Loctite Small Screw Threadlocker 222 or equivalent
410 Black Toughened Instant Adhesive or
equivalent
in.)
Hose
ON-VEHICLE SERVICE
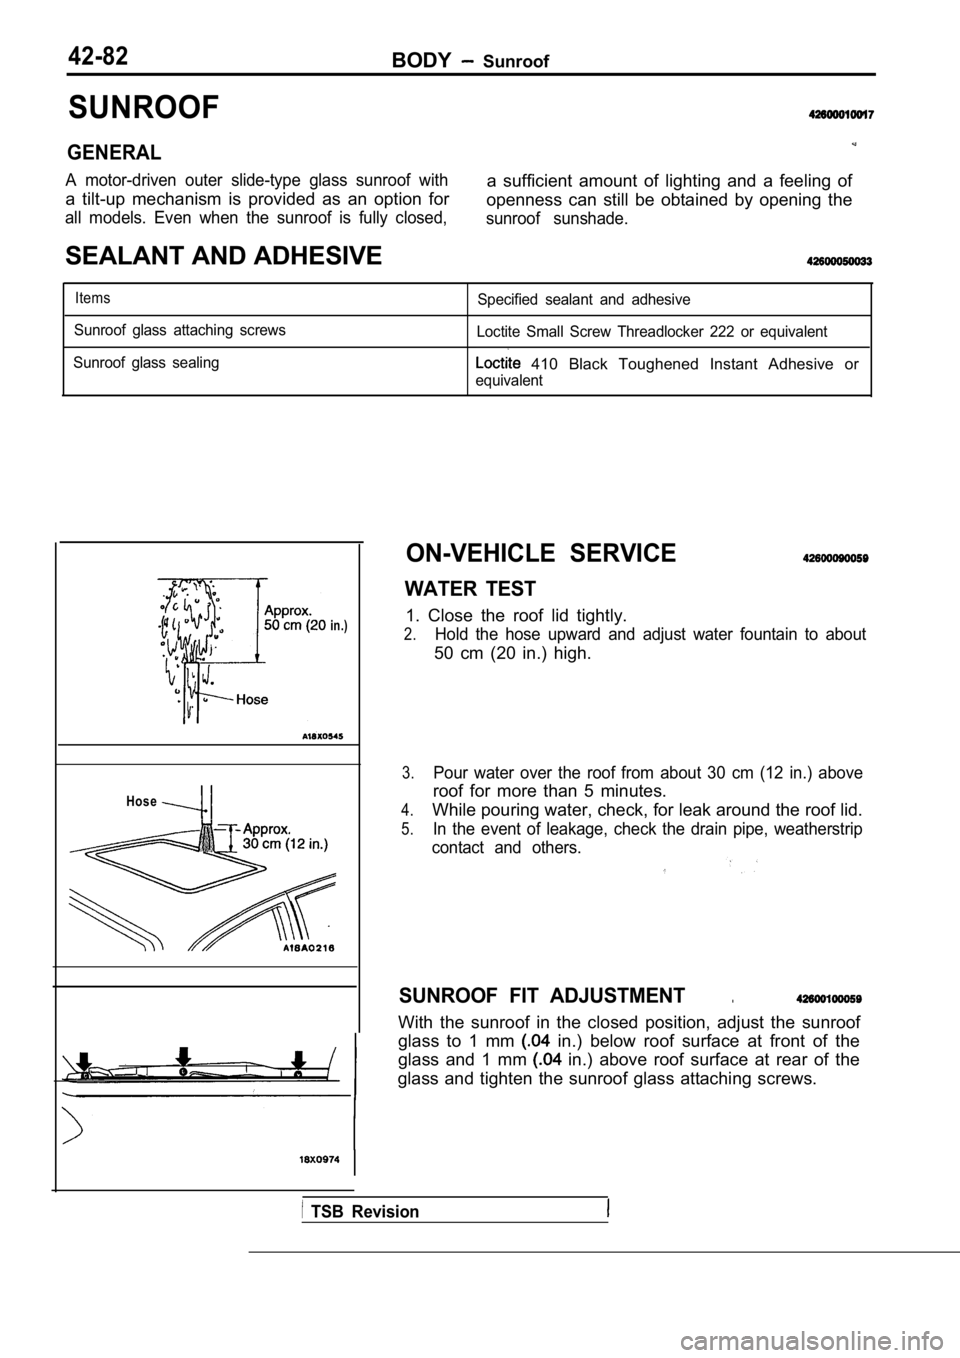
WATER TEST
1. Close the roof lid tightly.
2.Hold the hose upward and adjust water fountain to a bout
50 cm (20 in.) high.
3.Pour water over the roof from about 30 cm (12 in.) above
roof for more than 5 minutes.
4.While pouring water, check, for leak around the roof lid.
5.In the event of leakage, check the drain pipe, weatherstrip
contact and others.
SUNROOF FIT ADJUSTMENT.
With the sunroof in the closed position, adjust the sunroof
glass to 1 mm
in.) below roof surface at front of the
glass and 1 mm
in.) above roof surface at rear of the
glass and tighten the sunroof glass attaching screw s.
TSB Revision
Page 1922 of 2103
42-98BODY Electric Convertible Top
HEADLINER
REMOVAL AND INSTALLATION
‘3
Removal steps
1. Snaps2. Front headliner attaching strap
3. Center headliner attaching strap
4. Headliner
REMOVAL SERVICE POINTS
FRONT HEADLINER ATTACHING STRAPREMOVAL
From a completely closed position, open the convert ible top
half-way.
HEADLINER REMOVAL
Mark the bows lightly at the end of each retainer, then pry
the retainer from the bow. Remove the headliner.
INSTALLATION SERVICE POINT
HEADLINER INSTALLATION
Hook headliner retainer to back side of bow, then a lign the
end of the retainer with the mark and snap front of retainer
onto bow completely.
Page 1931 of 2103

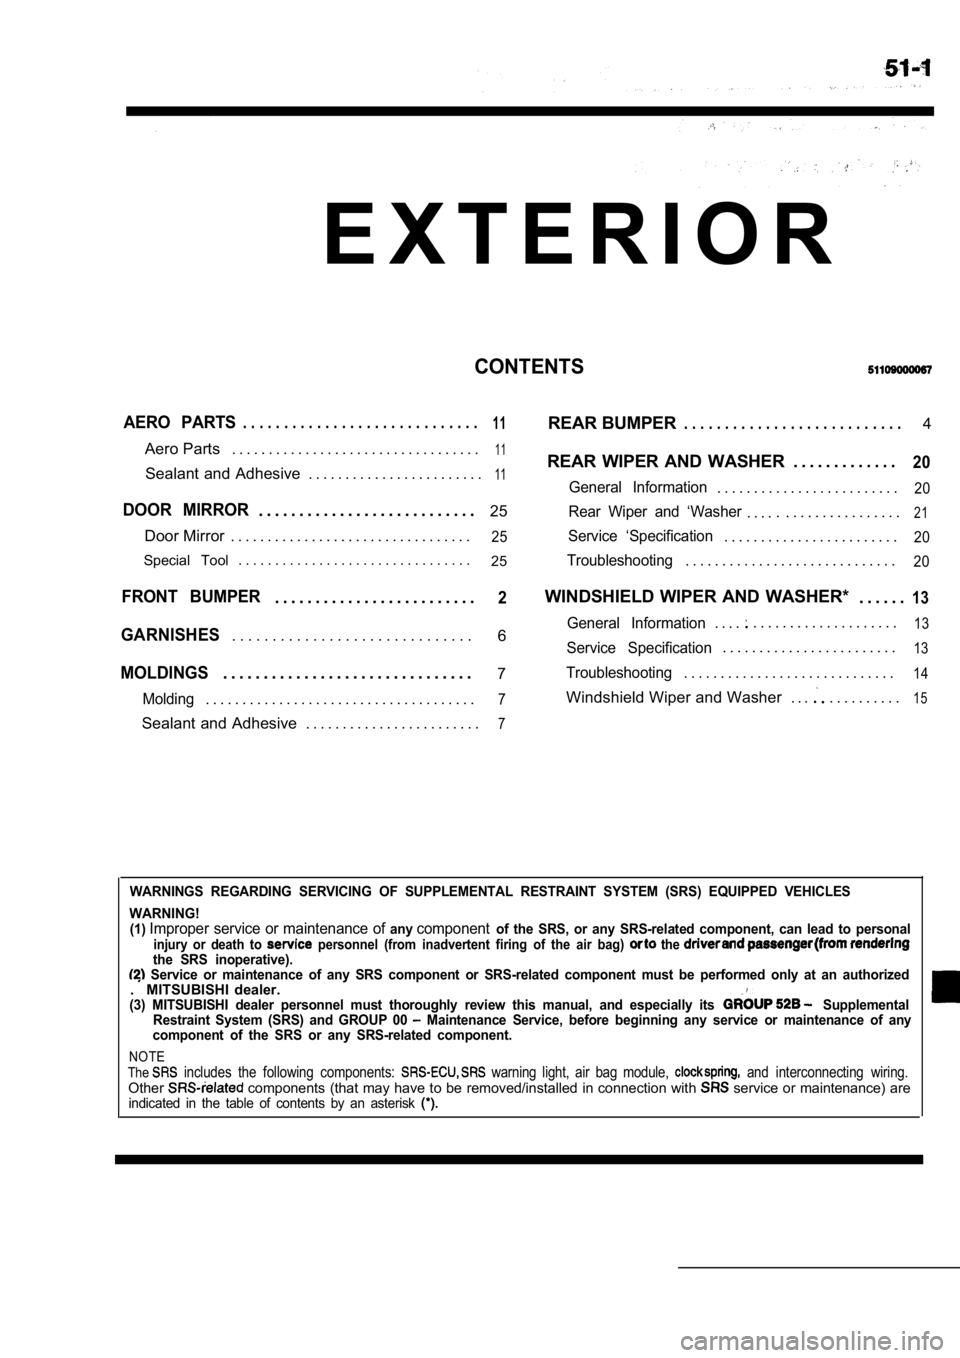
E X T E R I O R
CONTENTS
AERO PARTS. . . . . . . . . . . . . . . . . . . . . . . . . . . . .11REAR BUMPER. . . . . . . . . . . . . . . . . . . . . . . . . . .4
Aero Parts . . . . . . . . . . . . . . . . . . . . . . . . . . . . . . . . . .
11REAR WIPER AND WASHER . . . . . . . . . . . . .20Sealant and Adhesive . . . . . . . . . . . . . . . . . . . . . . . .11General Information. . . . . . . . . . . . . . . . . . . . . . . . .20
DOOR MIRROR. . . . . . . . . . . . . . . . . . . . . . . . . . . 25Rear Wiper and ‘Washer. . . .. . . . . . . . . . . . . . . . .21
Door Mirror . . . . . . . . . . . . . . . . . . . . . . . . . . . . . . . . .25Service ‘Specification. . . . . . . . . . . . . . . . . . . . . . . .20
Special Tool . . . . . . . . . . . . . . . . . . . . . . . . . . . . . . . .
25Troubleshooting. . . . . . . . . . . . . . . . . . . . . . . . . . . . .20
FRONT BUMPER. . . . . . . . . . . . . . . . . . . . . . . . .2WINDSHIELD WIPER AND WASHER* . . . . . .13
6General Information. . . .. . . . . . . . . . . . . . . . . . . .13GARNISHES. . . . . . . . . . . . . . . . . . . . . . . . . . . . . .Service Specification. . . . . . . . . . . . . . . . . . . . . . . .13
MOLDINGS. . . . . . . . . . . . . . . . . . . . . . . . . . . . . . .7Troubleshooting. . . . . . . . . . . . . . . . . . . . . . . . . . . . .14
Molding. . . . . . . . . . . . . . . . . . . . . . . . . . . . . . . . . . . . .7Windshield Wiper and Washer . . .. . . . . . . . . .15
Sealant and Adhesive . . . . . . . . . . . . . . . . . . . . . . . .7
WARNINGS REGARDING SERVICING OF SUPPLEMENTAL RESTRA INT SYSTEM (SRS) EQUIPPED VEHICLES
WARNING! (1)
Improper service or maintenance of anycomponentof the SRS, or any SRS-related component, can lead to personalinjury or death to personnel (from inadvertent firing of the air bag) the the SRS inoperative). Service or maintenance of any SRS component or SRS -related component must be performed only at an authorized. MITSUBISHI dealer.(3) MITSUBISHI dealer personnel must thoroughly rev iew this manual, and especially its Supplemental
Restraint System (SRS) and GROUP 00 Maintenance Service, before beginning any service or maintenance of any
component of the SRS or any SRS-related component.
NOTE
The includes the following components: warning light, air bag module, and interconnecting wiring.Other components (that may have to be removed/installed in connection with service or maintenance) areindicated in the table of contents by an asterisk
Page 1932 of 2103
EXTERIOR Front Bumper
FRONT BUMPER
,
REMOVAL AND INSTALLATIONPre-removal and Post-installation Operation
Splash shield Removal and Installation
(Refer to GROUP 42
Under Cover.)
6
1
Removal steps
1. Front side-marker light
2. Front bumper center plate
3. Front bumper assembly 4. bumper corner plate5. Pad Front fascia bracket
TSB Revision
Page 1933 of 2103
EXTERIOR Front Bumper
DISASSEMBLY AND REASSEMBLY
8
Disassembly
1. Front fog light bezel
2. Air intake cover
3. Front license plate bracket
4. Bolt plate
5. Front bumper side plate 6. Front bumper 7. Front bumper core
8. Front bumper stay assembly
9. Front bumper face
TSB Revision
Page 1934 of 2103
REAR BUMPER
REMOVAL AND INSTALLATION
EXTERIOR Rear Bumper
and Post-installation Operation
Rear End Trim and Rear Side Trim Removal and
Installation (Refer to GROUP
Trims.)
5
Removal steps
1. Rear panel garnish
2. Rear combination light 3. Rear bumper upper plate (A)
4. Rear bumper upper plate (B)
5. Connector harness6. Rear bumper assembly
7. Rear bumper side plate
TSB Revision
Page 1935 of 2103
EXTERIOR Rear, Bumper
DISASSEMBLY AND REASSEMBLY
6
8 ’
3
Disassembly steps
1. License plate light
2. Back-up light
3. Rear bumper lower plate
4. Rear bumper reinforcement 5. Rear bumper core
6. Rear bumper stay assembly
7. License plate light bracket
8. Rear bumper face
TSB RevisionI