1990 MITSUBISHI SPYDER ESP
[x] Cancel search: ESPPage 1997 of 2103
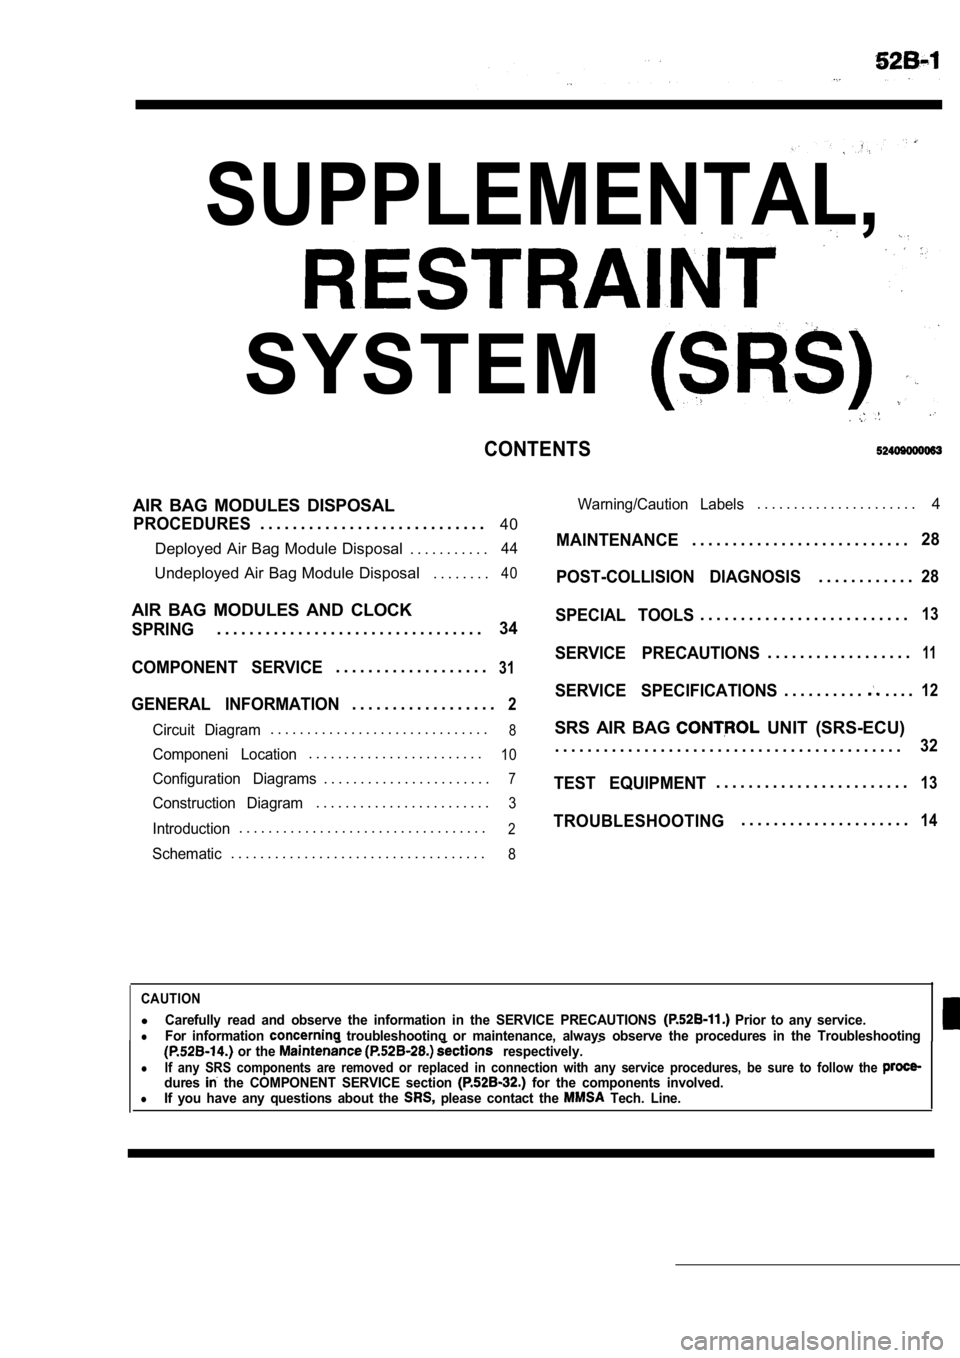
SUPPLEMENTAL,
SYSTEM
CONTENTS
AIR BAG MODULES DISPOSAL
PROCEDURES. . . . . . . . . . . . . . . . . . . . . . . . . . . .40
Deployed Air Bag Module Disposal . . . . . . . . . . .
44
Undeployed Air Bag Module Disposal . . . . . . . .40
AIR BAG MODULES AND CLOCK
SPRING. . . . . . . . . . . . . . . . . . . . . . . . . . . . . . . . .34
COMPONENT SERVICE
. . . . . . . . . . . . . . . . . . .31
GENERAL INFORMATION. . . . . . . . . . . . . . . . . .2
Circuit Diagram. . . . . . . . . . . . . . . . . . . . . . . . . . . . . .8
Componeni Location. . . . . . . . . . . . . . . . . . . . . . . .10
Configuration Diagrams. . . . . . . . . . . . . . . . . . . . . . .7
Construction Diagram. . . . . . . . . . . . . . . . . . . . . . . .3
Introduction. . . . . . . . . . . . . . . . . . . . . . . . . . . . . . . . . .2
Schematic. . . . . . . . . . . . . . . . . . . . . . . . . . . . . . . . . . .8
Warning/Caution Labels. . . . . . . . . . . . . . . . . . . . . . 4
MAINTENANCE. . . . . . . . . . . . . . . . . . . . . . . . . . .28
POST-COLLISION DIAGNOSIS
. . . . . . . . . . . .28
SPECIAL TOOLS. . . . . . . . . . . . . . . . . . . . . . . . . .13
SERVICE PRECAUTIONS. . . . . . . . . . . . . . . . . .11
SERVICE SPECIFICATIONS. . . . . . . . . .. . . .12
SRS AIR BAG UNIT (SRS-ECU)
. . . . . . . . . . . . . . . . . . . . . . . . . . . . . . . . . . . . . . . . . . .
32
TEST EQUIPMENT. . . . . . . . . . . . . . . . . . . . . . . .13
TROUBLESHOOTING. . . . . . . . . . . . . . . . . . . . .14
CAUTION
lCarefully read and observe the information in the S ERVICE PRECAUTIONS Prior to any service.lFor information troubleshooting or maintenance, always observe the procedures in the Troubleshooting or the respectively.
lIf any SRS components are removed or replaced in co nnection with any service procedures, be sure to follow the dures the COMPONENT SERVICE section for the components involved.lIf you have any questions about the please contact the Tech. Line.
Page 1998 of 2103
SRS General Information
GENERAL INFORMATION
INTRODUCTION
The Supplemental Restraint System (SRS) is
signed to supplement the driver’s and front passen-
ger’s seat belts to help reduce the risk or severity
of injury to the driver and front passenger by acti vat-
ing and deploying both air bags in certain frontal
collisions.
The SRS consists of: two air bag modules; one
located in the center of the steering wheel and
another one located above the glove box, which
contains. the folded air bag and an inflator unit;
the SRS air bag control unit (SRS-ECU) located
under the floor console assembly, which monitors
the system, and which contains a safing
sensor
and analog
sensor; an SRS warning light located
on the instrument panel, which indicates the
tional status of the SRS; spring-interconnec-
tion located within the the
It is not until the SRS-ECU in response to the outp ut
signal from the analog sensor, finds it necessary
to ignite the air bag, and the safing sensor is
caused to be ON that the SRS deploys the air
bag.
Only authorized service personnel should do work
on or around SRS components. Those service per-
sonnel should read this manual carefully before
starting any such work. Extreme care must be used
when servicing the SRS, to avoid
to the ser-
vice personnel (by inadvertent deployment of the
air bag) or to driver (by rendering the SRS inopera -
tive).
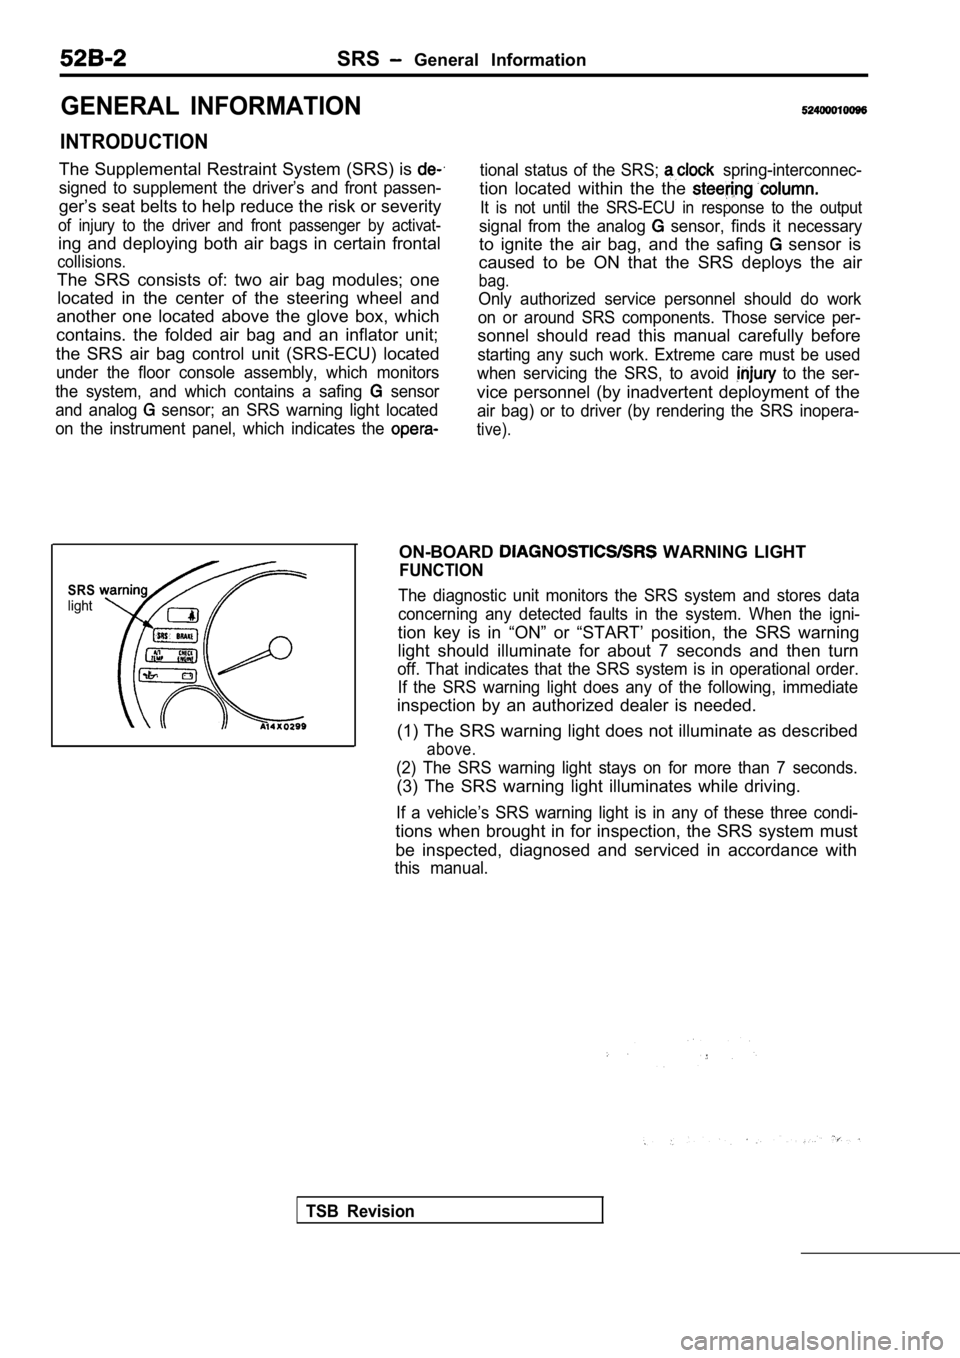
SRSlight
ON-BOARD WARNING LIGHT
FUNCTION
The diagnostic unit monitors the SRS system and sto res data
concerning any detected faults in the system. When the igni-
tion key is in “ON” or “START’ position, the SRS wa rning
light should illuminate for about 7 seconds and the n turn
off. That indicates that the SRS system is in operational order.
If the SRS warning light does any of the following, immediate
inspection by an authorized dealer is needed.
(1) The SRS warning light does not illuminate as de scribed
above.
(2) The SRS warning light stays on for more than 7 seconds.
(3) The SRS warning light illuminates while driving.
If a vehicle’s SRS warning light is in any of these three condi-
tions when brought in for inspection, the SRS syste m must
be inspected, diagnosed and serviced in accordance with
this manual.
TSB Revision
Page 2040 of 2103

SRS Air Baa Module Procedures
Strong
bag module
At alocation as far away from the air bag as
possible, and from a shielded position, if possible , discon-
nect the two connected wires from each other and co nnect
them to the two terminals of- the battery (removed from
the vehicle) to deploy the air bag.
Caution
1. Before deployment, check carefully to be sure that no one is nearby.
2.The inflator will be quite hot immediately followin g’
deployment, so wait at least 30 minutes to allow
it to cool before attempting. to handle it.
Although not poisonous, do not inhale gas from
air bag deployment. See Deployed Air Bag Module
Disposal Procedures for post-deploy-
ment handling instructions.
3. If the air bag module fails to deploy when the
procedures above are followed, do not go near
the module. Contact the MMSA Tech. Line.
5.Dispose of the air bag module after according
to the Deployed Air Bag Module Disposal Procedures (Refer to
DEPLOYED AIR BAG DISPOSAL
After deployment, the air bag module should be
of in the same manner as any other scrap parts, exc ept
the following points should be carefully noted during disposal.
(1) The inflator will be quite hot immediately foll owing
ment, so wait at least 30 minutes to allow it to co ol before
attempting to handle it.
(2) Do not put water or oil on the air bag after de ployment.
(3) There may be, adhered to the deployed air bag module,
material that could irritate the eyes
skin, so wear
gloves and safety goggles when handling a deployed
air bag module. IF DESPITE THESE PRECAUTIONS,
THE MATERIAL DOES, GET INTO
OR ON
THE SKIN, IMMEDIATELY RINSE THE AFFECTED AREA
WITH A LARGE AMOUNT OF CLEAN WATER. IF ANY
IRRITATION DEVELOPS, SEEK ATTENTION.
(4) Tightly seal the air bag module in a strong pla stic bag
for disposal.
(5) Be sure to always wash your hands after this
operation.
TSB Revision
Page 2041 of 2103
CONTENTS
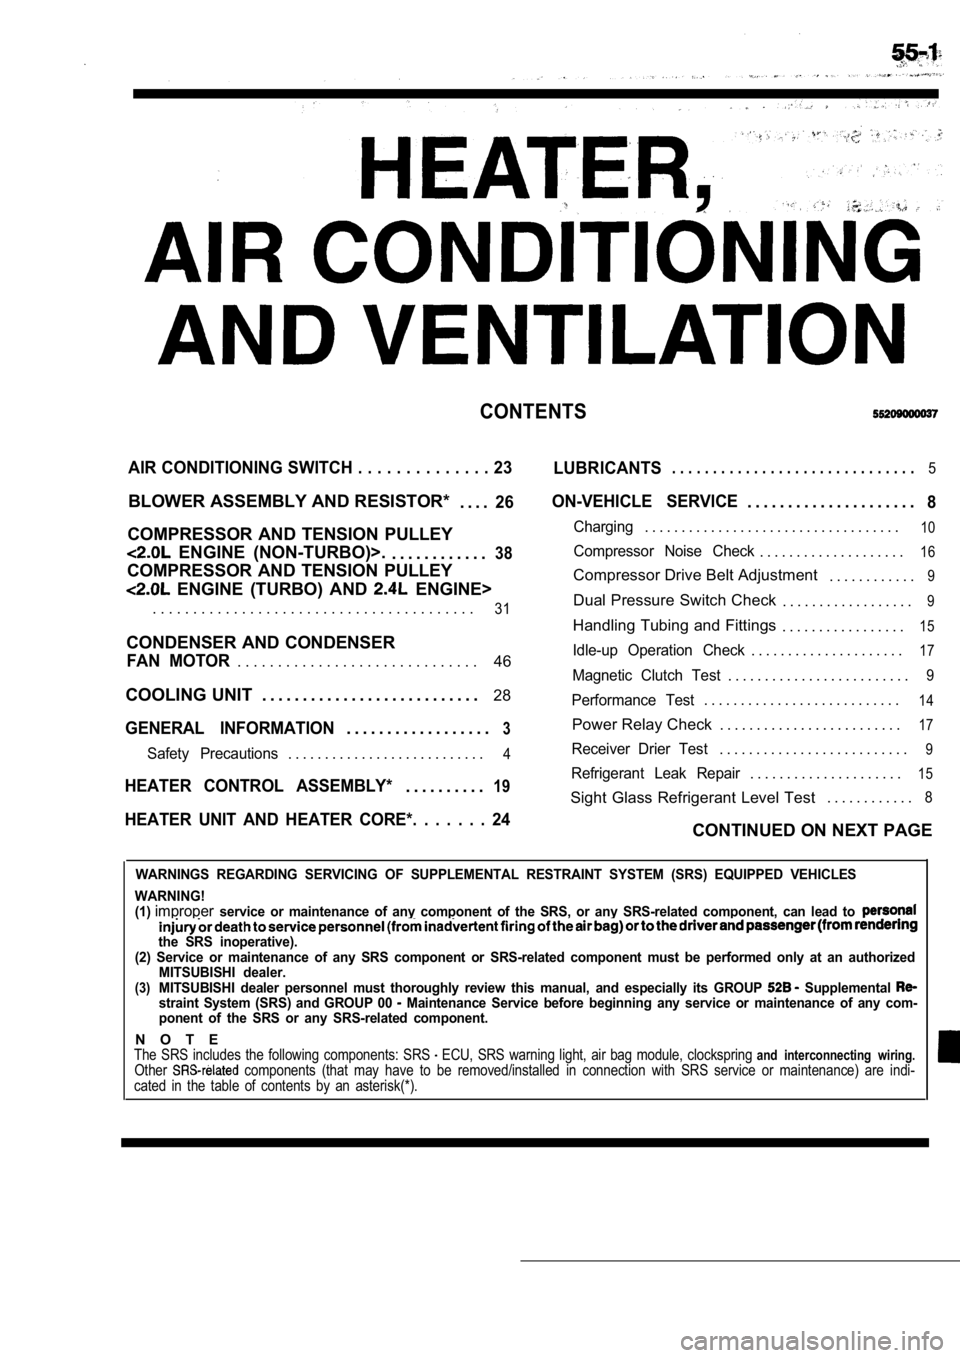
AIR CONDITIONING SWITCH . . . . . . . . . . . . . . 23
LUBRICANTS. . . . . . . . . . . . . . . . . . . . . . . . . . . . . .5
BLOWER ASSEMBLY AND RESISTOR*
. . . .26
COMPRESSOR AND TENSION PULLEY
ENGINE (NON-TURBO)>.. . . . . . . . . . . .38
COMPRESSOR AND TENSION PULLEY
ENGINE (TURBO) AND ENGINE>
ON-VEHICLE SERVICE. . . . . . . . . . . . . . . . . . . . .8
Charging. . . . . . . . . . . . . . . . . . . . . . . . . . . . . . . . . . .10
Compressor Noise Check. . . . . . . . . . . . . . . . . . . .16
Compressor Drive Belt Adjustment . . . . . . . . . . . .9
. . . . . . . . . . . . . . . . . . . . . . . . . . . . . . . . . . . . . . . .31Dual Pressure Switch Check. . . . . . . . . . . . . . . . . .9
Handling Tubing and Fittings. . . . . . . . . . . . . . . . .15
CONDENSER AND CONDENSER
46Idle-up Operation Check. . . . . . . . . . . . . . . . . . . . .17FAN MOTOR. . . . . . . . . . . . . . . . . . . . . . . . . . . . . .Magnetic Clutch Test. . . . . . . . . . . . . . . . . . . . . . . . .9
COOLING UNIT . . . . . . . . . . . . . . . . . . . . . . . . . . . 28
GENERAL INFORMATION3. . . . . . . . . . . . . . . . . .
Performance Test. . . . . . . . . . . . . . . . . . . . . . . . . . .14
Power Relay Check . . . . . . . . . . . . . . . . . . . . . . . . .17
Safety Precautions. . . . . . . . . . . . . . . . . . . . . . . . . . .4Receiver Drier Test. . . . . . . . . . . . . . . . . . . . . . . . . .9
. . . . . . . . . . . . . . . . . . . . .15HEATER CONTROL ASSEMBLY*19Refrigerant Leak Repair. . . . . . . . . .
Sight Glass Refrigerant Level Test . . . . . . . . . . . .8
HEATER UNIT AND HEATER CORE*. . . . . . . 24CONTINUED ON NEXT PAGE
WARNINGS REGARDING SERVICING OF SUPPLEMENTAL RESTRA
INT SYSTEM (SRS) EQUIPPED VEHICLES
WARNING!
(1)
improperservice or maintenance of any component of the SRS, or any SRS-related component, can lead to
the SRS inoperative).
(2) Service or maintenance of any SRS component or SRS-related component must be performed only at an authorized
MITSUBISHI dealer.
(3)MITSUBISHI dealer personnel must thoroughly review this manual, and especially its GROUP Supplemental straint System (SRS) and GROUP 00 Maintenance Service before beginning any service or maintenance of any com-
ponent of the SRS or any SRS-related component.
N O T EThe SRS includes the following components: SRS ECU, SRS warning light, air bag module, clocksprin g and interconnecting wiring.Other components (that may have to be removed/installed in connection with SRS service or maintenance) are indi-
cated in the table of contents by an asterisk(*).
Page 2043 of 2103
HEATER, AIR
AND VENTILATION General Information
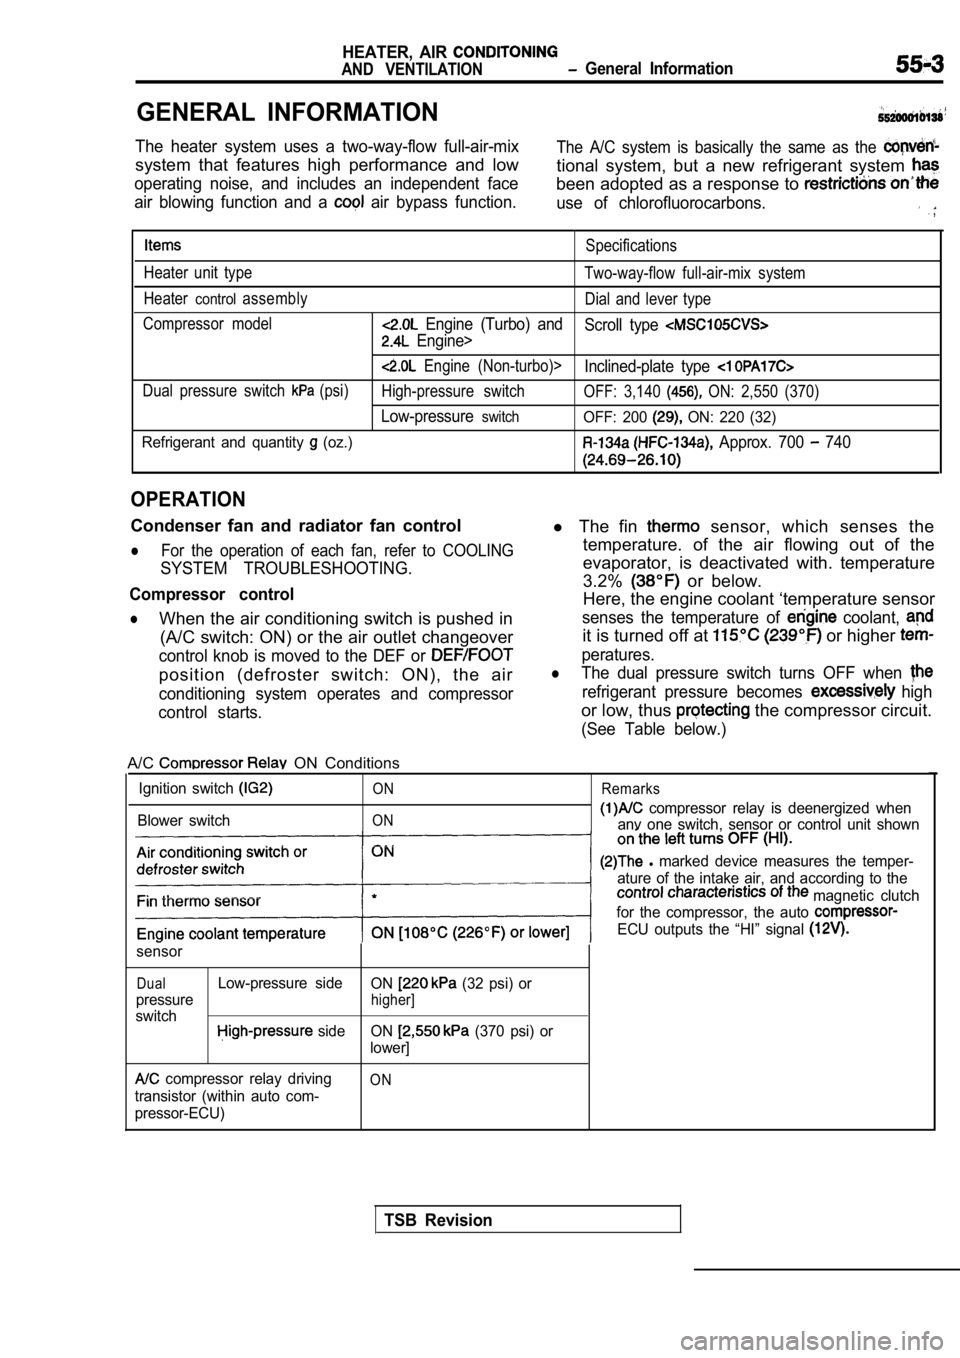
GENERAL INFORMATION
The heater system uses a two-way-flow full-air-mixThe A/C system is basically the same as the
system that features high performance and lowtional system, but a new refrigerant system
operating noise, and includes an independent facebeen adopted as a response to
air blowing function and a air bypass function.use of chlorofluorocarbons. ,
Specifications
Heater unit type Two-way-flow full-air-mix system
Heater
controlassembly Dial and lever type
Compressor model
Engine (Turbo) and Scroll type
Engine>
Engine (Non-turbo)>Inclined-plate type
Dual pressure switch (psi)High-pressure switch OFF: 3,140 ON: 2,550 (370)
Low-pressureswitchOFF: 200 ON: 220 (32)
Refrigerant and quantity
(oz.) Approx. 700 740
OPERATION
Condenser fan and radiator fan control
lFor the operation of each fan, refer to COOLING
SYSTEM TROUBLESHOOTING.
Compressor control
lWhen the air conditioning switch is pushed in (A/C switch: ON) or the air outlet changeover
control knob is moved to the DEF or
position (defroster switch: ON), the air
conditioning system operates and compressor
control starts.
l The fin sensor, which senses the
temperature. of the air flowing out of the
evaporator, is deactivated with. temperature
3.2%
or below.
Here, the engine coolant ‘temperature sensor
senses the temperature of coolant,
it is turned off at or higher
peratures.
lThe dual pressure switch turns OFF when
refrigerant pressure becomes high
or low, thus the compressor circuit.
(See Table below.)
A/C ON Conditions
Ignition switch
Blower switch
ON
ON Remarks
compressor relay is deenergized when
anv one switch, sensor or control unit shown
l marked device measures the temper-
ature of the intake air, and according to the
magnetic clutch
for the compressor, the auto
ECU outputs the “HI” signal
sensor
DualLow-pressure side ON (32 psi) or
pressure
higher]
switch side ON (370 psi) or
lower]
compressor relay driving
transistor (within auto com-
pressor-ECU)ON
TSB Revision
Page 2044 of 2103
55-4HEATER, AIR
AND VENTILATION General Information
SAFETY PRECAUTIONS
Because R-l refrigerant is a, hydrofluorocarbon
(HFC) which contains hydrogen atoms in place of
chlorine atoms, it will not cause damage to the
ozone layer.
Ozone filters out harmful radiation from the sun.
To assist in protecting the ozone layer, Chrysler
Corporation recommends an R-l refrigerant re-
cycling device.
Refrigerant R-l is transparent and colorless
in both the liquid and vapor state. Since it has
a boiling point of at atmospher-
ic pressure, it will be a vapor at all normal tempe ra-
tures and pressures. The vapor is heavier than
air, non-flammable, and nonexplosive. The follow-
ing precautions must be observed when handling
R-l
Caution
Wear safety goggles when servicing the refrig-
eration system.
R-l evaporates so rapidly at normal atmospher-
ic pressures and temperatures that it tends to free ze
anything it contacts. For this reason, extreme care
must be taken to prevent any liquid refrigerant fro m
contacting the skin and especially the eyes. Always
wear safety goggles when servicing the refrigeratio n
part of the A/C system. Keep a bottle of sterile
mineral oil handy when working on the refrigeration
system. Should any liquid refrigerant get into the
eyes, use a few drops of mineral oil to wash them
out. is rapidly absorbed by the oil. Next
splash the eyes with plenty of cool water. Call your
doctor immediately even though irritation has
ceased after treatment.
Caution
Do not heat above
In most instances, moderate heat is required to
bring the pressure of the refrigerant inits
above the pressure of the system when charging
or adding refrigerant.
A bucket or large pan of hot water
over
is all the heat required for this purpose.
Do not heat the refrigerant container with a blow
torch or any other means that would raise tempera-
ture and pressure above this temperature. Do not
weld or steam clean on or near the system compo-
nents or refrigerant lines.
Caution
Keep
containers upright when charging
the system.
When adding into the refrigeration system
keep the supply tank or cans in an upright
position.
If the refrigerant container is on its or upside
down, liquid refrigerant will enter the
damage the compressor.
Caution
1.A leak detector designed
be used to check refrigerant gas
2.Do not allow liquid refrigerant to
metal.
Refrigerant will tarnish bright metal and chrome
surfaces, and in combination with moisture can
severely corrode all metal surfaces.
TSB Revision
Page 2049 of 2103
HEATER, AIR
AND VENTILATION On-vehicle Service
Magnetic clutch
High/Low-
pressure side terminals
LOW-PRESSURE HIGH-PRESSURESIDESIDE
0 0 0 0 0 1 6 9
MAGNETIC CLUTCH TEST
1. Disconnect the connector (1 P) to the magnetic c
lutch.
2. Connect battery
to compressor body.
3.Connect battery voltage directly to the connector for
the magnetic clutch.
4. If the magnetic clutch is normal, there will be a “click”.
If the pulley and armature do not make contact (‘cl ick’),
there is a malfunction.
RECEIVER DRIER TEST
Operate the unit and check the piping touching
the receiver drier outlet and inlet.
If there is a difference in the temperatures, the r eceiver drier
is restricted.
Replace the receiver drier.
DUAL PRESSURE SWITCH
1.Remove the dual pressure switch connector and conne ct
the high/low-pressure side terminals located on the har-
ness side as shown in the illustration.
2.installagauge manifold to the high-pressure side service
valve of the refrigerant line. (Refer to Performanc e Test.)
3. When the high/low-pressure sides of the dual pre ssure
switch are at operating pressure (ON) and there is continu-
ity between the respective terminals, then the condition
is normal. If there is no continuity, replace the s witch.
Unit: (psi)
ItemsSwitch position
OFF
ONON OFF
Low-pressure side2 2 0 ( 3 2 )200 (29)
High-pressure side2,550 (370) 3,140 (456)
COMPRESSOR DRIVE BELT ADJUSTMENT
Refer to GROUP On-vehicle Service.
Refer to GROUP
On-vehicle Service.
Refer to GROUP 11
On-vehicle Service.
TSB Revision
Page 2055 of 2103
HEATER, AIR
AND VENTILATION On-vehicle
REFRIGERANT LEAK REPAIR
LOST CHARGE
If the system has lost all charge due to a leak:
1. Evacuate the system. (See procedure.)
2. Charge the system with approximately one pound o f refrigerant.
3. Check for leaks.
4. Discharge the system.
5. Repair leaks.
6. Replace receiver drier.
Caution
Replacement filter-drier units must be sealed while in storage. The drier used
will absorb water/water vapor quickly upon exposure to the atmosphere. When installing a
drier, have all tools and supplies ready for quick reassembly to avoid keeping the system
open anylonger than necessary.
,
7. Evacuate and charge system.
LOW CHARGE
If the system has not lost all of its refrigerant c harge; locate and repair all leaks. If it is necess ary to
increase the system pressure to find the leak (beca use of an especially low charge) add refrigerant.
If it is possible to repair the leak without discha rging the refrigerant system, use the procedure for
low refrigerant level.
HANDLING TUBING AND FITTINGS
Kinks in the refrigerant tubing or sharp bends in t he refrigerant hose lines will greatly reduce the capacity
of the entire system. High pressures are produced i n the system when it is operating. Extreme care
must be exercised to make sure that all connections are pressure tight. Dirt and moisture can enter
the system when it is opened for repair or replacement of lines or components. The following precautions
must be observed. The system must be completely dis charged before opening any fitting or connection
in the refrigeration system. Open fittings with cau tion even after the system has been discharged. If
any pressure is noticed as a fitting is loosened, a llow trapped pressure to bleed off very slowly.
Never attempt to rebend formed lines to fit. Use th e correct line for the installation you are servicing.
A good rule for the flexible hose lines is keep the radius of all bends at least 10 times the diameter
of the hose. Sharper bends will reduce the flow of refrigerant.
The flexible hose lines should be routed so that th ey are at least 80 mm (3 in.) from the exhaust mani fold.
It is good practice to inspect all flexible hose lines at least once a year to make sure they are in g ood
condition and properly routed.
O-rings used on connections are not reusable.
TSB Revision