1990 MITSUBISHI SPYDER oil pressure
[x] Cancel search: oil pressurePage 23 of 2103
GENERAL Precautions before Service . .
Caution
1.Before connecting or disconnecting the negative
be sure to turn off the ignition and
the lighting switch.
(if this is not done, the possibility semi-
conductor parts being damaged.)
2.After completion of the work steps [when the bat-
tery’s negative terminal is connected], warm
up the engine and allow it for approximately
five minutes under the conditions be-
low, in order to stabilize the engine condi-
tions, and then check to be sure that idling’ is
satisfactory.
Engine temperature:
Lights, electric fans, accessories: OFF
Transaxle: Neutral position
(A/T models: “N” or “P”)
Steering
neutral (center) position
mm (in.)
Scan tool
ROM pack
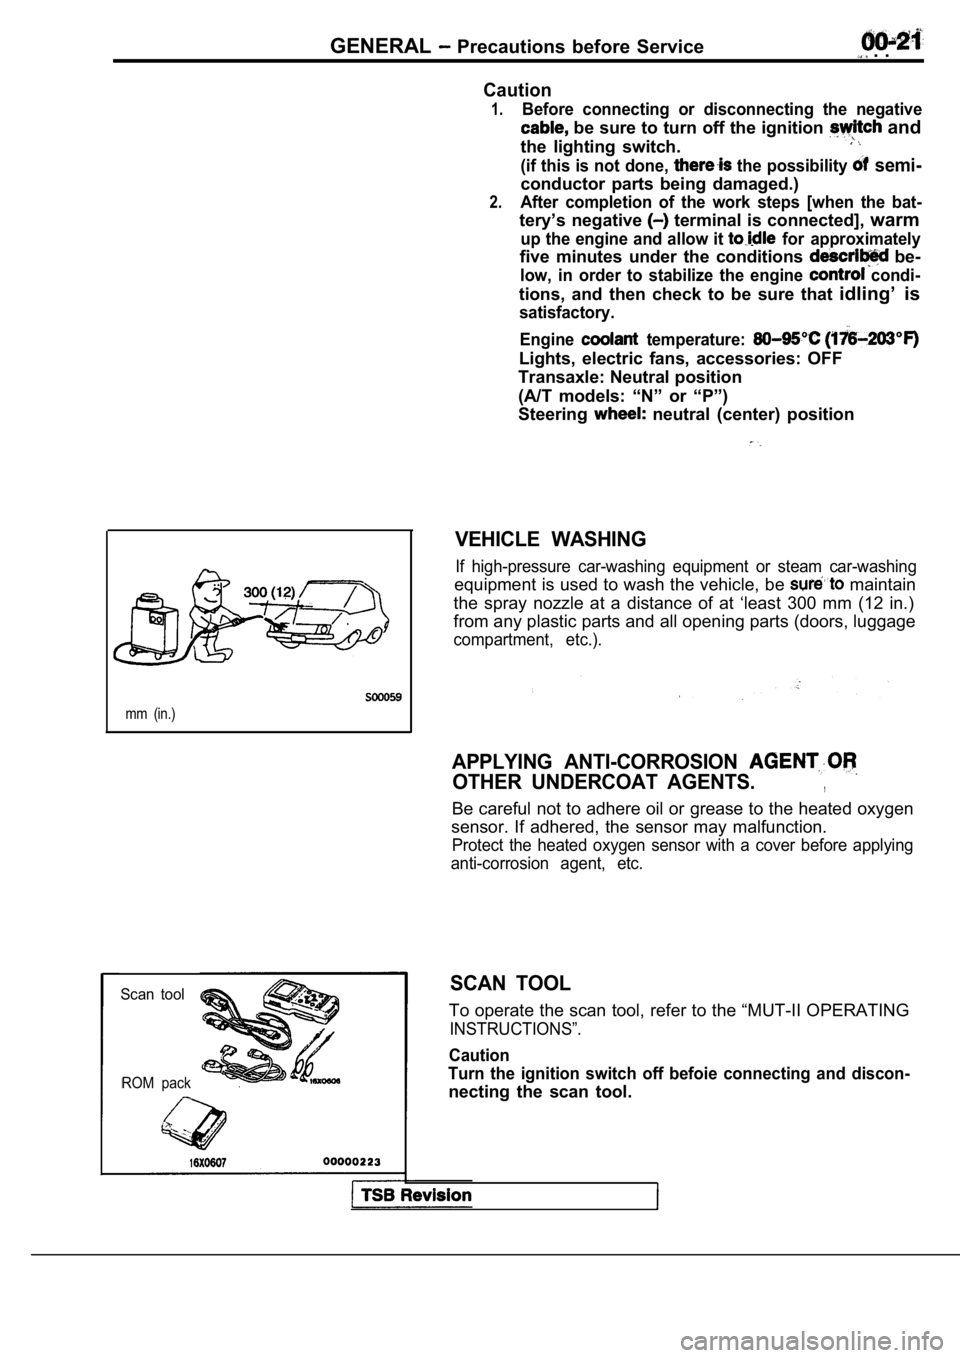
VEHICLE WASHING
If high-pressure car-washing equipment or steam car -washing
equipment is used to wash the vehicle, be maintain
the spray nozzle at a distance of at ‘least 300 mm (12 in.)
from any plastic parts and all opening parts (doors , luggage
compartment, etc.).
APPLYING ANTI-CORROSION
OTHER UNDERCOAT AGENTS.,
Be careful not to adhere oil or grease to the heate d oxygen
sensor. If adhered, the sensor may malfunction.
Protect the heated oxygen sensor with a cover befor e applying
anti-corrosion agent, etc.
SCAN TOOL
To operate the scan tool, refer to the “MUT-II OPER ATING
INSTRUCTIONS”.
Caution
Turn the ignition switch off befoie connecting and discon-
necting the scan tool.
Page 45 of 2103
GENERAL Maintenance Service
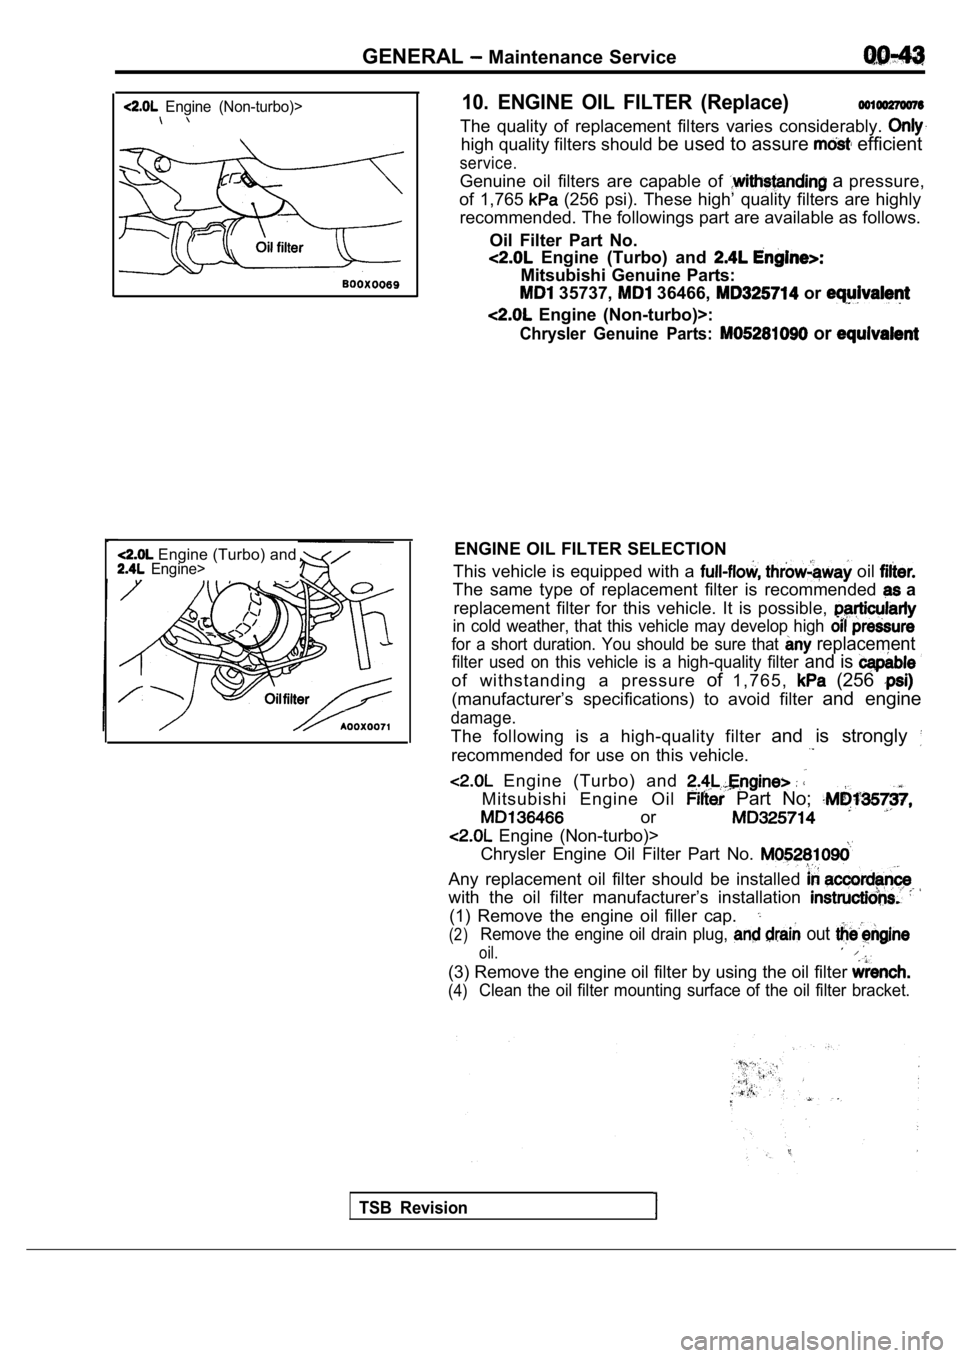
Engine (Non-turbo)>
Engine (Turbo) and Engine>
10. ENGINE OIL FILTER (Replace)
The quality of replacement filters varies considerably.
high quality filters should be used to assure efficient
service.
Genuine oil filters are capable of a pressure,
of 1,765
(256 psi). These high’ quality filters are highly
recommended. The followings part are available as f ollows.
Oil Filter Part No.
Engine (Turbo) and
Mitsubishi Genuine Parts:
35737, 36466, or
Engine (Non-turbo)>:
Chrysler Genuine Parts: or
ENGINE OIL FILTER SELECTION
This vehicle is equipped with a
oil
The same type of replacement filter is recommended a
replacement filter for this vehicle. It is possible ,
in cold weather, that this vehicle may develop high
for a short duration. You should be sure that replacement
filter used on this vehicle is a high-quality filter and is
of withstanding a pressure of1 , 7 6 5 , (256
(manufacturer’s specifications) to avoid filter and engine
damage.
The following is a high-quality filter and is strongly
recommended for use on this vehicle.
Engine (Turbo) and
Mitsubishi Engine Oil Part No;
or
Engine (Non-turbo)>
Chrysler Engine Oil Filter Part No.
Any replacement oil filter should be installed
with the oil filter manufacturer’s installation
(1) Remove the engine oil filler cap.
(2)Remove the engine oil drain plug, out
oil.
(3) Remove the engine oil filter by using the oil f ilter
(4)Clean the oil filter mounting surface of the oil filter bracket.
TSB Revision
Page 48 of 2103
GENERAL Maintenance
4.Before removing dipstick, wipe all dirt from area around
dipstick. Then take out the dipstick and check the condition
of the fluid.
Further investigation of the transaxle is necessary if,
l the fluid smells burnt.
l the fluid color is brown or black.
l metal particles can be seen or felt on the dipstick .
5.Check to see if fluid level is in “HOT” range on dipstick.
If fluid level is low, add ATF until level reaches “HOT”
range. Low fluid level can cause a variety of condi tions
because it allows pump to take in air along with fl uid.
Air trapped in hydraulic circuit forms bubbles which make
fluid spongy.
Therefore, pressures will be erratic. Improper filling can also raise fluid level too hig h. When
transaxle has too much fluid, gears churn up foam a nd
cause same conditions which occur with low fluid le vel,
resulting in accelerated deterioration of ATF.
In either case, air bubbles can cause overheating, fluid
-oxidation, which can interfere with normal valve, clutch,
and servo operation. Foaming can also result in flu id
escaping from transaxle vent where it may be mistak en
for a leak.
6. Be sure to examine fluid on dipstick closely.
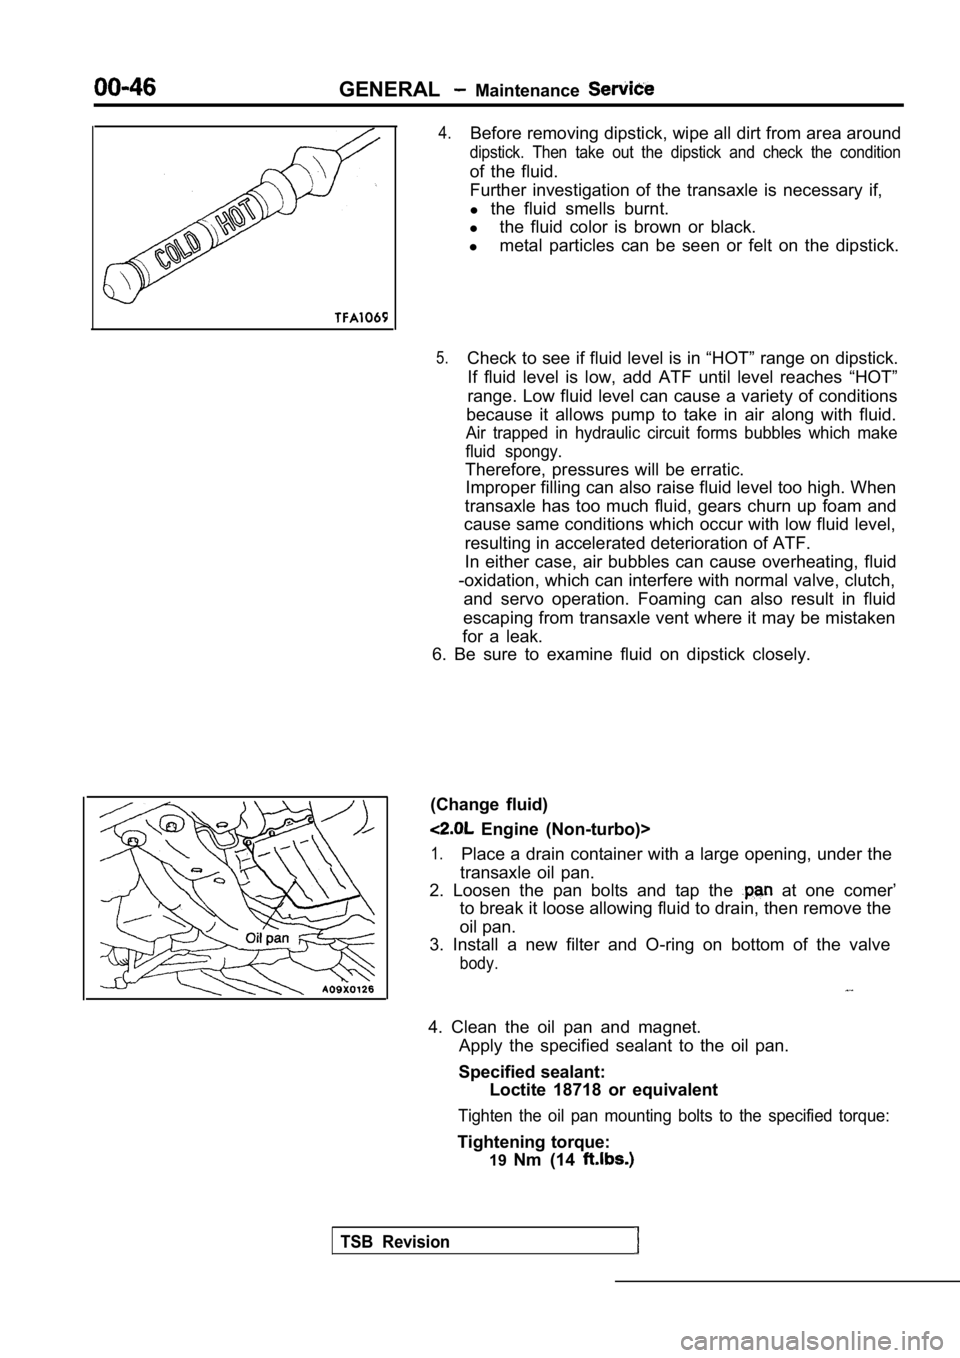
(Change fluid)
Engine (Non-turbo)>
1.Place a drain container with a large opening, under the
transaxle oil pan.
2. Loosen the pan bolts and tap the
at one comer’
to break it loose allowing fluid to drain, then rem ove the
oil pan.
3. Install a new filter and O-ring on bottom of the valve
body.
4. Clean the oil pan and magnet.
Apply the specified sealant to the oil pan.
Specified sealant: Loctite 18718 or equivalent
Tighten the oil pan mounting bolts to the specified torque:
Tightening torque:
19Nm (14
TSB Revision
Page 57 of 2103
GENERAL Main and Adhesive Table
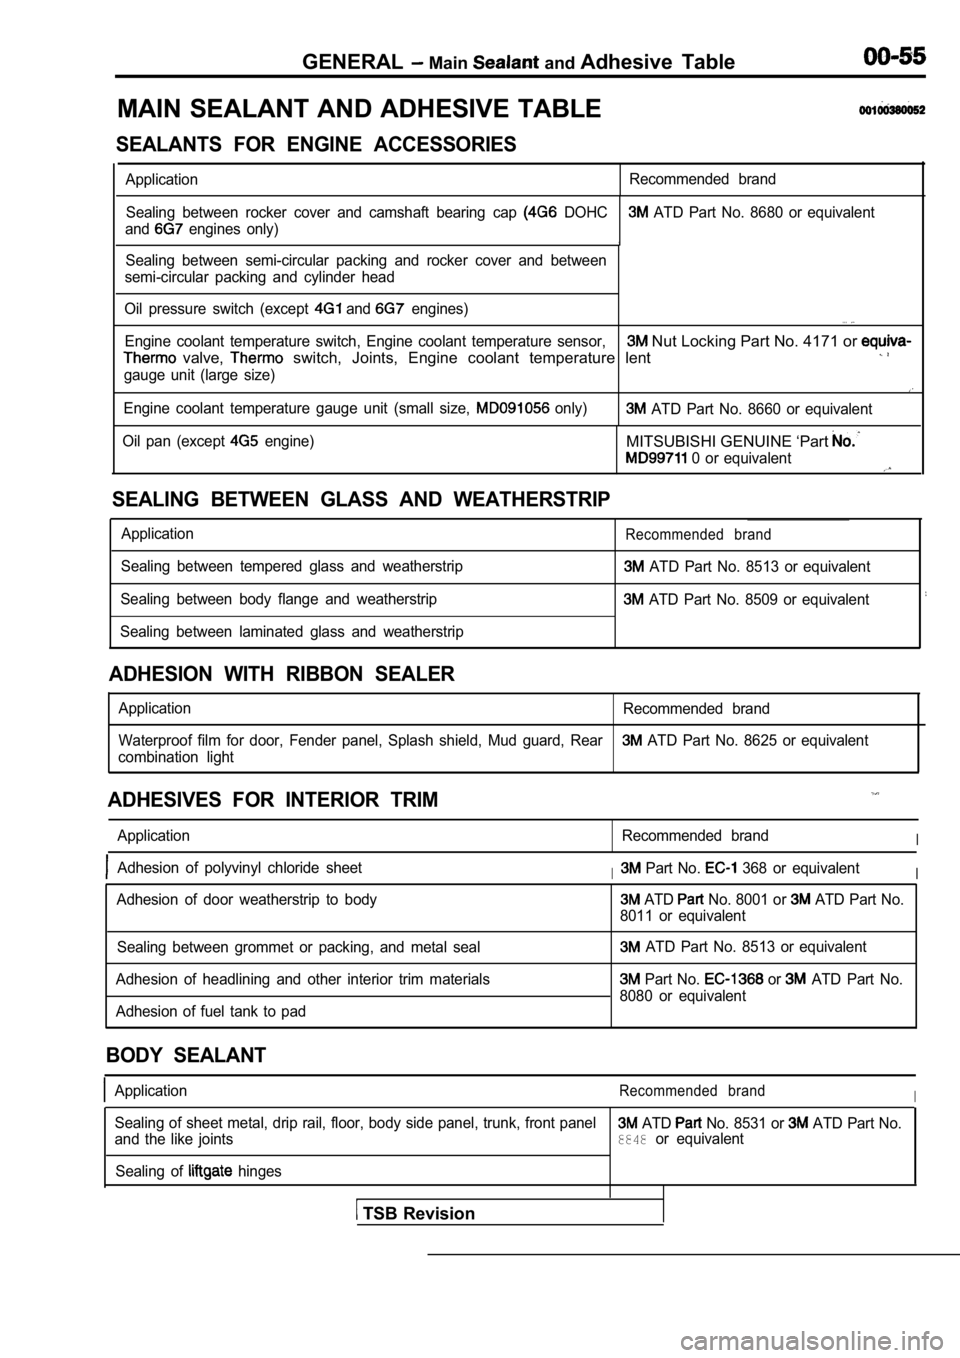
MAIN SEALANT AND ADHESIVE TABLE
SEALANTS FOR ENGINE ACCESSORIES
Application Recommended brand
Sealing between rocker cover and camshaft bearing c ap
DOHC ATD Part No. 8680 or equivalent
and
engines only)
1Sealing between semi-circular packing and rocker co ver and between
semi-circular packing and cylinder head
Oil pressure switch (except
and engines). . .
Engine coolant temperature switch, Engine coolant t emperature sensor, Nut Locking Part No. 4171 or
valve, switch, Joints, Engine coolant temperature lent
gauge unit (large size)
Engine coolant temperature gauge unit (small size, only) ATD Part No. 8660 or equivalent
Oil pan (except
engine)MITSUBISHI GENUINE ‘Part
0 or equivalent
SEALING BETWEEN GLASS AND WEATHERSTRIP
Application
Sealing between tempered glass and weatherstrip
Sealing between body flange and weatherstrip
Sealing between laminated glass and weatherstripRecommended brand
ATD Part No. 8513 or equivalent
ATD Part No. 8509 or equivalent
ADHESION WITH RIBBON SEALER
Application Recommended brand
Waterproof film for door, Fender panel, Splash shie ld, Mud guard, Rear
ATD Part No. 8625 or equivalent
combination light
ADHESIVES FOR INTERIOR TRIM
Application Recommended brandI
Adhesion of polyvinyl chloride sheetI Part No. 368 or equivalentI
Adhesion of door weatherstrip to body ATD No. 8001 or ATD Part No.
8011 or equivalent
Sealing between grommet or packing, and metal seal
Adhesion of headlining and other interior trim mate rials
Adhesion of fuel tank to pad
ATD Part No. 8513 or equivalent
Part No. or ATD Part No.
8080 or equivalent
BODY SEALANT
ApplicationRecommended brandI
Sealing of sheet metal, drip rail, floor, body side panel, trunk, front panel ATD No. 8531 or ATD Part No.
and the like joints8848or equivalent
Sealing of
hinges
TSB Revision
Page 61 of 2103
ENGINE
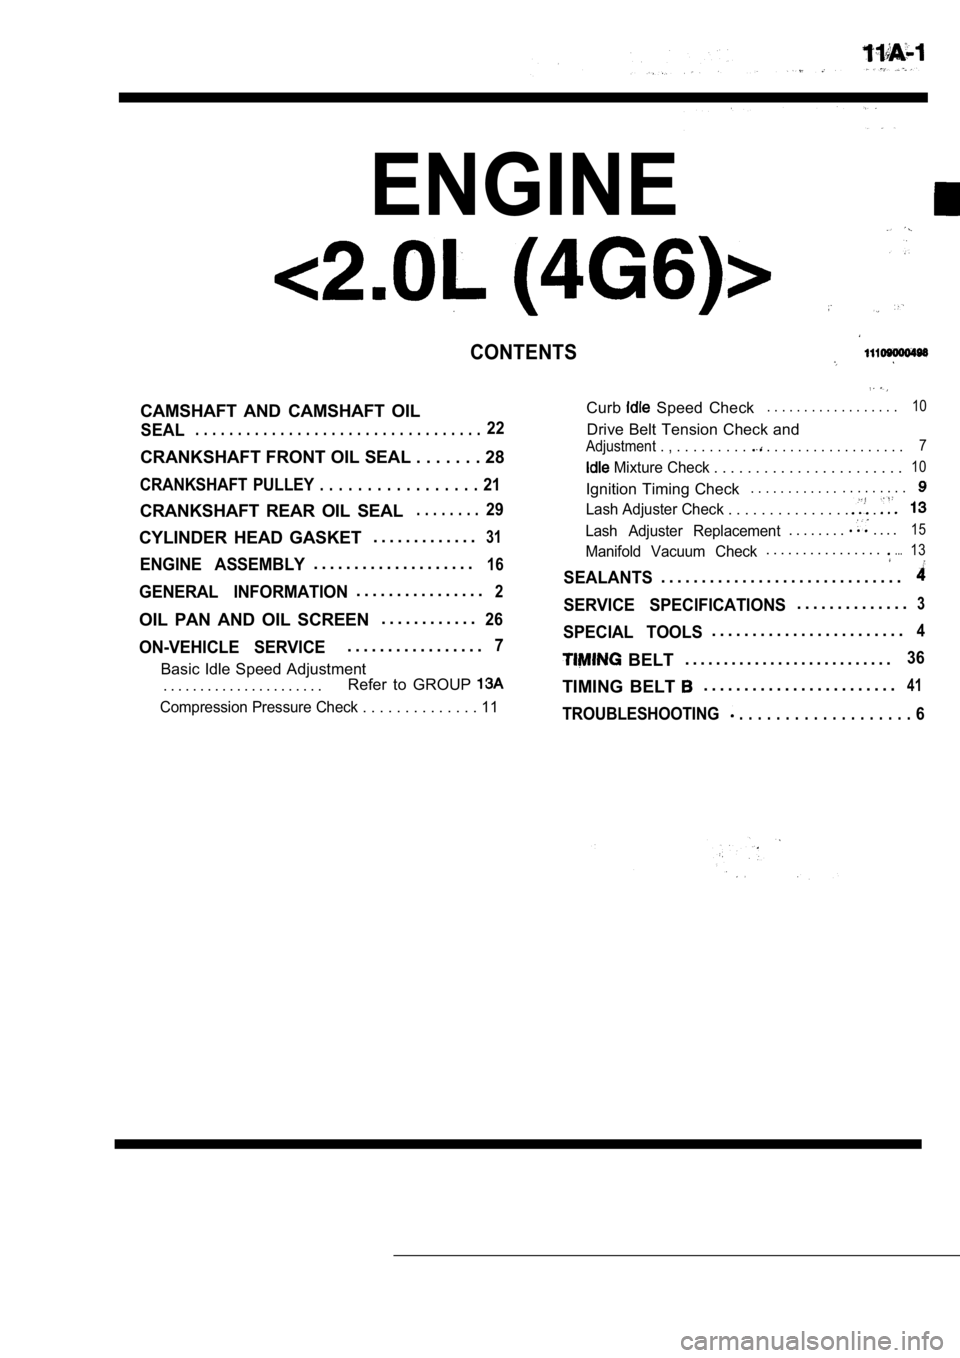
CONTENTS
CAMSHAFT AND CAMSHAFT OIL
SEAL. . . . . . . . . . . . . . . . . . . . . . . . . . . . . . . . . .22
CRANKSHAFT FRONT OIL SEAL . . . . . . . 28
CRANKSHAFT PULLEY . . . . . . . . . . . . . . . . . 21
CRANKSHAFT REAR OIL SEAL. . . . . . . .29
Curb Speed Check. . . . . . . . . . . . . . . . . .10
Drive Belt Tension Check and
Adjustment . , . . . . . . . . . . . . . . . . . . . . . . . . . . . 7
Mixture Check . . . . . . . . . . . . . . . . . .
. . . . .10
Ignition Timing Check. . . . . . . . . . . .. . . . . . . . .
Lash Adjuster Check . . . . . . . . . . . . . . . .
CYLINDER HEAD GASKET . . . . . . . . . . . . .31
ENGINE ASSEMBLY. . . . . . . . . . . . . . . . . . . .16
GENERAL INFORMATION. . . . . . . . . . . . . . . .2
OIL PAN AND OIL SCREEN . . . . . . . . . . . .26
ON-VEHICLE SERVICE. . . . . . . . . . . . . . . . .7
Basic Idle Speed Adjustment
. . . . . . . . . . . . . . . . . . . . . . Refer to GROUP
Lash Adjuster Replacement. . . . . . . .. . . .15
Manifold Vacuum Check. . . . . . . . . . . . . . . ....13
SEALANTS. . . . . . . . . . . . . . . . . . . . . . . . . . . . . .
SERVICE SPECIFICATIONS. . . . . . . . . . . . . .3
SPECIAL TOOLS. . . . . . . . . . . . . . . . . . . . . . . .4
BELT. . . . . . . . . . . . . . . . . . . . . . . . . . .36
TIMING BELT . . . . . . . . . . . . . . . . . . . . . . . .41
Compression Pressure Check . . . . . . . . . . . .
. . 11TROUBLESHOOTING . . . . . . . . . . . . . . . . . . . 6
Page 62 of 2103

ENGINE General Information
GENERAL INFORMATION
Items SpecificationsI
Number of cylinders
Bore mm (in.)
Stroke mm (in.)
In-line DOHC
85.0
(3.28)
Piston displacement
Compression ratio
Firing order
Counterbalance shaft8.5
Equipped
Valve timing Intake valve
Exhaust valve Opens
Closes
Opens
Closes 21 “BTDC
.
Lubrication systemIPressure feed-full flow , ,I
Oil pump type
LUBRICATION SYSTEM
Involute gear type
To
Camshaft
Counterbalance
TSB Revision
Oil
Oil pressure switch
Crankshaft
Counterbalance shaft
Page 66 of 2103
ENGINE,
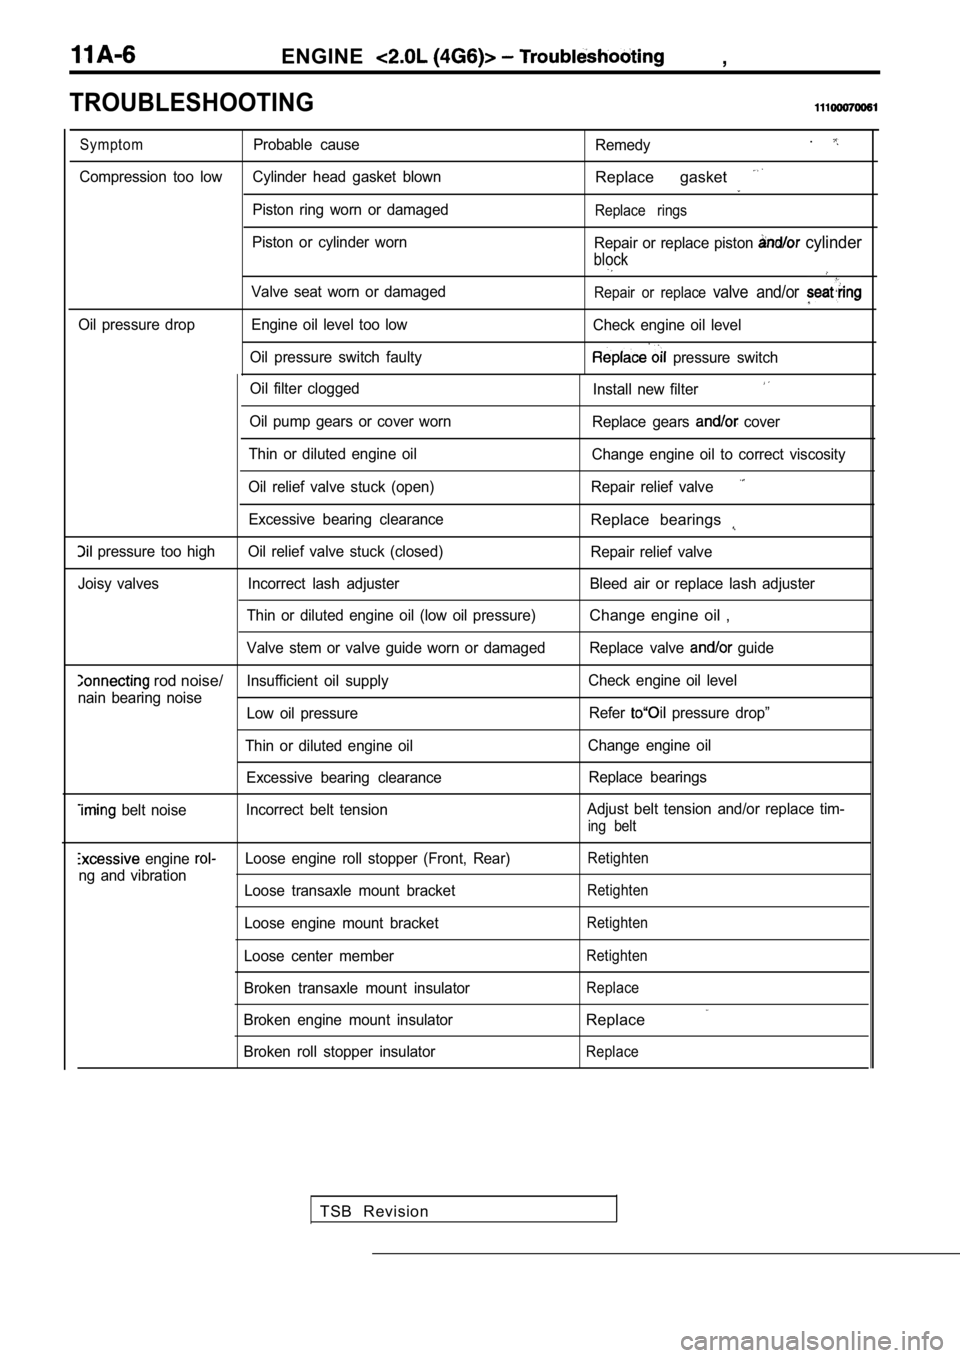
TROUBLESHOOTING
Oil filter cloggedInstall new filter
Oil pump gears or cover wornReplace gears cover
Thin or diluted engine oil Change engine oil to correct viscosity
Oil relief valve stuck (open) Repair relief valve
Excessive bearing clearanceReplace bearings
pressure too high Oil relief valve stuck (closed) Repair relief valve
Joisy valves Incorrect lash adjuster Bleed air or rep lace lash adjuster
Thin or diluted engine oil (low oil pressure)
Change engine oil ,
Valve stem or valve guide worn or damaged Replace va lve guide
rod noise/Insufficient oil supplyCheck engine oil level
nain bearing noise Low oil pressure Refer
pressure drop”
Thin or diluted engine oil Change engine oil
Excessive bearing clearance Replace bearings
belt noiseIncorrect belt tension Adjust belt tension and/or replace tim-ing belt
engine Loose engine roll stopper (Front, Rear)Retighten
ng and vibration
Loose transaxle mount bracketRetighten
Loose engine mount bracketRetighten
Loose center memberRetighten
Broken transaxle mount insulatorReplace
Broken engine mount insulatorReplace
Broken roll stopper insulatorReplace
Symptom
Probable cause
Remedy.
Compression too low Cylinder head gasket blownReplace gasket
Piston ring worn or damagedReplace rings
Piston or cylinder worn
Repair or replace piston cylinder
block
Valve seat worn or damagedRepair or replace valve and/or
Oil pressure drop Engine oil level too low Check engine oil level
Oil pressure switch faulty
pressure switch
TSB Revision
Page 71 of 2103

ENGINE On-vehicle
8. If the standard value is exceeded, check the following
items:
l Diagnostic output
l Closed-loop control (When the closed-loop control
is carried out normally, the output signal of the h eated
oxygen sensor repeats between and
,000 at idle.)
l Fuel pressure
I n j e c t o r
lIgnition coil, spark plug cable, spark plug
lEGR system and the EGR valve leak
l Evaporative emission control system
Compression pressure
NOTE
Replace the catalyst whenever the
HC contents do not remain inside the standard value .
(even though the result of the inspection is
all items.).
C O M P R E S S I O N
CHECK
1.Before inspection, check that the engine-oil, start er
battery are normal. Also, set the to the
condition:
lEngine coolant temperature:
lLights, electric cooling fan and all accessories: O FF
lTransaxle: Neutral (P range on vehicles with
2. Disconnect the spark plug cables.
3. Remove all of the spark plugs.
4.
5.
Disconnect the crankshaft position sensor connector .
NOTE
Doing this will prevent the engine control unit fro m carrying
out ignition and fuel injection.
Cover the spark plug hole with a shop towel etc., a nd
after the engine has been cranked, check that no fo reign
material is adhering to the shop towel.
TSB Revision