Page 90 of 280
88MULTIMEDIA
Push the Settings button on the faceplate to
display the menu setting screen. In this mode
the Uconnect system allows you to access
programmable features that may be equipped.
NOTE:
Only one category may be selected at a time.
The Back Arrow will change into a Done
button if any changes are made. When making a selection, press one button on
the touchscreen to enter the desired menu.
Once in the desired menu, press and release
the preferred setting “option” until a check
mark appears next to the setting, showing that
setting has been selected. Once the setting is
complete, either press the Back Arrow button to
return to the previous menu, or press the X
button on the touchscreen to close out of the
settings screen. Pressing the Up or Down Arrow
buttons on the right side of the screen will allow
you to toggle up or down through the available
settings.
21_VM_OM_EN_USC_t.book Page 88
Page 91 of 280
MULTIMEDIA89
Display
When the Display button is pressed on the touchscreen, the system will display the options related to the theme (if equipped), brightness, and color of
the touchscreen. The available settings are:
Setting Name Description
Language This setting will change the languages of the Uconnect system. The
available language are English, Français, and Español.
Display Mode This setting will allow you to set the brightness manually or have the
system set it automatically. The “Auto” setting has the system
automatically adjust the display brightness. The “Manual” setting will
allow the user to adjust the brightness of the display.
Brightness This setting will allow you to set the brightness when the headlights are
on. To access this setting, Display Mode must be set to Manual. The
“With Headlights On” setting will increase or decrease the brightness
with the headlight on; the “With Headlights Off” will increase or decrease
the brightness with the headlights off.
Touchscreen Beep This setting will allow you to turn the touchscreen beep on or off.
Display Trip B This setting will turn on or off the Trip B display on the Instrument Cluster
Display.
5
21_VM_OM_EN_USC_t.book Page 89
Page 92 of 280
90MULTIMEDIA
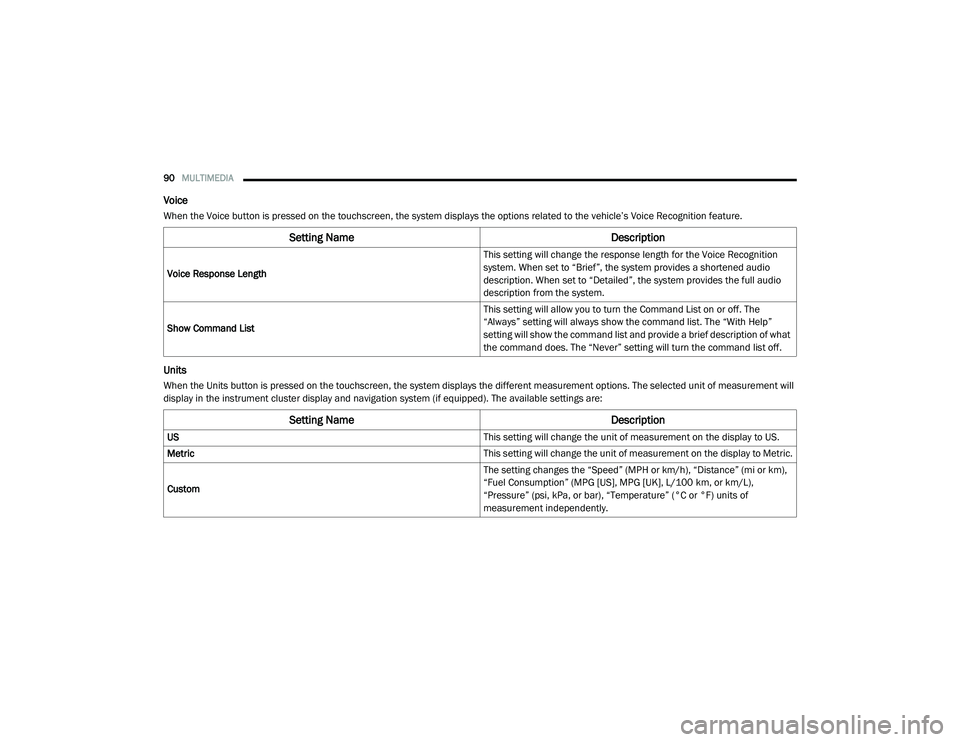
Voice
When the Voice button is pressed on the touchscreen, the system displays the options related to the vehicle’s Voice Recognition feature.
Units
When the Units button is pressed on the touchscreen, the system displays the different measurement options. The selected unit of measurement will
display in the instrument cluster display and navigation system (if equipped). The available settings are:
Setting Name Description
Voice Response Length This setting will change the response length for the Voice Recognition
system. When set to “Brief”, the system provides a shortened audio
description. When set to “Detailed”, the system provides the full audio
description from the system.
Show Command List This setting will allow you to turn the Command List on or off. The
“Always” setting will always show the command list. The “With Help”
setting will show the command list and provide a brief description of what
the command does. The “Never” setting will turn the command list off.
Setting Name
Description
US This setting will change the unit of measurement on the display to US.
Metric This setting will change the unit of measurement on the display to Metric.
Custom The setting changes the “Speed” (MPH or km/h), “Distance” (mi or km),
“Fuel Consumption” (MPG [US], MPG [UK], L/100 km, or km/L),
“Pressure” (psi, kPa, or bar), “Temperature” (°C or °F) units of
measurement independently.
21_VM_OM_EN_USC_t.book Page 90
Page 93 of 280
MULTIMEDIA91
Clock & Date
When the Clock & Date button is pressed on the touchscreen, the system displays the different options related to the vehicle’s internal clock.
Setting Name Description
Sync Time This setting will sync the time to the system’s GPS receiver. The system
will control the time via GPS location.
Set Time And Format/Time Format This setting will allow you to set the time format (AM/PM). “Sync Time”
must be off for this setting to be available. The “12 hrs” setting will set
the time to a 12-hour format. The “24 hrs” setting will set the time to a
24-hour format.
Set Date This setting will allow you to set the date. The selectable options are
“Date”, “Month”, and “Year”. You can also change the clock settings as
well.
Show Time Status This setting will place the time in the radio’s status bar.
5
21_VM_OM_EN_USC_t.book Page 91
Page 95 of 280
MULTIMEDIA93
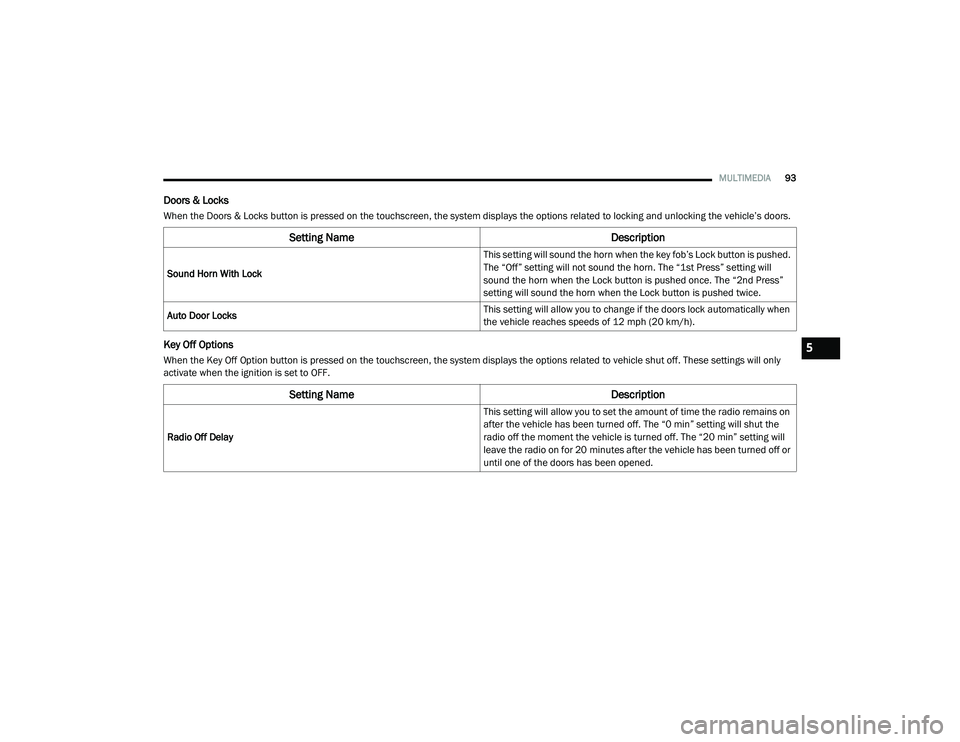
Doors & Locks
When the Doors & Locks button is pressed on the touchscreen, the system displays the options related to locking and unlocking the vehicle’s doors.
Key Off Options
When the Key Off Option button is pressed on the touchscreen, the system displays the options related to vehicle shut off. These settings will only
activate when the ignition is set to OFF.
Setting Name Description
Sound Horn With Lock This setting will sound the horn when the key fob’s Lock button is pushed.
The “Off” setting will not sound the horn. The “1st Press” setting will
sound the horn when the Lock button is pushed once. The “2nd Press”
setting will sound the horn when the Lock button is pushed twice.
Auto Door Locks This setting will allow you to change if the doors lock automatically when
the vehicle reaches speeds of 12 mph (20 km/h).
Setting Name
Description
Radio Off Delay This setting will allow you to set the amount of time the radio remains on
after the vehicle has been turned off. The “0 min” setting will shut the
radio off the moment the vehicle is turned off. The “20 min” setting will
leave the radio on for 20 minutes after the vehicle has been turned off or
until one of the doors has been opened.
5
21_VM_OM_EN_USC_t.book Page 93
Page 96 of 280
94MULTIMEDIA
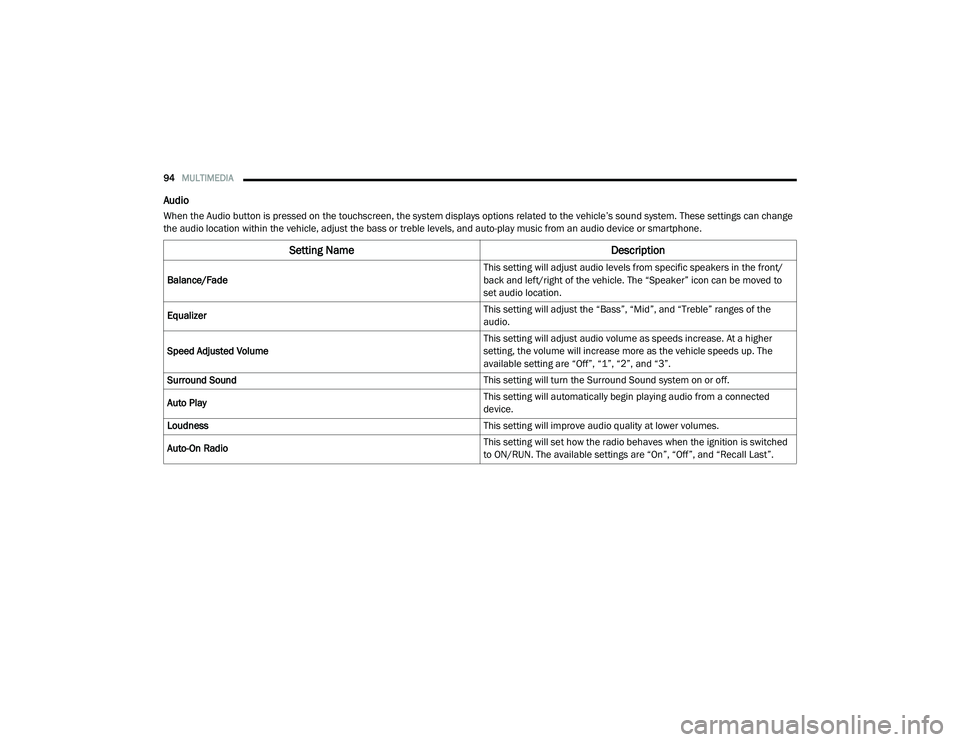
Audio
When the Audio button is pressed on the touchscreen, the system displays options related to the vehicle’s sound system. These settings can change
the audio location within the vehicle, adjust the bass or treble levels, and auto-play music from an audio device or smartphone.
Setting Name Description
Balance/Fade This setting will adjust audio levels from specific speakers in the front/
back and left/right of the vehicle. The “Speaker” icon can be moved to
set audio location.
Equalizer This setting will adjust the “Bass”, “Mid”, and “Treble” ranges of the
audio.
Speed Adjusted Volume This setting will adjust audio volume as speeds increase. At a higher
setting, the volume will increase more as the vehicle speeds up. The
available setting are “Off”, “1”, “2”, and “3”.
Surround Sound This setting will turn the Surround Sound system on or off.
Auto Play This setting will automatically begin playing audio from a connected
device.
Loudness This setting will improve audio quality at lower volumes.
Auto-On Radio This setting will set how the radio behaves when the ignition is switched
to ON/RUN. The available settings are “On”, “Off”, and “Recall Last”.
21_VM_OM_EN_USC_t.book Page 94
Page 98 of 280
96MULTIMEDIA
Restore Settings — If Equipped
When the Restore Settings button is pressed on the touchscreen, the system displays the options related to resetting the Uconnect system back to its
factory settings. These settings can clear personal data and reset selected settings from other menus.
Clear Personal Data
When the Clear Personal Data button is pressed on the touchscreen, a pop-up will display asking if you would like to clear all personal data from the
system.
Setting Name Description
Restore Settings This setting will return all the previously changed settings to their factory
default.
Setting Name
Description
Clear Personal Data This setting will display a pop-up that provides the option to clear all
personal data from the system, including Bluetooth® devices and
presets.
21_VM_OM_EN_USC_t.book Page 96
Page 103 of 280

MULTIMEDIA101
Direct Tune
Direct Tune
Press the Tune button located at the bottom of
the radio screen to directly tune to a desired
radio station or channel.
Press the available number button on the
touchscreen to begin selecting a desired
station. Once a number has been entered, any
numbers that are no longer possible (stations
that cannot be reached) will become
deactivated/grayed out.
Info
Press the Info button to display the current
track information. Press the X button to cancel
this feature. Setting The Presets
The Presets are available for all Radio Modes,
and are activated by pressing any of the four
Preset buttons, located at the top of the screen.
When you are receiving a station that you wish
to commit into memory, press and hold the
desired numbered button for more that two
seconds or until you hear a confirmation beep.
The Radio stores up to 12 presets in each of the
Radio modes. Four presets are visible at the top
of the radio screen.
Pressing the All button on the radio home
screen will display all of the preset stations for
that mode.
SiriusXM® Satellite Radio Mode
Uconnect 3/3 NAV With 5-inch Display Changing To SiriusXM®
SiriusXM® Satellite Radio uses direct
satellite-to-receiver broadcasting technology to
provide clear, coast to coast radio content.
SiriusXM® is a subscription-based service.
Visit siriusxm.com/getallaccess or review your
SiriusXM® Radio pamphlet in your Owner’s
Manual kit.
SiriusXM® services require subscriptions sold
separately after the trial included with the new
vehicle purchase. If you decide to continue your
service at the end of your trial subscription, the
plan you choose will automatically renew and
bill at then-current rates until you call
SiriusXM® at 866-635-2349 to cancel. See
SiriusXM® Customer Agreement for complete
terms at www.siriusxm.com (US) or
www.siriusxm.ca (Canada). All fees and
programming subject to change. Our satellite
service is available to those at least 18 and
older in the 48 contiguous USA and D.C. Our
SiriusXM® satellite service is also available in
Canada and Puerto Rico (with coverage
limitations). Our Internet radio service is
available throughout our satellite service area
and in AK. © 2020 SiriusXM® Radio Inc.
SiriusXM® and all related marks and logos are
trademarks of SiriusXM® Radio Inc.
5
21_VM_OM_EN_USC_t.book Page 101