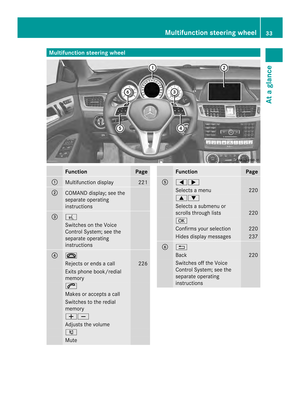
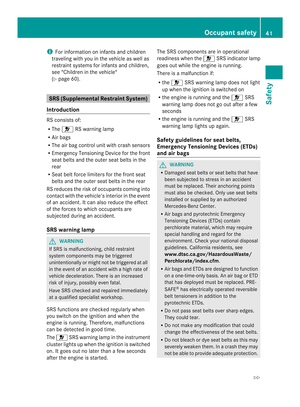
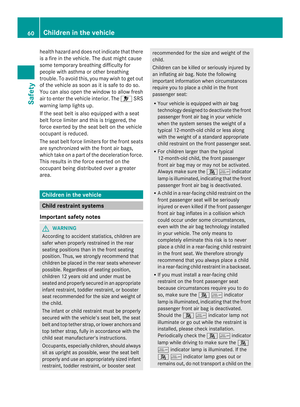
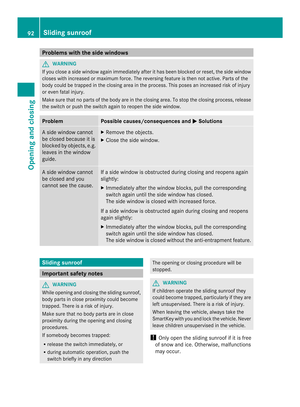
Page 105 of 382

Adjusting th
eactive multicontour
seat
Overview 001A
To adjust th eseat cushion length
0010 To switch th edynamic function on or off
0024 To adjust th eside bolsters of th eseat
backrest
0021 To switch th emassage function on or off
001E To adjust th econtou rofthebackrest to
increase/decreas esupport
0025 To adjust th eheight/dept hofthe
backrest contour
The active multicontour seat on th edriver's
side automatically adapt sthe side soft he
backrest to your curren tdriving style .You can
adjust the contour of the seat individuall yso
as to provide optimum support for your back
and sides.
Dynamic function The dynamic function adjusts the air cushions
in the side bolsters of the seat backrest sto
ensure ideal lateral support at all times. You
can choose between two levels.
X To switch on: press button0010once or
twice until the desired level is set.
One or two indicator lamps in button 0010
light up.
X To switch off: press button0010repeatedly
until all indicator lamps in button 0010go out. You can select the following levels: Level
1(one
indicator lamp) Standard setting:
slightly increased
lateral support and
slow build-up of air
pressure in the side
bolsters of the seat
backrest.
Level
2(two
indicator lamps) Sport setting:
increased lateral
support and fast
build-up of pressure
in the side bolsters
of the seat backrest.
Massage function (PULSE)
The massage function helps you to prevent
muscle tension on long journeys. You can
choose between two levels.
X To switch on: press button0021once or
twice until the desired level is set.
One or two indicator lamps in button 0021
light up. The air cushions in the lumbar
region vibrate for approximately
20 minutes. Adjusting the 4-way lumbar support
001A
To raise the backrest contour
0010 To soften the backrest contour
0024 To lower the backrest contour
0021 To harden the backrest contour Seats
103Seats, steering wheel and mirrors Z
Page 106 of 382

You can adjust the contour of the front seat
backrest sindividually to provide optimum
support for your back. Switchin
gthe seat heating on/off
Activating/deactivating G
WARNING
Repeatedly switching on the seat heatin gcan
cause the seat cushio nand backres tpads to
become ver yhot.T he health of persons with
limited temperature sensitivity or alimited
ability to react to excessively high
temperatures may be affected or they may
even suffer burn-like injuries. There is arisk
of injury.
Therefore, do not switch the seat heating on
repeatedly. Driver's and front-passenger seat
The three red indicator lamps in the button
indicate the heating level you have selected.
The system automatically switches down
from level
3to level 2after approximately
eight minutes.
The system automatically switches down
from level 2to level 1after approximately ten
minutes.
The system automatically switches off
approximately 20 minutes after it is set to
level 1. X
Turn the SmartKey to position 1or 2in the
ignition lock (Y page 147).
X To switch on: press button001Arepeatedly
until the desired heating level is set.
X To switch off: press button001Arepeatedly
until all the indicator lamps go out.
i If the battery voltage is too low, the seat
heating may switch off. 104
SeatsSeats, steering wheela
nd mirrors
Page 107 of 382

Problems with the seat heating
Problem Possible causes/consequences and
000B Solutions
The seat heating has
switched off
prematurely or cannot
be switched on. The on-board voltage is too low because too many electrical
consumers are switched on.
X
Switch off electrical consumers that you do not need, such as
the rear window defroster or interior lighting.
Once the battery is sufficiently charged, the seat heating will
switch back on automatically. Switching the seat ventilation on/off
Activating/deactivating The three blue indicator lamps in the buttons
indicate the ventilation level you have
selected.
X Turn the SmartKey to position 2in the
ignition lock (Y page 147).
X To switch on: press button001Arepeatedly
until the desired ventilation level is set.
X To switch off: press button001Arepeatedly
until all the indicator lamps go out.
i If the battery voltage is too low, the seat
ventilation may switch off.
i You can open the side windows and the
sliding sunroof using the "Convenience
opening" feature (Y page 89). The seat
ventilation of the driver's seat
automatically switches to the highest level. Seats
105Seats, steering wheela nd mirrors Z
Page 108 of 382

Problems with the seat ventilation
Problem Possible causes/consequences and
000B Solutions
The seat ventilation has
switched off
prematurely or cannot
be switched on. The on-board voltage is too low because too many electrical
consumers are switched on.
X
Switch off electrical consumers that you do not need, such as
the rear window defroster or interior lighting.
Once the battery is sufficiently charged, the seat ventilation will
switch back on automatically. Steering wheel
Important safety notes
G
WARNING
You could lose control of your vehicle if you
do the following while driving:
R adjust the driver's seat, head restraint,
steering wheel or mirrors
R fasten the seat belt
There is arisk of an accident.
Adjust the driver's seat, head restraint,
steering wheel and mirror and fasten your
seat belt before startingt he engine.G
WARNING
Children could injure themselves if they
adjust the steering wheel. There is arisk of
injury.
When leaving the vehicle, always take the
SmartKey with you and lock the vehicle. Never
leave children unsupervised in the vehicle. Adjusting the steering wheel
electrically
001A
To adjust the steering wheel height
0010 To adjust the steering wheel position
(fore-and-aft adjustment)
i Further related subjects:
R EASY-ENTRY/EXIT feature
(Y page 108)
R Storing settings (Y page 112)106
Steering wheelSeats, steering wheela
nd mirrors
Page 109 of 382
Steering wheel heating
Activating/deactivating X
Turn the SmartKey to position 2in the
ignition lock (Y page 147).
X To switch on/off: turn the lever in the
direction of arrow 001Aor0010.
Indicator lamp 0024lights up or goes out.
Vehicles without KEYLESS-GO: when you
remove the SmartKey from the ignition lock,
the steering wheel heating is deactivated.
Vehicles with KEYLESS-GO: when you switch
off the ignition and open the driver's door, the
steering wheel heating is deactivated.
i The steering wheel heating may switch off
temporarily if:
R the temperature in the vehicle interior is
above 86 ‡(30 †).
R the temperature of the steering wheel is
above 95 ‡(35 †).
Indicator lamp 0024remains on. Steering wheel
107Seats, steering wheela nd mirrors Z
Page 110 of 382

Problems with the steering wheel heating
Problem Possible causes/consequences and
000B Solutions
If the steering wheel
heating indicator lamp
is flashing, the steering
wheel heating has
switched off
automatically. The on-board voltage is too low because too many electrical
consumers are switched on.
X
Switch off electrical consumers that you do not need, such as
the rear window defroster or interior lighting.
Once the battery is sufficiently charged, the steering wheel
heating will switch back on automatically. EASY-ENTRY/EXIT feature
Important safety notes G
WARNING
When the EASY-ENTRY/EXIT feature adjusts
the steering wheel, you and other vehicle
occupants –particularly childre n–could
become trapped. There is arisk of injury.
While the EASY-ENTRY/EXIT feature is
making adjustments, make sure that no one
has any body parts in the sweep of the
steering wheel.
If somebody becomes trapped:
R press one of the memory function position
buttons, or
R move the switch for steering wheel
adjustmen tinthe opposite direction to that
in which the steering wheel is moving.
The adjustment process is stopped. G
WARNING
If children activate the EASY-ENTRY/EXIT
feature, they can become trapped,
particularly when unattended. There is arisk
of injury.
When leaving the vehicle, always take the
SmartKey with you and lock the vehicle. Never
leave children unsupervised in the vehicle. G
WARNING
If you drive off while the EASY-ENTRY/EXIT
feature is making adjustments, you could lose control of the vehicle. There is
arisk of an
accident.
Always wait until the adjustment process is
complete before driving off.
The EASY-ENTRY/EXITf eature makes getting
in and out of your vehicle easier.
You can activate and deactivate the EASY-
ENTRY/EXIT feature in the on-board
computer (Y page 233).
Position of the steering wheel when the
EASY-ENTRY/EXIT featureisa ctive The steerin
gwheel swings upwards when
you:
R remove the SmartKey from the ignition lock
R with KEYLESS-GO: open the driver's door;
KEYLESS-GO must be in position 1in the
ignition lock
R with the SmartKey: open the driver's
door; the SmartKey must be in position 0
or 1in the ignition lock (Y page 147)
i The steerin gwheel only moves upwards if
it has not already reached the upper end
stop. 108
Steering wheelSeats, steering wheel and mirrors
Page 111 of 382

Position of the steering wheel for
driving
The steering wheel is moved to the last
selected position when:
R the driver's door is closed
R with KEYLESS-GO: you press the Start/
Stop button once on vehicles with
KEYLESS-GO
or
R with the SmartKey: you insert the
SmartKey into the ignition lock.
When you close the driver's door with the
ignition switched on, the steering wheel is
also automatically moved to the previously
set position.
The last position of the steering wheel is
stored when you switch off the ignition or
when you store the settingw ith the memory
function (Y page 112).
Crash-responsive EASY-EXIT feature If the crash-responsiv
eEASY-EXI Tfeature is
triggere dinana ccident,the steerin gcolumn
will mov eupwards when the driver's door is
opened. This occurs irrespective of the
position of the SmartKey in the ignition lock.
This makes it easier to exit the vehicle and
rescue the occupants.
The crash-responsiv eEASY-EXI Tfeature is
only operational if the EASY-EXIT/ENTRY
feature is activated in the on-board computer.
(Y page 233) Mirrors
Exterior mirrors
Adjusting th eexterior mirrors G
WARNING
You could lose control of your vehicle if you
do the followin gwhile driving:
R adjust the driver's seat ,head restraint,
steerin gwheel or mirrors
R fasten the seat belt
There is arisk of an accident.
Adjust the driver's seat, head restraint,
steerin gwheel and mirror and fasten your
seat belt before starting the engine. G
WARNING
The exterior mirror on the front-passenger
side reduces the size of the image. Visible
objects are actually closer than they appear.
This means that you could misjudge the
distanc efrom road users travelin gbehind,
e.g. when changin glane. There is arisk of an
accident.
For this reason, alway smake sure of the
actual distanc efrom the road users traveling
behind by glancin gover your shoulder. X
Turn the SmartKey to position 1or 2in the
ignition (Y page 147).
X Press button 001Afor the left-hand exterior
mirror or button 0010for the right-hand
exterior mirror.
The indicator lamp in the corresponding
button lights up in red. Mirrors
109Seats, steering wheel and mirrors Z
Page 112 of 382

The indicator lamp goes out again after
some time. You can adjust the selected
mirror using adjustmen
tbutton 0024as long
as the indicator lamp is lit.
X Press adjustmen tbutton 0024up, down ,or
to th eleft or right until you have adjusted
th ee xter iorm irror to th ecorrect position.
You should have agood overview of traffic
conditions.
The convex exterio rmirrors provide alarger
field of vision.
After the engine has been started, the
exterior mirrors are automatically heate dif
the rear window defroster is switched on and
the outside temperature is low. Heating takes
am aximum of 10 minutes.
i The exterior mirrors can also be heated
manually by switching on the rear window
defroster.
Folding th eexterior mirror sinorout
electrically X
Turn the SmartKey to position 1or 2in the
ignition (Y page 147).
X Briefly press button 001A.
Bot hexterior mirrors fold in or out.
i Make sure that the exterior mirrors are
always folded out fully while driving. They
could otherwise vibrate.
i If you are drivin gfaster than 30 mp/h
(47 km/h), you can no longer fold in the
exterior mirrors. Setting th
eexterior mirrors If the battery has been disconnected or
completely discharged, the exterior mirrors
must be reset
.The exterior mirrors will
otherwise not fold in when you select the
"Fold in mirrors when locking" function in the
on-board computer (Y page 233)
X Turn the SmartKey to position 1in the
ignition lock (Y page 147).
X Briefly press button 001A.
Folding the exterior mirrors in or out
automatically If the "Fold in mirrors when locking" function
is activated in the on-board computer
(Y
page 233):
R the exterior mirrors fold in automatically as
soon as you lock the vehicle from the
outside.
R the exterior mirrors fold out again
automatically as soon as you unlock the
vehicle and then open the driver's or front-
passenger door.
i If the exterior mirrors have been folded in
manually,t hey do not fold out.
Exterior mirror pushed out of position If an exterior mirror has been pushed out of
position, proceed as follows:
X
Vehicles without electrically folding
exterior mirrors: move the exterior mirror
into the correct position manually.
X Vehicles with electrically folding
exterior mirrors: press and hold mirror-
folding button 001Auntil you hear aclick and
then the mirrors engage in position
(Y page 110).
The mirror housing is engaged again and
you can adjust the exterior mirrors as usual
(Y page 109). 110
MirrorsSeats, steering wheela
nd mirrors