Page 57 of 177

Navigation57
To store the address data: see
descriptions above.
■ Current Position : stores the current
destination in the address book.
To store the address data: see
descriptions above.
Selecting addresses (destinations)
for route guidance, renaming or
deleting addresses
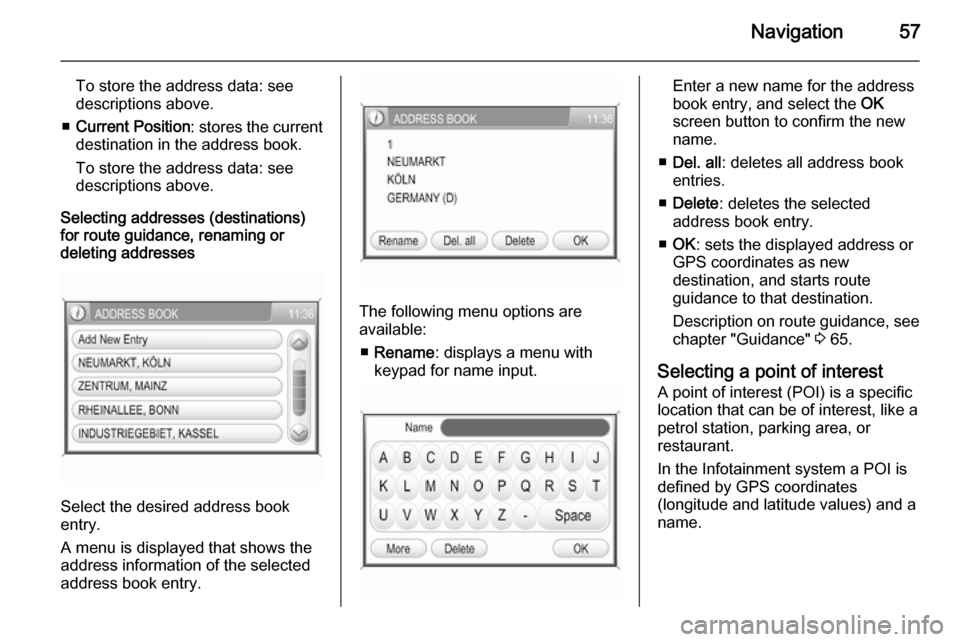
Select the desired address book
entry.
A menu is displayed that shows the
address information of the selected
address book entry.
The following menu options are
available:
■ Rename : displays a menu with
keypad for name input.
Enter a new name for the address
book entry, and select the OK
screen button to confirm the new
name.
■ Del. all : deletes all address book
entries.
■ Delete : deletes the selected
address book entry.
■ OK : sets the displayed address or
GPS coordinates as new
destination, and starts route
guidance to that destination.
Description on route guidance, see
chapter "Guidance" 3 65.
Selecting a point of interest
A point of interest (POI) is a specific
location that can be of interest, like a
petrol station, parking area, or
restaurant.
In the Infotainment system a POI is
defined by GPS coordinates
(longitude and latitude values) and a
name.
Page 58 of 177
58Navigation
The data stored on the map SD card
contain a great number of predefined POIs, which are indicated by
corresponding symbols on the map
display.
You can select such POIs as
destinations for route guidance.
To select a point of interest:
Press the NAV button, and then
select the Destination menu item to
open the ENTER DESTINATION
menu.
Select the Points of interest menu
item.
The POINTS OF INTEREST menu is
displayed.
The following menu options are
available:
■ Restaurants nearby : shows a list of
restaurants nearby the current
location.
Each list entry shows the straight-
line distance, and the approximate
direction to the regarding
restaurant.
Select a list entry to display a menu with detailed information on the
regarding restaurant.
Page 59 of 177

Navigation59
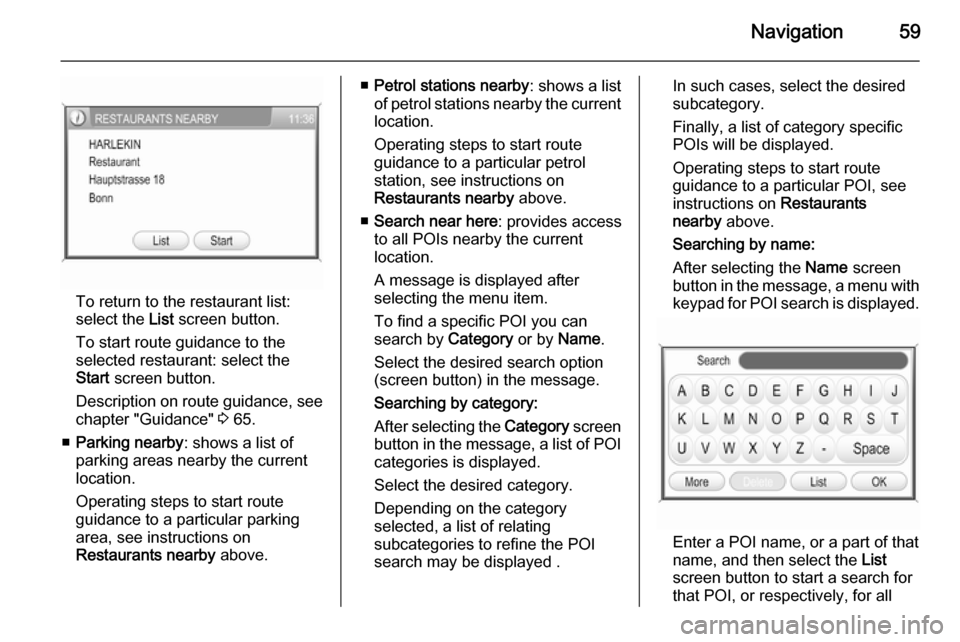
To return to the restaurant list:
select the List screen button.
To start route guidance to the
selected restaurant: select the
Start screen button.
Description on route guidance, see
chapter "Guidance" 3 65.
■ Parking nearby : shows a list of
parking areas nearby the current
location.
Operating steps to start route
guidance to a particular parking
area, see instructions on
Restaurants nearby above.
■Petrol stations nearby : shows a list
of petrol stations nearby the current location.
Operating steps to start route
guidance to a particular petrol
station, see instructions on
Restaurants nearby above.
■ Search near here : provides access
to all POIs nearby the current
location.
A message is displayed after
selecting the menu item.
To find a specific POI you can
search by Category or by Name.
Select the desired search option
(screen button) in the message.
Searching by category:
After selecting the Category screen
button in the message, a list of POI categories is displayed.
Select the desired category.
Depending on the category
selected, a list of relating
subcategories to refine the POI search may be displayed .In such cases, select the desired
subcategory.
Finally, a list of category specific POIs will be displayed.
Operating steps to start route
guidance to a particular POI, see
instructions on Restaurants
nearby above.
Searching by name:
After selecting the Name screen
button in the message, a menu with
keypad for POI search is displayed.
Enter a POI name, or a part of that
name, and then select the List
screen button to start a search for
that POI, or respectively, for all
Page 60 of 177

60Navigation
POIs which names contain theentered letter combination.
Notice
If you do not enter any letter, and
then start a POI search, the system
will search for all POIs nearby the
current position.
While the search is performed, a
message shows in which radius around the current position the
system currently searches for
POIs.
You can stop the search at any time by selecting the Stop screen button
in the message, or you can wait
until a list with all found POIs is
displayed.
Operating steps to start route
guidance to a particular POI, see
instructions on Restaurants
nearby above.
■ Search near destination : provides
access to all POIs nearby the
current destination (only available,
if route guidance is active).
Operating steps to search for POIs, and to start route guidance to aspecific POI, see instructions onSearch near here above.
■ Search in another city : provides
access to all POIs within a selected
city.
To select a city, see "Entering an
address directly" (steps 1 to 2)
above.
After selecting a city, you can
search for POIs in that city by
Category or by Name, see
instructions on Search near here
above.
Selecting a user defined point of
interest In addition to the predefined points of
interest (POI) stored on the map SD
card, you can create user defined
POIs that meet your special personal needs, and download these POIs to
the Infotainment system, see chapter
"Usage" 3 37.
If user defined POIs were
downloaded to the Infotainment
system, you can select such a POI as destination for route guidance.To select a user defined point ofinterest:
Press the NAV button, and then
select the Destination menu item to
open the ENTER DESTINATION
menu.
Select the User POIs menu item.
A list of all downloaded user defined
POIs is displayed.
Select the desired list entry.
A menu is displayed that shows the
GPS coordinates, and a descriptive
comment (if available) on the
selected POI.
Page 61 of 177

Navigation61
To return to the user POI list: selectthe List screen button.
To start route guidance to the
selected user POI: select the Start
screen button.
Description on route guidance, see
chapter "Guidance" 3 65.
Selecting a destination from the
map
This method of destination input
allows you to search for a new
destination by moving the visible map section, and to set the desired
location of the new destination by
tapping on the map.
To select a destination from map:
Press the NAV button, and then
select the Destination menu item to
open the ENTER DESTINATION
menu.
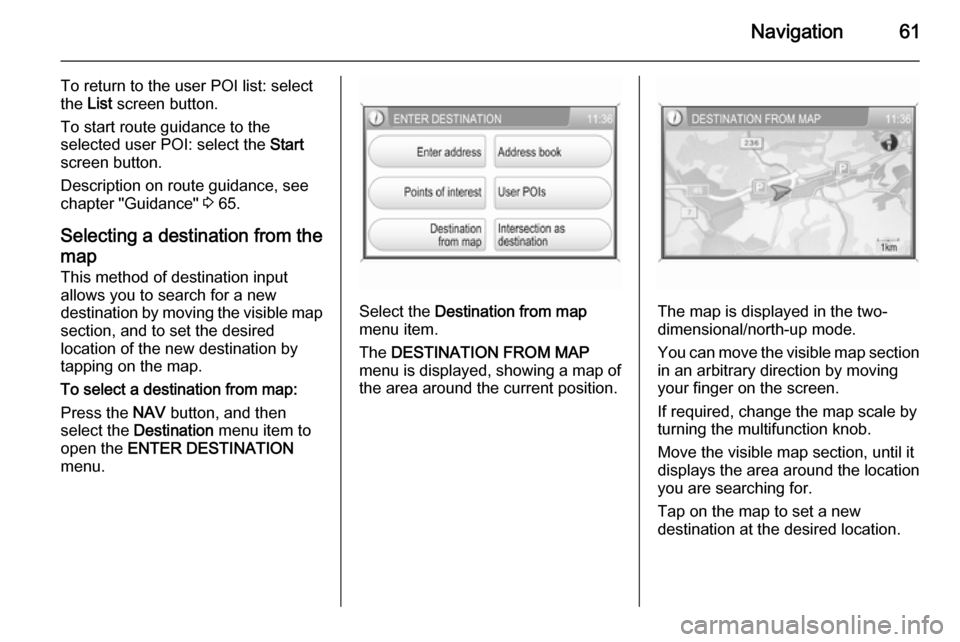
Select the Destination from map
menu item.
The DESTINATION FROM MAP
menu is displayed, showing a map of
the area around the current position.The map is displayed in the two-
dimensional/north-up mode.
You can move the visible map section
in an arbitrary direction by moving
your finger on the screen.
If required, change the map scale by
turning the multifunction knob.
Move the visible map section, until it
displays the area around the location
you are searching for.
Tap on the map to set a new
destination at the desired location.
Page 62 of 177

62Navigation
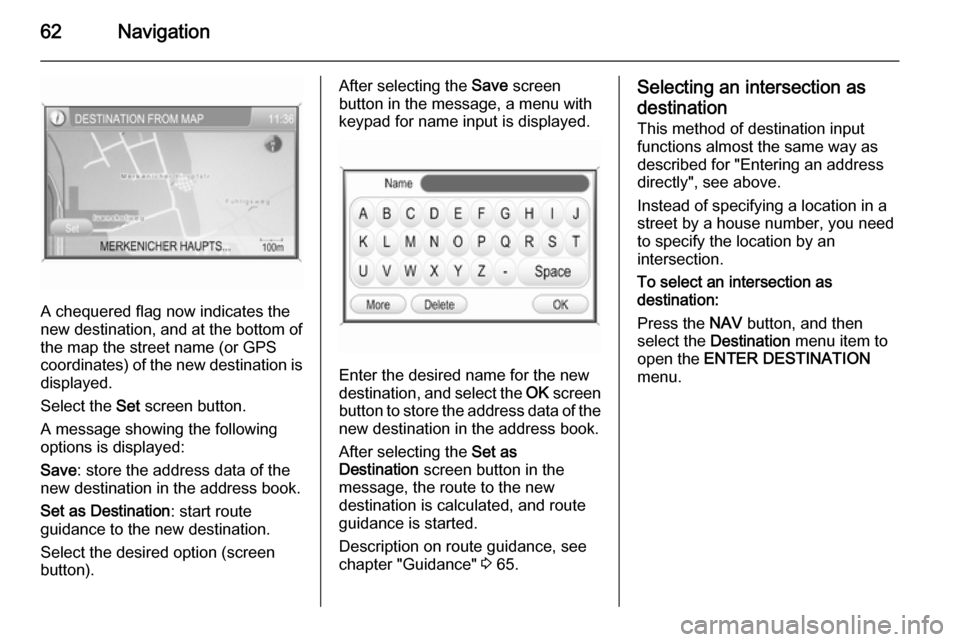
A chequered flag now indicates the
new destination, and at the bottom of the map the street name (or GPS
coordinates) of the new destination is displayed.
Select the Set screen button.
A message showing the following
options is displayed:
Save : store the address data of the
new destination in the address book.
Set as Destination : start route
guidance to the new destination.
Select the desired option (screen
button).
After selecting the Save screen
button in the message, a menu with
keypad for name input is displayed.
Enter the desired name for the new
destination, and select the OK screen
button to store the address data of the new destination in the address book.
After selecting the Set as
Destination screen button in the
message, the route to the new
destination is calculated, and route
guidance is started.
Description on route guidance, see
chapter "Guidance" 3 65.
Selecting an intersection as
destination
This method of destination input
functions almost the same way as
described for "Entering an address
directly", see above.
Instead of specifying a location in a
street by a house number, you need
to specify the location by an
intersection.
To select an intersection as
destination:
Press the NAV button, and then
select the Destination menu item to
open the ENTER DESTINATION
menu.
Page 63 of 177

Navigation63
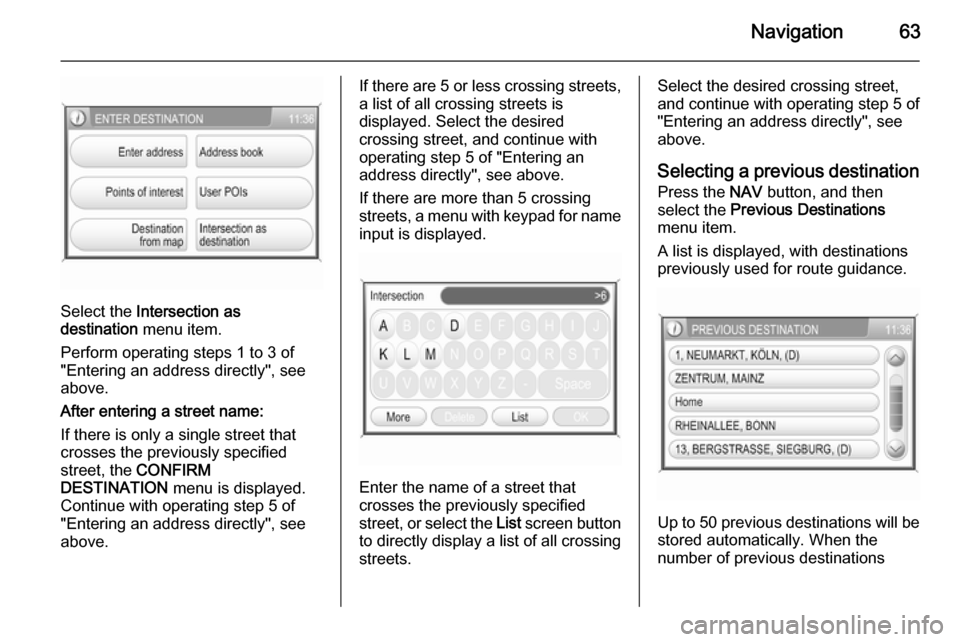
Select the Intersection as
destination menu item.
Perform operating steps 1 to 3 of
"Entering an address directly", see
above.
After entering a street name:
If there is only a single street that
crosses the previously specified
street, the CONFIRM
DESTINATION menu is displayed.
Continue with operating step 5 of
"Entering an address directly", see
above.
If there are 5 or less crossing streets,
a list of all crossing streets is
displayed. Select the desired
crossing street, and continue with
operating step 5 of "Entering an
address directly", see above.
If there are more than 5 crossing streets, a menu with keypad for name input is displayed.
Enter the name of a street that
crosses the previously specified
street, or select the List screen button
to directly display a list of all crossing streets.
Select the desired crossing street,
and continue with operating step 5 of
"Entering an address directly", see
above.
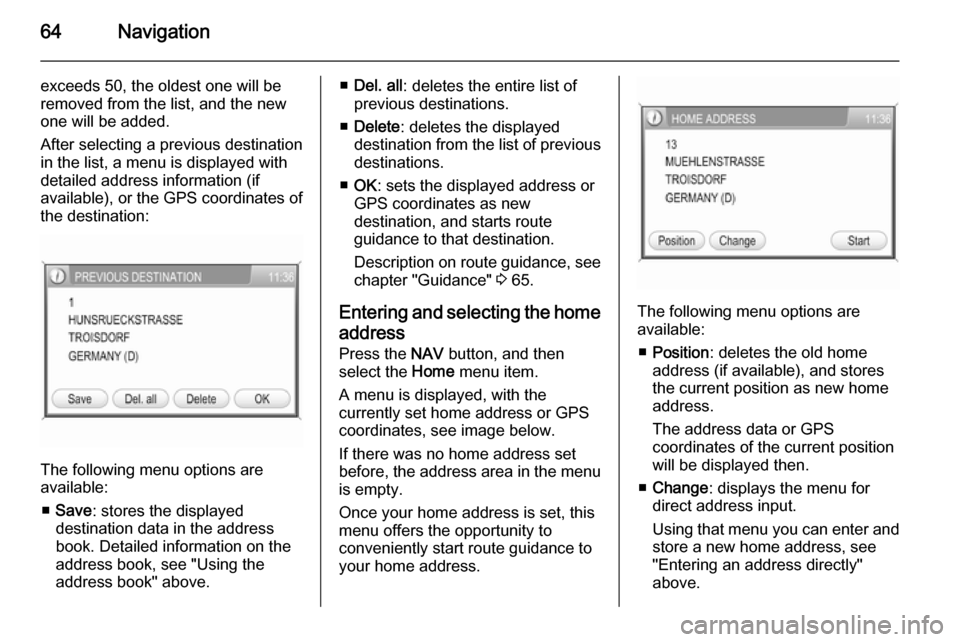
Selecting a previous destination
Press the NAV button, and then
select the Previous Destinations
menu item.
A list is displayed, with destinations
previously used for route guidance.
Up to 50 previous destinations will be
stored automatically. When the
number of previous destinations
Page 64 of 177

64Navigation
exceeds 50, the oldest one will beremoved from the list, and the new
one will be added.
After selecting a previous destination in the list, a menu is displayed with
detailed address information (if
available), or the GPS coordinates of
the destination:
The following menu options are
available:
■ Save : stores the displayed
destination data in the address
book. Detailed information on the
address book, see "Using the
address book" above.
■ Del. all : deletes the entire list of
previous destinations.
■ Delete : deletes the displayed
destination from the list of previous
destinations.
■ OK : sets the displayed address or
GPS coordinates as new
destination, and starts route
guidance to that destination.
Description on route guidance, see
chapter "Guidance" 3 65.
Entering and selecting the home
address
Press the NAV button, and then
select the Home menu item.
A menu is displayed, with the
currently set home address or GPS
coordinates, see image below.
If there was no home address set
before, the address area in the menu is empty.
Once your home address is set, this menu offers the opportunity to
conveniently start route guidance to
your home address.
The following menu options are
available:
■ Position : deletes the old home
address (if available), and stores
the current position as new home
address.
The address data or GPS
coordinates of the current position
will be displayed then.
■ Change : displays the menu for
direct address input.
Using that menu you can enter and
store a new home address, see
"Entering an address directly"
above.