Page 313 of 590

Selecting the seat
First select the seat which you wish to adjust.
X Press the 0011or000D button.
X Select Seat and press
0039to confirm.
X To switch to the lower line, for both options
slide 0012000Athe COMAND controller.
X Select Driver's Seat or
Passenger Seat by turning
003E0012003Fthe COMAND
controller and press 0039to confirm.
Adjustment functions Adjusting the seat cushion length
This function is available on M-Class and GL-
Class vehicles with multicontour seats. This function allows you to adjust the height
of the seat cushion.
X Select the seat (Y page 311).
X Select Seat Surface by turning
003E0012003Fthe
COMAND controller and press 0039to
confirm.
As cale appears. X
Turn 003E0012003F or slide 00380012000Athe COMAND
controlle rand press 0039to confirm.
X To exit the menu: press the001Fback
button.
Adjusting the seat contour in the lumbar
region of the seat backrest
This functio nis available on M-Class vehicles
with multicontour seats and on all SL-Class
vehicles, regardless of seat variant. This function allows you to adjust the air
cushions in the lumbarr
egion of the backrest
(4-way lumbar support).
X Select the seat (Y page 311).
X Select Lumbar by turning
003E0012003Fthe
COMAND controller and press 0039to
confirm.
Ac rosshair appears. You can make two
settings:
R Vertical: to move the point of greatest
lumbar support up or down
R Horizontal: to adjust the amount of
support
X Slide 00380012000A or003600120037 the COMAND controller
and press 0039to confirm.
X To exit the menu: press the001Fback
button.
Adjusting the sides of the seat backrest
(backrest side bolsters)
This function is available on M-Class, GL-
Class and SL-Class vehicles with
multicontour seats or dynamic multicontour
seats. Vehicle functions
311COMAND Z
Page 314 of 590

X
Select the sea t(Ypage 311).
X Select Backr. Sides by turning
003E0012003Fthe
COMAND controller and press 0039to
confirm.
As cale appears.
X Turn 003E0012003F or slide 00380012000Athe COMAND
controlle rand press 0039to confirm.
X To exit the menu: press the001Fback
button.
i For SL-Class vehicles with dynamic
multicontour seats: when driving dynamics
are activated due to a change of direction
(e.g. cornering), the backres tside cushion
settings can temporarily not be used.
Adjusting the seat side bolsters
This function is only available on SL-Class
vehicles with multicontour seats or dynamic
multicontour seats. This function allows you to adjust the air
cushions in the seat side bolsters. X
Selec tthe seat (Y page 311).
X Select Seat Sides by turning
003E0012003Fthe
COMAND controller and press 0039to
confirm.
As cale appears.
X Turn 003E0012003F or slide 00380012000Athe COMAND
controlle rand press 0039to confirm.
X To exit the menu: press the001Fback
button.
Balance
This functio nis available on SL-Class
vehicles. The Balance function controls the distribution
of heat on the seat backrest and cushion.
The Balance function influences the currently
set heating level of the seat heating; see the
separate vehicle Operator's Manual.
X
Select the seat (Y page 311).
X Select Balance by turning
003E0012003Fthe
COMAND controller and press 0039to
confirm.
As cale appears and shows the current
setting. Positive values indicate the heat
outpu tfor the seat backrest, negative
values indicate the heat output for the seat
cushion. The intensity is indicated by an
orange bar in the stylized seat above the
scale. 312
Vehicle functionsCOMAND
Page 315 of 590

The values stand for:
R
0 -b
ackres tand sea tcushio nare heated
equally to the maximu mlevel
R 1 to
3 -t
he heat output to the seat
cushion is reduced in one-third
increments
R -1 to
-3 -t
he heat output to the backrest
is reduced in one-third increments
X Turn 003E0012003F or slide 003600120037the COMAND
controller and press 0039to confirm.
X To exit the menu: press the001Fback
button.
Massage function
This function is available on M-Class and GL-
Class vehicles with multicontour seats and on
SL-Class vehicles with dynamic multicontour
seats. Example display (M-Class or GL-Class)
X
Select the seat (Y page 311).
X Select Massage by turning
003E0012003Fthe
COMAND controller and press 0039to
confirm.
Al ist appears.
You can selec tdifferen ttypes of massage
function:
R 0: Off R
1: Slow and Gentle R
2: Slow and Vigorous R
3: Fast and Gentle R
4: Fast and Vigorous X
Turn 003E0012003F or slide 00380012000Athe COMAND
controller and press 0039to confirm.
The massage function runs for
approximately 15 to 25 minutes,
depending on the setting.
X To exit the menu: press the001Fback
button.
Adjusting the drivin gdynamics
This function is only available on SL-Class
vehicles with dynamic multicontour seats. X
Select the seat (Y page 311).
X Select Dynamic Seat by turning
003E0012003Fthe
COMAND controller and press 0039to
confirm.
As cale appears.
You can select:
R 0 : Off
R 1 :l
evel 1(mediu msetting)
R 2 :l
evel 2(high setting)
X Turn 003E0012003F or slide 00380012000Athe COMAND
controller and press 0039to confirm.
X To exit the menu: press the001Fback
button. Vehicle functions
313COMAND Z
Page 316 of 590

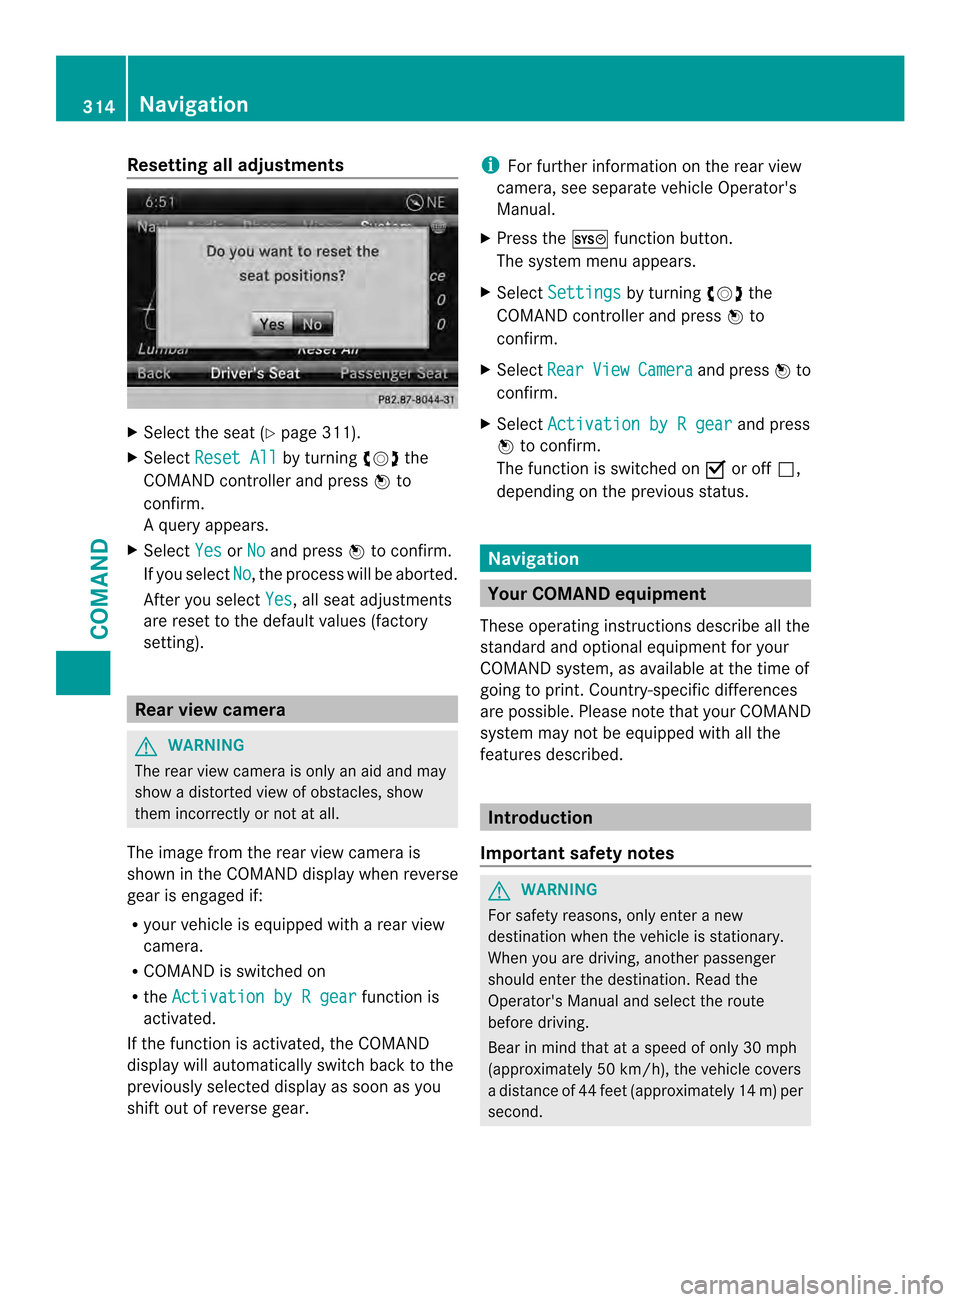
Resetting all adjustments
X
Select the sea t(Ypage 311).
X Select Reset All by turning
003E0012003Fthe
COMAND controller and press 0039to
confirm.
Aq uery appears.
X Select Yes or
No and press
0039to confirm.
If you select No , the process will be aborted.
Afte ryou select Yes , all seat adjustments
are reset to the default values (factory
setting). Rear view camera
G
WARNING
The rear view camera is only an aid and may
show a distorted view of obstacles, show
them incorrectly or not at all.
The image from the rear view camera is
shown in the COMAND display when reverse
gear is engaged if:
R your vehicle is equipped with a rear view
camera.
R COMAND is switched on
R the Activation by R gear function is
activated.
If the function is activated, the COMAND
display will automatically switch back to the
previously selected display as soon as you
shift out of reverse gear. i
For further information on the rear view
camera, see separate vehicle Operator's
Manual.
X Press the 000Dfunction button.
The system menu appears.
X Select Settings by turning
003E0012003Fthe
COMAND controller and press 0039to
confirm.
X Select Rear View Camera and press
0039to
confirm.
X Select Activation by R gear and press
0039 to confirm.
The function is switched on 0013or off 0003,
depending on the previous status. Navigation
Your COMAND equipment
These operating instructions describe all the
standard and optional equipment for your
COMAND system, as available at the time of
going to print. Country-specific differences
are possible. Please note that your COMAND
system may not be equipped with all the
features described. Introduction
Important safety notes G
WARNING
For safety reasons, only enter a new
destination when the vehicle is stationary.
When you are driving, another passenger
should enter the destination .Read the
Operator's Manual and select the route
before driving.
Bear in mind that at a speed of only 30 mph
(approximately 50 km/h), the vehicle covers
a distance of 44 feet (approximately 14 m) per
second. 314
NavigationCOMAND
Page 317 of 590

COMAND calculates the rout
eto the
destination without taking account of the
following, for example:
R traffic lights
R stop and give way signs
R merging lanes
R parking or stopping in a no parking/no
stopping zone
R other road and traffic rules and regulations
R narrow bridges G
WARNING
COMAND may give incorrect navigation
commands if the actual road/traffic situation
no longer corresponds to the data on the
digital map. Digital maps do not cover all
areas nor all routes in an area. For example,
a route may have been diverted or the
direction of a one-way street may have
changed.
For this reason, you must always observe road
and traffic rules and regulations during your
journey. Road and traffic rules and regulations
always have priority over the system's driving
recommendations. G
WARNING
Navigation announcements are intended to
direct you while driving without diverting your
attention from the road and driving.
Please always use this feature instead of
consulting the map display for directions.
Looking at the icons or map display can
distract you from traffic conditions and
driving, and increase the risk of an accident.
General notes Operational readiness of the navigation
system
The navigation system must determine the
position of the vehicle before first use or
whenever operational status is restored.
Therefore, you may have to drive for a while
before precise route guidance is possible. GPS reception
Correct functioning of the navigation system
depends, amongst other things, on GPS
reception
.Incertain situations, GPS
reception may be impaired, there may be
interference or there may be no reception at
all, e.g. in tunnels or parking garages.
i Using roof carriers may impair the correct
functioning of a roof antenna (phone,
satellite radio, GPS).
Entry restriction
On vehicles for certain countries, there is a
restriction on entering data.
The restriction is active from a vehicle speed
of above approximately 3 mph (5 km/h). As
soon as the speed falls below approximately
2 mph (3 km/h), the restriction becomes
inactive.
When the restriction is active, certain entries
cannot be made. This will be indicated by the
fact that certain menu items are grayed out
and cannot be selected.
The following entries are not possible, for
example:
R entering the destination city and street
R entering a destination via the map
R entering POIs in the vicinity of a city or via
a name search
R editing entries
R using the number keypad for direct entry
Other entries are possible, such as entering
points of interest in the vicinity of the
destination or curren tposition. Navigation
315COMAND Z
Page 318 of 590

Switching to navigation mode
Map showing the menu; route guidance inactive
0002 Status bar
0003 Main function bar
0027 Current vehicle position
0026 Navigation menu bar
X Press the 0014function button.
The map is displayed with the menu either
shown or hidden.
or
X Select Navi in the main function bar by
sliding 00380012and turning 003E0012003Fthe COMAND
controller and press 0039to confirm.
The map is displayed with the menu shown. Map without the menu; route guidance inactive
0002
Current vehicle position
0003 Map orientation selected
0027 Map scale selected
i Route guidance active means that you
have entered a destination and that
COMAND has calculated the route. The
display shows the route, changes of direction and lane recommendations.
Navigation announcements guide you to
your destination.
Route guidance inactive
means that no
destination has been entered yet and no
route has been calculated yet.
Showing/hiding the menu You can show or hide the menu at the lower
edge of the map.
X
To hide the menu: slide00380012the COMAND
controller and, when the Full Screen menu item is shown, press
0039to confirm.
or
X Press the 001Fback button.
The map can be seen in the full-screen
display.
X To show the menu: press0039the COMAND
controller when the map is shown in full-
screen display. Basic settings
Setting route type and route options Route settings menu (start of menu)
0002
To select the route type
0003 Setting the number of persons in the
vehicle for the use of carpool lanes
0027 To set route options 316
NavigationCOMAND
Page 319 of 590

X
Select Navi in the main function bar by
sliding 00380012and turning 003E0012003Fthe COMAND
controlle rand press 0039to confirm.
X Select Route Settings and press
0039to
confirm.
The route settings menu appears.
X Select a route type and press 0039to confirm.
Af illed circle indicates the current setting.
X Selec tthe route option(s) and press 0039to
confirm.
The route options are switched on 0013or off
0003, depending on the previous status.
i If you change the route type and/or the
route options while route guidance is
active, COMAND will calculate a new route.
If you change the route type and/or the
route options while route guidance is
inactive, COMAND uses the new setting for
the next route guidance.
Route guidance active: a destination has
been entered and the route has been
calculated.
Route guidance inactive: no destination
has been entered yet and no route has been
calculated yet.
i RDS-TMC is not available in all countries.
You can select the following route types:
R Fast Route :C
OMAND calculates a route
with the shortest (minimized) journey time.
R Dynamic Traffic Route : same route
type as Fast Route .Ina
ddition, COMAND
takes into account any relevant traffic
reports received during route guidance.
The navigation system can help you avoid
a traffic jam, for example, by recalculating
the route.
R Dynamic TRF. Route After Request :
same route type as Dynamic Traffic Route . After recalculating the route,
COMAND asks you whether you want to
adopt the new route or whether you want
to continue along the original route. R
Eco Route : the
Eco Route is a variant of
the Fast Route route type. COMAND will
attempt to minimize the journey distance
at the expense of a slightly increased
journey time.
R Short Route :C
OMAND calculates a route
with the shortest possible (minimized)
route distance.
i The route calculated may, for example,
include ferry connections, even if the
Avoid Ferries route option is switched
on.
In some cases, COMAND may not be able
to take all the selected route options into
account, e.g. when calculating particularly
long routes.
X To exit the menu: slide003600120037 the COMAND
controller.
To set the number of persons in the
vehicle for the use of carpool lanes For route calculation, you can take HOV or
carpool lanes into account.
If you use HOV or carpool lanes, please
observe the applicable laws as well as the
local and time limitation conditions.
Carpool lanes may only be used under certain
conditions. Normally you can use these lanes
when two or more occupants are traveling in
the vehicle. However, there are lanes that can
only be used when three or four occupants
(e.g. in New York) travel in the vehicle. In
California, lone drivers can use a carpool lane
if their vehicle's emission level or fuel
consumption is below a fixed threshold.
Carpool lanes may be reserved for specific
times (e.g. during the peak period).
Carpool lanes are identified by HOV symbols
on special road signs and by markings on the
road. On the road signs, you may also see the
word CARPOOL .T
he lanes are arranged as a
separate lane next to the others or are built
as a physically separate lane.
Depending on the setting under Number of Occupants in Vehicle , COMAND uses Navigation
317COMAND Z
Page 320 of 590

carpool lanes when calculating the route.
COMAND then guides you in and ou
tof
carpool lanes using visual and acoustic
driving directions. X
In the route settings menu, select Numberof Occupants in Vehicle: by turning
003E0012003F the COMAND controller. X
Select 1 ,
2 or
More than 2 by turning
003E0012003F and press 0039to confirm.
A 0021 dot indicates the current setting. Destination input
Important safety notes G
WARNING
For safety reasons, only enter a new
destination whe nthe vehicle is stationary.
You could otherwise be distracted from the
traffic conditions, cause an accident and
injure yourself and others. Entering
adestination by address Introduction
When entering an address as the destination,
you have the following options:
R
entering the state/province, city/ZIP code
and street
R entering the state/province, city and
center
R entering the state/province, city/ZIP code,
street and house number
R entering the state/province, city/ZIP code,
street and intersection
R entering the state/province, street, city
and house number
R entering the state/province, street and
house number
R entering the state/province, street and
intersection
i You can only enter those cities, streets,
ZIP codes etc. that are stored on the digital
map. This means that for some countries,
you canno tenter ZIP codes, for example.
The step-by-step instructions for entering an
address use the following exampl edata:
New York (state)
New York (city)
40 Broadway
Of course, you can freely ente rinformation
such as state/province, city, street and
house number, for example to ente ryour
home address.
Address entry menu
Calling up the address entry menu
X To switch to navigation mode: press the
0014 function button.
X To show the menu: press0039the COMAND
controller.
X Select Destination by turning
003E0012003Fthe
COMAND controller and pressing 0039to
confirm. 318
NavigationCOMAND