Page 25 of 286
Instruments and warning/indicator lights 23
If one of the turn s ignal light bu lbs burn out ,
the t urn signa l will blink tw ice as fast as nor
mal. Carefully drive to y our authorized A udi
dea le r i mmediately to have the malfunct io n
corrected.
Page 26 of 286

24 Drive r in form ation d ispl ay
Driver information
display
Introduction
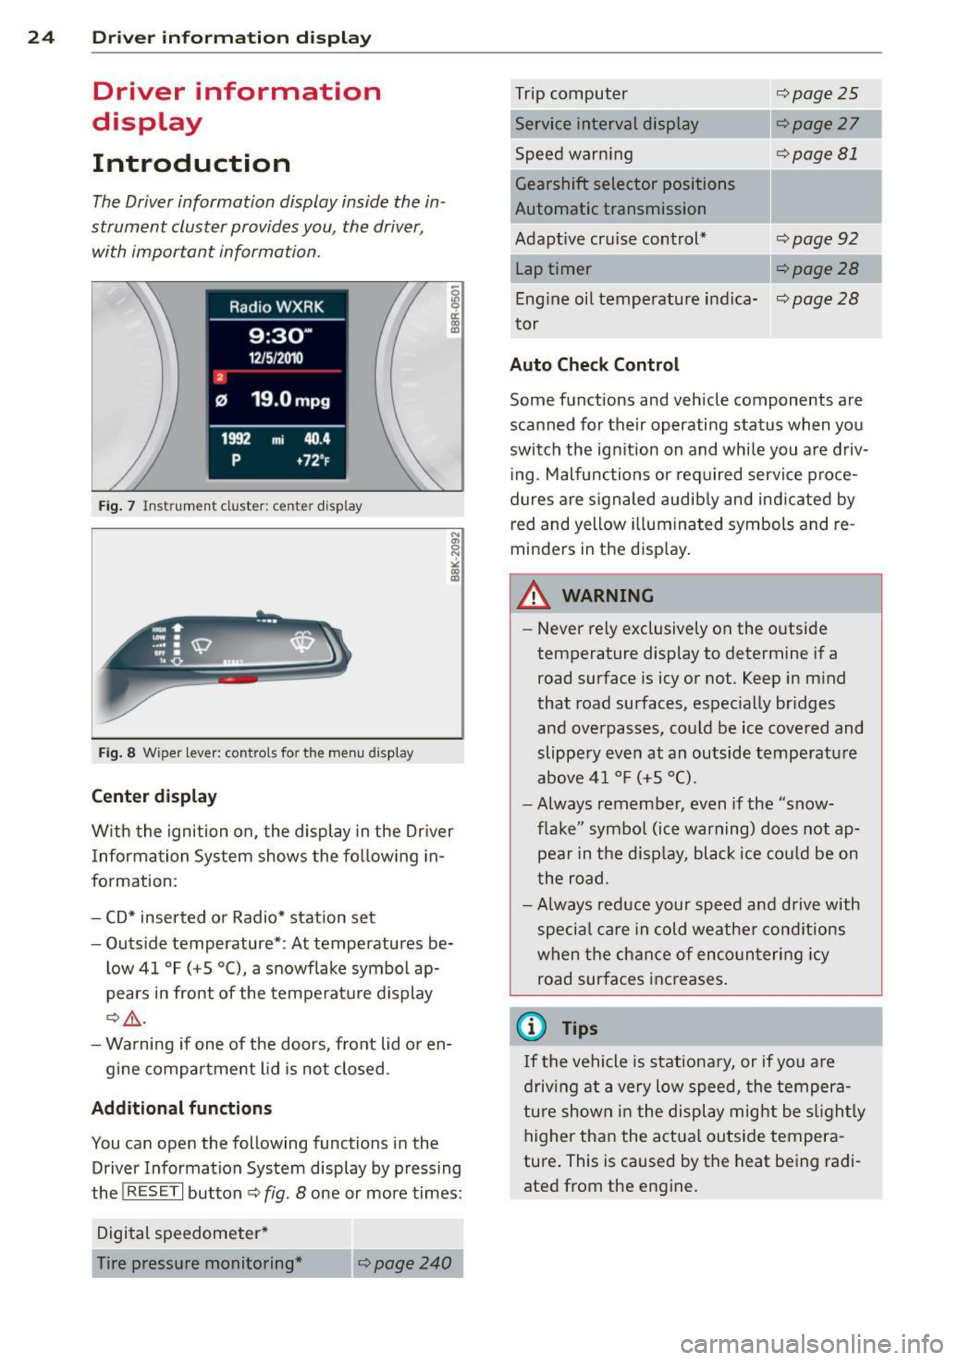
The Driver information disp lay inside the in
strument cluster provides you, the driver ,
with important information.
Fig . 7 In strum en t cl ust er: center dis pl ay
Fi g. 8 W iper leve r: co ntr ols fo r the menu displa y
Cent er d ispla y
With the ignition on, the display in the Dr iver
I nformation System shows the fol low ing in
format ion :
- CD* inserted or Radio* station set
- Outside temperature* : At temperatures be-
low 41 °F ( +S °C), a snowflake symbol ap
pears in front of the temperature display
c::> .&_ .
- Warning if one of the doors , front lid or en-
gine compartment lid is not closed .
Additional fun cti ons
You can open the following function s in the
Driver Information System display by pressing
the
! R ESE T I button c::> fig. 8 one or more times:
Digital speedometer*
Tire pressure monitoring *
~page240
Trip computer
Service interval display
Speed warning
Gearshift selector positions
Automatic transmission
Adapt ive cruise control*
Lap timer
c::> page25
c::> page 27
c::> page 81
c:> page 92
Eng ine oil temperature indica-c:> page 28
tor
Auto Check Control
Some functions and veh icle components are
scanned for their operating status when you
switch the ignition on and whi le you are driv
i ng . Malfunctions or required service proce
dures are s ignaled audib ly and ind icated by
red and yellow illuminated symbols and re
minders in the disp lay.
A WARNING
- Never rely exclusively on the outside
temperature display to determine if a road surface is icy or not. Keep in m ind
that road surfaces, especially br idges
and overpasses, could be ice covered and
slippery even at an outside temperature
above 4 1 °F (+ S
0
() .
-Always remember , even if the "snow
f lake" symbo l (ice warning) does not ap
pear in the d isp lay, black ice co uld be on
the road .
- Always reduce your speed a nd d rive with
specia l care in cold weathe r cond itions
when the chance of encountering icy
road surfaces increases.
© Tips
If the vehicle is stationa ry, or if you are
driving at a very low speed, the tempera
tu re shown in the display mig ht be s light ly
higher than the actua l outside tempera
ture . This is caused by the heat being radi
ated from the engine.
Page 27 of 286

Trip computer
Introduction
The trip computer gives you information on
current and average fuel mileage, average
speed, fuel range and driving time .
Fig. 9 Trip computer display: Average fuel mileag e
The following information is continuously
eva luated by the trip computer and can be dis
p layed sequentially in the instrument cluster
display:
Fuel range
The estimated cruising range in miles (km)
appears in the display. This tells you how far
your vehicle wi ll be able to travel on the cur
rent tank of fue l and with the same driving
style. The display changes in increments of 6
miles (10 km).
The cruising range is calcu lated based on the
fuel cons umption for the last 18 mi les
(30 km) . If you drive conservatively, the cruis
ing range will increase.
Average fuel mileage The average fuel economy in MPG (l/100 km)
since you last cleared the memory appears in
this display. You can use this disp lay to adjust
your driving technique to achieve a desired mileage .
Current fuel mileage
The instantaneous fuel consumption in miles
per gallon (l/100 km) is shown in this display .
You can use this display to adj ust yo ur driving
technique to ach ieve a desired mileage.
Driver information display 25
Fuel consumption is recalcu lated at intervals
of 33 yards (30 meters). This display switches
to gallons/hour (liters/hour) when the veh icle
is not moving.
Average speed
T he average speed in mph (km/h) s ince you
last reset the memory appears in the display.
Elapsed time
The length of time that yo u have been driving
s ince you last reset the memory appears in
th is disp lay.
Distance
The distance that has been covered since the
last time the memory was cleared appears in
the d isplay .
(0 Tips
- Fuel consumptions (average and cur rent), range and speed are displayed in
metric units on Canadian mode ls.
- All stored values will be lost if the vehi
cle battery is disconnected.
Memories
The trip computer is equipped with two fully
automatic memories.
Fig. 10 Trip computer display: memor y leve l 1
You can switch between the trip computer 1
and 2 by pressing the
I RESET I button @
r:=>poge 26, fig. 11.
You can tell which memory leve l is currently
active by the numbe r or the sign in the display
r:=>fig. 10. The data from the single-trip mem
ory (memory level 1) is being displayed if a
O II>
Page 28 of 286

26 Driver in formation d isplay
appears in the display . If a fJ is shown, then
the data from the total-trip memory is being
d isp layed (memory leve l 2) .
Single-t rip memory (Trip computer 1 )
The single-t rip memory s tores the trip infor
mat ion from the time the ignition is turned on
unti l it is tu rned off. If the trip is continued
within 2 hours from the time the ignition was
tu rned off, the new data will be included in
the calculation of the current trip informa
tion . If the trip is interrupted for
more than 2
hours
the memory is reset automatically .
Total-tr ip memory (Trip computer 2 )
Unlike the sing le-trip memory, the tota l-trip
memory is not reset automatically. Th is per
mits you to evaluate your driving data for the
entire period between manual resets.
Operation
The trip computer is controlled by two
switches on the windshield wiper lever.
F ig. 11 Windsh ie ld wipe r leve r: co ntro ls for t he tri p
co mpute r
M
"' 0 N
><
"' a,
.. To display the trip computer memory leve ls,
press the
I RESE T I button @c:> fig. 11 re
peatedly unt il the desired memory leve l is
shown in the d isplay.
.. To d isplay trip information w ithi n a memory
level, press the top or bottom part of the
function selectio n switch
@ .
The trip computer w ill not operate unless the
ignit io n is on . When you turn on the ignition,
the function t hat was in use when you last
turned t he ignit io n off will be d isp layed. In add
ition to info rmation on the trip comput
er (trip com puter 1 and 2) , the digita l spee d
ometer and information regarding the nav iga
t ion system* can also be disp layed. To sw itch
the d isplay between the d ifferent i nforma
t io n, tap the
I RESE T I button @ briefly .
Setting value s to ze ro
T o de lete one cur rent va lue from the trip com
puter, se lect the des ired funct ion and press
the
I RESE T I button @for at least one second.
The following values can be set to zero
indi
vidually :
-Average fue l mi leage
- Average spee d
- Elapsed time
- Dis tance
All the values in the sing le -tr ip or the total
t rip memo ry can b e deleted s imultaneously
c:> page 26 .
(D Tips
All stored va lues w ill be lost if the veh icle
battery is disconnected.
Basic Settings for the trip computer
The radio or MMI* operating unit is used for
setting the trip computer's basic settings .
.. Select: Function button ICAR ! > Instrument
cluster > On-board computer
1 or On-board
computer 2 .
The values in the sing le-tr ip or the total-trip
memory can all be reset to zero at the same
time under
Reset in the menu .
In add ition, yo u can determine what info rma
tion from the trip computer should be shown in the instrument cluster disp lay. If one of the
pieces of driver information is turned
Off, t h at
drive r information will not be s hown in the
display . Th e info rmation w ill continue to be
ca lcula ted by t he tr ip comp ute r and can be
tu rned back
On at any time.
Page 29 of 286

@ Tips
This function is not available on all
vehicles.
Service interval display
The service interval display reminds you when
your next service is due.
Fig. 12 Dis play: Serv ice interva l di splay
The schedule fo r the next oil change or inspec
tion is calculated automatically and displayed accordingly. The display works in two stages:
Service rem inder
30 days before the next service is due, a serv
ice rem inder appears in the display when you
turn on the ignition
<> fig. 12.
After about 5 seconds the display switches
back to normal. The d istance and time re
maining are updated each time the ignition is
turned o n until the date due for service is
r eached .
Service due
When the due date for service is reached, the
message
Servic e due! appears in the instru
ment cluster immediately after you turn on
the ign ition . Additionally, a warn ing tone
sounds . After about 5 seconds the display
sw itches back to normal.
Call ing up the service schedules
If or when an oil change or inspect ion is due,
can be shown in the radio or MM!* display by
selecting the se rvice in terval display i n the car
menu . Se lectlCARlf unct ion button>
S ervi ce
in te rva l di spla y
or ICAR I funct ion button > Car
Dri ver inform ation di spl ay 2 7
sys tem s* control button > Servicin g &
check s.
Resetting the service interval displa y
Your authorized Audi dealer will reset the cor
responding service sc hedule after pe rforming
the appropr iate service on your veh icle. You
also have the possibility to reset the oil
change schedule after having performed an
oi l change according to Audi specifications.
Se lec t I CAR I function button >
Se rvi ce interval
di spla y
> Reset oil change inter val or I CAR I
funct ion button >
C ar sy ste m s* control but
ton >
S ervicing & check s > Reset oil change
interva l.
(D Note
If you disconnect t he battery te rm inals, no
ca lculat ions can be made fo r the service
i nte rva l disp lay dur ing th is time and no
se rv ice rem inder will appear. Remember
th at observing the p roper service inte rva ls
i s vitally important to extending the life of
your vehicle, partic ularly the engine, and
maintaining its value. Even if the mileage
driven is low, the maximum period of one
year from one service to the next must not
be exceeded .
(!) Tips
-Do not reset the display between oil
changes, otherwise the disp lay will be in
correct.
- The information in the Service Reminder
remains stored even when the vehicle
battery is disconnected .
Page 30 of 286

28 Driver information d isplay
Engine oil temperature
indicator
Fig . 13 Dis play: e ngine oil temperat ure indica tor
.. With the ign it ion switched on, press the
IRESET lbutton
¢ page 26, fig. 11 repeated
ly until the engine oil temperature indicator
is shown.
If the engine oil temperature is be low 140 ° F
(60 °C) , the G!#JI symbol followed by three hy
phens"- --" and the °C unit is shown .
At an engine oil temperature above
140 °F
(60 °() the engine has reached its operating
temperature . The engine oil temperature may
be higher if there is heavy engine load and
high temperatures outside. This is not a cause
for concern as long as the. ¢
page 17 or
the
II ¢ page 21 warning light in the display
does not flash .
Lap timer
Introduction
You can record and eva luate lap times with
the lap timer in the display¢
page 28,
fig. 15. The time is measured in minutes, sec
onds and
1/10 seconds. The hours are also
shown when the lap time exceeds 60 minutes .
The maximum individual measurement is
99
hours. A max imum of 99 laps may be record
ed.
& WARNING
-
Please devote your fu ll att ent ion to driv
ing. As the driver, you have comp lete re
sponsibility for safety in traffic. Only use
the funct ions in such a way that you always maintain complete control over your vehi
cle in all traffic situations.
(D Tips
When the lap timer stopwatch is runn ing,
you can call up the trip computer informa tion with the I RESET I button .
Calling up the lap timer and timing
Fig. 14 Controls
Fig. 15 Display : Lap timer
Calling up the lap timer
.. Press the I RESET ! button ~ fig . 14 @ until
the lap timer¢
fig. 15 appears.
Timing laps
.. To start timing, press the upper section of
the wiper switch @. The time measurement
is shown in line@¢
fig. 15.
.. To stop t iming, press the upper section of
the wiper switch @ again. This also starts
timing the next round. The prev ious timing
always moves one line down, first into line
@, and then into lines @and @. The lap
number that corresponds to the timing is
disp layed in front of the individual timings. ..,.
Page 31 of 286

Displaying intermediate time and pausing
timing
• To disp lay an intermediate time, press the
lower section of the wiper switch ®· The
timing continues to run in the background.
• To pause timing, press the lower section of
the wiper switch ® again .
• To continue t iming, press the upper section
of the wiper switch @.
If timing is paused, you can continue it later
even if you switch the ign it ion off.
Evaluating times and continuing or
resetting timing
You can evaluate the fastest, slowest and
average lap times.
Fig. 16 Display : lap t ime eva luat ion
• To eva luate lap times, press and hold the
I RESE T I button ¢ page 28, fig. 14@for ap
proximate ly 2 seconds. The number of laps
traveled, the fastest lap"+", the slowest lap
"-" and the average lap time "0" appears in
the display .
• To continue timing for additional laps, press
the wiper switch @.
• To reset the timer to zero, press and hold
the
I RESET ! button again for approximately
2 seconds .
• To switch the lap timer off completely, press
the
I RESE T I button briefly.
(D Tips
-Saved lap times cannot be individually
deleted from the total resu lts.
- The saved lap timer values will not be
l ost after turning the ignition off .
Driver information display 29
On-Board Diagnostic
system (OBD)
Malfunction Indicator Lamp (MIL)
The Malfunction Indicator Lamp (MIL)¢• in
the instrument cluster is part of the On-Board
Diagnostic (OBD II) system .
T he warning/indicator light illuminates when
the ignition is switched on and goes out after
the engine starts and the id le has stabilized.
This indicates that the MIL is working proper
ly.
If the light does not go out after the engine
is started, or illuminates while you are driv
ing, a malfunction may exist in the engine sys
tem .
If the light illuminates, the catalytic con
verter could be damaged .
Continue driving
with reduced power (avoid
ing sustained high speeds and/or rapid accel
erations) and have the condition corrected.
Contact your authorized Audi dealer.
An improperly closed fuel filler cap may also
cause the MIL light to illuminate
¢ page 204.
On-Board Diagnostics
Fig. 17 Locat io n of Data Link Co nn ector (D LC)
On-Board Diagnostics monitors the compo
nents of your emission contro l system. Each
monitored component in your engine system
has been assigned a code. In case of a mal
funct ion , the component will be identified
and the fault stored as a code in the control module memory.
Page 32 of 286
30 Driver in formation d isplay
The MIL light may a lso illuminate if there is a
l eak in the on-board fue l vapor recovery sys
tem .
If the light illuminates after a ref ueling,
stop the veh icle and make sure the fue l filler
cap is properly closed
¢ page 204.
In order to make an accurate diagnosis, the
stored data can only be displayed using spe
cial diagnostic eq uipment (gener ic scan tool
for OBD).
In order to connect the special diagnostic
eq uipment, push the p lug into the Data L ink
Connector (DLC). The DLC is located to the
rig ht of the hood release
¢ fig. 17.
Your authorized A udi dealer or qualified work
shop can interpret the code and perform the necessary repa ir.
A WARNING
Do not use the diagnostic connector for
personal use. Incorrect usage can cause
malf unctions, which can increase the risk
of a coll is ion!
-