Page 209 of 344

tor is illuminated) and the headphone
selector switch is on the desired chan-
nel. If the headphones are turned on,
press the remote control’s power but-
ton to turn audio on. If audio is still
not heard, check that fully charged
batteries are installed in the head-
phones.
Disc Formats
The VES™ DVD player is capable of
playing the following types of discs
(120 mm or 80 mm diameter):
DVD-Video discs (MPEG-2 videocompression) (see notes about DVD
Region Codes)
DVD-Audio discs (2 channel audio output only)
Audio Compact Discs (CDs)
CD Data discs with MP3 and WMA compressed audio format files
Video CDs (MPEG-1 video com- pression)
DVD Region Codes
The VES™ DVD player and many
DVD discs are coded by geographic
region. These region codes must
match in order for the disc to play. If the region code for the DVD disc does
not match the region code for the
player, the disc will not play and will
be ejected.
DVD Audio Support
When a DVD-Audio disc is inserted in
the VES™ DVD player, the DVD-
Audio title on the disc is played by
default (most DVD-Audio discs also
have a Video title, but the Video title is
ignored). All multi-channel program
material is automatically mixed down
to two channels, which may result in a
lowered apparent volume level. If you
increase the volume level to account
for this change in level, remember to
lower the volume before changing the
disc or to another mode.
Recorded Discs
The VES™ DVD player will play
CD-R and CD-RW discs recorded in
CD-Audio or Video-CD format, or as
a CD-ROM containing MP3 or WMA
files. The player will also play DVD-
Video content recorded to a DVD-R or
DVD-RW disc. DVD-ROM discs (ei-
ther pressed or recorded) are not sup-
ported.
If you record a disc using a personal
computer, there may be cases where
the VES™ DVD player may not be
able to play some or the entire disc,
even if it is recorded in a compatible
format and is playable on other play-
ers. To help avoid playback problems,
use the following guidelines when re-
cording discs.
Open sessions are ignored. Only
sessions that are closed are play-
able.
For multi-session CDs that contain only multiple CD-Audio sessions,
the player will renumber the tracks
so each track number is unique.
For CD Data (or CD-ROM) discs, always use the ISO-9660 (Level 1
or Level 2), Joliet, or Romeo for-
mat. Other formats (such as UDF,
HFS, or others) are not supported.
The player recognizes a maximum of 512 files and 99 folders per
CD-R and CD-RW disc.
Mixed media recordable DVD for- mats will only play the Video_TS
portion of the disc.
203
Page 210 of 344

If you are still having trouble writing a
disc that is playable in the VES™
DVD player, check with the disc re-
cording software publisher for more
information about burning playable
discs.
The recommended method for label-
ing recordable discs (CD-R, CD-RW,
and DVD-R) is with a permanent
marker. Do not use adhesive labels as
they may separate from the disc, be-
come stuck, and cause permanent
damage to the DVD player.
Compressed Audio Files (MP3 and
WMA)
The DVD player is capable of playing
MP3 (MPEG-1 Audio Layer 3) and
WMA (Windows Media Audio) files
from a CD Data disc (usually a CD-R
or CD-RW).
The DVD player always uses thefile extension to determine the au-
dio format, so MP3 files must al-
ways end with the extension
".mp3" or ".MP3" and WMA files
must always end with the extension
".wma" or ".WMA". To prevent in- correct playback, do not use these
extensions for any other types of
files.
For MP3 files, only version 1 ID3 tag data (such as artist name, track
title, album, etc.) are supported.
Any file that is copy protected (such as those downloaded from many
online music stores) will not play.
The DVD player will automatically
skip the file and begin playing the
next available file.
Other compression formats such as AAC, MP3 Pro, Ogg Vorbis, and
ATRAC3 will not play. The DVD
player will automatically skip the
file and begin playing the next
available file.
If you are creating your own files, the recommended fixed bit rate for
MP3 files is between 96 and
192Kbps and the recommended
fixed bit rate for WMA files is be-
tween 64 and 192Kbps. Variable
bit rates are also supported. For
both formats, the recommended
sample rate is either 44.1kHz or
48kHz. To change the current file, use the
remote control’s or DVD player’s ▲
button to advance to the next file,
or the ▼button to return to the
start of the current or previous file.
To change the current directory, use the remote control’s PROG Up and
Down buttons.
Disc Errors
If the DVD player is unable to read the
disc, a "Disc Error" message is dis-
played on the VES™ and Radio dis-
plays and the disc is automatically
ejected. A dirty, damaged, or incom-
patible disc format are all potential
causes for a "Disc Error" message.
If a disc has a damaged track which
results in audible or visible errors that
persists for 2.0 seconds, the DVD
player will attempt to continue play-
ing the disc by skipping forward 1.0
to 3.0 seconds at a time. If the end of
the disc is reached, the DVD player
will return to the beginning of the disc
and attempt to play the start of the
first track.
204
Page 211 of 344

The DVD player may shut down dur-
ing extremely hot conditions, such as
when the vehicle’s interior tempera-
ture is above 48°C . When this occurs,
the DVD player will display "VES
High Temp" and will shut off the
VES™ displays until a safe tempera-
ture is reached. This shutdown is nec-
essary to protect the optics of the DVD
player.
Display
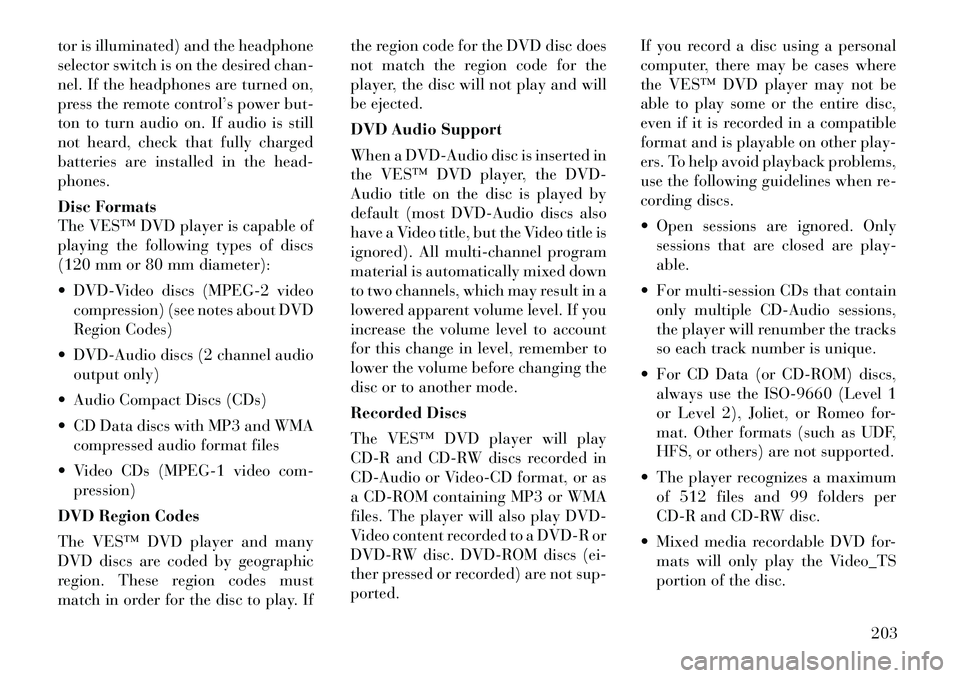
Other Language Setup
All of the Language settings have a
special "Other" setting to accommo-
date languages other than Japanese or
English. These languages are selected
using a special four-digit code.To enter a new language code, acti-
vate the DVD Setup Menu. To enter
DVD Setup Menu stop the DVD, enter
radio disc mode, then DVD setup and
follow these additional instructions:
Using the remote control Up and
Down cursor buttons, highlight the
Language item you want to edit,
and then press the remote control
ENTER button.
Using the remote control Down cur- sor button, select the "Other" set-
ting, then press the remote control’s
Right cursor button to begin editing
the setting.
Using the remote control Up and Down cursor buttons, select a digit
for the current position. After se-
lecting the digit, press the remote
control’s Right cursor button to se-
lect the next digit. Repeat this digit
selection sequence for all four dig-
its.
When the entire four-digit code is entered, press the remote control’s
ENTER button. If the language
code is not valid, the numbers all
change back to "*". If the digits are visible after this step, then the lan-
guage code is valid.
Here is an abbreviated list of language
codes. For more language codes,
please contact the dealer where the
vehicle was purchased.
Lan-
guage Code Lan-
guageCode
Dutch 2311 French 1517
Ger-
man 1304 Italian 1819
Portu-
guese 2519 Spanish 1418
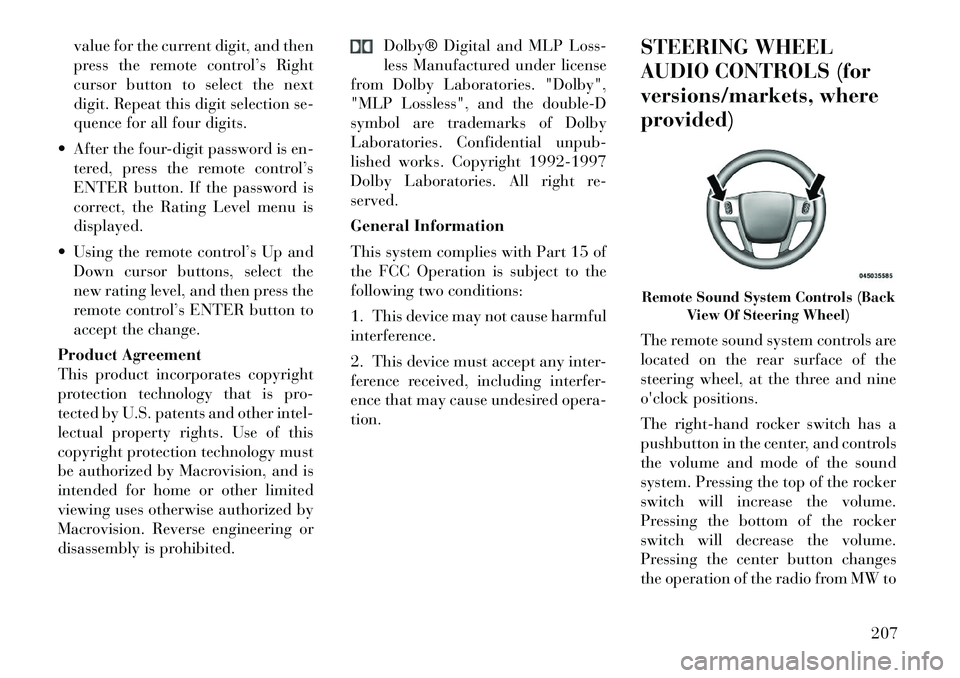
Rating and Password Setup
The Rating and Password settings
work together to control the types of
DVDs that your family watches. Most
DVD-Video discs have a rating (from
1 to 8) assigned to them where lower
numbers are designated for all audi-
ences and higher numbers are desig-
nated for more adult audiences.
When a DVD-Video disc is loaded, its
rating is compared to the setting in the
DVD player. If the rating of the disc is
higher than the setting in the player, a
Password screen is displayed. In order
to watch the disc, the rear passenger
DVD Player Language Menu
205
Page 212 of 344

must enter the correct password using
the password entry method described
below.
To play all discs without requiring a
password, set the DVD player’s rating
to Level 8. Setting the rating to Level
1 always requires the password to
play any DVD disc. Not all DVD discs
encode a Rating, so it is still possible
that discs designed for adult audi-
ences can still play without requiring
a password.
The default rating is Level 8 (play all
discs without a password) and the
default password is 0000.To set the password, activate the DVD
Setup Menu and follow these addi-
tional instructions:
Using the remote control Left and
Right cursor buttons, select the
Rating tab.
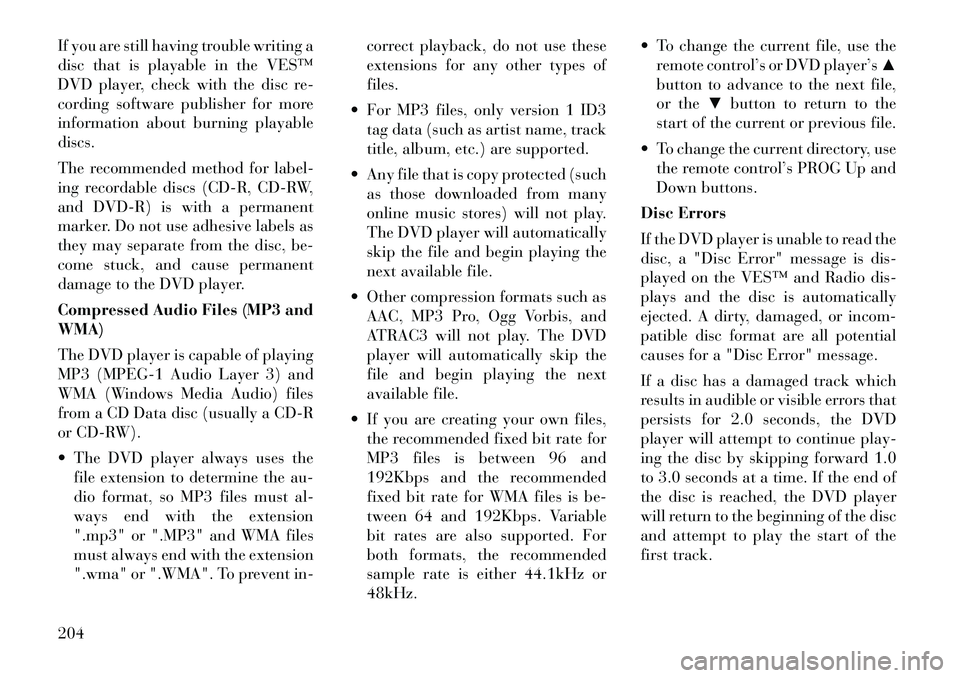
Highlight "Change Password", and then press the remote control’s EN-
TER button.
Enter the current password. Select a digit, use the remote control Up
and Down cursor buttons to set the
value for the current digit, and then
press the remote control’s Right
cursor button to select the next
digit. Repeat this digit selection se-
quence for all four digits.
After the four-digit password is en- tered, press the remote control’s
ENTER button. If the password is
correct, the set password screen is
displayed.
Using the remote control’s Up and Down cursor buttons to set the
value for the current digit and the
remote control’s Right cursor but-
ton to select digits, enter the new
password. After the four-digit password is en-
tered, press the remote control’s
ENTER button to accept the
change.
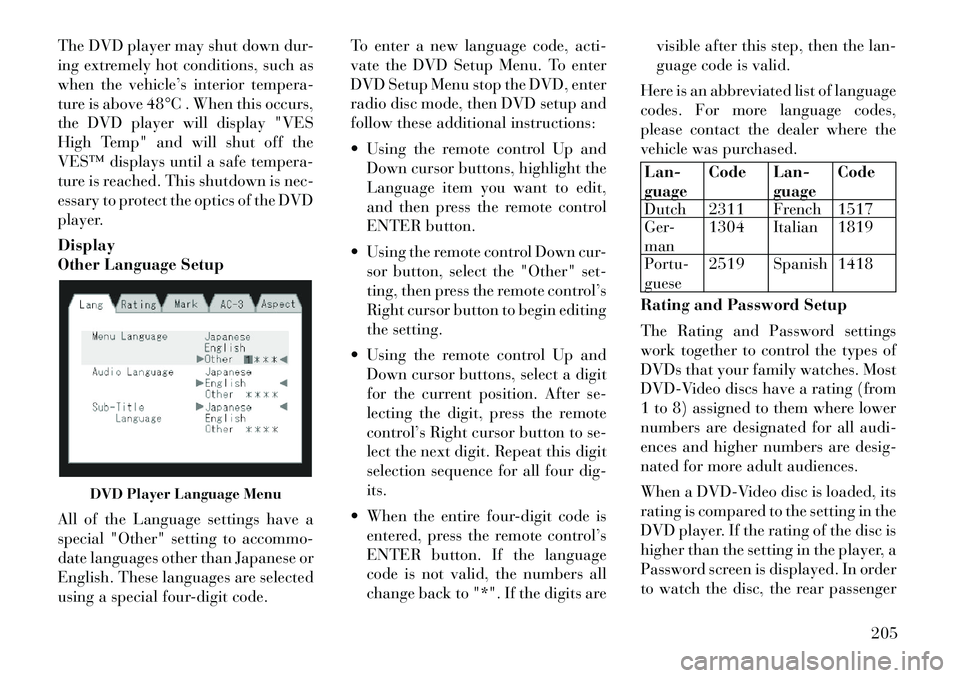
To set the rating, activate the DVD
Setup Menu and follow these addi-
tional instructions:
Using the remote control’s Left and Right cursor buttons, select the
Rating tab.
Highlight "Change Rating", and then press the remote control’s EN-
TER button.
Enter the current password. Select a digit, use the remote control’s Up
and Down cursor buttons to set the
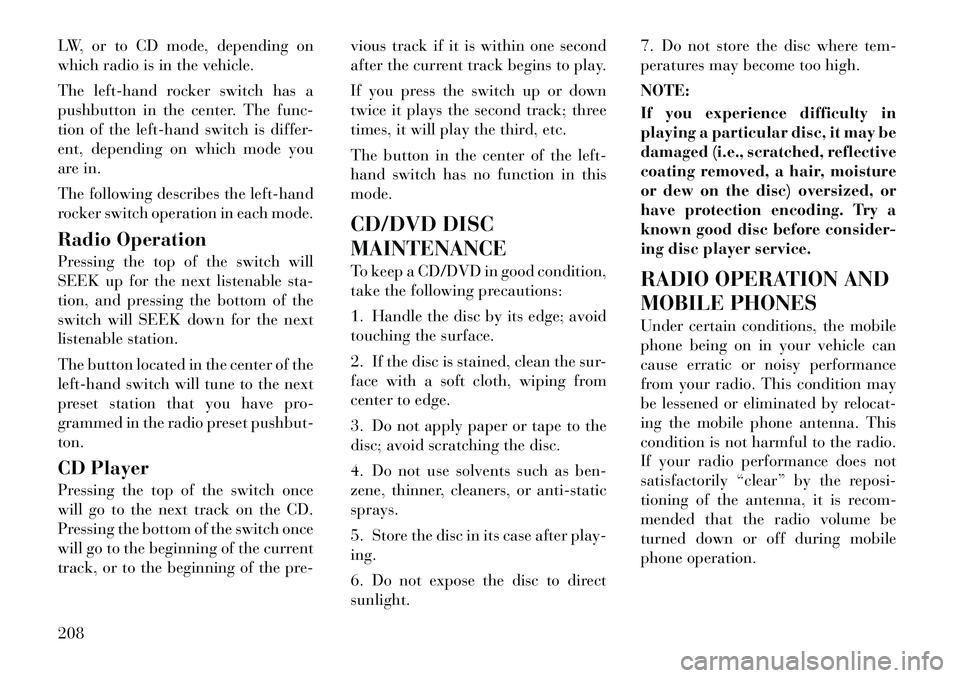
DVD Password Entry
DVD Player Level Menu
206
Page 213 of 344

value for the current digit, and then
press the remote control’s Right
cursor button to select the next
digit. Repeat this digit selection se-
quence for all four digits.
After the four-digit password is en- tered, press the remote control’s
ENTER button. If the password is
correct, the Rating Level menu is
displayed.
Using the remote control’s Up and Down cursor buttons, select the
new rating level, and then press the
remote control’s ENTER button to
accept the change.
Product Agreement
This product incorporates copyright
protection technology that is pro-
tected by U.S. patents and other intel-
lectual property rights. Use of this
copyright protection technology must
be authorized by Macrovision, and is
intended for home or other limited
viewing uses otherwise authorized by
Macrovision. Reverse engineering or
disassembly is prohibited. Dolby® Digital and MLP Loss-
less Manufactured under license
from Dolby Laboratories. "Dolby",
"MLP Lossless", and the double-D
symbol are trademarks of Dolby
Laboratories. Confidential unpub-
lished works. Copyright 1992-1997
Dolby Laboratories. All right re-
served.
General Information
This system complies with Part 15 of
the FCC Operation is subject to the
following two conditions:
1. This device may not cause harmful
interference.
2. This device must accept any inter-
ference received, including interfer-
ence that may cause undesired opera-
tion. STEERING WHEEL
AUDIO CONTROLS (for
versions/markets, where
provided)
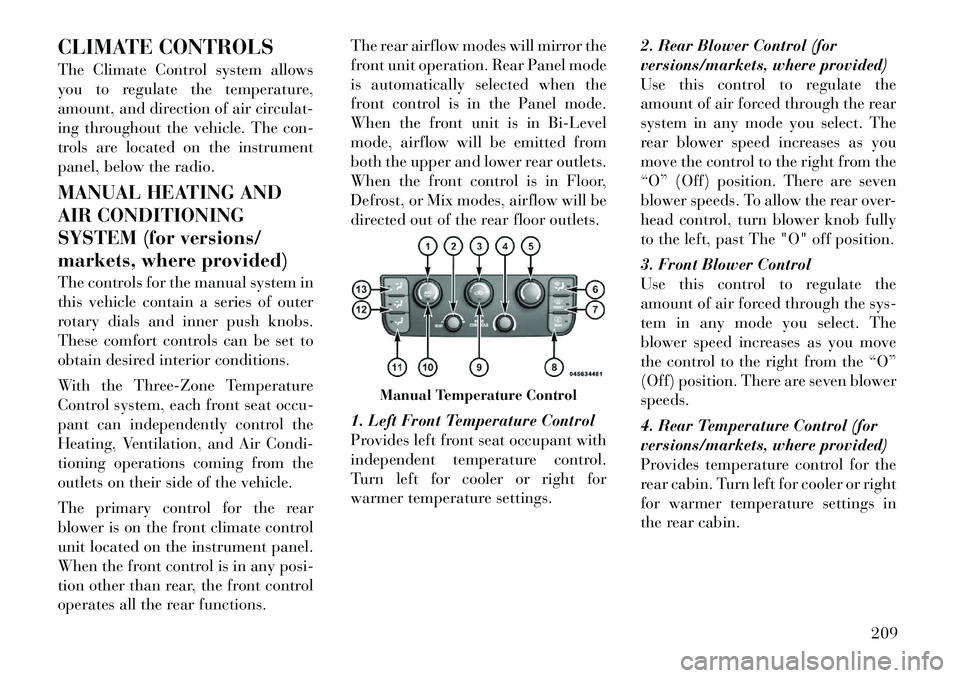
The remote sound system controls are
located on the rear surface of the
steering wheel, at the three and nine
o'clock positions.
The
right-hand rocker switch has a
pushbutton in the center, and controls
the volume and mode of the sound
system. Pressing the top of the rocker
switch will increase the volume.
Pressing the bottom of the rocker
switch will decrease the volume.
Pressing the center button changes
the operation of the radio from MW to
Remote Sound System Controls (Back View Of Steering Wheel)
207
Page 214 of 344

LW, or to CD mode, depending on
which radio is in the vehicle.
The left-hand rocker switch has a
pushbutton in the center. The func-
tion of the left-hand switch is differ-
ent, depending on which mode you
are in.
The following describes the left-hand
rocker switch operation in each mode.
Radio Operation
Pressing the top of the switch will
SEEK up for the next listenable sta-
tion, and pressing the bottom of the
switch will SEEK down for the next
listenable station.
The button located in the center of the
left-hand switch will tune to the next
preset station that you have pro-
grammed in the radio preset pushbut-
ton.
CD Player
Pressing the top of the switch once
will go to the next track on the CD.
Pressing the bottom of the switch once
will go to the beginning of the current
track, or to the beginning of the pre-vious track if it is within one second
after the current track begins to play.
If you press the switch up or down
twice it plays the second track; three
times, it will play the third, etc.
The button in the center of the left-
hand switch has no function in this
mode.
CD/DVD DISC
MAINTENANCE
To keep a CD/DVD in good condition,
take the following precautions:
1. Handle the disc by its edge; avoid
touching the surface.
2. If the disc is stained, clean the sur-
face with a soft cloth, wiping from
center to edge.
3. Do not apply paper or tape to the
disc; avoid scratching the disc.
4. Do not use solvents such as ben-
zene, thinner, cleaners, or anti-static
sprays.
5. Store the disc in its case after play-
ing.
6. Do not expose the disc to direct
sunlight.7. Do not store the disc where tem-
peratures may become too high.
NOTE:
If you experience difficulty in
playing a particular disc, it may be
damaged (i.e., scratched, reflective
coating removed, a hair, moisture
or dew on the disc) oversized, or
have protection encoding. Try a
known good disc before consider-
ing disc player service.
RADIO OPERATION AND
MOBILE PHONES
Under certain conditions, the mobile
phone being on in your vehicle can
cause erratic or noisy performance
from your radio. This condition may
be lessened or eliminated by relocat-
ing the mobile phone antenna. This
condition is not harmful to the radio.
If your radio performance does not
satisfactorily “clear” by the reposi-
tioning of the antenna, it is recom-
mended that the radio volume be
turned down or off during mobile
phone operation.
208
Page 215 of 344

CLIMATE CONTROLS
The Climate Control system allows
you to regulate the temperature,
amount, and direction of air circulat-
ing throughout the vehicle. The con-
trols are located on the instrument
panel, below the radio.
MANUAL HEATING AND
AIR CONDITIONING
SYSTEM (for versions/
markets, where provided)
The controls for the manual system in
this vehicle contain a series of outer
rotary dials and inner push knobs.
These comfort controls can be set to
obtain desired interior conditions.
With the Three-Zone Temperature
Control system, each front seat occu-
pant can independently control the
Heating, Ventilation, and Air Condi-
tioning operations coming from the
outlets on their side of the vehicle.
The primary control for the rear
blower is on the front climate control
unit located on the instrument panel.
When the front control is in any posi-
tion other than rear, the front control
operates all the rear functions.The rear airflow modes will mirror the
front unit operation. Rear Panel mode
is automatically selected when the
front control is in the Panel mode.
When the front unit is in Bi-Level
mode, airflow will be emitted from
both the upper and lower rear outlets.
When the front control is in Floor,
Defrost, or Mix modes, airflow will be
directed out of the rear floor outlets.
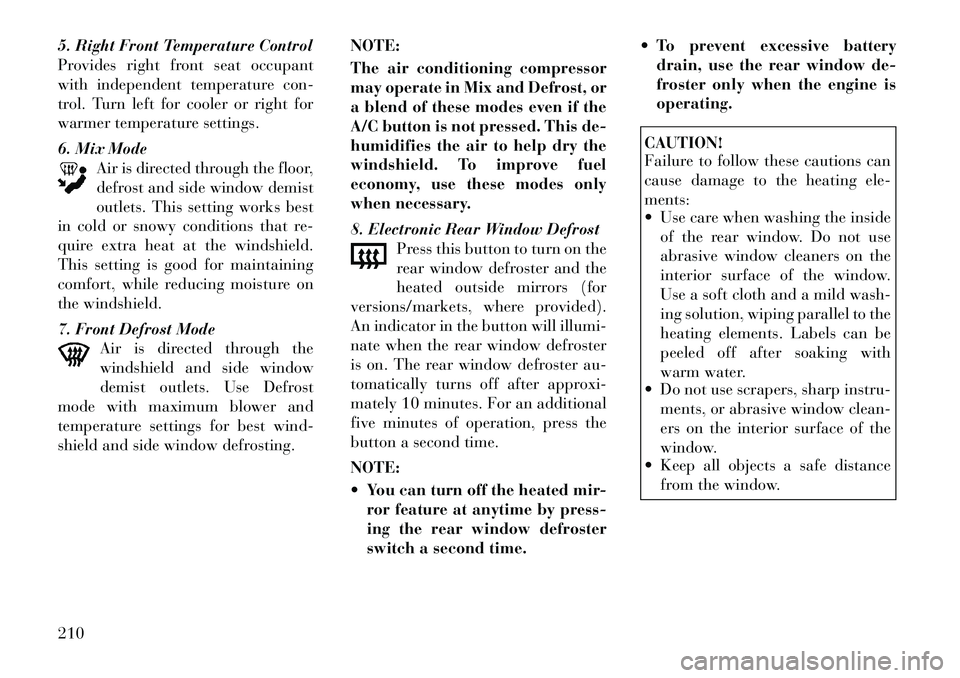
1. Left Front Temperature Control
Provides left front seat occupant with
independent temperature control.
Turn left for cooler or right for
warmer temperature settings.
2. Rear Blower Control (for
versions/markets, where provided)
Use this control to regulate the
amount of air forced through the rear
system in any mode you select. The
rear blower speed increases as you
move the control to the right from the
“O” (Off) position. There are seven
blower speeds. To allow the rear over-
head control, turn blower knob fully
to the left, past The "O" off position.
3. Front Blower Control
Use this control to regulate the
amount of air forced through the sys-
tem in any mode you select. The
blower speed increases as you move
the control to the right from the “O”
(Off) position. There are seven blower
speeds.
4. Rear Temperature Control (for
versions/markets, where provided)
Provides temperature control for the
rear cabin. Turn left for cooler or right
for warmer temperature settings in
the rear cabin.
Manual Temperature Control
209
Page 216 of 344

5. Right Front Temperature Control
Provides right front seat occupant
with independent temperature con-
trol. Turn left for cooler or right for
warmer temperature settings.
6. Mix ModeAir is directed through the floor,
defrost and side window demist
outlets. This setting works best
in cold or snowy conditions that re-
quire extra heat at the windshield.
This setting is good for maintaining
comfort, while reducing moisture on
the windshield.
7. Front Defrost Mode Air is directed through the
windshield and side window
demist outlets. Use Defrost
mode with maximum blower and
temperature settings for best wind-
shield and side window defrosting. NOTE:
The air conditioning compressor
may operate in Mix and Defrost, or
a blend of these modes even if the
A/C button is not pressed. This de-
humidifies the air to help dry the
windshield. To improve fuel
economy, use these modes only
when necessary.
8. Electronic Rear Window Defrost
Press this button to turn on the
rear window defroster and the
heated outside mirrors (for
versions/markets, where provided).
An indicator in the button will illumi-
nate when the rear window defroster
is on. The rear window defroster au-
tomatically turns off after approxi-
mately 10 minutes. For an additional
five minutes of operation, press the
button a second time.
NOTE:
You can turn off the heated mir- ror feature at anytime by press-
ing the rear window defroster
switch a second time. To prevent excessive battery
drain, use the rear window de-
froster only when the engine is
operating.
CAUTION!
Failure to follow these cautions can
cause damage to the heating ele-
ments:
Use care when washing the inside
of the rear window. Do not use
abrasive window cleaners on the
interior surface of the window.
Use a soft cloth and a mild wash-
ing solution, wiping parallel to the
heating elements. Labels can be
peeled off after soaking with
warm water.
Do not use scrapers, sharp instru-
ments, or abrasive window clean-
ers on the interior surface of the
window.
Keep all objects a safe distance
from the window.
210